high CHRYSLER PACIFICA 2022 Owners Manual
[x] Cancel search | Manufacturer: CHRYSLER, Model Year: 2022, Model line: PACIFICA, Model: CHRYSLER PACIFICA 2022Pages: 384, PDF Size: 23.92 MB
Page 2 of 384

The driver’s primary responsibility is the safe operation of the vehicle. Driving while distracted can result in loss of vehicle control, resulting in
an accident and personal injury. FCA US LLC strongly recommends that the driver use extreme caution when using any device or feature that
may take their attention off the road. Use of any electrical devices, such as cellular telephones, computers, portable radios, vehicle navigation
or other devices, by the driver while the vehicle is moving is dangerous and could lead to a serious accident. Texting while driving is also
dangerous and should never be done while the vehicle is moving. If you find yourself unable to devote your full attention to vehicle operation,
pull off the road to a safe location and stop your vehicle. Some states or provinces prohibit the use of cellular telephones or texting while
driving. It is always the driver’s responsibility to comply with all local laws.
This Owner’s Manual has been prepared to help you get acquainted with your new Chrysler brand vehicle and to provide a convenient
reference source for common questions.
Not all features shown in this manual may apply to your vehicle. For additional information, visit mopar.com/om (U.S.), owners.mopar.ca
(Canada) or your local Chrysler brand dealer.
WARNING: Operating, servicing and maintaining a passenger vehicle or off-highway motor vehicle can
expose you to chemicals including engine exhaust, carbon monoxide, phthalates, and lead, which are known to
the State of California to cause cancer and birth defects or other reproductive harm. To minimize exposure,
avoid breathing exhaust, do not idle the engine except as necessary, service your vehicle in a well-ventilated area
and wear gloves or wash your hands frequently when servicing your vehicle. For more information go to
www.P65Warnings.ca.gov/passenger-vehicle.
This Owner’s Manual illustrates and describes the operation of features and equipment that are either standard or optional on this vehicle.
This manual may also include a description of features and equipment that are no longer available or were not ordered on this vehicle. Please
disregard any features and equipment described in this manual that are not on this vehicle. FCA US LLC reserves the right to make changes in
design and specifications, and/or make additions to or improvements to its products without imposing any obligation upon itself to install them
on products previously manufactured.
With respect to any vehicles sold in Canada, the name FCA US LLC shall be deemed to be deleted and the name FCA Canada Inc. used in
substitution therefore.
This Owner’s Manual is intended to familiarize you with the important features of your vehicle. Your most up-to-date Owner’s Manual, Navigation/
Uconnect manuals and Warranty Booklet can be found by visiting the website on the back cover.
U.S. Residents: If you are the first registered retail owner of your vehicle, you may obtain a complimentary printed copy of the Warranty
Booklet by calling 1-800-247-9753 or by contacting your dealer. Replacement kits can be purchased by visiting www.techauthority.com.
Canadian Residents: If you are the first registered retail owner of your vehicle, you may obtain a complimentary printed copy of the Warranty
Booklet or purchase a replacement kit by calling 1-800-387-1143 or by contacting your dealer.DRIVING AND ALCOHOL
Drunk driving is one of the most frequent causes of accidents. Your driving ability can be seriously impaired with blood alcohol levels far
below the legal minimum. If you are drinking, don’t drive. Ride with a designated non-drinking driver, call a cab, a rideshare, a friend, or use
public transportation.
WARNING
Driving after drinking can lead to an accident. Your perceptions are less sharp, your reflexes are slower and your judgment is impaired
when you have been drinking. Never drink and then drive.
Page 5 of 384
3
UNIVERSAL GARAGE DOOR OPENER
(HOMELINK®) ....................................................... 61 Before You Begin Programming
HomeLink®.......................................................61
Erasing All The HomeLink® Channels ............61
Identifying Whether You Have A Rolling
Code Or Non-Rolling Code Device ...................62
Programming HomeLink® To A Garage
Door Opener .....................................................62
Programming HomeLink® To A
Miscellaneous Device ......................................63
Reprogramming A Single HomeLink®
Button ...............................................................63
Canadian/Gate Operator Programming .........63
Security .............................................................64
Troubleshooting Tips ........................................64
EXTERIOR LIGHTS.................................................. 65
Multifunction Lever ..........................................65
Headlight Switch...............................................65
Daytime Running Lights (DRLs) —
If Equipped........................................................66
High/Low Beam Switch....................................66
Automatic High Beam — If Equipped .............66
Flash-To-Pass ...................................................67
Automatic Headlights — If Equipped ..............67
Headlights On With Wipers —
If Equipped........................................................67
Headlight Time Delay — If Equipped ...............67
Lights-On Reminder..........................................67 Front Fog Lights — If Equipped .......................68
Turn Signals ......................................................68
Lane Change Assist — If Equipped ..................68
Battery Saver ...................................................68
INTERIOR LIGHTS ..................................................69
Interior Courtesy Lights ...................................69
WINDSHIELD WIPER AND WASHERS .................70
Windshield Wiper Operation ............................70
Rain Sensing Wipers — If Equipped ................71
Rear Wiper And Washer...................................71
CLIMATE CONTROLS .............................................72
Automatic Climate Control Descriptions
And Functions ...................................................72
Manual Climate Control Descriptions
And Functions ...................................................77
Automatic Temperature Control (ATC) —
If Equipped .......................................................82
Climate Voice Commands................................83
Operating Tips .................................................83
INTERIOR STORAGE AND EQUIPMENT ............... 84
Storage..............................................................84
Sun Screens — If Equipped..............................87
USB/AUX Control ..............................................87
Power Outlets ...................................................89
Power Inverter — If Equipped .........................91
Wireless Charging Pad — If Equipped .............91 WINDOWS .............................................................. 92
Power Windows ................................................ 92
Automatic Window Features ........................... 93
Reset Auto-Up................................................... 93
Wind Buffeting.................................................. 94
PANORAMIC SUNROOF — IF EQUIPPED ............. 94
Opening And Closing The Sunroof .................. 94
Opening And Closing The Power
Sunshade — If Equipped .................................. 95
Pinch Protect Feature ...................................... 95
Venting Sunroof................................................ 95
Ignition Off Operation....................................... 96
Sunroof Maintenance ...................................... 96
HOOD....................................................................... 96
Opening............................................................. 96
Closing ..............................................................96
LIFTGATE ................................................................. 97
To Unlock/Open The Liftgate .......................... 97
To Lock/Close The Liftgate.............................. 97
Power Liftgate — If Equipped........................... 97
Hands-Free Liftgate — If Equipped.................. 99
Cargo Area Features ................................. 100
STOW ‘N PLACE ROOF RACK —
IF EQUIPPED ........................................................ 106
Deploying The Crossbars .............................. 106
Stowing The Crossbars ................................. 108
22_RUP_OM_EN_USC_t.book Page 3
Page 11 of 384
9
INTRODUCTION
Dear Customer,
Congratulations on the purchase of your new Chrysler vehicle. Be assured that it represents precision workmanship, distinctive styling, and high quality.
This Owner's Manual has been prepared with the assistance of service and engineering specialists to acquaint you with the operation and maintenance of your
vehicle. It is supplemented by customer-oriented documents. Within this information, you will find a description of the services that FCA US LLC offers to its
customers as well as the details of the terms and conditions for maintaining its validity. Please take the time to read all of these publications carefully before
driving your vehicle for the first time. Following the instructions, recommendations, tips, and important warnings in this manual will help ensure safe and
enjoyable operation of your vehicle.
This Owner's Manual describes all versions of this vehicle. Options and equipment dedicated to specific markets or versions are not expressly indicated in the
text. Therefore, you should only consider the information that is related to the trim level, engine, and version that you have purchased. Any content introduced
throughout the Owner's Information, which may or may not be applicable to your vehicle, will be identified with the wording “If Equipped” or, if applicable, refer
to the “Hybrid Supplement” for additional information. All data contained in this publication are intended to help you use your vehicle in the best possible way.
FCA US LLC aims at a constant improvement of the vehicles produced. For this reason, it reserves the right to make changes to the model described for technical
and/or commercial reasons. For further information, contact an authorized dealer.
When it comes to service, remember that authorized dealers know your Chrysler vehicle best, have factory-trained technicians, genuine Mopar® parts, and care
about your satisfaction.1
22_RUP_OM_EN_USC_t.book Page 9
Page 15 of 384
13
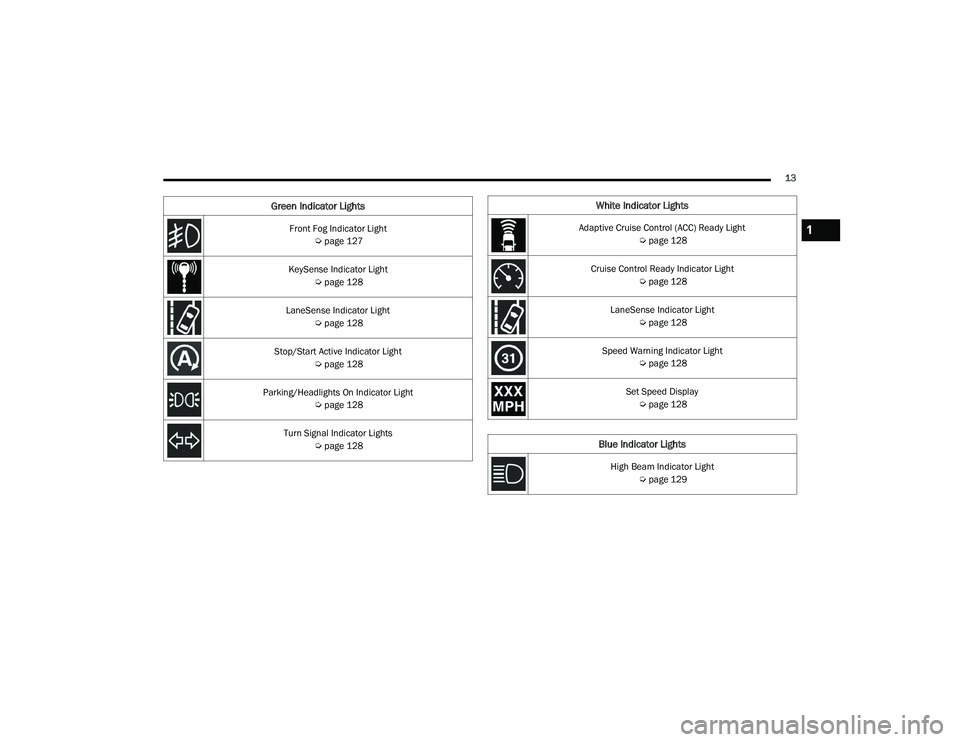
Front Fog Indicator Light Úpage 127
KeySense Indicator Light Úpage 128
LaneSense Indicator Light Úpage 128
Stop/Start Active Indicator Light Úpage 128
Parking/Headlights On Indicator Light Úpage 128
Turn Signal Indicator Lights Úpage 128
Green Indicator LightsWhite Indicator Lights
Adaptive Cruise Control (ACC) Ready Light
Úpage 128
Cruise Control Ready Indicator Light Úpage 128
LaneSense Indicator Light Úpage 128
Speed Warning Indicator Light Úpage 128
Set Speed Display Ú page 128
Blue Indicator Lights
High Beam Indicator Light
Úpage 129
1
22_RUP_OM_EN_USC_t.book Page 13
Page 19 of 384
GETTING TO KNOW YOUR VEHICLE17
KeySense Features — If Equipped
This feature provides the vehicle owner with the
ability to customize vehicle settings that can be
applied to determine the driving experience for
other drivers of the vehicle. The vehicle settings
are protected by a unique 4-digit PIN, which the
vehicle owner creates when accessing the specific
settings for the first time.
KeySense also has additional features that are
always enabled when the specific key is in use that
cannot be set by the vehicle owner. While this
specific key fob is in use, the vehicle will respond
accordingly to the customized vehicle settings and
mandatory features. This includes enhanced
driving assistance features, increased driver
alerts, and the locking of certain optional features.
These settings can be selected within the
Uconnect system Úpage 188.
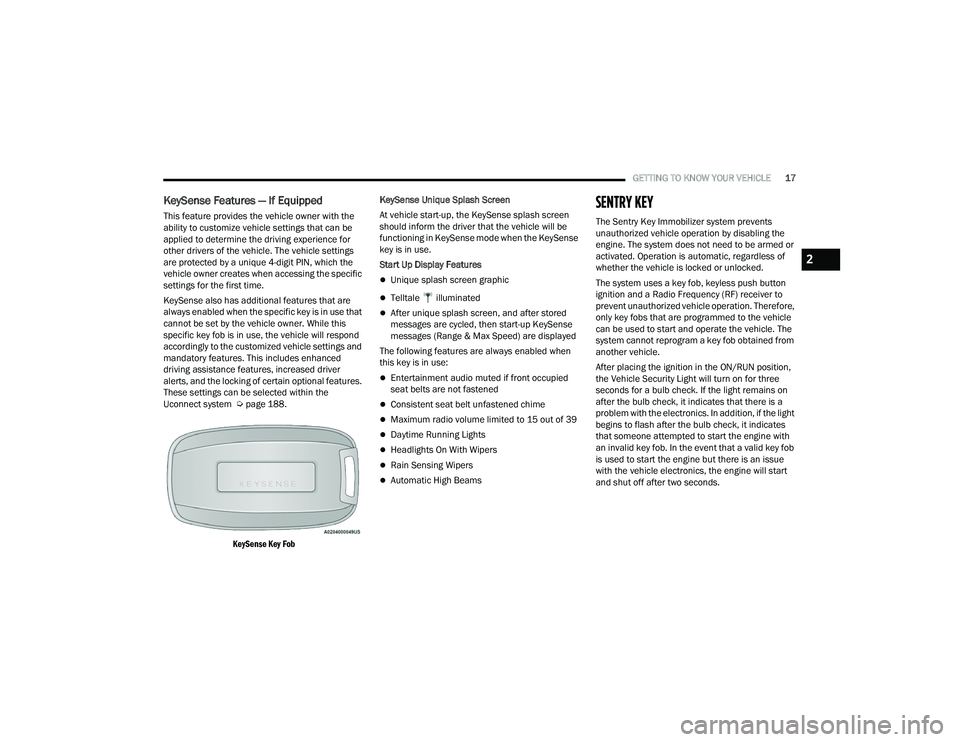
KeySense Key Fob
KeySense Unique Splash Screen
At vehicle start-up, the KeySense splash screen
should inform the driver that the vehicle will be
functioning in KeySense mode when the KeySense
key is in use.
Start Up Display Features
Unique splash screen graphic
Telltale illuminated
After unique splash screen, and after stored
messages are cycled, then start-up KeySense
messages (Range & Max Speed) are displayed
The following features are always enabled when
this key is in use:
Entertainment audio muted if front occupied
seat belts are not fastened
Consistent seat belt unfastened chime
Maximum radio volume limited to 15 out of 39
Daytime Running Lights
Headlights On With Wipers
Rain Sensing Wipers
Automatic High Beams
SENTRY KEY
The Sentry Key Immobilizer system prevents
unauthorized vehicle operation by disabling the
engine. The system does not need to be armed or
activated. Operation is automatic, regardless of
whether the vehicle is locked or unlocked.
The system uses a key fob, keyless push button
ignition and a Radio Frequency (RF) receiver to
prevent unauthorized vehicle operation. Therefore,
only key fobs that are programmed to the vehicle
can be used to start and operate the vehicle. The
system cannot reprogram a key fob obtained from
another vehicle.
After placing the ignition in the ON/RUN position,
the Vehicle Security Light will turn on for three
seconds for a bulb check. If the light remains on
after the bulb check, it indicates that there is a
problem with the electronics. In addition, if the light
begins to flash after the bulb check, it indicates
that someone attempted to start the engine with
an invalid key fob. In the event that a valid key fob
is used to start the engine but there is an issue
with the vehicle electronics, the engine will start
and shut off after two seconds.
2
22_RUP_OM_EN_USC_t.book Page 17
Page 29 of 384

GETTING TO KNOW YOUR VEHICLE27
To Lock The Liftgate
With a valid Passive Entry key fob within 5 ft
(1.5 m) of the liftgate, push the Passive Entry lock
button located to the right of the liftgate release
handle.
The vehicle doors can also be locked by using the
key fob lock button, or the lock button located on
the vehicle’s interior door panel Ú page 370.
AUTOMATIC UNLOCK DOORS ON EXIT —
I
F EQUIPPED
The Unlock Doors Automatically On Exit feature
unlocks all of the vehicle doors when any door is
opened. This will occur only after the gear selector
has been placed into the PARK position, after the
vehicle has been driven (the gear selector has
been placed out of PARK and all doors closed).
The Unlock Doors Automatically On Exit feature will
not operate if there is any manual operation of the
door locks (lock or unlock).
This feature can be turned on or off in the
Uconnect system Ú page 188.
MANUAL SLIDING SIDE DOOR
The sliding door may be opened from the inside or
the outside. Pull outward on the exterior handle to
open the sliding door. The sliding door inside
handle functions by rocking forward and back.
Rocking the handle backwards opens the door and
rocking forward releases the hold open latch in
order to close the door.
Side Door Handle And Lock Functions
To keep your door operating properly, observe the
following guidelines:Always open the door smoothly.
Avoid high impacts against the door stop when
opening the door. This is very important when
your vehicle is parked on an incline as the door
will slide faster in the downhill direction.
There is a hold-open latch that is activated when
the sliding door is fully opened. This latch will
keep your sliding door open on any incline. To
close the sliding door after the hold-open latch
is activated, you must rock the inside handle
forward or pull outward on the exterior handle.
Always make sure that the sliding door is fully
latched anytime the vehicle is in motion.
NOTE:The left side sliding door cannot be opened while
the fuel door is open. If attempted, a message will
appear in the instrument cluster display, and the
door will automatically return to the closed
position.
1 — Door Handle
2 — Door Lock
2
22_RUP_OM_EN_USC_t.book Page 27
Page 54 of 384
52GETTING TO KNOW YOUR VEHICLE
VENTILATED SEATS — IF EQUIPPED
Located in the first row seat cushions are
small fans that draw the air from the
passenger compartment and move air
through fine perforations in the seat
cover to help keep the driver and front passenger
cooler in higher ambient temperatures.
The fans operate at two speeds, HI and LO.
The front ventilated seats control buttons are
located in the touchscreen.
Press the ventilated seat button once to
choose HI.
Press the ventilated seat button a second time
to choose LO.
Press the ventilated seat button a third time to
turn the ventilated seat off.
NOTE:The engine must be running for the ventilated
seats to operate.
For information on use with the Remote Start
system, see Ú page 21.
ADJUSTABLE ARMREST
(F
RONT SEATS) — IF EQUIPPED
Your vehicle may be equipped with adjustable
armrests on the front seats. The armrest can be
adjusted up or down.
To adjust the armrest height, push and hold the
button while moving the armrest to the desired
position. Release the button to lock the armrest
into place.
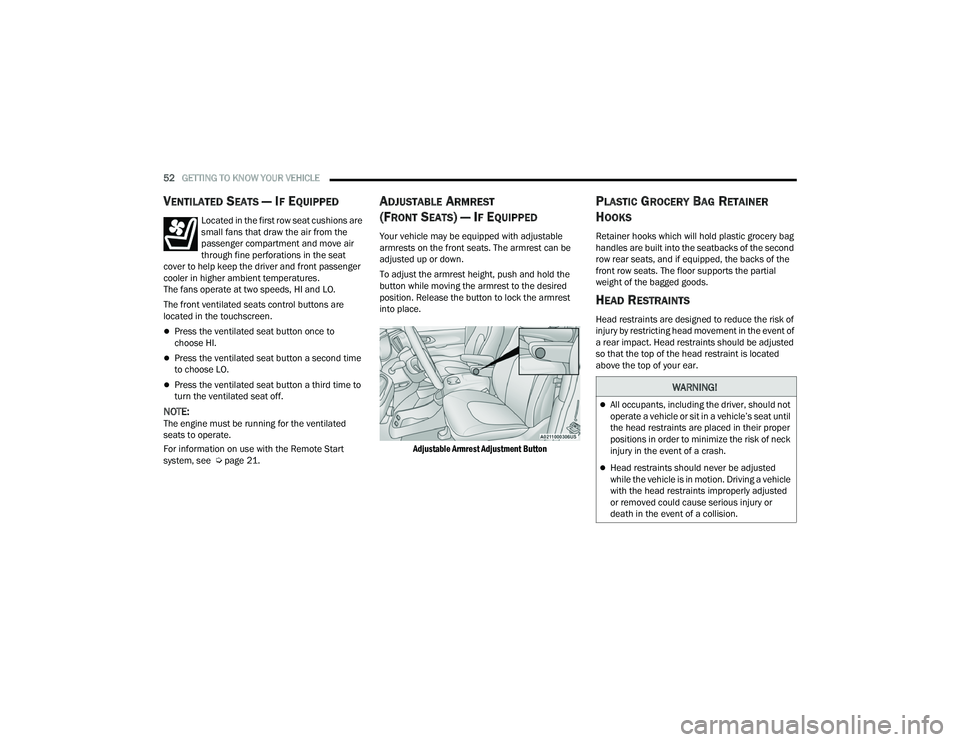
Adjustable Armrest Adjustment Button
PLASTIC GROCERY BAG RETAINER
H
OOKS
Retainer hooks which will hold plastic grocery bag
handles are built into the seatbacks of the second
row rear seats, and if equipped, the backs of the
front row seats. The floor supports the partial
weight of the bagged goods.
HEAD RESTRAINTS
Head restraints are designed to reduce the risk of
injury by restricting head movement in the event of
a rear impact. Head restraints should be adjusted
so that the top of the head restraint is located
above the top of your ear.
WARNING!
All occupants, including the driver, should not
operate a vehicle or sit in a vehicle’s seat until
the head restraints are placed in their proper
positions in order to minimize the risk of neck
injury in the event of a crash.
Head restraints should never be adjusted
while the vehicle is in motion. Driving a vehicle
with the head restraints improperly adjusted
or removed could cause serious injury or
death in the event of a collision.
22_RUP_OM_EN_USC_t.book Page 52
Page 67 of 384
GETTING TO KNOW YOUR VEHICLE65
EXTERIOR LIGHTS
MULTIFUNCTION LEVER
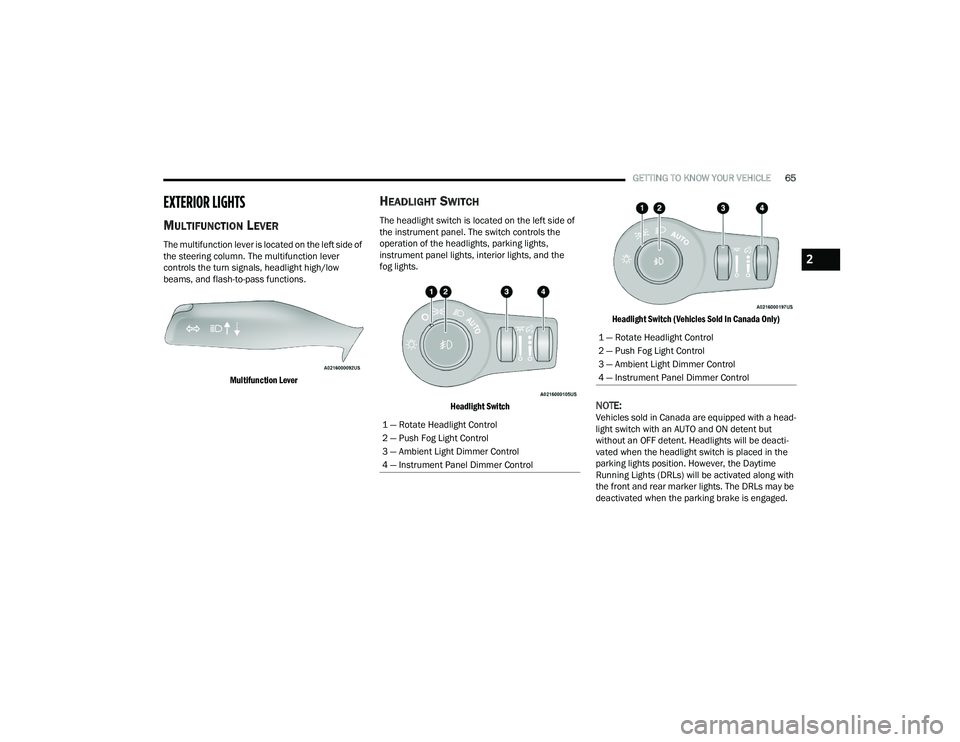
The multifunction lever is located on the left side of
the steering column. The multifunction lever
controls the turn signals, headlight high/low
beams, and flash-to-pass functions.
Multifunction Lever
HEADLIGHT SWITCH
The headlight switch is located on the left side of
the instrument panel. The switch controls the
operation of the headlights, parking lights,
instrument panel lights, interior lights, and the
fog lights.
Headlight Switch Headlight Switch (Vehicles Sold In Canada Only)
NOTE:Vehicles sold in Canada are equipped with a head
-
light switch with an AUTO and ON detent but
without an OFF detent. Headlights will be deacti -
vated when the headlight switch is placed in the
parking lights position. However, the Daytime
Running Lights (DRLs) will be activated along with
the front and rear marker lights. The DRLs may be
deactivated when the parking brake is engaged.1 — Rotate Headlight Control
2 — Push Fog Light Control
3 — Ambient Light Dimmer Control
4 — Instrument Panel Dimmer Control
1 — Rotate Headlight Control
2 — Push Fog Light Control
3 — Ambient Light Dimmer Control
4 — Instrument Panel Dimmer Control
2
22_RUP_OM_EN_USC_t.book Page 65
Page 68 of 384
66GETTING TO KNOW YOUR VEHICLE
From the O (off) position, rotate the headlight switch
clockwise to the first detent for parking light and
instrument panel light operation. Rotate the
headlight switch to the second detent for headlight,
parking light and instrument panel operation.
NOTE:For vehicles sold in Canada, rotate the headlight
switch clockwise from the parking light and
instrument panel light position to the first detent to
turn on the headlights also. Rotate to the second
detent, AUTO position, to turn on automatic head -
lights, parking lights, and instrument panel lights.
DAYTIME RUNNING LIGHTS (DRLS) —
I
F EQUIPPED
The headlights or LED light bars on your vehicle will
illuminate when the engine is started. This
provides a constant lights on condition until the
ignition is placed in the OFF position. If the parking
brake is applied, the Daytime Running Lights
(DRLs) will turn off.
NOTE:
For vehicles sold in Canada, the Daytime
Running Lights will automatically deactivate
when the front fog lights are turned on.
If allowed by law in the country in which the
vehicle was purchased, the Daytime Running
Lights can be turned on and off using the Ucon -
nect system Ú page 188.
On some vehicles, the Daytime Running Lights
may deactivate, or reduce intensity, on one side
of the vehicle (when a turn signal is activated on
that side), or on both sides of the vehicle (when
the hazard warning lights are activated).
HIGH/LOW BEAM SWITCH
Push the multifunction lever toward the instrument
panel to switch the headlights to high beams.
Pulling the multifunction lever back will turn the
low beams on.
AUTOMATIC HIGH BEAM — IF EQUIPPED
The Automatic High Beam system provides
increased forward lighting at night by automatically
controlling the high beams through the use of a
camera mounted on the windshield. This camera
detects vehicle specific light and automatically
switches from high beams to low beams until the
approaching vehicle is out of view.
NOTE:Broken, muddy, or obstructed headlights and tail -
lights of vehicles in the field of view will cause
headlights to remain on longer (closer to the
vehicle). Also, dirt, film and other obstructions on
the windshield or camera lens will cause the
system to function improperly.
To Activate
1. Select “Auto Dim High Beams” through the Uconnect system to enable the feature
Ú
page 188.
2. Rotate the headlight switch clockwise to the AUTO position.
3. Push the multifunction lever away from you to switch the headlights to the high beam
position. Refer to “Multifunction Lever” in this
section for further information.
NOTE:This system will not activate until the vehicle is at,
or above 16 mph (25 km/h).
To Deactivate
Perform either of the following steps to deactivate
the Automatic High Beam system.
1. Deselect “Auto Dim High Beams” through the Uconnect system
Ú
page 188.
2. Pull the multifunction lever toward you to switch the headlights from the high beam to
the low beam position.
3. Rotate the headlight switch counterclockwise from the AUTO to the on position.
NOTE:Once active, the Automatic High Beam system will
stop functioning below 12 mph (20 km/h).
22_RUP_OM_EN_USC_t.book Page 66
Page 69 of 384
GETTING TO KNOW YOUR VEHICLE67
FLASH-TO-PASS
You can signal another vehicle with your headlights
by lightly pulling the multifunction lever toward you.
This will cause the high beam headlights to turn on,
and remain on, until the lever is released.
AUTOMATIC HEADLIGHTS — IF EQUIPPED
This system automatically turns your headlights on
or off based on ambient light levels. To turn the
system on, turn the headlight switch to the extreme
clockwise position aligning the indicator with the
AUTO on the headlight switch. When the system is
on, the Headlight Time Delay feature is also on.
This means your headlights will stay on for up to
90 seconds after the ignition is placed in the OFF
position. To turn the automatic system off, move
the headlight switch out of the AUTO position.
NOTE:The engine must be running before the headlights
will come on in the Automatic mode.
HEADLIGHTS ON WITH WIPERS —
I
F EQUIPPED
When your headlights are in the AUTO mode and
the engine is running, the headlights will
automatically turn on when the wiper system is
also turned on. Headlights on when windshield
wipers are on may be found on vehicles equipped
with an automatic headlight system.
NOTE:The Headlights with Wipers feature can be turned
on or off through the Uconnect system
Ú page 188.
HEADLIGHT TIME DELAY — IF EQUIPPED
This feature provides the safety of headlight
illumination for up to 90 seconds after exiting your
vehicle.
To activate the delay feature, place the ignition in
the OFF position while the headlights are still on.
The 90 second delay interval begins when
headlight switch is turned off. If the headlights or
parking lights are turned back on or the ignition is
placed in the ON position, the delay will be
cancelled. When exiting the vehicle the driver can choose to
have the headlights remain on for 30, 60, or
90 seconds or not remain on. You can change
the timer setting through the Uconnect system
Ú
page 188.
If the headlights are turned off before the ignition,
they will turn off in the normal manner.
NOTE:The headlights must be turned off within
45 seconds of placing the ignition in the OFF
position to activate this feature.
LIGHTS-ON REMINDER
If the headlights or the parking lights are left on
after the ignition is placed in the OFF position, the
vehicle will chime when the driver's door is opened.
2
22_RUP_OM_EN_USC_t.book Page 67