CHRYSLER TOWN AND COUNTRY 2008 5.G Owners Manual
Manufacturer: CHRYSLER, Model Year: 2008, Model line: TOWN AND COUNTRY, Model: CHRYSLER TOWN AND COUNTRY 2008 5.GPages: 531, PDF Size: 4.51 MB
Page 321 of 531
When rear controls are locked by the front system, the
LOCK symbol on the temperature knob is illuminated
and any rear overhead adjustments are ignored.
Rear Mode Control
AUTO Mode
The rear system automatically maintains the correct
mode and comfort level desired by the rear seat occu-
pants.
FLOOR Mode
Air comes from the floor outlets.
BI-LEVEL Mode
Air comes from both the headliner outlets and the
floor outlets.
NOTE:In many temperature positions, the BI-LEVEL
mode is designed to provide cooler air out of the head-
liner outlets and warmer air from the floor outlets.HEADLINER Mode
Air comes from the outlets in the headliner. Each of
these outlets can be individually adjusted to direct
the flow of air. Moving the air vanes of the outlets to one
side will shut off the airflow.SUMMER OPERATION
The engine cooling system in air conditioned vehicles
must be protected with a high-quality antifreeze coolant
to provide proper corrosion protection and to protect
against engine overheating. A 50% solution of ethylene
glycol antifreeze coolant in water is recommended. Refer
to section 7, ªMaintenance Proceduresº, of this manual
for proper coolant selection.
WINTER OPERATION
To ensure the best possible heater and defroster perfor-
mance, make sure the engine cooling system is function-
ing properly and the proper amount, type, and concen-
tration of coolant is used. Refer to section 7,
UNDERSTANDING YOUR INSTRUMENT PANEL 319
4
Page 322 of 531
ªMaintenance Proceduresº, of this manual for proper
coolant selection. Use of the air RECIRCULATION mode
during winter months is not recommended because it
may cause window fogging.
VACATION/STORAGE
Anytime you store your vehicle, or keep it out of service
(i.e., vacation) for two weeks or more, run the air
conditioning system at idle for about five minutes in the
fresh air and high blower setting. This will ensure
adequate system lubrication to minimize the possibility
of compressor damage when the system is started again.
WINDOW FOGGING
Vehicle windows tend to fog on the inside in mild rainy
or humid weather. To clear the windows, select DE-
FROST or MIX mode and increase the front blower
speed. Do not use the RECIRCULATION mode without
A/C for long periods, as fogging may occur.
OUTSIDE AIR INTAKE
Make sure the air intake, located directly in front of the
windshield, is free of obstructions such as leaves. Leaves
collected in the air intake may reduce airflow and if they
enter the plenum they could plug the water drains. In
winter months make sure the air intake is clear of ice,
slush and snow.
320 UNDERSTANDING YOUR INSTRUMENT PANEL
Page 323 of 531
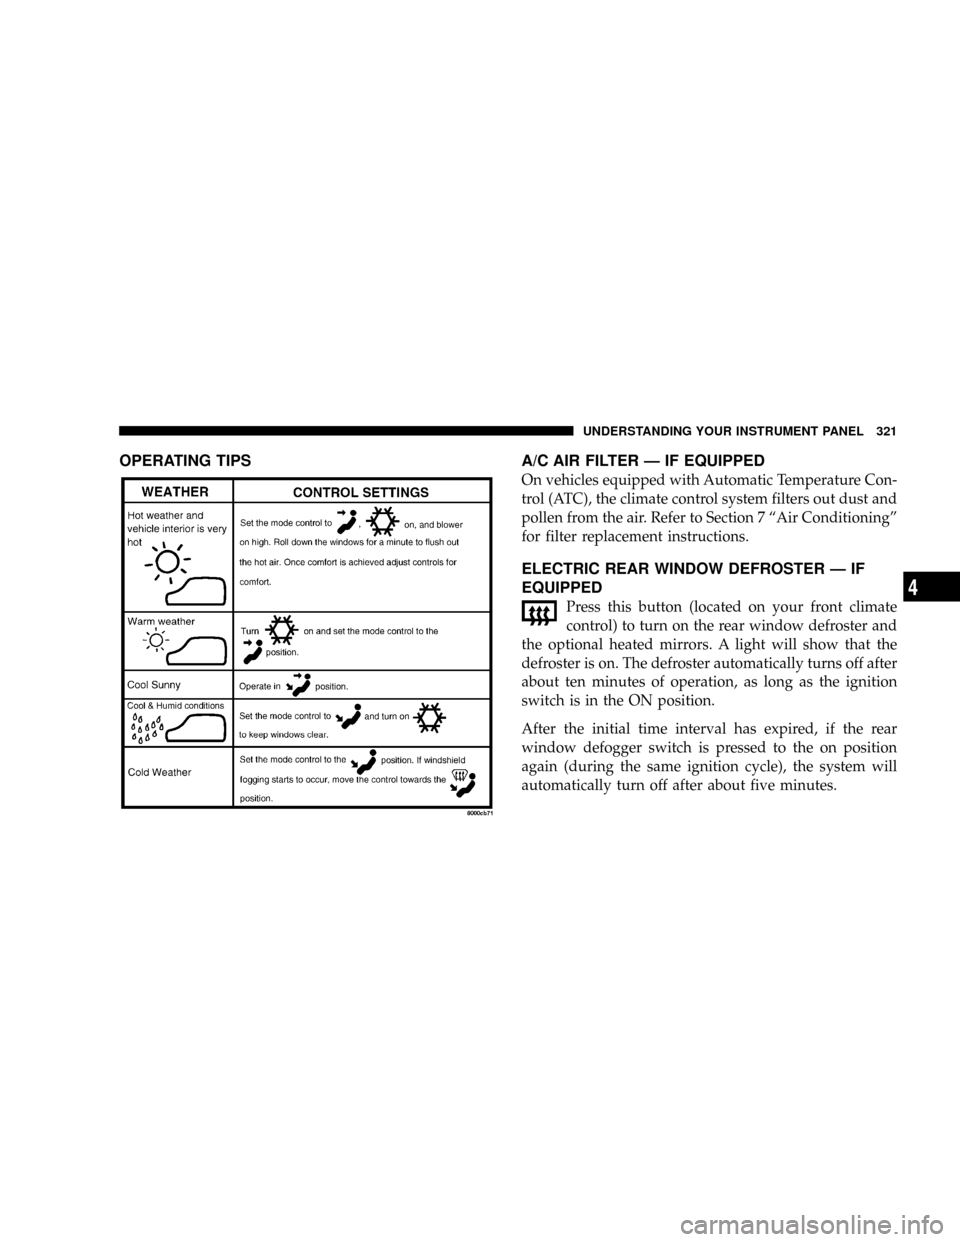
OPERATING TIPS A/C AIR FILTER Ð IF EQUIPPED
On vehicles equipped with Automatic Temperature Con-
trol (ATC), the climate control system filters out dust and
pollen from the air. Refer to Section 7 ªAir Conditioningº
for filter replacement instructions.
ELECTRIC REAR WINDOW DEFROSTER Ð IF
EQUIPPED
Press this button (located on your front climate
control) to turn on the rear window defroster and
the optional heated mirrors. A light will show that the
defroster is on. The defroster automatically turns off after
about ten minutes of operation, as long as the ignition
switch is in the ON position.
After the initial time interval has expired, if the rear
window defogger switch is pressed to the on position
again (during the same ignition cycle), the system will
automatically turn off after about five minutes.
UNDERSTANDING YOUR INSTRUMENT PANEL 321
4
Page 324 of 531
NOTE:You may turn off the heated mirror feature at
anytime by pressing the rear window defogger switch a
second time.
CAUTION!
To avoid damaging the electrical conductors of the
rear window defroster, do not use scrapers, sharp
instruments, or abrasive window cleaners on the
interior surface of the window.
Labels can be peeled off after soaking with warm
water.
322 UNDERSTANDING YOUR INSTRUMENT PANEL
Page 325 of 531
STARTING AND OPERATING
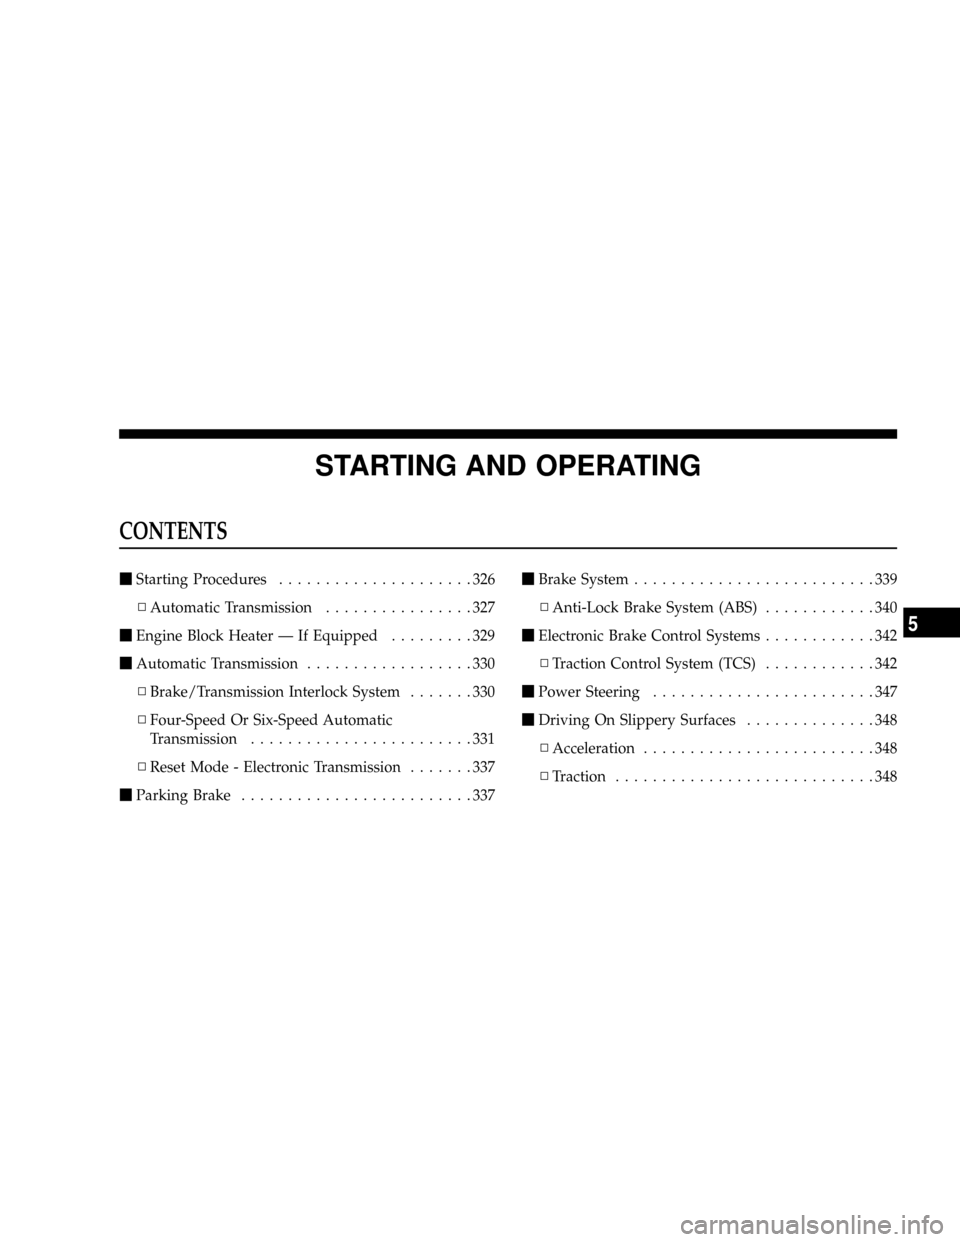
CONTENTS
mStarting Procedures.....................326
NAutomatic Transmission................327
mEngine Block Heater Ð If Equipped.........329
mAutomatic Transmission..................330
NBrake/Transmission Interlock System.......330
NFour-Speed Or Six-Speed Automatic
Transmission........................331
NReset Mode - Electronic Transmission.......337
mParking Brake.........................337mBrake System..........................339
NAnti-Lock Brake System (ABS)............340
mElectronic Brake Control Systems............342
NTraction Control System (TCS)............342
mPower Steering........................347
mDriving On Slippery Surfaces..............348
NAcceleration.........................348
NTraction............................348
5
Page 326 of 531
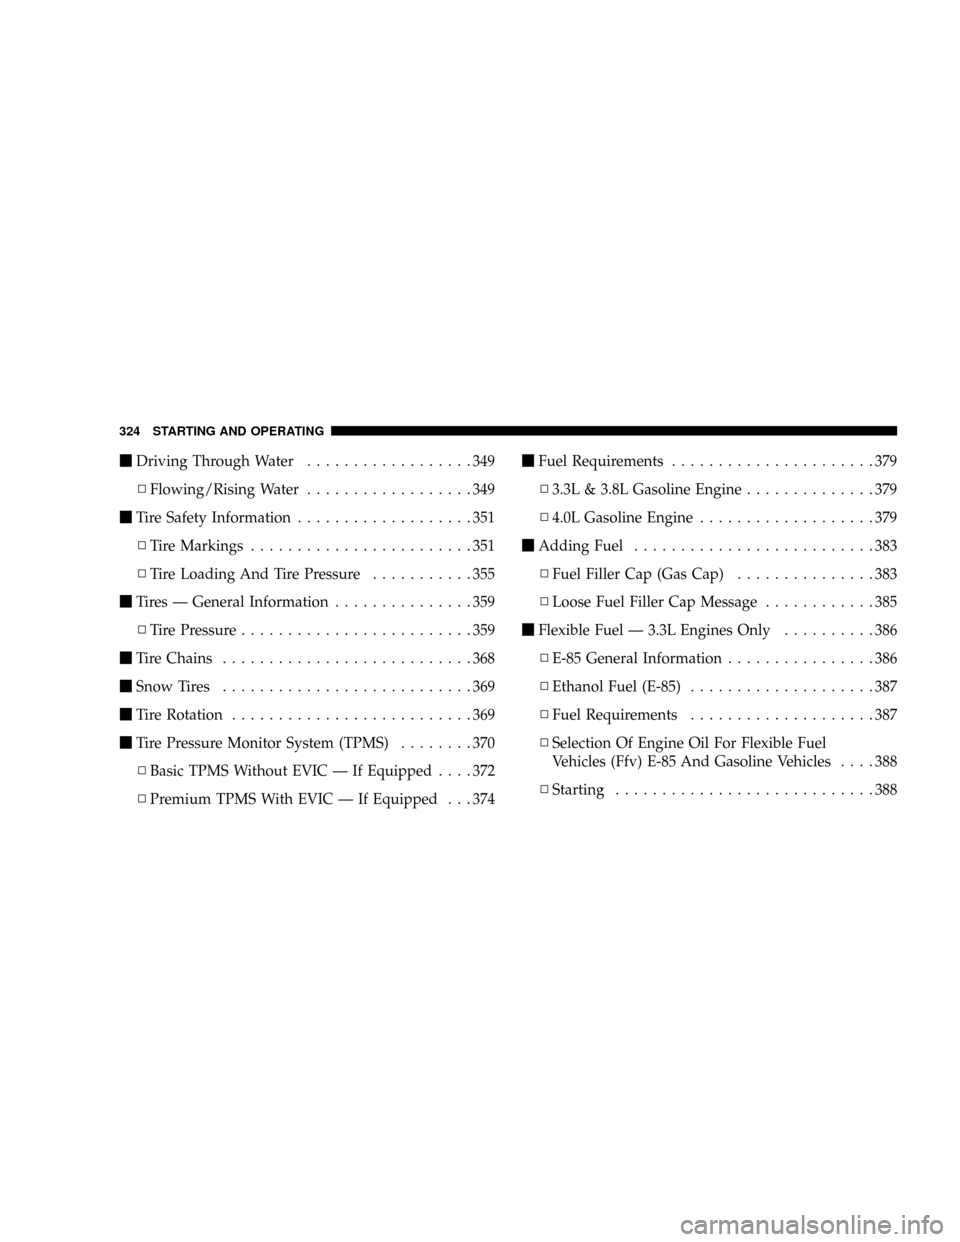
mDriving Through Water..................349
NFlowing/Rising Water..................349
mTire Safety Information...................351
NTire Markings........................351
NTire Loading And Tire Pressure...........355
mTires Ð General Information...............359
NTire Pressure.........................359
mTire Chains...........................368
mSnow Tires...........................369
mTire Rotation..........................369
mTire Pressure Monitor System (TPMS)........370
NBasic TPMS Without EVIC Ð If Equipped....372
NPremium TPMS With EVIC Ð If Equipped . . . 374mFuel Requirements......................379
N3.3L & 3.8L Gasoline Engine..............379
N4.0L Gasoline Engine...................379
mAdding Fuel..........................383
NFuel Filler Cap (Gas Cap)...............383
NLoose Fuel Filler Cap Message............385
mFlexible Fuel Ð 3.3L Engines Only..........386
NE-85 General Information................386
NEthanol Fuel (E-85)....................387
NFuel Requirements....................387
NSelection Of Engine Oil For Flexible Fuel
Vehicles (Ffv) E-85 And Gasoline Vehicles....388
NStarting............................388
324 STARTING AND OPERATING
Page 327 of 531
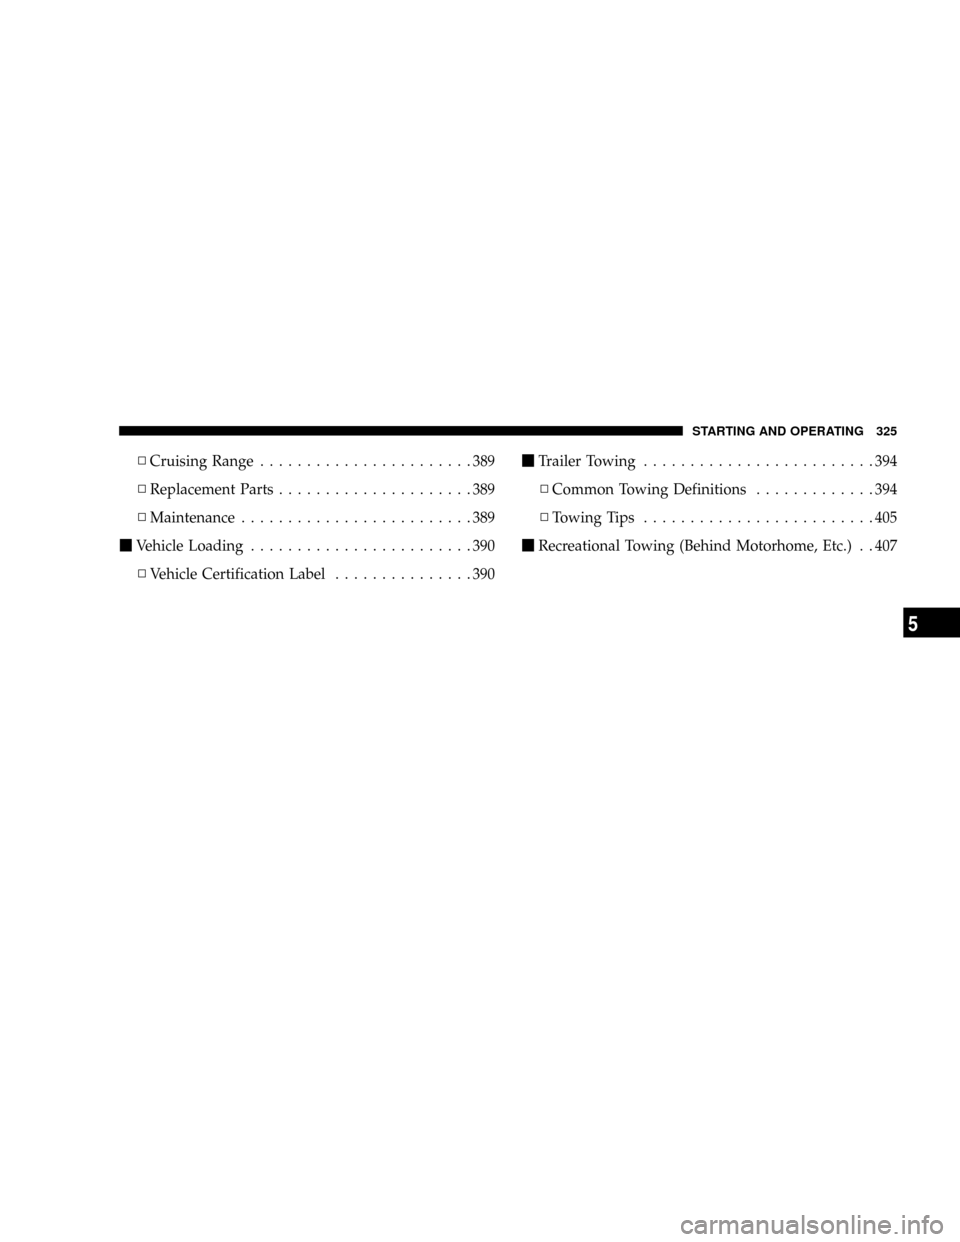
NCruising Range.......................389
NReplacement Parts.....................389
NMaintenance.........................389
mVehicle Loading........................390
NVehicle Certification Label...............390mTrailer Towing.........................394
NCommon Towing Definitions.............394
NTowing Tips.........................405
mRecreational Towing (Behind Motorhome, Etc.) . . 407
STARTING AND OPERATING 325
5
Page 328 of 531
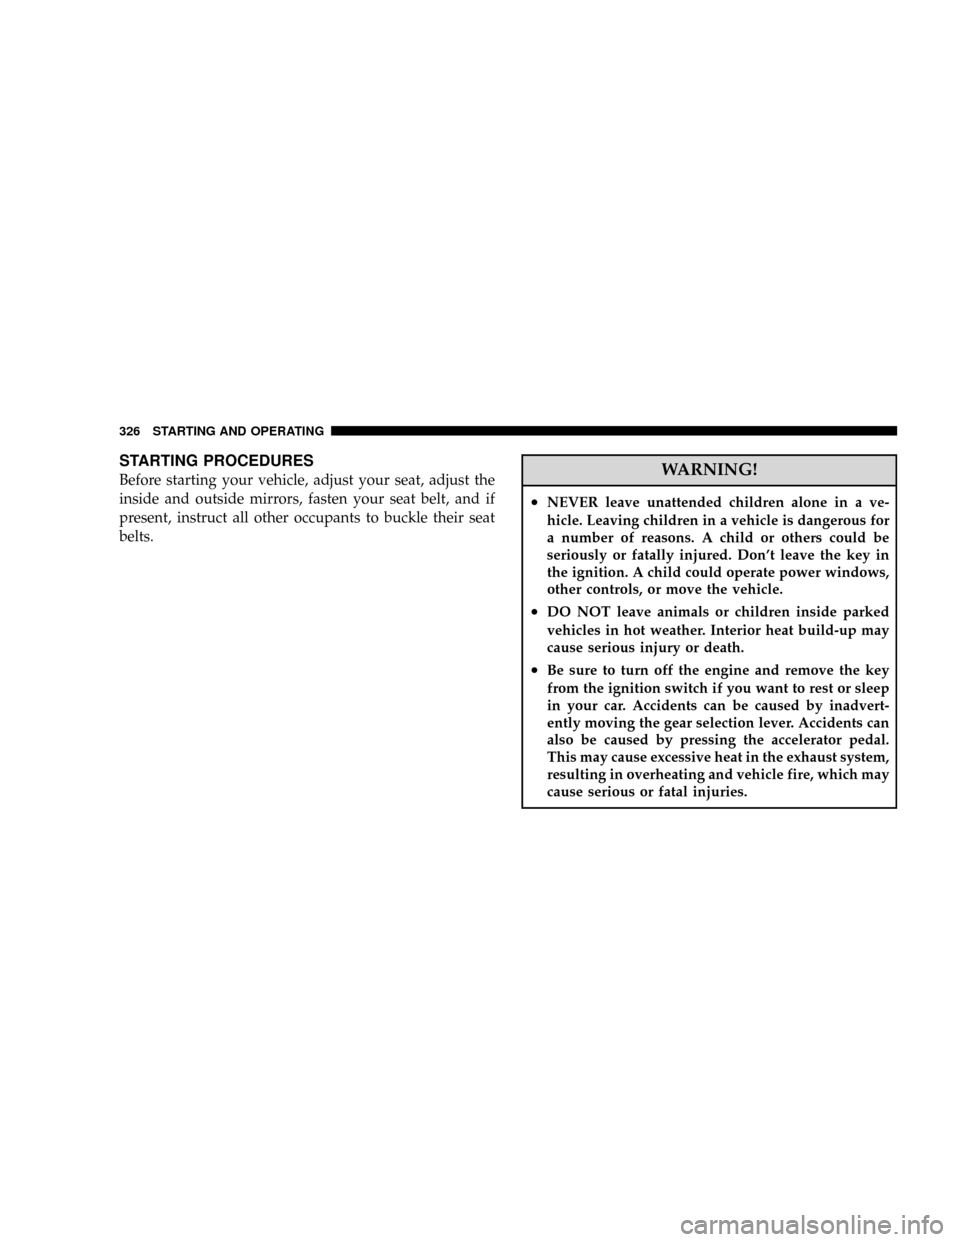
STARTING PROCEDURES
Before starting your vehicle, adjust your seat, adjust the
inside and outside mirrors, fasten your seat belt, and if
present, instruct all other occupants to buckle their seat
belts.WARNING!
²NEVER leave unattended children alone in a ve-
hicle. Leaving children in a vehicle is dangerous for
a number of reasons. A child or others could be
seriously or fatally injured. Don't leave the key in
the ignition. A child could operate power windows,
other controls, or move the vehicle.
²DO NOT leave animals or children inside parked
vehicles in hot weather. Interior heat build-up may
cause serious injury or death.
²Be sure to turn off the engine and remove the key
from the ignition switch if you want to rest or sleep
in your car. Accidents can be caused by inadvert-
ently moving the gear selection lever. Accidents can
also be caused by pressing the accelerator pedal.
This may cause excessive heat in the exhaust system,
resulting in overheating and vehicle fire, which may
cause serious or fatal injuries.
326 STARTING AND OPERATING
Page 329 of 531
Automatic Transmission
The gear selector lever must be in the NEUTRAL or
PARK position before you can start the engine. Depress
the brake pedal before shifting into any driving gear.
Normal Starting (Above 32ÉF/0ÉC)
1. DO NOT depress the accelerator.
2. Use the Fob with Integrated Key to briefly turn the
ignition switch to the START position and release it as
soon as the starter engages. The starter motor will
continue to run, and it will disengage automatically
when the engine is running.
3. If the engine fails to start, the starter will disengage
automatically in 10 seconds. If this occurs, turn the
ignition switch to the OFF position, wait 10 to 15 seconds,
then repeat the normal starting procedure (Steps 1±3
above).NOTE: This vehicle is equipped with a transmission
shift interlocking system. The brake pedal must be
depressed to shift out of PARK.
Extremely Cold Weather Starting Ð Below220ÉF
(±29ÉC)
Follow the same instructions in the ªNormal Startingº
procedure.
To ensure reliable starting at these temperatures, use of
an externally powered electric engine block heater (avail-
able from your authorized dealer) is recommended.
High Altitude Starting Ð Above 4,000 ft (1 219 m)
Follow the same instructions in the ªNormal Startingº
procedure.
To ensure reliable starting at these temperatures, use of
an externally powered electric engine block heater (avail-
able from your authorized dealer) is recommended.
STARTING AND OPERATING 327
5
Page 330 of 531
If The Engine Fails To Start
WARNING!
²NEVER pour fuel or other flammable liquids into
the throttle body air inlet opening in an attempt to
start the vehicle. This could result in a flash fire
causing serious personal injury.
²DO NOT attempt to push or tow your vehicle to get
it started. Vehicles equipped with an automatic
transmission cannot be started this way. Unburned
fuel could enter the catalytic converter and once the
engine has started, ignite and damage the converter
and vehicle.
²If the vehicle has a discharged battery, booster
cables may be used to obtain a start from a booster
battery or the battery in another vehicle. This type
of start can be dangerous if done improperly. Refer
to Section 6 of this manual for proper jump-starting
procedures and follow them carefully.
If the engine fails to start after you have followed the
ªNormal Startingº procedure, it may be flooded. Push
the accelerator pedal all the way to the floor and hold it
there while cranking the engine. This should clear any
excess fuel in case the engine is flooded.
CAUTION!
To prevent damage to the starter, DO NOT crank the
engine for more than 15±second intervals at one time.
Wait 10 to 15 seconds before trying again.
If the engine has been flooded, it may start to run, but not
have enough power to continue running when the key is
released. If this occurs, continue cranking with the accel-
erator pedal pushed all the way to the floor. Release the
accelerator pedal and the key once the engine is running
smoothly.
328 STARTING AND OPERATING