diagram CHRYSLER VOYAGER 1996 Owners Manual
[x] Cancel search | Manufacturer: CHRYSLER, Model Year: 1996, Model line: VOYAGER, Model: CHRYSLER VOYAGER 1996Pages: 1938, PDF Size: 55.84 MB
Page 1875 of 1938

²Set A/C to ON, if A/C Clutch does not engage
make sure Fail Codes 5 and 6 are cleared.To clear
the error code 5 and 6 the evaporator probe and/or
the wiring repair needs to be completed. Then, press
and hold the intermittent wipe button for 5 seconds.
²Run Diagnostics (Depress REAR WIPER and
REAR WASH)
²When Diagnostics is complete, Cycle to Level 4.
Display Sequence is as follows:
²REAR WIPER LED will display the Level
²INTERMITTENT LED will display ten's digit
²Short Pause
²INTERMITTENT LED will display the one's
digit.
The HVAC control module will continue to cycle
the Level and then Temperature until the level is
changed or Calibration Diagnostics and Cooldown
test is exited.
HVAC CONTROL DIAGNOSTIC CONDITIONS
For wiring circuits, wiring connectors, and Pin
numbers, refer to Group 8W, Wiring Diagrams.
After calibration, Rear Wiper LED flashing
once, Intermittent LED not flashing.
The system has passed calibration. Press the Rear
Wiper button to exit calibration.
After calibration, Rear Wiper LED flashing
once, Intermittent LED flashing once. The
mode actuator did not reach defrost position.
(1) Using a voltmeter, check the mode door actua-
tor wiring connector. Check Pin 1 for battery voltage.
Move the HVAC control from the defrost to panel
position, and check Pin 6 voltage it should change
from 0.5 - 1 volts to 3.5 - 4.5 volts. If voltage is OK,
go to Step 2. If not OK, check for loose or corroded
connector, open or shorted circuit and repair as nec-
essary.
(2) Remove actuator, and check if the gear pins are
in the correct track on cam or if they are binding. If
OK, go to Step 3. If not OK, repair as necessary.
(3) Check for binding door, if door is binding repair
as necessary. If gears and door are OK, replace
actuator.
(4) Once repairs are completed repeat the Calibra-
tion Diagnostic and Cooldown test. Repeating the
test is necessary to clear the fault codes.
After calibration, Rear Wiper LED flashing
once, Intermittent LED flashing twice. The
mode actuator did not reach panel position.
(1) Using a voltmeter, check the mode door actua-
tor wiring connector. Check Pin 1 for battery voltage.
Move the HVAC control from panel to defrost posi-
tion, and check Pin 6 voltage it should change from
3.5 - 4.5 volts to 0.5 - 1 volts. If voltage is OK, go toStep 2. If not OK, check for loose or corroded connec-
tor, open or shorted circuit and repair as necessary.
(2) Remove actuator, and check if the gear pins are
in the correct cam track or binding. If OK, go to Step
3. If not OK, repair as necessary.
(3) Check for binding door, if door is binding repair
as necessary. If gears and door are OK, replace
actuator.
(4) Once repairs are completed repeat the Calibra-
tion Diagnostic and Cooldown test. Repeating the
test is necessary to clear the fault codes.
After calibration, Rear Wiper LED flashing
once, Intermittent LED flashing three times.
The main temperature actuator/passenger
temperature actuator on a zone system did
not reach cold stop.
(1) Check if the correct HVAC control module was
used.
(2) Using a voltmeter, check the temperature door
actuator wiring connector. Check Pin 1 for battery
voltage. Move the HVAC control from the cold to hot
position, and check Pin 5 voltage it should change
from 0.5 - 4 volts to 3.5 - 4.5 volts. If voltage is OK,
go to Step 3. If not OK, check for loose or corroded
connector, open or shorted circuit and repair as nec-
essary.
(3) Remove actuator, and check if gear pins are in
the correct cam track or binding. If OK, go to Step 4.
If not OK, repair as necessary.
(4) Check for binding door, if door is binding repair
as necessary. If gears and door are OK, replace
actuator.
(5) Once repairs are completed repeat the Calibra-
tion Diagnostic and Cooldown test. Repeating the
test is necessary to clear the fault codes.
After calibration, Rear Wiper LED flashing
once, Intermittent LED flashing four times.
The main temperature actuator/passenger
temperature actuator on a zone system did
not reach hot stop.
(1) Check if the correct HVAC control module was
used.
(2) Using a voltmeter, check the temperature door
actuator wiring connector. Check Pin 1 for battery
voltage. Move the HVAC control from hot to cold
position and check Pin 5 voltage it should change
from 3.5 -4.5 volts 0.5 - 1.5 volts. If voltage is OK, go
to Step 3. If not OK, check for loose or corroded con-
nector, open or shorted circuit and repair as neces-
sary.
(3) Remove actuator, and check if the gear pins are
in the correct track on cam or if they are binding. If
OK, go to Step 4. If not OK, repair as necessary.
NS/GSHEATING AND AIR CONDITIONING 24 - 9
DIAGNOSIS AND TESTING (Continued)
Page 1878 of 1938

BLOWER MOTOR AND WHEEL ASSEMBLY
VIBRATION AND/OR NOISE DIAGNOSIS
The blower speed switch, in conjunction with the
resistor block, supplies the blower motor with varied
voltage.
CAUTION: Stay clear of the blower motor and resis-
tor block (Hot). Do not operate the blower motor
with the resistor block removed from the heater A/C
housing.
Refer to the Blower Motor Vibration/Noise chart in
this section for diagnosis.
COMPRESSOR NOISE DIAGNOSIS
Excessive noise while the A/C is being used, can be
caused by loose mounts, clutch, or high operating
pressure. Verify compressor drive belt condition,
proper refrigerant charge and head pressure before
compressor repair is performed.
COMPRESSOR CLUTCH/COIL
The air conditioning compressor clutch electrical
circuit is controlled by the Powertrain Control Mod-ule. It is located in the engine compartment outboard
of the battery.
If the compressor clutch does not engage verify
refrigerant charge.
If the compressor clutch still does not engage check
for battery voltage at the pressure transducer located
on the liquid line. If voltage is not detected, refer to:
²Group 8W, Wiring diagrams.
²Powertrain Diagnostic Procedures manual for
diagnostic information.
If voltage is detected at the pressure transducer,
connect pressure transducer and check for battery
voltage between the compressor clutch connector ter-
minals.
If voltage is detected, perform A/C Clutch Coil
Tests.
TESTS
(1) Verify battery state of charge. (Test indicator in
battery should be green).
(2) Connect an ampmeter (0-10 ampere scale) in
series with the clutch coil terminal. Use a voltmeter
(0-20 volt scale) with clip leads measuring voltage
across the battery and A/C clutch.
(3) With A/C control in A/C mode and blower at
low speed, start the engine and run at normal idle.
(4) The A/C clutch should engage immediately and
the clutch voltage should be within two volts of the
battery voltage. If the A/C clutch does not engage,
test the fuse.
(5) The A/C clutch coil is acceptable if the current
draw is 2.0 to 3.7 amperes at 11.5-12.5 volts at clutch
coil. This is with the work area temperature at 21ÉC
(70ÉF). If voltage is more than 12.5 volts, add electri-
cal loads by turning on electrical accessories until
voltage reads below 12.5 volts.
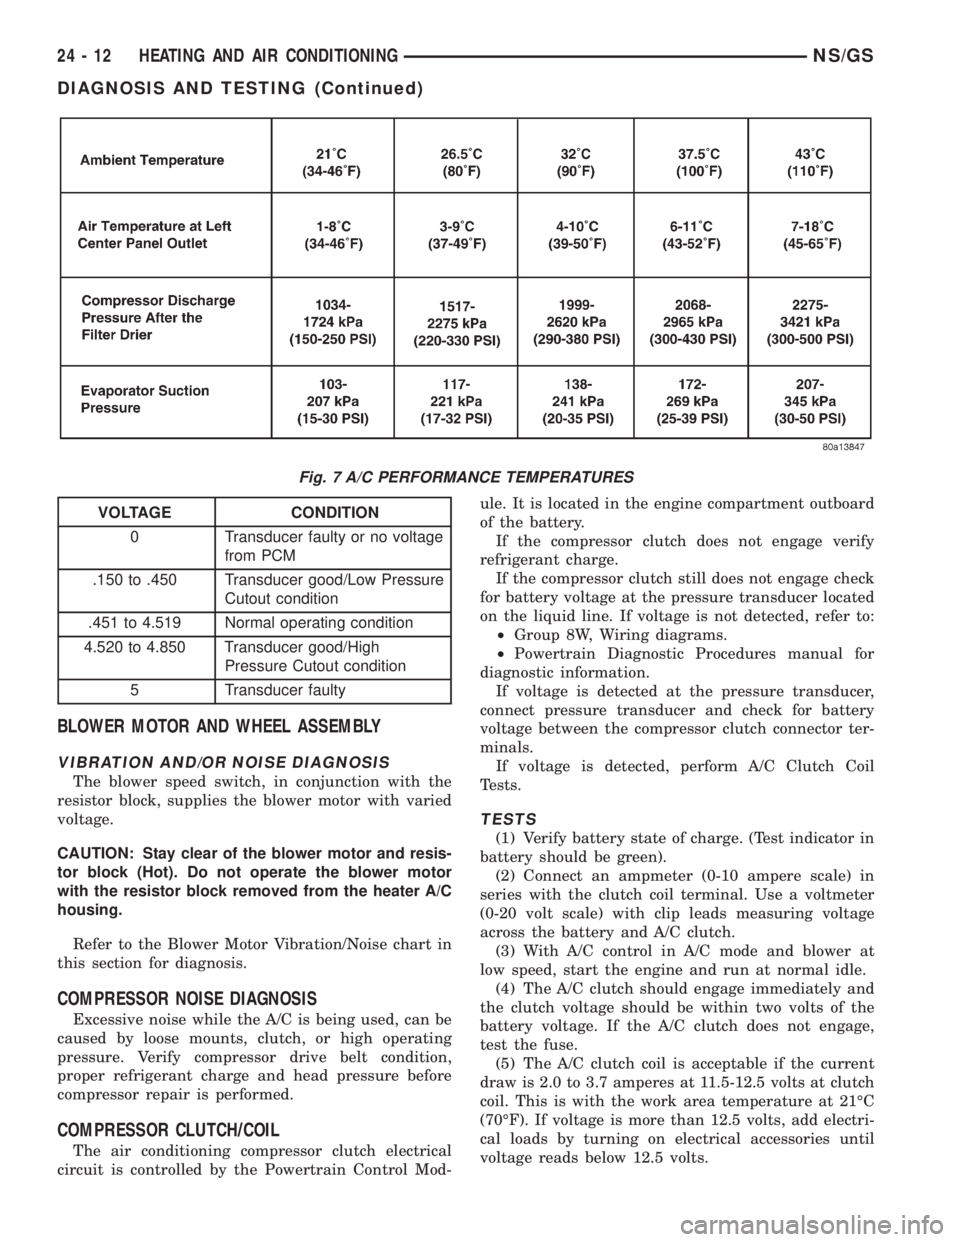
Fig. 7 A/C PERFORMANCE TEMPERATURES
VOLTAGE CONDITION
0 Transducer faulty or no voltage
from PCM
.150 to .450 Transducer good/Low Pressure
Cutout condition
.451 to 4.519 Normal operating condition
4.520 to 4.850 Transducer good/High
Pressure Cutout condition
5 Transducer faulty
24 - 12 HEATING AND AIR CONDITIONINGNS/GS
DIAGNOSIS AND TESTING (Continued)