engine CHRYSLER VOYAGER 2001 Owner's Manual
[x] Cancel search | Manufacturer: CHRYSLER, Model Year: 2001, Model line: VOYAGER, Model: CHRYSLER VOYAGER 2001Pages: 4284, PDF Size: 83.53 MB
Page 102 of 4284

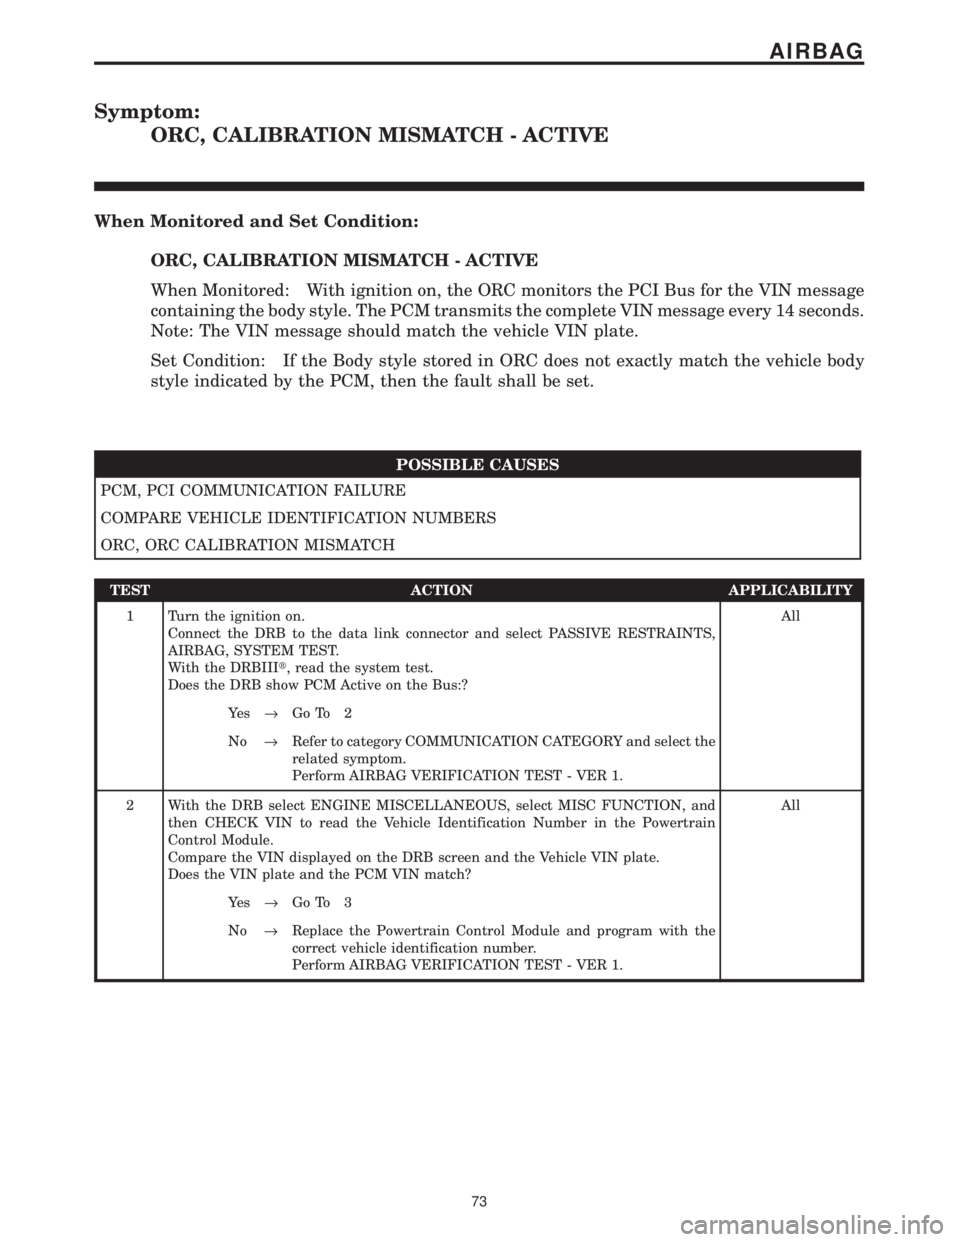
Symptom:
ORC, CALIBRATION MISMATCH - ACTIVE
When Monitored and Set Condition:
ORC, CALIBRATION MISMATCH - ACTIVE
When Monitored: With ignition on, the ORC monitors the PCI Bus for the VIN message
containing the body style. The PCM transmits the complete VIN message every 14 seconds.
Note: The VIN message should match the vehicle VIN plate.
Set Condition: If the Body style stored in ORC does not exactly match the vehicle body
style indicated by the PCM, then the fault shall be set.
POSSIBLE CAUSES
PCM, PCI COMMUNICATION FAILURE
COMPARE VEHICLE IDENTIFICATION NUMBERS
ORC, ORC CALIBRATION MISMATCH
TEST ACTION APPLICABILITY
1 Turn the ignition on.
Connect the DRB to the data link connector and select PASSIVE RESTRAINTS,
AIRBAG, SYSTEM TEST.
With the DRBIIIt, read the system test.
Does the DRB show PCM Active on the Bus:?All
Ye s®Go To 2
No®Refer to category COMMUNICATION CATEGORY and select the
related symptom.
Perform AIRBAG VERIFICATION TEST - VER 1.
2 With the DRB select ENGINE MISCELLANEOUS, select MISC FUNCTION, and
then CHECK VIN to read the Vehicle Identification Number in the Powertrain
Control Module.
Compare the VIN displayed on the DRB screen and the Vehicle VIN plate.
Does the VIN plate and the PCM VIN match?All
Ye s®Go To 3
No®Replace the Powertrain Control Module and program with the
correct vehicle identification number.
Perform AIRBAG VERIFICATION TEST - VER 1.
73
AIRBAG
Page 198 of 4284

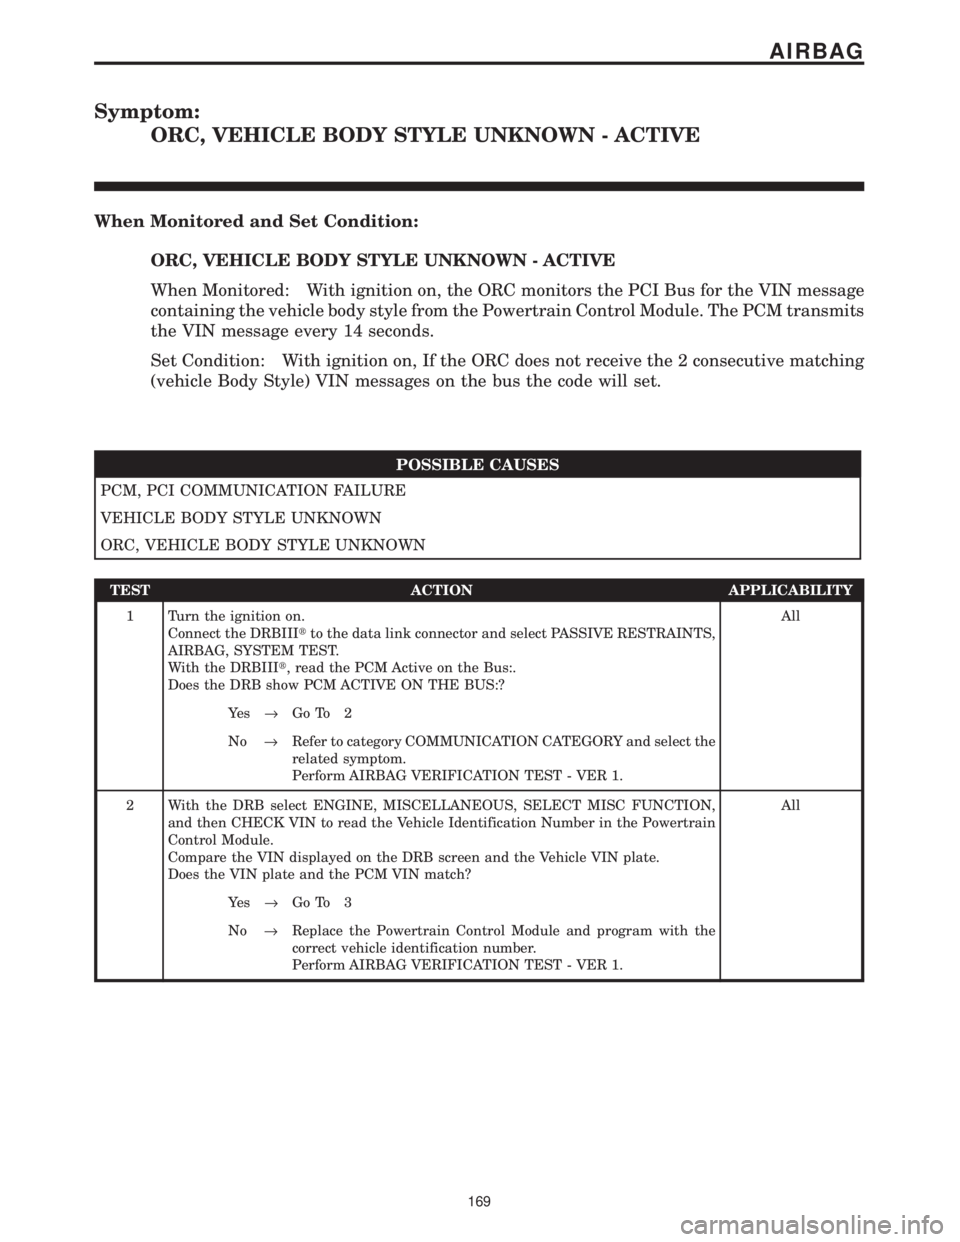
Symptom:
ORC, VEHICLE BODY STYLE UNKNOWN - ACTIVE
When Monitored and Set Condition:
ORC, VEHICLE BODY STYLE UNKNOWN - ACTIVE
When Monitored: With ignition on, the ORC monitors the PCI Bus for the VIN message
containing the vehicle body style from the Powertrain Control Module. The PCM transmits
the VIN message every 14 seconds.
Set Condition: With ignition on, If the ORC does not receive the 2 consecutive matching
(vehicle Body Style) VIN messages on the bus the code will set.
POSSIBLE CAUSES
PCM, PCI COMMUNICATION FAILURE
VEHICLE BODY STYLE UNKNOWN
ORC, VEHICLE BODY STYLE UNKNOWN
TEST ACTION APPLICABILITY
1 Turn the ignition on.
Connect the DRBIIItto the data link connector and select PASSIVE RESTRAINTS,
AIRBAG, SYSTEM TEST.
With the DRBIIIt, read the PCM Active on the Bus:.
Does the DRB show PCM ACTIVE ON THE BUS:?All
Ye s®Go To 2
No®Refer to category COMMUNICATION CATEGORY and select the
related symptom.
Perform AIRBAG VERIFICATION TEST - VER 1.
2 With the DRB select ENGINE, MISCELLANEOUS, SELECT MISC FUNCTION,
and then CHECK VIN to read the Vehicle Identification Number in the Powertrain
Control Module.
Compare the VIN displayed on the DRB screen and the Vehicle VIN plate.
Does the VIN plate and the PCM VIN match?All
Ye s®Go To 3
No®Replace the Powertrain Control Module and program with the
correct vehicle identification number.
Perform AIRBAG VERIFICATION TEST - VER 1.
169
AIRBAG
Page 226 of 4284

Symptom:
CD CHANGER POWER SUPPLY TOO HIGH
When Monitored and Set Condition:
CD CHANGER POWER SUPPLY TOO HIGH
When Monitored: Continuously with the ignition and CD Changer turned on.
Set Condition: The code will set if the radio detects voltage above 16.0 volts for 5 seconds.
POSSIBLE CAUSES
CD CHANGER POWER SUPPLY TOO HIGH
POWER SUPPLY OF CD CHANGER
TEST ACTION APPLICABILITY
1 Turn the ignition off.
Disconnect the CD Changer harness connector.
Start the engine.
Measure the voltage of the Ignition Switch Output circuit.
Is the voltage above 16.0 volts?All
Ye s®Repair the charging system as necessary.
Perform BODY VERIFICATION TEST - VER 1.
No®Replace the CD Changer.
Perform BODY VERIFICATION TEST - VER 1.
197
AUDIO
Page 227 of 4284

Symptom List:
CD CHANGER TEMPERATURE HIGH
CD CHANGER TEMPERATURE LOW
Test Note: All symptoms listed above are diagnosed using the same tests.
The title for the tests will be CD CHANGER TEMPERATURE
HIGH.
When Monitored and Set Condition:
CD CHANGER TEMPERATURE HIGH
When Monitored: Continuously with the ignition and CD Changer turned on.
Set Condition: The code will set if the temperature inside the CD Changer is above +65É
C (+145É F).
CD CHANGER TEMPERATURE LOW
When Monitored: Continuously with the ignition and CD Changer turned on.
Set Condition: The code will set if the temperature inside the CD Changer is below -23É
C (-10É F).
POSSIBLE CAUSES
LOW OR HIGH TEMPERATURE FAILURE
TEST ACTION APPLICABILITY
1 With the DRBIIIt, erase the audio DTC's.
Start the engine and allow the engine to reach normal operating temperature.
If the vehicle has been in the hot sunlight or extreme cold move the vehicle indoors
and open the doors to allow the inside temperature to stabilize.
The CD Changer will operate between -23É C and 65É C (-10É F and +145É F).
With the DRBIIIt, read DTC's.
Does the DRBIIItdisplay CD CHANGER TEMPERATURE LOW or CD CHANGER
TEMPERATURE HIGH?All
Ye s®Replace the CD Changer.
Perform BODY VERIFICATION TEST - VER 1.
No®Test Complete.
198
AUDIO
Page 229 of 4284

Symptom List:
CD TEMPERATURE HIGH
CD TEMPERATURE LOW
Test Note: All symptoms listed above are diagnosed using the same tests.
The title for the tests will be CD TEMPERATURE HIGH.
When Monitored and Set Condition:
CD TEMPERATURE HIGH
When Monitored: Continuously with the ignition and the radio CD player turned on.
Set Condition: The code will set if the temperature inside the radio CD player is above
+65É C (+145É F).
CD TEMPERATURE LOW
When Monitored: Continuously with the ignition and the radio CD player turned on.
Set Condition: The code will set if the temperature inside the radio CD player is below
-23É C (-10É F).
POSSIBLE CAUSES
LOW OR HIGH TEMPERATURE FAILURE
TEST ACTION APPLICABILITY
1 With the DRBIIIt, erase the audio DTC's.
Start the engine and allow the engine to reach normal operating temperature.
If the vehicle has been in the hot sunlight or extreme cold move the vehicle indoors
and open the doors to allow the inside temperature to stabilize.
The radio CD player will operate between -23É C and 65É C (-10É F and +145É F).
With the DRBIIIt, read DTC's.
Does the DRBIIItdisplay CD TEMPERATURE LOW or CD TEMPERATURE
HIGH?All
Ye s®Replace the Radio.
Perform BODY VERIFICATION TEST - VER 1.
No®Test Complete.
200
AUDIO
Page 241 of 4284

Symptom List:
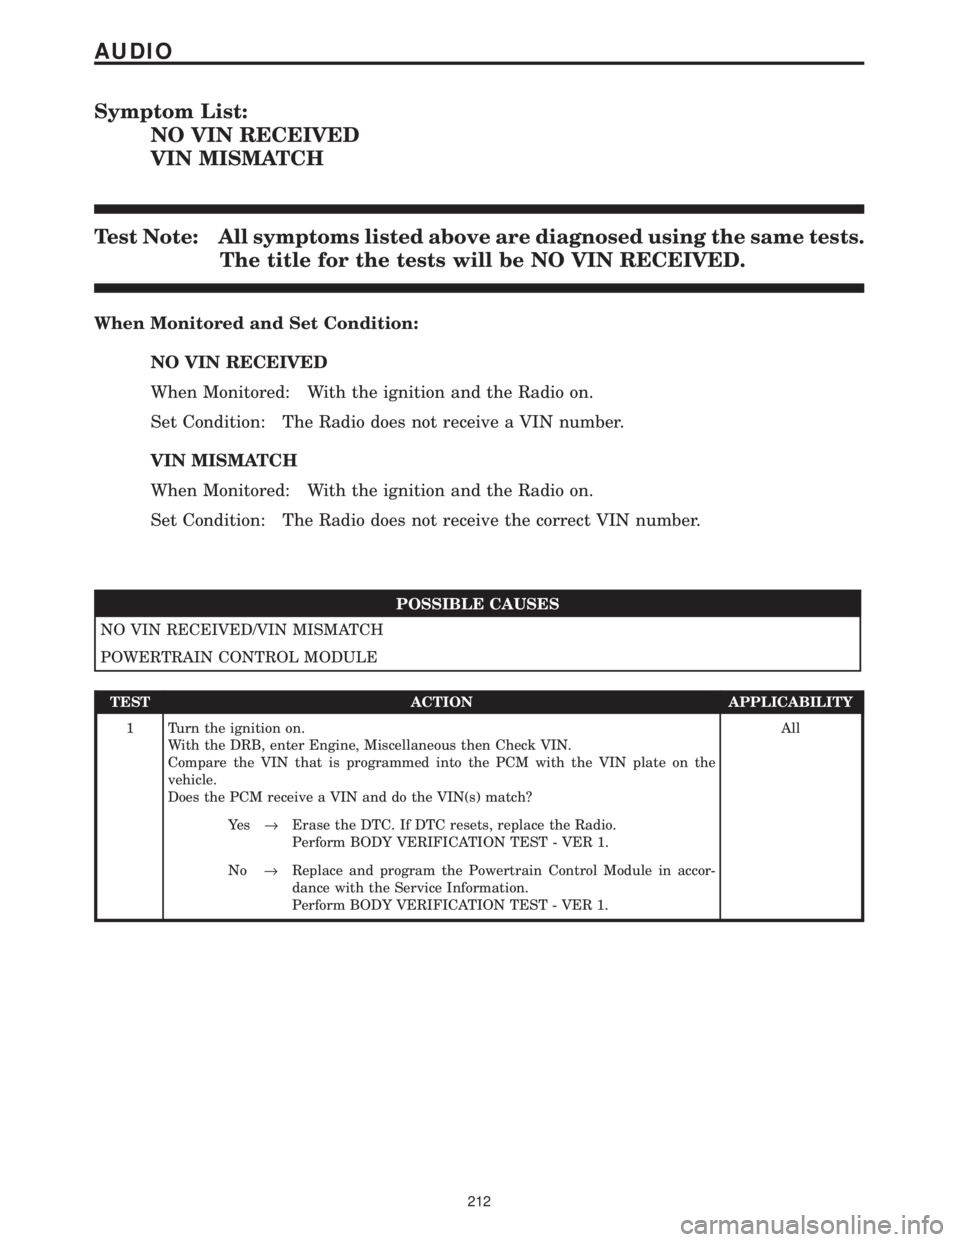
NO VIN RECEIVED
VIN MISMATCH
Test Note: All symptoms listed above are diagnosed using the same tests.
The title for the tests will be NO VIN RECEIVED.
When Monitored and Set Condition:
NO VIN RECEIVED
When Monitored: With the ignition and the Radio on.
Set Condition: The Radio does not receive a VIN number.
VIN MISMATCH
When Monitored: With the ignition and the Radio on.
Set Condition: The Radio does not receive the correct VIN number.
POSSIBLE CAUSES
NO VIN RECEIVED/VIN MISMATCH
POWERTRAIN CONTROL MODULE
TEST ACTION APPLICABILITY
1 Turn the ignition on.
With the DRB, enter Engine, Miscellaneous then Check VIN.
Compare the VIN that is programmed into the PCM with the VIN plate on the
vehicle.
Does the PCM receive a VIN and do the VIN(s) match?All
Ye s®Erase the DTC. If DTC resets, replace the Radio.
Perform BODY VERIFICATION TEST - VER 1.
No®Replace and program the Powertrain Control Module in accor-
dance with the Service Information.
Perform BODY VERIFICATION TEST - VER 1.
212
AUDIO
Page 242 of 4284

Symptom:
POWER SUPPLY TOO HIGH
When Monitored and Set Condition:
POWER SUPPLY TOO HIGH
When Monitored: Continuously with the ignition and Radio turned on.
Set Condition: The code will set if the radio detects voltage above 16.0 volts for 5 seconds.
POSSIBLE CAUSES
POWER SUPPLY TOO HIGH
POWER SUPPLY OF RADIO
TEST ACTION APPLICABILITY
1 Turn the ignition off.
Disconnect the Radio C1 harness connector.
Start the engine.
Measure the voltage of the Fused B+ circuit.
Is the voltage above 16.0 volts?All
Ye s®Repair the charging system as necessary.
Perform BODY VERIFICATION TEST - VER 1.
No®Replace the Radio.
Perform BODY VERIFICATION TEST - VER 1.
213
AUDIO
Page 260 of 4284

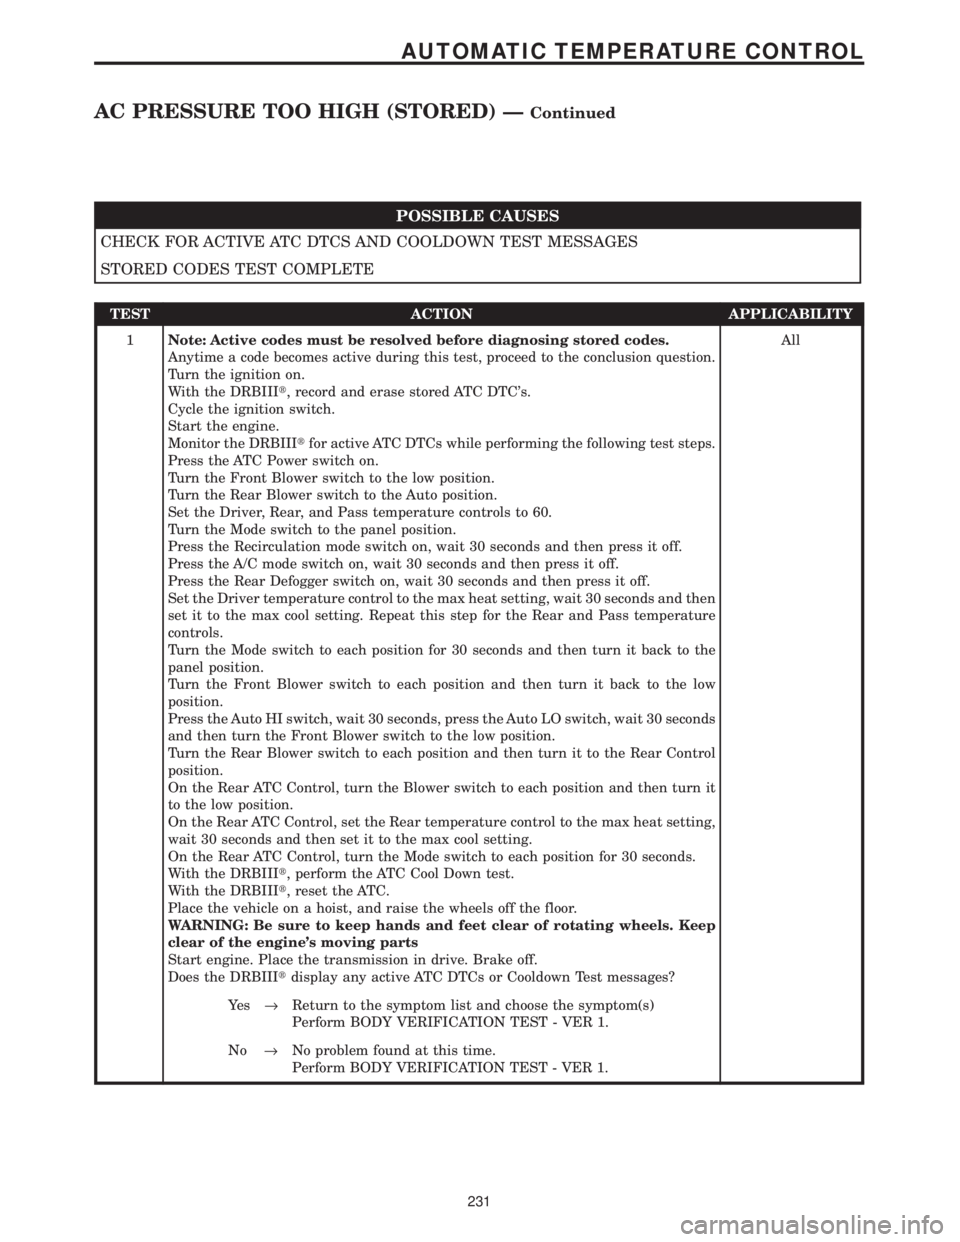
POSSIBLE CAUSES
CHECK FOR ACTIVE ATC DTCS AND COOLDOWN TEST MESSAGES
STORED CODES TEST COMPLETE
TEST ACTION APPLICABILITY
1Note: Active codes must be resolved before diagnosing stored codes.
Anytime a code becomes active during this test, proceed to the conclusion question.
Turn the ignition on.
With the DRBIIIt, record and erase stored ATC DTC's.
Cycle the ignition switch.
Start the engine.
Monitor the DRBIIItfor active ATC DTCs while performing the following test steps.
Press the ATC Power switch on.
Turn the Front Blower switch to the low position.
Turn the Rear Blower switch to the Auto position.
Set the Driver, Rear, and Pass temperature controls to 60.
Turn the Mode switch to the panel position.
Press the Recirculation mode switch on, wait 30 seconds and then press it off.
Press the A/C mode switch on, wait 30 seconds and then press it off.
Press the Rear Defogger switch on, wait 30 seconds and then press it off.
Set the Driver temperature control to the max heat setting, wait 30 seconds and then
set it to the max cool setting. Repeat this step for the Rear and Pass temperature
controls.
Turn the Mode switch to each position for 30 seconds and then turn it back to the
panel position.
Turn the Front Blower switch to each position and then turn it back to the low
position.
Press the Auto HI switch, wait 30 seconds, press the Auto LO switch, wait 30 seconds
and then turn the Front Blower switch to the low position.
Turn the Rear Blower switch to each position and then turn it to the Rear Control
position.
On the Rear ATC Control, turn the Blower switch to each position and then turn it
to the low position.
On the Rear ATC Control, set the Rear temperature control to the max heat setting,
wait 30 seconds and then set it to the max cool setting.
On the Rear ATC Control, turn the Mode switch to each position for 30 seconds.
With the DRBIIIt, perform the ATC Cool Down test.
With the DRBIIIt, reset the ATC.
Place the vehicle on a hoist, and raise the wheels off the floor.
WARNING: Be sure to keep hands and feet clear of rotating wheels. Keep
clear of the engine's moving parts
Start engine. Place the transmission in drive. Brake off.
Does the DRBIIItdisplay any active ATC DTCs or Cooldown Test messages?All
Ye s®Return to the symptom list and choose the symptom(s)
Perform BODY VERIFICATION TEST - VER 1.
No®No problem found at this time.
Perform BODY VERIFICATION TEST - VER 1.
231
AUTOMATIC TEMPERATURE CONTROL
AC PRESSURE TOO HIGH (STORED) ÐContinued
Page 287 of 4284

Symptom:
INVALID CONDITIONS FOR COOLDOWN TEST, EVAP TEMPERA-
TURE TOO LOW
When Monitored and Set Condition:
INVALID CONDITIONS FOR COOLDOWN TEST, EVAP TEMPERATURE TOO
LOW
When Monitored: When executing the Cooldown Test.
Set Condition: This message will be displayed if the A/C - Heater Control Module sees
evaporator temperature below 12.7ÉC (55ÉF) when executing the Cooldown Test.
POSSIBLE CAUSES
EVAPORATOR TEMPERATURE TOO LOW
ATC DTC(S) PRESENT
CHECK THE PCM/ECM FOR DTCS
EVAPORATOR TEMPERATURE SENSOR
SENSOR GROUND CIRCUIT HIGH RESISTANCE
EVAPORATOR TEMPERATURE SENSOR SIGNAL CIRCUIT HIGH RESISTANCE
AUTOMATIC TEMPERATURE CONTROL
TEST ACTION APPLICABILITY
1CAUTION: The work area ambient temperature must be above 15.6ÉC (60ÉF)
to test A/C system operation.
Start the engine.
Turn the A/C off.
Turn the Blower on high. Allow the blower to run for 5 minutes to ensure that the
Evaporator Temperature Sensor temperature is above 12.7ÉC (55ÉF).
With the DRBIIIt, actuate the Cooldown Test.
Does the DRBIIItdisplay: Cooldown Test Too Cold To Start?All
Ye s®Go To 2
No®Perform additional testing as necessary.
Perform BODY VERIFICATION TEST - VER 1.
2CAUTION: The work area ambient temperature must be above 15.6ÉC (60ÉF)
to test A/C system operation.
Turn the ignition on.
With the DRBIIIt, read ATC DTCs.
Does the DRBIIItdisplay any ATC DTCs?All
Ye s®Return to the symptom list and choose the symptom(s). After the
repair is complete, with the DRBIIIt, erase the DTC(s). Cycle the
ignition switch. With the DRBIIIt, reset the ATC. With the
DRBIIIt, actuate the Cooldown Test.
Perform BODY VERIFICATION TEST - VER 1.
No®Go To 3
258
AUTOMATIC TEMPERATURE CONTROL
Page 326 of 4284

TEST ACTION APPLICABILITY
2WARNING: DO NOT OPERATE THE DCHA IN AN ENCLOSED AREA SUCH
AS A GARAGE THAT DOES NOT HAVE EXHAUST VENTILATION FACILI-
TIES. ALWAYS VENT THE DCHA's EXHAUST WHEN OPERATING THE
DCHA. FAILURE TO FOLLOW THESE INSTRUCTIONS MAY RESULT IN
PERSONAL INJURY OR DEATH.
Turn the ignition on.
With the DRBIIIt, read Cabin Heater DTCs.
Is DTC B1813 Heater In Lockout Mode present?All
Ye s®Go To 3
No®Go To 4
3WARNING: DO NOT OPERATE THE DCHA IN AN ENCLOSED AREA SUCH
AS A GARAGE THAT DOES NOT HAVE EXHAUST VENTILATION FACILI-
TIES. ALWAYS VENT THE DCHA's EXHAUST WHEN OPERATING THE
DCHA. FAILURE TO FOLLOW THESE INSTRUCTIONS MAY RESULT IN
PERSONAL INJURY OR DEATH.
Start the engine.
Allow the engine to idle.
Turn the A/C - Heater Control Module's Power switch on.
Turn the Blower switch to the high speed position.
Set the Blend Control to the max heat position.
Remove Cabin Heater Fuse #15 from the IPM for a minimum of five seconds, then
reinstall the fuse. The DCHA may attempt to start.
Turn the Blower switch off and turn the A/C - Heater Control Module's Power switch
off.
Turn the engine off.
View repairAll
Repair
Go To 4
297
CABIN HEATER
CABIN HEATER PRE-TEST ÐContinued