tow bar CHRYSLER VOYAGER 2020 Owners Manual
[x] Cancel search | Manufacturer: CHRYSLER, Model Year: 2020, Model line: VOYAGER, Model: CHRYSLER VOYAGER 2020Pages: 516, PDF Size: 28.69 MB
Page 5 of 516
3
MIRRORS ..............................................................59 Inside Day/Night Mirror — If Equipped ....... 59
Automatic Dimming Mirror —
If Equipped .................................................. 60 Outside Mirrors ........................................... 60
Driver's Outside Automatic Dimming
Mirror — If Equipped .................................... 60 Conversation Mirror ..................................... 60
Power Mirrors — If Equipped ...................... 61
Outside Mirrors Folding Feature ................. 61
Heated Mirrors — If Equipped ..................... 61
Tilt Side Mirrors In Reverse (Available With
Memory Seat Only) — If Equipped............... 61 Power Folding Mirrors — If Equipped .......... 62
Illuminated Vanity Mirrors — If Equipped .. 62
EXTERIOR LIGHTS ................................................63
Multifunction Lever ...................................... 63
Headlight Switch .......................................... 63
Daytime Running Lights (DRLs) —
If Equipped ................................................... 63 High/Low Beam Switch ............................... 64
Automatic High Beam — If Equipped ......... 64
Flash-To-Pass .............................................. 64
Automatic Headlights — If Equipped .......... 64
Headlights On With Wipers — If Equipped.. 65
Headlight Delay — If Equipped .................... 65
Lights-On Reminder .................................... 65
Front Fog Lights — If Equipped .................. 65
Turn Signals ................................................. 65
Lane Change Assist — If Equipped ............. 66
Battery Protection ....................................... 66 INTERIOR LIGHTS ................................................ 66
Courtesy/Interior Lighting .......................... 66
WINDSHIELD WIPER AND WASHERS .............. 68
Windshield Wiper Operation ....................... 68
Rain Sensing Wipers — If Equipped............ 69
Rear Wiper And Washer .............................. 70
CLIMATE CONTROLS ........................................... 70
Manual Climate Controls Overview ............ 70
Automatic Climate Control Overview .......... 80
Climate Control Functions........................... 90
Automatic Temperature Control (ATC) — If
Equipped ..................................................... 90 Operating Tips ............................................. 91
WINDOWS ............................................................. 93
Power Windows............................................ 93
PANORAMIC SUNROOF — IF EQUIPPED ........... 95
Opening Sunroof .......................................... 95
Closing Sunroof............................................ 96
Wind Buffeting ............................................. 96
Power Sunshade — If Equipped .................. 96
Pinch Protect Feature.................................. 97
Sunroof Maintenance.................................. 97
Ignition Off Operation .................................. 97
HOOD .................................................................... 97
Opening ........................................................ 97
Closing .......................................................... 98 LIFTGATE ................................................................99
Opening ........................................................ 99
Closing.......................................................... 99
Power Liftgate — If Equipped .................... 100 Hands-Free Liftgate — If Equipped ........... 101
Cargo Area Features ................................. 103
GARAGE DOOR OPENER — IF EQUIPPED ....... 109
Before You Begin Programming
HomeLink® ................................................ 109 Canadian/Gate Operator Programming... 111
Using HomeLink®...................................... 112
Security ...................................................... 112Troubleshooting Tips ................................. 112General Information .................................. 113
INTERNAL EQUIPMENT ..................................... 113
Storage ....................................................... 113
Sun Screens — If Equipped ....................... 117Power Outlets ............................................ 118Power Inverter — If Equipped ................... 119
Cigar Lighter — If Equipped ...................... 120
Smoker's Package Kit — If Equipped ....... 120
Overhead Sunglass Storage ..................... 120
STOW ‘N PLACE ROOF RACK —
IF EQUIPPED ...................................................... 121
Deploying The Crossbars .......................... 121
Stowing The Crossbars.............................. 123
20_RU_OM_EN_US_t.book Page 3
Page 46 of 516
44GETTING TO KNOW YOUR VEHICLE
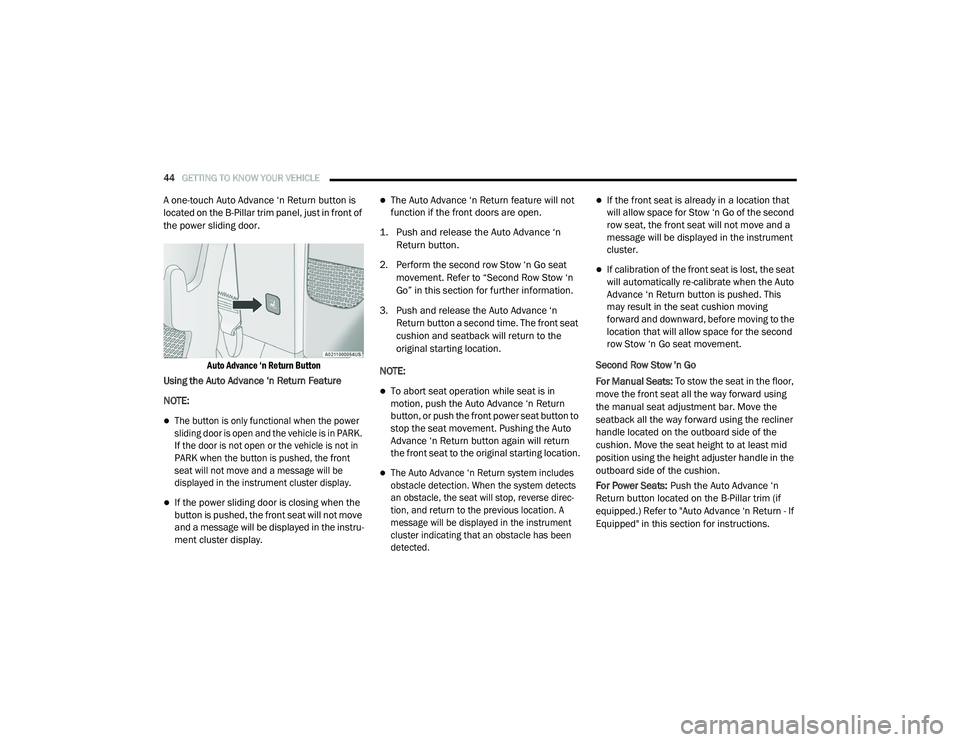
A one-touch Auto Advance ‘n Return button is
located on the B-Pillar trim panel, just in front of
the power sliding door.
Auto Advance ‘n Return Button
Using the Auto Advance ‘n Return Feature
NOTE:
The button is only functional when the power
sliding door is open and the vehicle is in PARK.
If the door is not open or the vehicle is not in
PARK when the button is pushed, the front
seat will not move and a message will be
displayed in the instrument cluster display.
If the power sliding door is closing when the
button is pushed, the front seat will not move
and a message will be displayed in the instru -
ment cluster display.
The Auto Advance ‘n Return feature will not
function if the front doors are open.
1. Push and release the Auto Advance ‘n Return button.
2. Perform the second row Stow ‘n Go seat movement. Refer to “Second Row Stow ‘n
Go” in this section for further information.
3. Push and release the Auto Advance ‘n Return button a second time. The front seat
cushion and seatback will return to the
original starting location.
NOTE:
To abort seat operation while seat is in
motion, push the Auto Advance ‘n Return
button, or push the front power seat button to
stop the seat movement. Pushing the Auto
Advance ‘n Return button again will return
the front seat to the original starting location.
The Auto Advance ‘n Return system includes
obstacle detection. When the system detects
an obstacle, the seat will stop, reverse direc -
tion, and return to the previous location. A
message will be displayed in the instrument
cluster indicating that an obstacle has been
detected.
If the front seat is already in a location that
will allow space for Stow ‘n Go of the second
row seat, the front seat will not move and a
message will be displayed in the instrument
cluster.
If calibration of the front seat is lost, the seat
will automatically re-calibrate when the Auto
Advance ‘n Return button is pushed. This
may result in the seat cushion moving
forward and downward, before moving to the
location that will allow space for the second
row Stow ‘n Go seat movement.
Second Row Stow 'n Go
For Manual Seats: To stow the seat in the floor,
move the front seat all the way forward using
the manual seat adjustment bar. Move the
seatback all the way forward using the recliner
handle located on the outboard side of the
cushion. Move the seat height to at least mid
position using the height adjuster handle in the
outboard side of the cushion.
For Power Seats: Push the Auto Advance ‘n
Return button located on the B-Pillar trim (if
equipped.) Refer to "Auto Advance ‘n Return - If
Equipped" in this section for instructions.
20_RU_OM_EN_US_t.book Page 44
Page 48 of 516
46GETTING TO KNOW YOUR VEHICLE
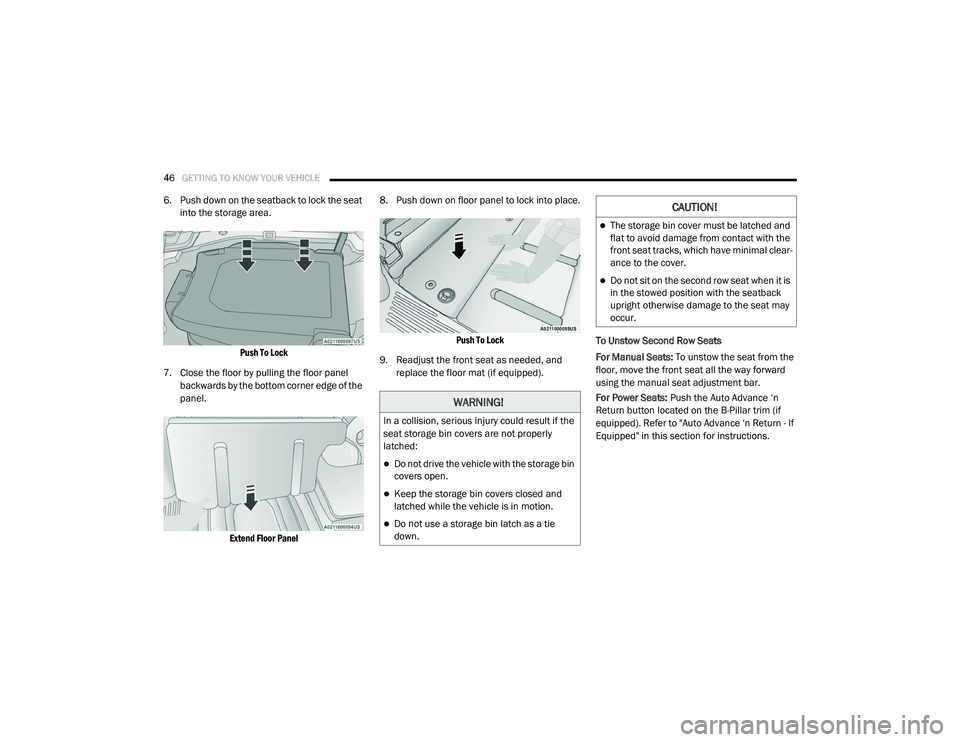
6. Push down on the seatback to lock the seat
into the storage area.
Push To Lock
7. Close the floor by pulling the floor panel backwards by the bottom corner edge of the
panel.
Extend Floor Panel
8. Push down on floor panel to lock into place.
Push To Lock
9. Readjust the front seat as needed, and replace the floor mat (if equipped). To Unstow Second Row Seats
For Manual Seats:
To unstow the seat from the
floor, move the front seat all the way forward
using the manual seat adjustment bar.
For Power Seats: Push the Auto Advance ‘n
Return button located on the B-Pillar trim (if
equipped). Refer to "Auto Advance ‘n Return - If
Equipped" in this section for instructions.
WARNING!
In a collision, serious injury could result if the
seat storage bin covers are not properly
latched:
Do not drive the vehicle with the storage bin
covers open.
Keep the storage bin covers closed and
latched while the vehicle is in motion.
Do not use a storage bin latch as a tie
down.
CAUTION!
The storage bin cover must be latched and
flat to avoid damage from contact with the
front seat tracks, which have minimal clear -
ance to the cover.
Do not sit on the second row seat when it is
in the stowed position with the seatback
upright otherwise damage to the seat may
occur.
20_RU_OM_EN_US_t.book Page 46
Page 52 of 516
50GETTING TO KNOW YOUR VEHICLE
Power Lumbar — If Equipped
Vehicles equipped with power driver or
passenger seats may be equipped with power
lumbar. The power lumbar switch is located on
the outboard side of the power seat. Push the
switch forward or rearward to increase or
decrease the lumbar support. Push the switch
upward or downward to raise or lower the
lumbar support.
Easy Entry/Exit Seat (Available With Memory
Settings Only)
This feature provides automatic driver seat
positioning to enhance driver mobility when
entering and exiting the vehicle.
The distance the driver seat moves depends on
where you have the driver seat positioned when
you place the vehicle’s ignition in the OFF
position.
When the ignition is placed in the OFF posi -
tion, the driver seat will move about
2.4 inches (60 mm) rearward if the driver seat position is greater than or equal to
2.7 inches (67.7 mm) forward of the rear stop. The seat will return to its previously set
position when the ignition is cycled out of the
OFF position.
When the ignition is placed in the OFF posi -
tion, the driver seat will move to a position
0.3 inches (7.7 mm) forward of the rear stop if the driver seat position is between 0.9 –
2.7 inches (22.7 – 67.7 mm) forward of the rear stop. The seat will return to its previously
set position when the ignition is cycled out of
the OFF position.
The Easy Entry/Easy Exit feature is disabled
when the driver seat position is less than
0.9 inches (22.7 mm) forward of the rear stop. At this position, there is no benefit to
the driver by moving the seat for Easy Exit or
Easy Entry.
Each stored memory setting will have an
associated Easy Entry and Easy Exit Position.
NOTE:
The Easy Entry/Easy Exit feature can be
enabled or disabled through the programmable
features in the instrument cluster display. For
further information, refer to “Instrument Cluster
Display” in “Getting To Know Your Instrument
Panel”.
Power Adjustment (Rear Seats) — If
Equipped
WARNING!
Adjusting a seat while driving may be
dangerous. Moving a seat while driving
could result in loss of control which could
cause a collision and serious injury or
death.
Seats should be adjusted before fastening
the seat belts and while the vehicle is
parked. Serious injury or death could result
from a poorly adjusted seat belt.
Do not ride with the seatback reclined so
that the shoulder belt is no longer resting
against your chest. In a collision you could
slide under the seat belt, which could result
in serious injury or death.
Do not place the seat belt webbing behind
the third row stow clip when using the seat
belt to restrain an occupant. The seat belt
will not be positioned properly on the occu -
pant and they could be more seriously
injured in an accident as a result.
20_RU_OM_EN_US_t.book Page 50
Page 74 of 516
72GETTING TO KNOW YOUR VEHICLE
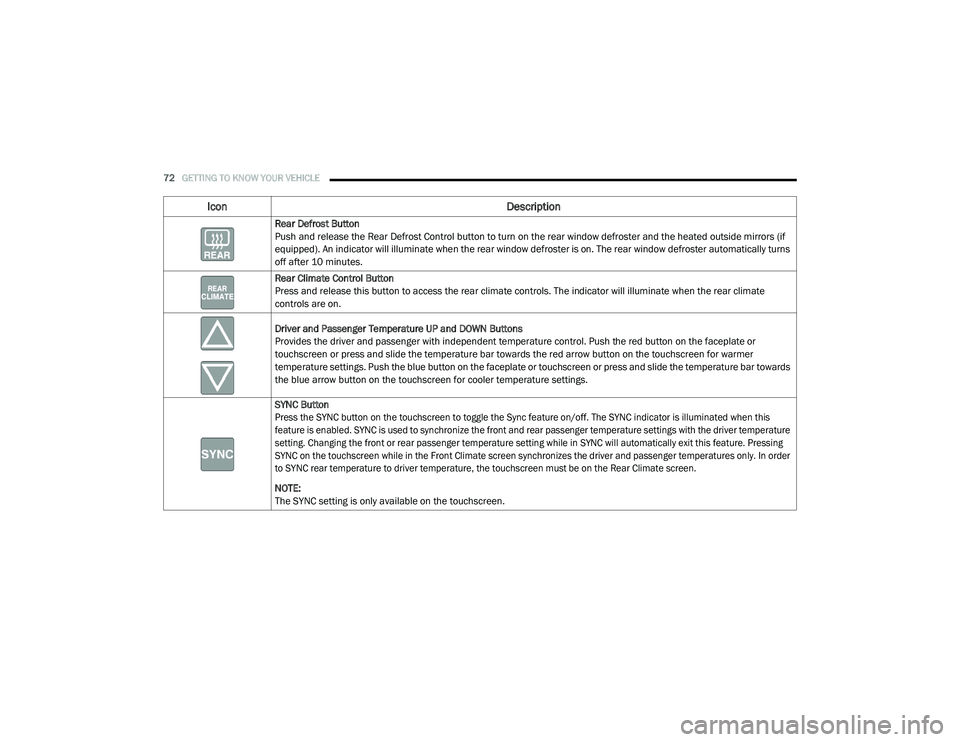
Rear Defrost Button
Push and release the Rear Defrost Control button to turn on the rear window defroster and the heated outside mirrors (if
equipped). An indicator will illuminate when the rear window defroster is on. The rear window defroster automatically turns
off after 10 minutes.
Rear Climate Control Button
Press and release this button to access the rear climate controls. The indicator will illuminate when the rear climate
controls are on.
Driver and Passenger Temperature UP and DOWN Buttons
Provides the driver and passenger with independent temperature control. Push the red button on the faceplate or
touchscreen or press and slide the temperature bar towards the red arrow button on the touchscreen for warmer
temperature settings. Push the blue button on the faceplate or touchscreen or press and slide the temperature bar towards
the blue arrow button on the touchscreen for cooler temperature settings.
SYNC Button
Press the SYNC button on the touchscreen to toggle the Sync feature on/off. The SYNC indicator is illuminated when this
feature is enabled. SYNC is used to synchronize the front and rear passenger temperature settings with the driver temperature
setting. Changing the front or rear passenger temperature setting while in SYNC will automatically exit this feature. Pressing
SYNC on the touchscreen while in the Front Climate screen synchronizes the driver and passenger temperatures only. In order
to SYNC rear temperature to driver temperature, the touchscreen must be on the Rear Climate screen.
NOTE:
The SYNC setting is only available on the touchscreen.
Icon Description
20_RU_OM_EN_US_t.book Page 72
Page 84 of 516
82GETTING TO KNOW YOUR VEHICLE
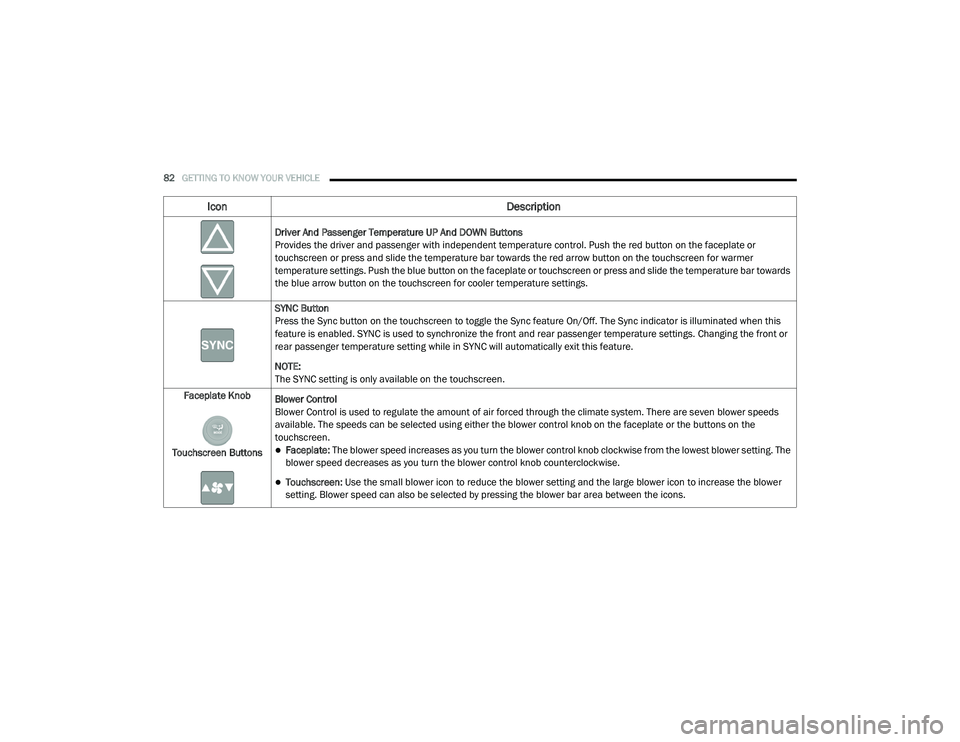
Driver And Passenger Temperature UP And DOWN Buttons
Provides the driver and passenger with independent temperature control. Push the red button on the faceplate or
touchscreen or press and slide the temperature bar towards the red arrow button on the touchscreen for warmer
temperature settings. Push the blue button on the faceplate or touchscreen or press and slide the temperature bar towards
the blue arrow button on the touchscreen for cooler temperature settings.
SYNC Button
Press the Sync button on the touchscreen to toggle the Sync feature On/Off. The Sync indicator is illuminated when this
feature is enabled. SYNC is used to synchronize the front and rear passenger temperature settings. Changing the front or
rear passenger temperature setting while in SYNC will automatically exit this feature.
NOTE:
The SYNC setting is only available on the touchscreen.
Faceplate Knob
Touchscreen Buttons Blower Control
Blower Control is used to regulate the amount of air forced through the climate system. There are seven blower speeds
available. The speeds can be selected using either the blower control knob on the faceplate or the buttons on the
touchscreen.
Faceplate: The blower speed increases as you turn the blower control knob clockwise from the lowest blower setting. The
blower speed decreases as you turn the blower control knob counterclockwise.
Touchscreen:
Use the small blower icon to reduce the blower setting and the large blower icon to increase the blower
setting. Blower speed can also be selected by pressing the blower bar area between the icons.
Icon Description
20_RU_OM_EN_US_t.book Page 82
Page 123 of 516
GETTING TO KNOW YOUR VEHICLE121
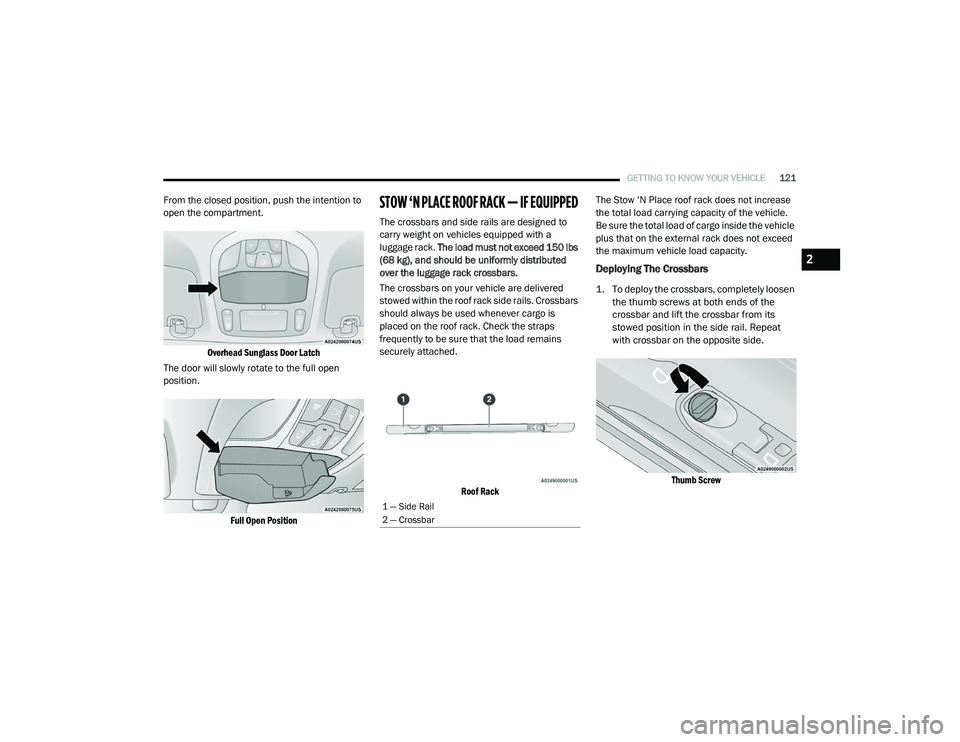
From the closed position, push the intention to
open the compartment.
Overhead Sunglass Door Latch
The door will slowly rotate to the full open
position.
Full Open Position
STOW ‘N PLACE ROOF RACK — IF EQUIPPED
The crossbars and side rails are designed to
carry weight on vehicles equipped with a
luggage rack. The load must not exceed 150 lbs
(68 kg), and should be uniformly distributed
over the luggage rack crossbars.
The crossbars on your vehicle are delivered
stowed within the roof rack side rails. Crossbars
should always be used whenever cargo is
placed on the roof rack. Check the straps
frequently to be sure that the load remains
securely attached.
Roof Rack
The Stow ‘N Place roof rack does not increase
the total load carrying capacity of the vehicle.
Be sure the total load of cargo inside the vehicle
plus that on the external rack does not exceed
the maximum vehicle load capacity.
Deploying The Crossbars
1. To deploy the crossbars, completely loosen
the thumb screws at both ends of the
crossbar and lift the crossbar from its
stowed position in the side rail. Repeat
with crossbar on the opposite side.
Thumb Screw
1 — Side Rail
2 — Crossbar
2
20_RU_OM_EN_US_t.book Page 121
Page 125 of 516

GETTING TO KNOW YOUR VEHICLE123
5. Deploy and tighten the second crossbar to
complete the deployment of the crossbars.
NOTE:
The crossbars are not identical and have fixed
deployment positions. The rear crossbar can be
deployed in two different positions.
Stowing The Crossbars
1. Starting with one crossbar, completely loosen the thumb screws at both ends. Lift
the crossbar away from the matching letter
to remove it from the deployed position.
Repeat with the other crossbar.
2. Starting with the one crossbar, bend up the
pivot supports at each end.
Crossbar Pivot
3. Then, position the crossbar along the correct side rail. Make sure the letters on
the crossbar align with the matching letters
on the side rail.
Stowing Crossbars 4. The crossbar will nest fully within the side rail.
Crossbar To Side Rail
5. Once the driver’s side crossbar is in place, tighten the thumb screws completely.
Tightening Crossbar
CAUTION!
Use care when removing and handling the
crossbars to prevent damage to the vehicle.
2
20_RU_OM_EN_US_t.book Page 123
Page 126 of 516
124GETTING TO KNOW YOUR VEHICLE
(Continued)
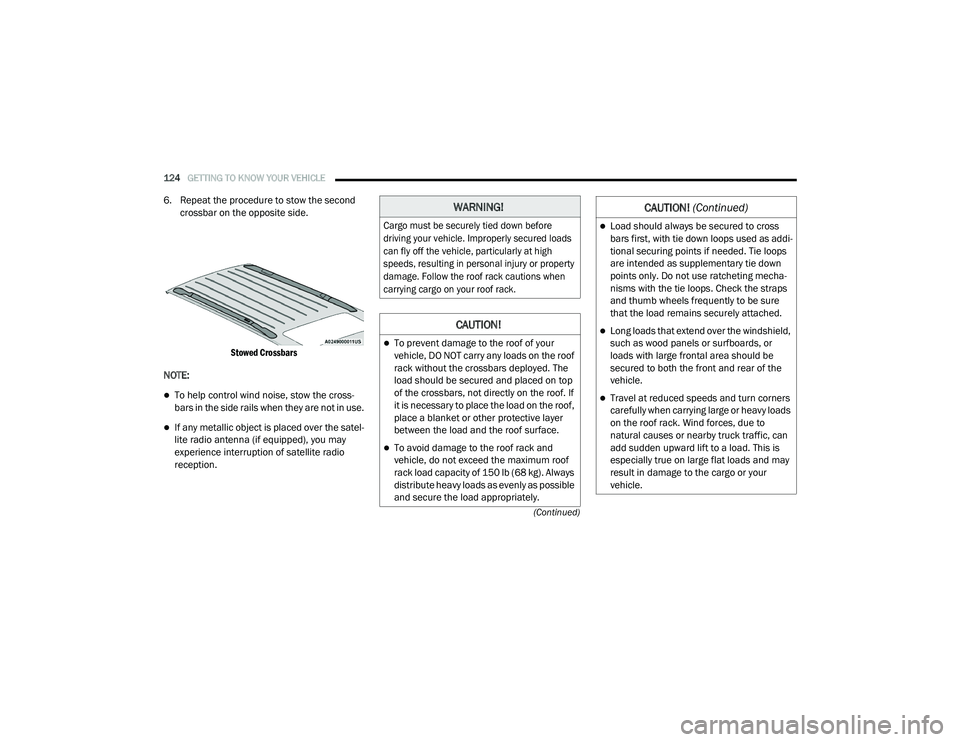
6. Repeat the procedure to stow the second crossbar on the opposite side.
Stowed Crossbars
NOTE:
To help control wind noise, stow the cross -
bars in the side rails when they are not in use.
If any metallic object is placed over the satel -
lite radio antenna (if equipped), you may
experience interruption of satellite radio
reception.
WARNING!
Cargo must be securely tied down before
driving your vehicle. Improperly secured loads
can fly off the vehicle, particularly at high
speeds, resulting in personal injury or property
damage. Follow the roof rack cautions when
carrying cargo on your roof rack.
CAUTION!
To prevent damage to the roof of your
vehicle, DO NOT carry any loads on the roof
rack without the crossbars deployed. The
load should be secured and placed on top
of the crossbars, not directly on the roof. If
it is necessary to place the load on the roof,
place a blanket or other protective layer
between the load and the roof surface.
To avoid damage to the roof rack and
vehicle, do not exceed the maximum roof
rack load capacity of 150 lb (68 kg). Always
distribute heavy loads as evenly as possible
and secure the load appropriately.
Load should always be secured to cross
bars first, with tie down loops used as addi -
tional securing points if needed. Tie loops
are intended as supplementary tie down
points only. Do not use ratcheting mecha -
nisms with the tie loops. Check the straps
and thumb wheels frequently to be sure
that the load remains securely attached.
Long loads that extend over the windshield,
such as wood panels or surfboards, or
loads with large frontal area should be
secured to both the front and rear of the
vehicle.
Travel at reduced speeds and turn corners
carefully when carrying large or heavy loads
on the roof rack. Wind forces, due to
natural causes or nearby truck traffic, can
add sudden upward lift to a load. This is
especially true on large flat loads and may
result in damage to the cargo or your
vehicle.
CAUTION! (Continued)
20_RU_OM_EN_US_t.book Page 124
Page 208 of 516
206SAFETY
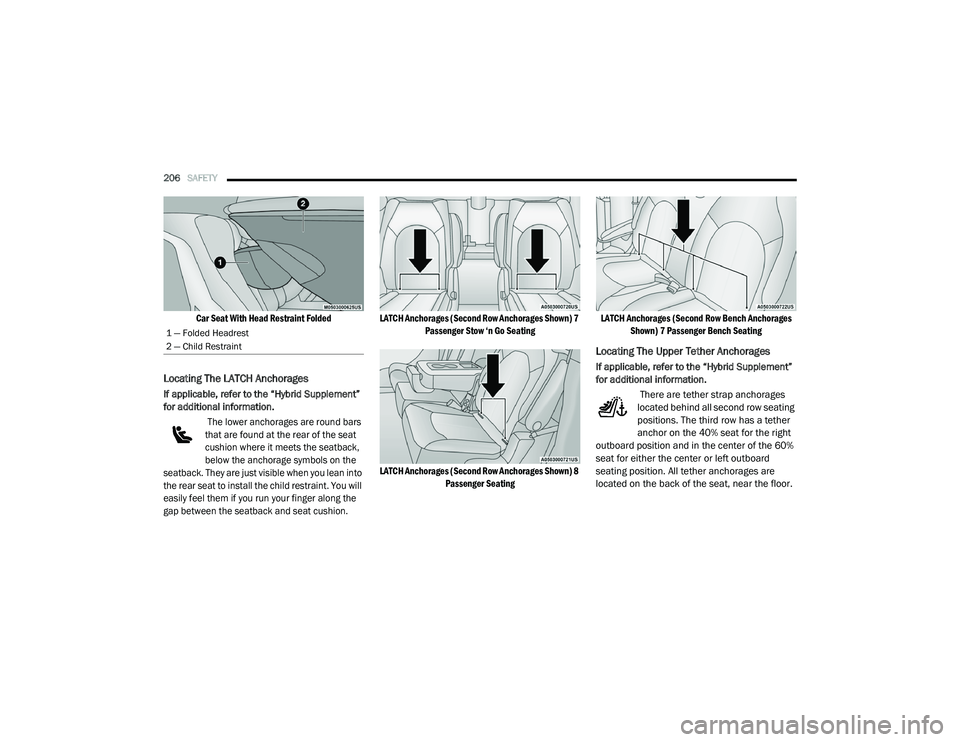
Car Seat With Head Restraint Folded
Locating The LATCH Anchorages
If applicable, refer to the “Hybrid Supplement”
for additional information.
The lower anchorages are round bars
that are found at the rear of the seat
cushion where it meets the seatback,
below the anchorage symbols on the
seatback. They are just visible when you lean into
the rear seat to install the child restraint. You will
easily feel them if you run your finger along the
gap between the seatback and seat cushion. LATCH Anchorages (Second Row Anchorages Shown) 7
Passenger Stow ‘n Go Seating
LATCH Anchorages (Second Row Anchorages Shown) 8 Passenger Seating LATCH Anchorages (Second Row Bench Anchorages
Shown) 7 Passenger Bench Seating
Locating The Upper Tether Anchorages
If applicable, refer to the “Hybrid Supplement”
for additional information.
There are tether strap anchorages
located behind all second row seating
positions. The third row has a tether
anchor on the 40% seat for the right
outboard position and in the center of the 60%
seat for either the center or left outboard
seating position. All tether anchorages are
located on the back of the seat, near the floor.
1 — Folded Headrest
2 — Child Restraint
20_RU_OM_EN_US_t.book Page 206