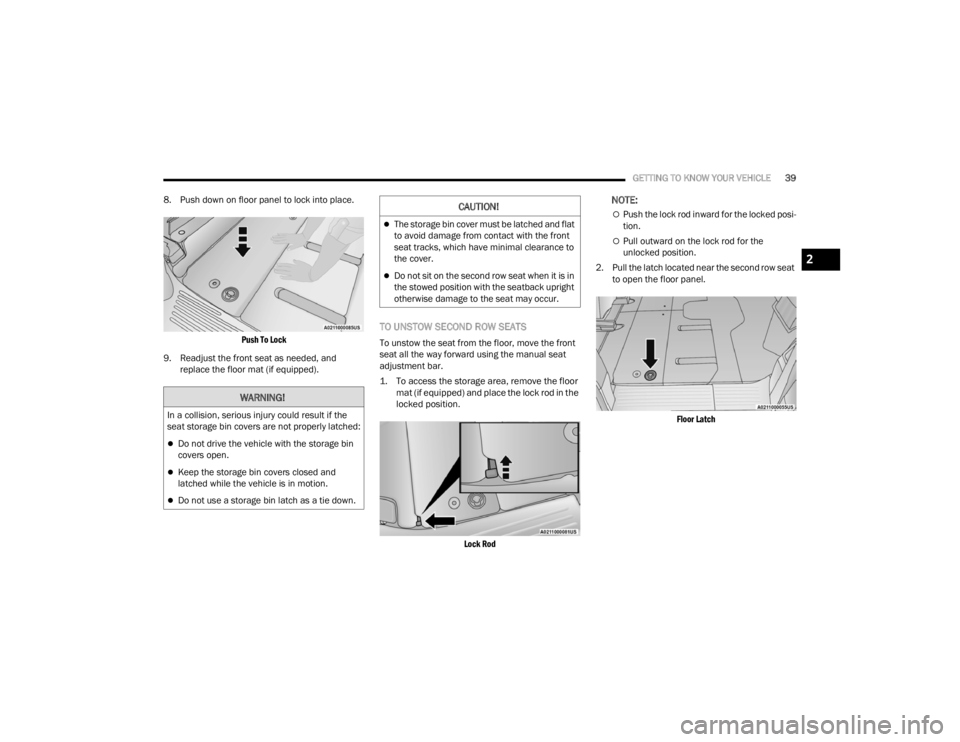
Latch CHRYSLER VOYAGER 2021 User Guide
[x] Cancel search | Manufacturer: CHRYSLER, Model Year: 2021, Model line: VOYAGER, Model: CHRYSLER VOYAGER 2021Pages: 348, PDF Size: 18.73 MB
Page 41 of 348
GETTING TO KNOW YOUR VEHICLE39
8. Push down on floor panel to lock into place.
Push To Lock
9. Readjust the front seat as needed, and replace the floor mat (if equipped).
TO UNSTOW SECOND ROW SEATS
To unstow the seat from the floor, move the front
seat all the way forward using the manual seat
adjustment bar.
1. To access the storage area, remove the floor mat (if equipped) and place the lock rod in the
locked position.
Lock Rod
NOTE:
Push the lock rod inward for the locked posi -
tion.
Pull outward on the lock rod for the
unlocked position.
2. Pull the latch located near the second row seat to open the floor panel.
Floor Latch
WARNING!
In a collision, serious injury could result if the
seat storage bin covers are not properly latched:
Do not drive the vehicle with the storage bin
covers open.
Keep the storage bin covers closed and
latched while the vehicle is in motion.
Do not use a storage bin latch as a tie down.
CAUTION!
The storage bin cover must be latched and flat
to avoid damage from contact with the front
seat tracks, which have minimal clearance to
the cover.
Do not sit on the second row seat when it is in
the stowed position with the seatback upright
otherwise damage to the seat may occur.
2
21_RUV_OM_EN_USC_t.book Page 39
Page 42 of 348
40GETTING TO KNOW YOUR VEHICLE
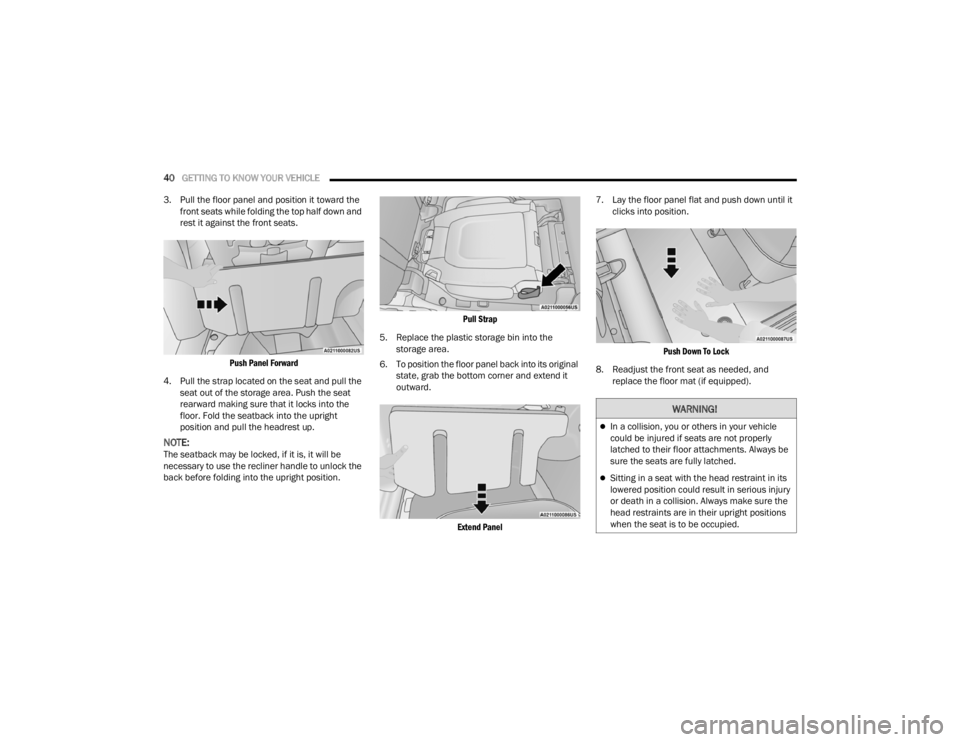
3. Pull the floor panel and position it toward the front seats while folding the top half down and
rest it against the front seats.
Push Panel Forward
4. Pull the strap located on the seat and pull the seat out of the storage area. Push the seat
rearward making sure that it locks into the
floor. Fold the seatback into the upright
position and pull the headrest up.
NOTE:The seatback may be locked, if it is, it will be
necessary to use the recliner handle to unlock the
back before folding into the upright position.
Pull Strap
5. Replace the plastic storage bin into the storage area.
6. To position the floor panel back into its original state, grab the bottom corner and extend it
outward.
Extend Panel
7. Lay the floor panel flat and push down until it
clicks into position.
Push Down To Lock
8. Readjust the front seat as needed, and replace the floor mat (if equipped).
WARNING!
In a collision, you or others in your vehicle
could be injured if seats are not properly
latched to their floor attachments. Always be
sure the seats are fully latched.
Sitting in a seat with the head restraint in its
lowered position could result in serious injury
or death in a collision. Always make sure the
head restraints are in their upright positions
when the seat is to be occupied.
21_RUV_OM_EN_USC_t.book Page 40
Page 51 of 348
GETTING TO KNOW YOUR VEHICLE49
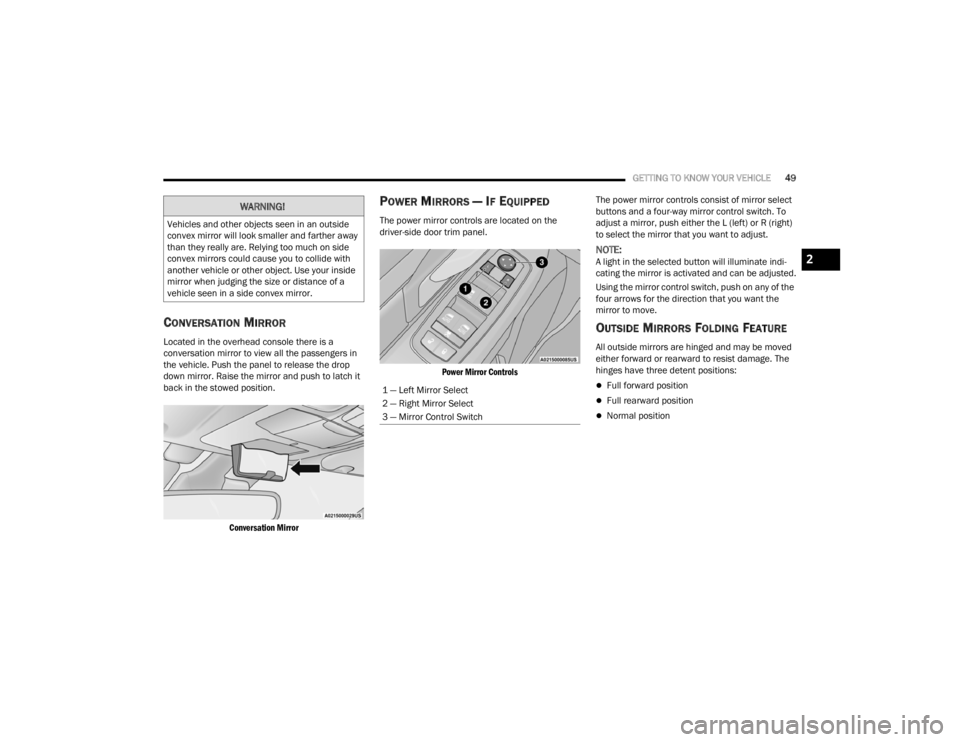
CONVERSATION MIRROR
Located in the overhead console there is a
conversation mirror to view all the passengers in
the vehicle. Push the panel to release the drop
down mirror. Raise the mirror and push to latch it
back in the stowed position.
Conversation Mirror
POWER MIRRORS — IF EQUIPPED
The power mirror controls are located on the
driver-side door trim panel.
Power Mirror Controls
The power mirror controls consist of mirror select
buttons and a four-way mirror control switch. To
adjust a mirror, push either the L (left) or R (right)
to select the mirror that you want to adjust.
NOTE:A light in the selected button will illuminate indi
-
cating the mirror is activated and can be adjusted.
Using the mirror control switch, push on any of the
four arrows for the direction that you want the
mirror to move.
OUTSIDE MIRRORS FOLDING FEATURE
All outside mirrors are hinged and may be moved
either forward or rearward to resist damage. The
hinges have three detent positions:
Full forward position
Full rearward position
Normal position
WARNING!
Vehicles and other objects seen in an outside
convex mirror will look smaller and farther away
than they really are. Relying too much on side
convex mirrors could cause you to collide with
another vehicle or other object. Use your inside
mirror when judging the size or distance of a
vehicle seen in a side convex mirror.
1 — Left Mirror Select
2 — Right Mirror Select
3 — Mirror Control Switch
2
21_RUV_OM_EN_USC_t.book Page 49
Page 73 of 348
GETTING TO KNOW YOUR VEHICLE71
INTERIOR STORAGE AND EQUIPMENT
STORAGE
Glove Compartment
The glove compartment is located on the
passenger side of the instrument panel.
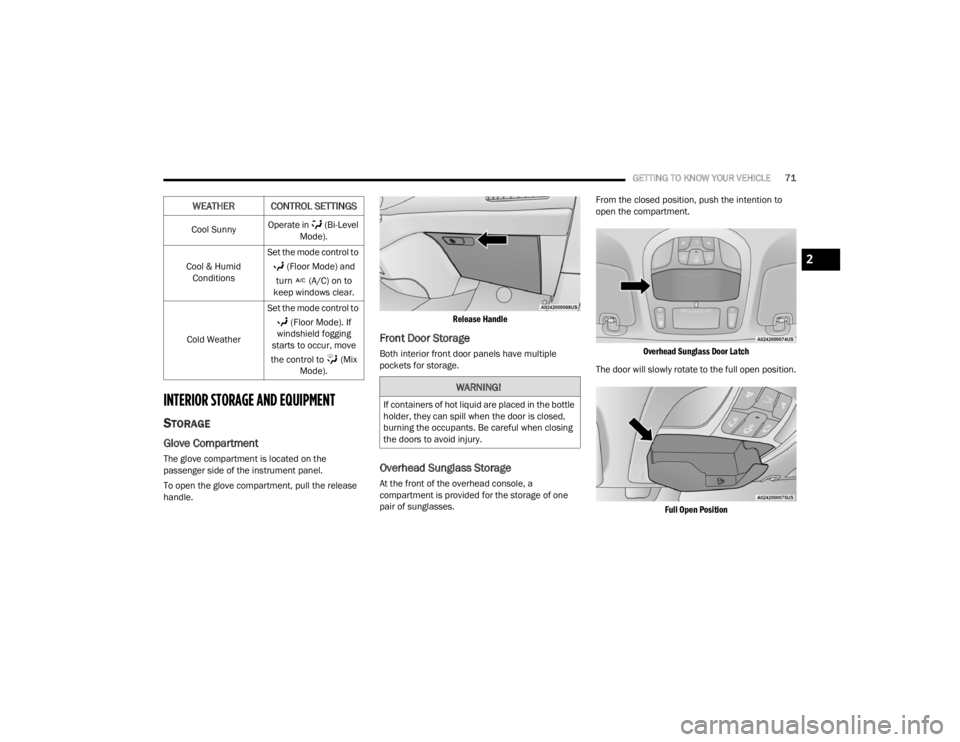
To open the glove compartment, pull the release
handle.
Release Handle
Front Door Storage
Both interior front door panels have multiple
pockets for storage.
Overhead Sunglass Storage
At the front of the overhead console, a
compartment is provided for the storage of one
pair of sunglasses.From the closed position, push the intention to
open the compartment.
Overhead Sunglass Door Latch
The door will slowly rotate to the full open position.
Full Open Position
Cool Sunny
Operate in (Bi-Level
Mode).
Cool & Humid Conditions Set the mode control to
(Floor Mode) and
turn (A/C) on to
keep windows clear.
Cold Weather Set the mode control to
(Floor Mode). If
windshield fogging
starts to occur, move
the control to (Mix Mode).
WEATHER CONTROL SETTINGS
WARNING!
If containers of hot liquid are placed in the bottle
holder, they can spill when the door is closed,
burning the occupants. Be careful when closing
the doors to avoid injury.
2
21_RUV_OM_EN_USC_t.book Page 71
Page 75 of 348
GETTING TO KNOW YOUR VEHICLE73
(Continued)
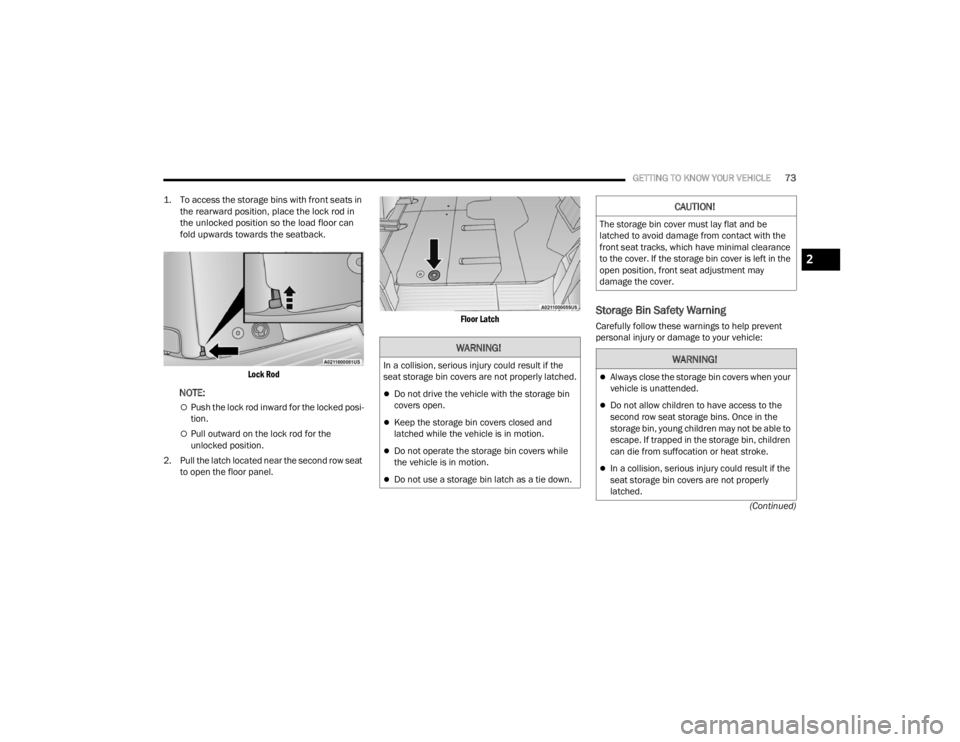
1. To access the storage bins with front seats in
the rearward position, place the lock rod in
the unlocked position so the load floor can
fold upwards towards the seatback.
Lock Rod
NOTE:
Push the lock rod inward for the locked posi -
tion.
Pull outward on the lock rod for the
unlocked position.
2. Pull the latch located near the second row seat to open the floor panel.
Floor Latch
Storage Bin Safety Warning
Carefully follow these warnings to help prevent
personal injury or damage to your vehicle:
WARNING!
In a collision, serious injury could result if the
seat storage bin covers are not properly latched.
Do not drive the vehicle with the storage bin
covers open.
Keep the storage bin covers closed and
latched while the vehicle is in motion.
Do not operate the storage bin covers while
the vehicle is in motion.
Do not use a storage bin latch as a tie down.
CAUTION!
The storage bin cover must lay flat and be
latched to avoid damage from contact with the
front seat tracks, which have minimal clearance
to the cover. If the storage bin cover is left in the
open position, front seat adjustment may
damage the cover.
WARNING!
Always close the storage bin covers when your
vehicle is unattended.
Do not allow children to have access to the
second row seat storage bins. Once in the
storage bin, young children may not be able to
escape. If trapped in the storage bin, children
can die from suffocation or heat stroke.
In a collision, serious injury could result if the
seat storage bin covers are not properly
latched.
2
21_RUV_OM_EN_USC_t.book Page 73
Page 76 of 348
74GETTING TO KNOW YOUR VEHICLE
Seat Storage Bin Cover Emergency
Release Lever
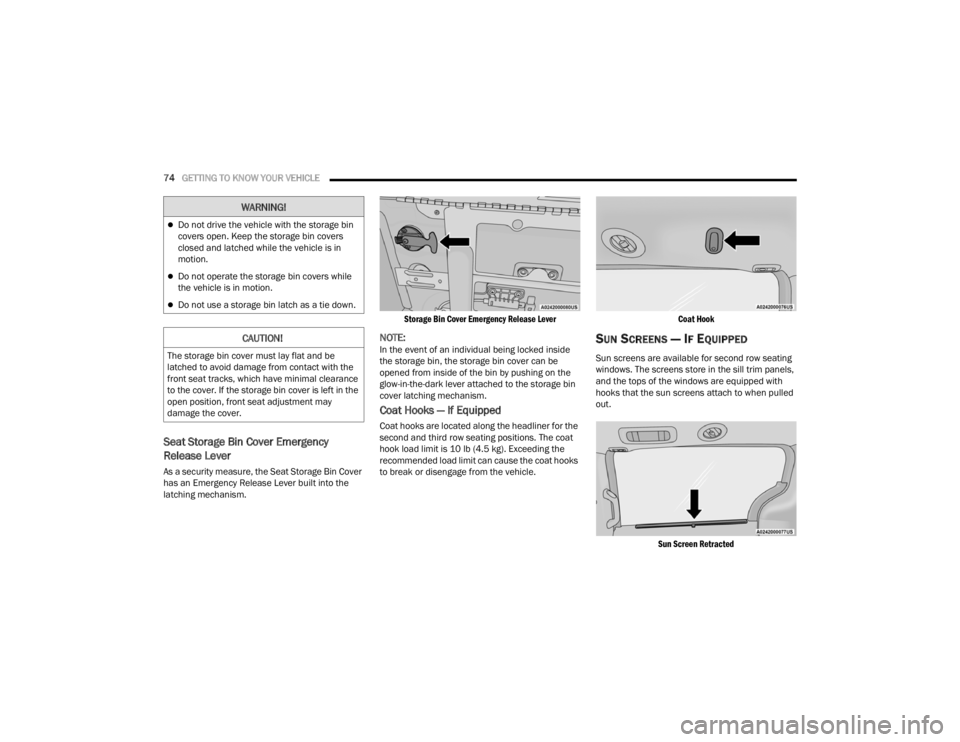
As a security measure, the Seat Storage Bin Cover
has an Emergency Release Lever built into the
latching mechanism.
Storage Bin Cover Emergency Release Lever
NOTE:In the event of an individual being locked inside
the storage bin, the storage bin cover can be
opened from inside of the bin by pushing on the
glow-in-the-dark lever attached to the storage bin
cover latching mechanism.
Coat Hooks — If Equipped
Coat hooks are located along the headliner for the
second and third row seating positions. The coat
hook load limit is 10 lb (4.5 kg). Exceeding the
recommended load limit can cause the coat hooks
to break or disengage from the vehicle.
Coat Hook
SUN SCREENS — IF EQUIPPED
Sun screens are available for second row seating
windows. The screens store in the sill trim panels,
and the tops of the windows are equipped with
hooks that the sun screens attach to when pulled
out.
Sun Screen Retracted
Do not drive the vehicle with the storage bin
covers open. Keep the storage bin covers
closed and latched while the vehicle is in
motion.
Do not operate the storage bin covers while
the vehicle is in motion.
Do not use a storage bin latch as a tie down.
CAUTION!
The storage bin cover must lay flat and be
latched to avoid damage from contact with the
front seat tracks, which have minimal clearance
to the cover. If the storage bin cover is left in the
open position, front seat adjustment may
damage the cover.
WARNING!
21_RUV_OM_EN_USC_t.book Page 74
Page 82 of 348
80GETTING TO KNOW YOUR VEHICLE
WIND BUFFETING
Wind buffeting can be described as the perception
of pressure on the ears or a helicopter-type sound
in the ears. Your vehicle may exhibit wind buffeting
with the windows down, or the sunroof (if
equipped) in certain open or partially open
positions. This is a normal occurrence and can be
minimized. If the rear windows are open and
buffeting occurs, open the front and rear windows
together to minimize the buffeting. If the buffeting
occurs with the sunroof open, adjust the sunroof
opening to minimize the buffeting.
HOOD
OPENING
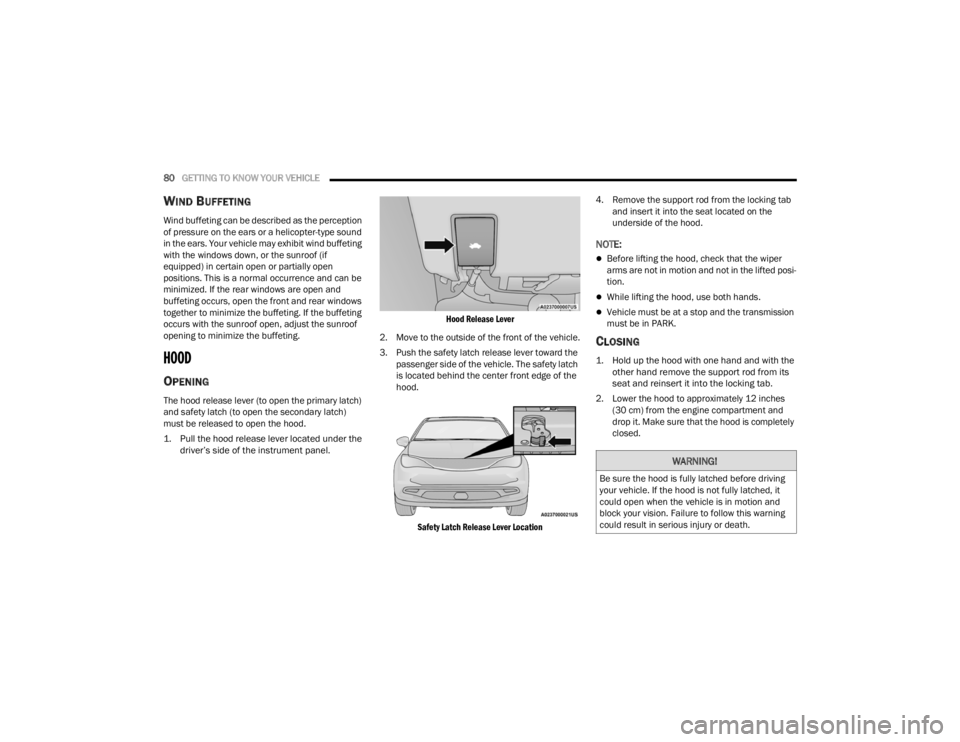
The hood release lever (to open the primary latch)
and safety latch (to open the secondary latch)
must be released to open the hood.
1. Pull the hood release lever located under the
driver’s side of the instrument panel.
Hood Release Lever
2. Move to the outside of the front of the vehicle.
3. Push the safety latch release lever toward the passenger side of the vehicle. The safety latch
is located behind the center front edge of the
hood.
Safety Latch Release Lever Location
4. Remove the support rod from the locking tab
and insert it into the seat located on the
underside of the hood.
NOTE:
Before lifting the hood, check that the wiper
arms are not in motion and not in the lifted posi -
tion.
While lifting the hood, use both hands.
Vehicle must be at a stop and the transmission
must be in PARK.
CLOSING
1. Hold up the hood with one hand and with the other hand remove the support rod from its
seat and reinsert it into the locking tab.
2. Lower the hood to approximately 12 inches (30 cm) from the engine compartment and
drop it. Make sure that the hood is completely
closed.
WARNING!
Be sure the hood is fully latched before driving
your vehicle. If the hood is not fully latched, it
could open when the vehicle is in motion and
block your vision. Failure to follow this warning
could result in serious injury or death.
21_RUV_OM_EN_USC_t.book Page 80
Page 83 of 348
GETTING TO KNOW YOUR VEHICLE81
LIFTGATE
TO UNLOCK/OPEN THE LIFTGATE
The liftgate may be released in several ways:
Key fob
Outside handle
Button on overhead console
Push the liftgate button on the key fob twice within
five seconds to release the liftgate.
The key fob and the overhead console button will
release the liftgate when the liftgate is locked. The
outside handle requires the liftgate to be unlocked.
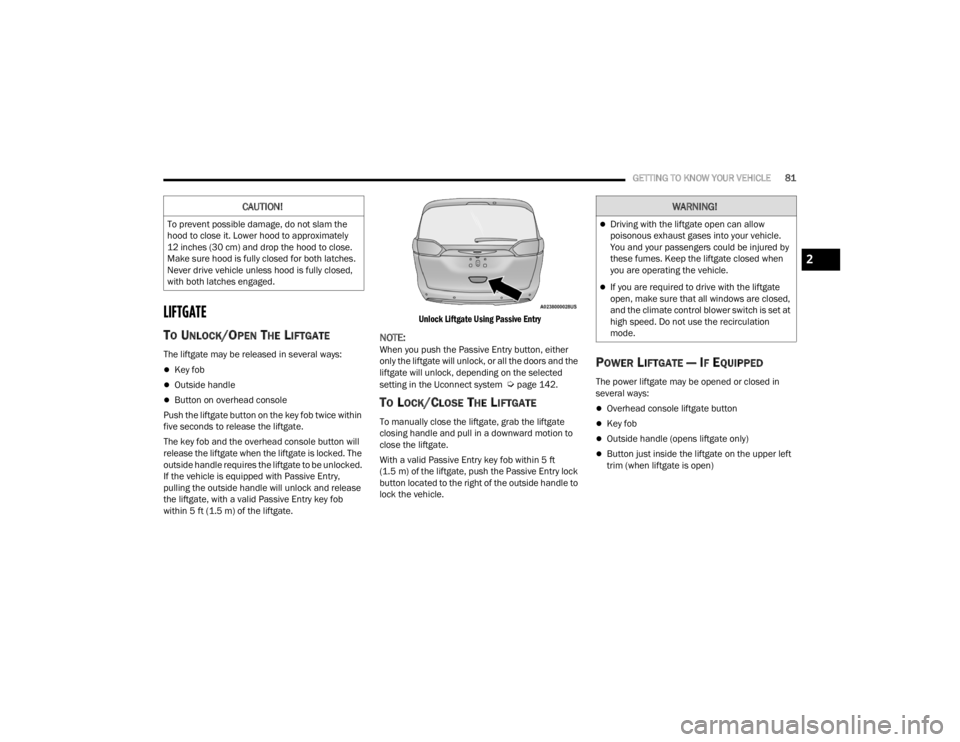
If the vehicle is equipped with Passive Entry,
pulling the outside handle will unlock and release
the liftgate, with a valid Passive Entry key fob
within 5 ft (1.5 m) of the liftgate.
Unlock Liftgate Using Passive Entry
NOTE:When you push the Passive Entry button, either
only the liftgate will unlock, or all the doors and the
liftgate will unlock, depending on the selected
setting in the Uconnect system
Úpage 142.
TO LOCK/CLOSE THE LIFTGATE
To manually close the liftgate, grab the liftgate
closing handle and pull in a downward motion to
close the liftgate.
With a valid Passive Entry key fob within 5 ft
(1.5 m) of the liftgate, push the Passive Entry lock
button located to the right of the outside handle to
lock the vehicle.
POWER LIFTGATE — IF EQUIPPED
The power liftgate may be opened or closed in
several ways:
Overhead console liftgate button
Key fob
Outside handle (opens liftgate only)
Button just inside the liftgate on the upper left
trim (when liftgate is open)
CAUTION!
To prevent possible damage, do not slam the
hood to close it. Lower hood to approximately
12 inches (30 cm) and drop the hood to close.
Make sure hood is fully closed for both latches.
Never drive vehicle unless hood is fully closed,
with both latches engaged.
WARNING!
Driving with the liftgate open can allow
poisonous exhaust gases into your vehicle.
You and your passengers could be injured by
these fumes. Keep the liftgate closed when
you are operating the vehicle.
If you are required to drive with the liftgate
open, make sure that all windows are closed,
and the climate control blower switch is set at
high speed. Do not use the recirculation
mode.
2
21_RUV_OM_EN_USC_t.book Page 81
Page 131 of 348
STARTING AND OPERATING129
REFUELING THE VEHICLE
There is no fuel filler cap. Two flapper doors inside
the pipe seal the system.
1. Put the vehicle in PARK and switch the
ignition OFF.
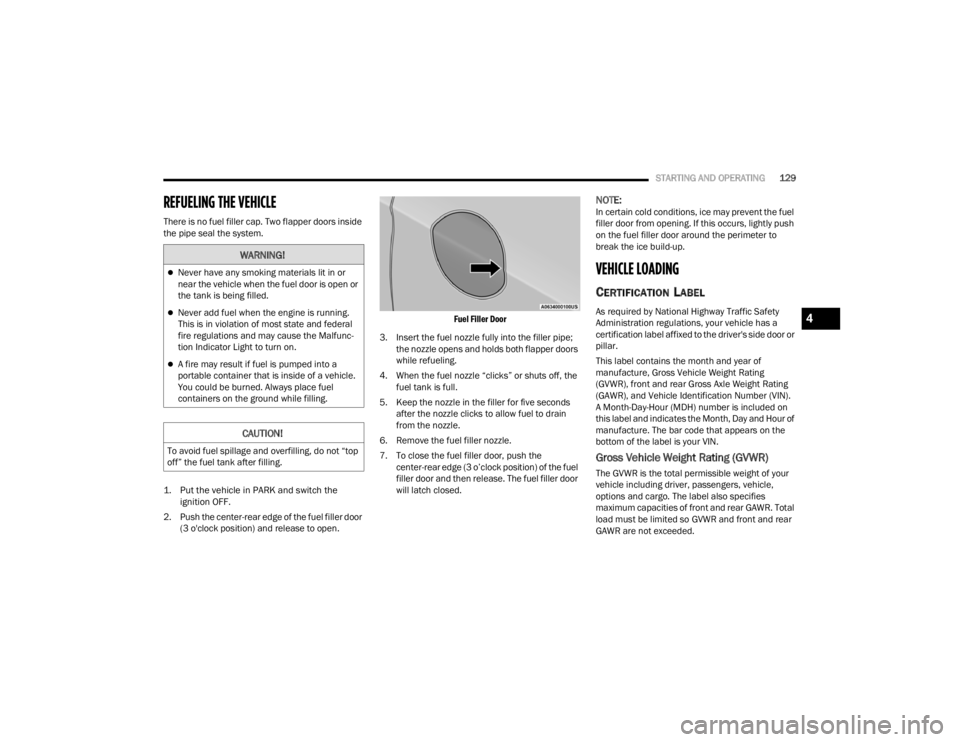
2. Push the center-rear edge of the fuel filler door (3 o'clock position) and release to open.
Fuel Filler Door
3. Insert the fuel nozzle fully into the filler pipe; the nozzle opens and holds both flapper doors
while refueling.
4. When the fuel nozzle “clicks” or shuts off, the fuel tank is full.
5. Keep the nozzle in the filler for five seconds after the nozzle clicks to allow fuel to drain
from the nozzle.
6. Remove the fuel filler nozzle.
7. To close the fuel filler door, push the center-rear edge (3 o’clock position) of the fuel
filler door and then release. The fuel filler door
will latch closed.
NOTE:In certain cold conditions, ice may prevent the fuel
filler door from opening. If this occurs, lightly push
on the fuel filler door around the perimeter to
break the ice build-up.
VEHICLE LOADING
CERTIFICATION LABEL
As required by National Highway Traffic Safety
Administration regulations, your vehicle has a
certification label affixed to the driver's side door or
pillar.
This label contains the month and year of
manufacture, Gross Vehicle Weight Rating
(GVWR), front and rear Gross Axle Weight Rating
(GAWR), and Vehicle Identification Number (VIN).
A Month-Day-Hour (MDH) number is included on
this label and indicates the Month, Day and Hour of
manufacture. The bar code that appears on the
bottom of the label is your VIN.
Gross Vehicle Weight Rating (GVWR)
The GVWR is the total permissible weight of your
vehicle including driver, passengers, vehicle,
options and cargo. The label also specifies
maximum capacities of front and rear GAWR. Total
load must be limited so GVWR and front and rear
GAWR are not exceeded.
WARNING!
Never have any smoking materials lit in or
near the vehicle when the fuel door is open or
the tank is being filled.
Never add fuel when the engine is running.
This is in violation of most state and federal
fire regulations and may cause the Malfunc -
tion Indicator Light to turn on.
A fire may result if fuel is pumped into a
portable container that is inside of a vehicle.
You could be burned. Always place fuel
containers on the ground while filling.
CAUTION!
To avoid fuel spillage and overfilling, do not “top
off” the fuel tank after filling.
4
21_RUV_OM_EN_USC_t.book Page 129
Page 208 of 348
206SAFETY
Lap/Shoulder Belt Operating Instructions
1. Enter the vehicle and close the door. Sit back
and adjust the seat.
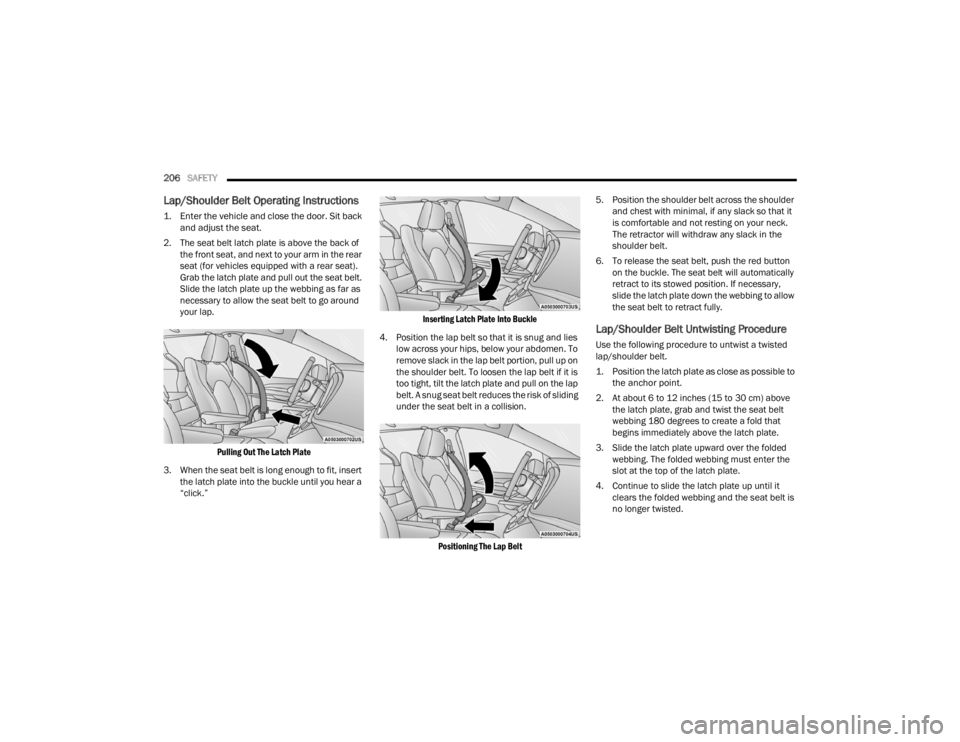
2. The seat belt latch plate is above the back of the front seat, and next to your arm in the rear
seat (for vehicles equipped with a rear seat).
Grab the latch plate and pull out the seat belt.
Slide the latch plate up the webbing as far as
necessary to allow the seat belt to go around
your lap.
Pulling Out The Latch Plate
3. When the seat belt is long enough to fit, insert the latch plate into the buckle until you hear a
“click.”
Inserting Latch Plate Into Buckle
4. Position the lap belt so that it is snug and lies low across your hips, below your abdomen. To
remove slack in the lap belt portion, pull up on
the shoulder belt. To loosen the lap belt if it is
too tight, tilt the latch plate and pull on the lap
belt. A snug seat belt reduces the risk of sliding
under the seat belt in a collision.
Positioning The Lap Belt
5. Position the shoulder belt across the shoulder
and chest with minimal, if any slack so that it
is comfortable and not resting on your neck.
The retractor will withdraw any slack in the
shoulder belt.
6. To release the seat belt, push the red button on the buckle. The seat belt will automatically
retract to its stowed position. If necessary,
slide the latch plate down the webbing to allow
the seat belt to retract fully.
Lap/Shoulder Belt Untwisting Procedure
Use the following procedure to untwist a twisted
lap/shoulder belt.
1. Position the latch plate as close as possible to the anchor point.
2. At about 6 to 12 inches (15 to 30 cm) above the latch plate, grab and twist the seat belt
webbing 180 degrees to create a fold that
begins immediately above the latch plate.
3. Slide the latch plate upward over the folded webbing. The folded webbing must enter the
slot at the top of the latch plate.
4. Continue to slide the latch plate up until it clears the folded webbing and the seat belt is
no longer twisted.
21_RUV_OM_EN_USC_t.book Page 206