CITROEN C-ELYSÉE 2015 Workshop Manual
Manufacturer: CITROEN, Model Year: 2015, Model line: C-ELYSÉE, Model: CITROEN C-ELYSÉE 2015Pages: 285, PDF Size: 13.42 MB
Page 51 of 285

49
3. Air distribution adjustment
Windscreen and side windows.
Windscreen, side windows and
footwells.
Footwells.
Centre and side air vents, footwells.The air distribution can be adapted
by placing the control knob in an
intermediate position or by closing
the vents. F
M
ove the manual control to the
right to return to the "Exterior air
intake" position.
F
M
ove the manual control to the
left for the "Recirculation of
interior air" position.
5. Air conditioning On / Off
It enables you to:
- l ower the temperature, in summer,
-
i
ncrease the effectiveness of the demisting
in winter, above 3 °C.
Switching on
F Press the button 5 , the associated indicator
lamp comes on.
Switching off
F Press the button 5 again, the associated indicator lamp goes off.
Switching off may affect comfort levels
(humidity, condensation). The air conditioning is designed to
operate effectively in all seasons,
with the windows closed.
The air conditioning does not operate
when the air flow adjustment control 2
is in position " 0".
To obtain cooled air more quickly, you can use
recirculation of interior air for a few moments.
Then return to fresh air intake.
Centre and side vents.
4. Air intake / Air recirculation
The recirculation of interior air insulates the
passenger compartment from exterior odours
and smoke.
Return to exterior air intake as soon as possible
to prevent deterioration of the air quality and
the formation of mist.
3
Comfort
Page 52 of 285

50
Electronic air conditioning (with display screen)
These systems only operate with the engine running.
1. Air intake / Air recirculation
The recirculation of interior air isolates the
passenger compartment from exterior odours
and smoke.
2. Temperature level adjustment
F Press the "5" (red for hot) and
" 6 " (blue for cold) buttons, to
adjust the temperature to your
requirements.
The temperature bars come on
or go off progressively in the air
conditioning screen.
Return to exterior air intake as soon as possible
to prevent deterioration of the the air quality
and the formation of mist.
F
P
ress the button to recirculate the interior
air. The indicator lamp comes on to confirm
this. F
P
ress the button again to
permit the intake of exterior air.
The
indicator lamp goes off to
confirm this.
3. Front demist - defrost
See the corresponding section.
Comfort
Page 53 of 285

51
4. Air conditioning On/Off
F Press the "A /C " button, the
symbol in the air conditioning
screen comes on.
Switching off
This button allows the rapid
cooling of the air in the passenger
compartment.
5. Air conditioning: A/C MAX button
Switching on
F Press the "A /C MA X" button, the symbol in the air conditioning screen comes on.
F
P
ress the "A /C " button again, the symbol
in the air conditioning screen goes off.
Switching off may lead to unpleasant conditions
(humidity, misting).
Switching on
Switching off
F Press the "A /C MA X" button again, the symbol in the air conditioning screen goes
of f.
6. Air distribution adjustment
F Press this button successively to direct the air flow towards:
-
w
indscreen and side windows
(demisting or defrosting),
-
w
indscreen, side windows and
air vents,
-
w
indscreen, side windows, air
vents and footwells,
-
w
indscreen, side windows and
footwells,
-
f
ootwells,
-
a
ir vents and footwells,
-
a
ir vents.
3
Comfort
Page 54 of 285

52
7. Air flow adjustment
F Press the "Large fan" button to
increase air flow.
F
P
ress the " Small fan " button to
reduce air flow.
Deactivating the system
F Press the "Small fan" air flow button until
all the bars in the air conditioning screen
go off.
This action deactivates all functions of the air
conditioning system.
The temperature level is no longer controlled.
A slight flow of air can still be felt however,
resulting from the for ward movement of the
vehicle.
Pressing the "Large fan" air flow button again
reactivates the system.
The air flow bars come on progressively.
Avoid driving for long with the system
deactivated (risk of misting and
deterioration of air quality).
The air flow bars go off progressively.
Comfort
Page 55 of 285

53
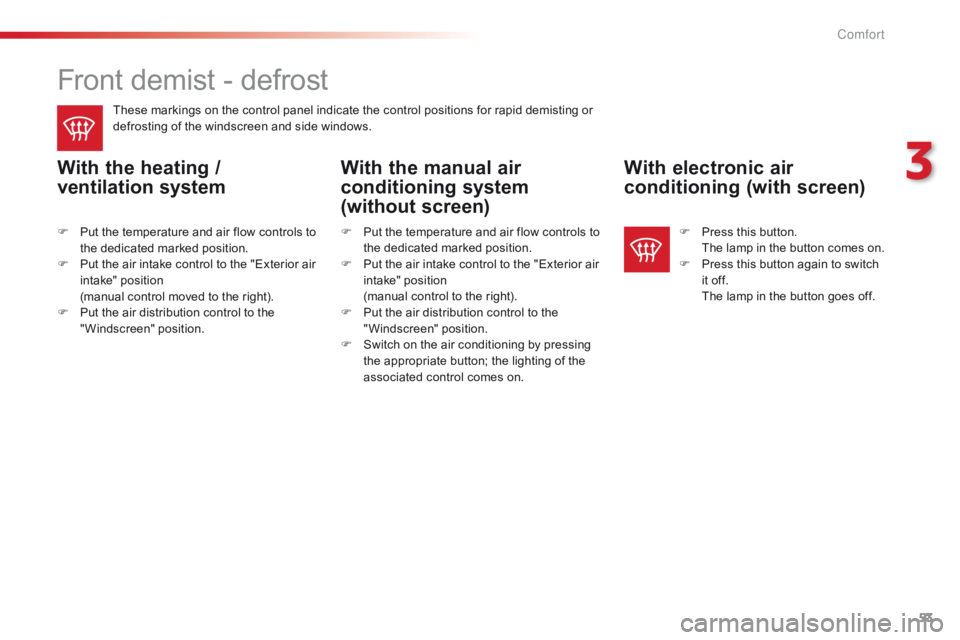
Front demist - defrost
These markings on the control panel indicate the control positions for rapid demisting or
defrosting of the windscreen and side windows.
With the heating /
ventilation systemWith the manual air
conditioning system
(without screen)With electronic air
conditioning (with screen)
F Put the temperature and air flow controls to
the dedicated marked position.
F
P
ut the air intake control to the "Exterior air
intake" position
(
manual control moved to the right).
F
P
ut the air distribution control to the
"Windscreen" position. F
P ress this button. T
he lamp in the button comes on.
F
P
ress this button again to switch
it off.
T
he lamp in the button goes off.
F
P ut the temperature and air flow controls to
the dedicated marked position.
F
P
ut the air intake control to the "Exterior air
intake" position
(
manual control to the right).
F
P
ut the air distribution control to the
"Windscreen" position.
F
S
witch on the air conditioning by pressing
the appropriate button; the lighting of the
associated control comes on.
3
C
Page 56 of 285

54
Rear screen demist - defrost
The control button is located on the heating / ventilation or air conditioning system control
panel.
Switching on
The rear screen demisting/defrosting can only
operate when the engine is running.
F
P
ress this button to demist /defrost the
rear screen and (depending on version)
the door mirrors. The indicator lamp
associated with the button comes on.
Switching off
The demisting/defrosting switches off
automatically to prevent an excessive
consumption of current.
F
I
t is possible to stop the demisting/
defrosting operation before it is switched
off automatically by pressing the button
again. The indicator lamp associated with
the button goes off.
F
S
witch off the demisting/defrosting of the
rear screen and door mirrors, if fitted,
as soon as appropriate, as lower current
consumption results in reduced fuel
consumption.
Heated lower windscreen*
In cold conditions, the heated rear window
switch also allows the lower windscreen to be
heated, so as to free the wiper blades when
frozen to the glass by frost or snow.
The function is active when the ambient
temperature is below 0°C.
* Depending on country of sale.
Comfort
Page 57 of 285

55
Interior fittings
1. Sun visor
2. Glove box
(
see details on a following page)
3.
D
oor pockets
4.
O
pen storage compar tment
5.
As
htray / Cup holder
6.
U
SB por t / Jack socket
Ci
garette lighter / 12 V accessor y
socket
(
see details on a following page)
7.
C
entral armrest with storage
or
A
shtray holder / Cup holder / Bottle
holder
4
Fittings
Page 58 of 285

56
Glove box
Sun visor
Provides protection against sunlight from the
front or the side.
The passenger's sun visor is fitted with a vanity
mirror with concealing flap and a ticket holder. It can b e used to hold a water bottle, the
vehicle's handbook pack...
Depending on version, it may have a lid. In this
case:
F
T
o open the glove box, raise the handle.
It houses the front passenger airbag
deactivation switch A.
Fittings
Page 59 of 285

57
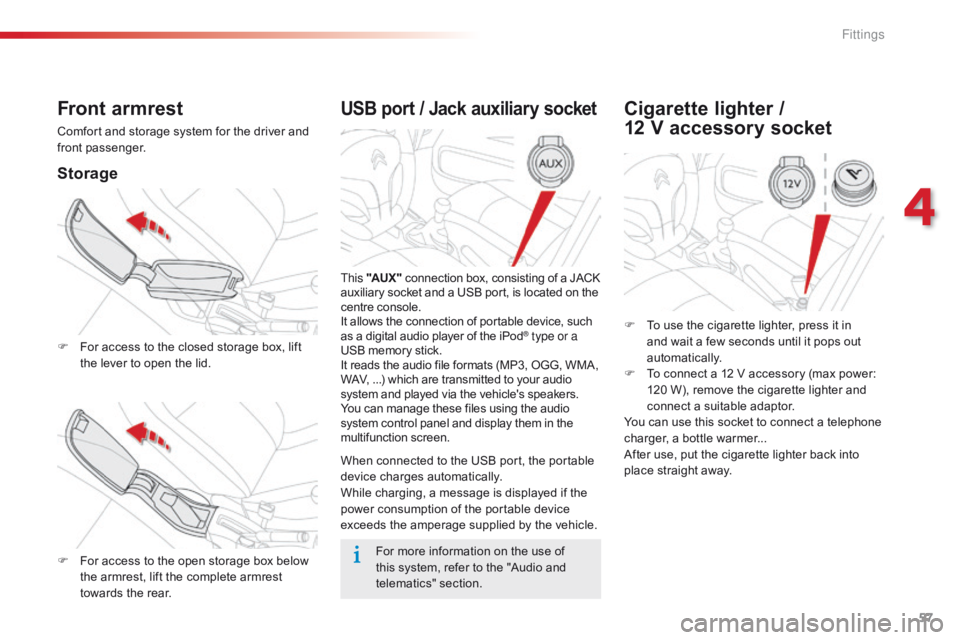
USB port / Jack auxiliary socket
This "AUX " connection box, consisting of a JACK
auxiliary socket and a USB port, is located on the
centre console.
It allows the connection of portable device, such
as a digital audio player of the iPod
® type or a
USB memory stick.
It reads the audio file formats (MP3, OGG, WMA,
WAV, ...) which are transmitted to your audio
system and played via the vehicle's speakers.
You can manage these files using the audio
system control panel and display them in the
multifunction screen.
When connected to the USB port, the portable
device charges automatically.
While charging, a message is displayed if the
power consumption of the portable device
exceeds the amperage supplied by the vehicle.
Front armrest
Comfort and storage system for the driver and
front passenger.
Storage
F For access to the closed storage box, lift
the lever to open the lid.
F
F
or access to the open storage box below
the armrest, lift the complete armrest
towards the rear.
Cigarette lighter /
12 V accessory socket
F To use the cigarette lighter, press it in
and wait a few seconds until it pops out
automatically.
F
T
o connect a 12 V accessory (max power:
120 W), remove the cigarette lighter and
connect a suitable adaptor.
You can use this socket to connect a telephone
charger, a bottle warmer...
After use, put the cigarette lighter
back into
place straight away.
For more information on the use of
this system, refer to the "Audio and
telematics" section.
4
Fittings
Page 60 of 285

58
Boot fittings
1. Boot lamp
2. Storage box
(
see details on a following page)
Fittings