key CITROEN C-ELYSÉE 2016 Owners Manual
[x] Cancel search | Manufacturer: CITROEN, Model Year: 2016, Model line: C-ELYSÉE, Model: CITROEN C-ELYSÉE 2016Pages: 260, PDF Size: 7.11 MB
Page 3 of 260
Keysafety warning
additional
in
formation
contributes to the protection of the environment
refer to the page indicated
CITROËN has a presence on every continent,
a complete product range,
bringing
together technology and a permanent spirit of innovation,
for
a modern and creative approach to mobility.
We
thank you and congratulate you on your choice.
Happy motoring!
At the wheel of your new vehicle,
getting to know each system,
each
control, each setting,
makes
your trips, your journeys
more
comfortable and more enjoyable.
This handbook has been designed to help to make the most of your C-ELYSEE in all circumstances and in
c
omplete safety.
Take
the time to read through it so as to familiarise
y
ourself with your vehicle.
This
handbook covers all of the variations in equipment
a
vailable across the whole C-ELYSEE range.
Your
vehicle will be fitted with only some of the
e
quipment described in this document, depending on its
t
rim level, version and the specification for the country in
w
hich it was sold.
The
descriptions and illustrations are given as indications
o
n l y.
Automobiles
CITROËN reserves the right to modify the
t
echnical characteristics, equipment and accessories
w
ithout having to update this edition of the handbook.
This
document forms an integral part of your vehicle.
R
emember to pass it on to the new owner in the event of
t
he sale of the vehicle.
Page 4 of 260
.
.
C-elysee_en_Chap00a_sommaire_ed01-2016
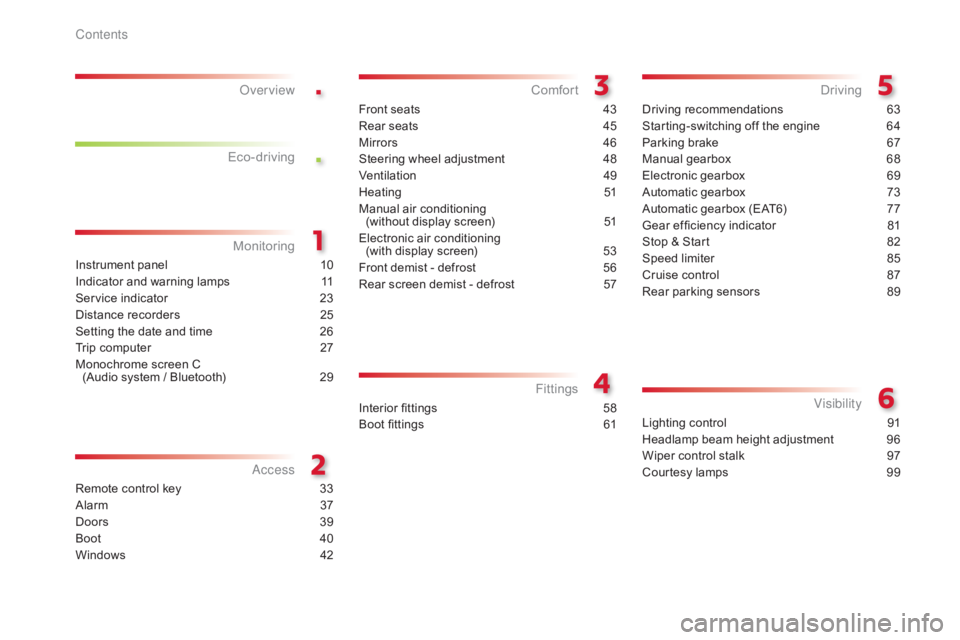
Instrument panel 10
Indicator and warning lamps
1
1
Service
indicator
2
3
Distance
recorders
2
5
Setting
the date and time
2
6
Trip
computer
2
7
Monochrome
screen C
(Audio
system / Bluetooth)
2
9
MonitoringOver view
Remote control key 3
3
Alarm
3
7
Doors
39
Boo
t
4
0
Windows
4
2
Access
Front seats 43
Rear seats
4
5
Mirrors
4
6
Steering
wheel adjustment
4
8
Ventilation
4
9
Heating
5
1
Manual
a
ir
c
onditioning
(
without display screen)
5
1
Electronic
air conditioning
(with
display screen)
5
3
Front
demist - defrost
5
6
Rear
screen demist - defrost
5
7
Comfort
Driving recommendations 63
Starting-switching off the engine
6
4
Parking
brake
6
7
Manual
g
earbox
6
8
Electronic
gearbox
6
9
Automatic
gearbox
7
3
Automatic
gearbox (EAT6)
7
7
Gear
ef ficiency indicator
8
1
Stop
& Start
8
2
Speed
limiter
8
5
Cruise
control
87
R
ear parking sensors
8
9
Driving
Lighting control 91
Headlamp beam height adjustment
9
6
Wiper
control stalk
9
7
Courtesy
lamps
9
9
Visibility
Eco-drivingInterior fittings 5
8
Boot fittings
6
1
Fittings
Contents
Page 15 of 260
13
C-elysee_en_Chap01_controle-de-marche_ed01-2016
C-elysee_en_Chap01_controle-de-marche_ed01-2016
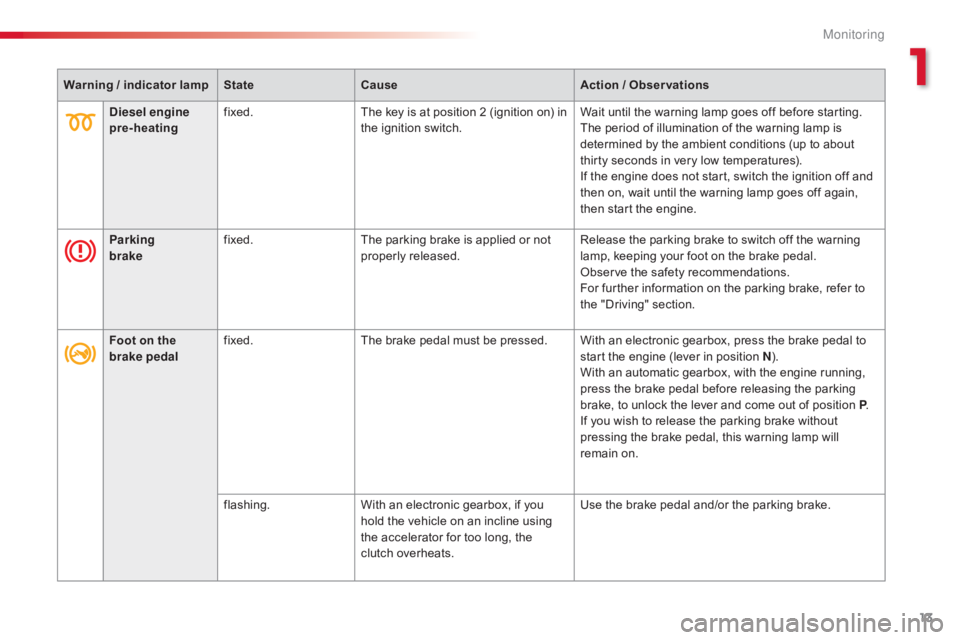
Warning / indicator lampStateCause Action / Observations
Diesel engine
pre-heating fixed.
The
key is at position 2 (ignition on) in
t
he ignition switch.Wait
until the warning lamp goes off before starting.
The
period of illumination of the warning lamp is
d
etermined by the ambient conditions (up to about
t
hirty seconds in very low temperatures).
If
the engine does not start, switch the ignition off and
t
hen on, wait until the warning lamp goes off again,
t
hen start the engine.
Parking
brake fixed.
The
parking brake is applied or not
p
roperly
r
eleased.Release
the parking brake to switch off the warning
l
amp, keeping your foot on the brake pedal.
Observe
the safety recommendations.
For
further information on the parking brake, refer to
t
he "Driving" section.
Foot on the
brake pedal fixed.
The
brake pedal must be pressed. With an electronic gearbox, press the brake pedal to
s
tart the engine (lever in position N).
W
ith an automatic gearbox, with the engine running,
p
ress the brake pedal before releasing the parking
b
rake, to unlock the lever and come out of position P.
If
you wish to release the parking brake without
p
ressing the brake pedal, this warning lamp will
r
emain on.
flashing. With
an electronic gearbox, if you
h
old the vehicle on an incline using
t
he accelerator for too long, the
c
lutch overheats.Use
the brake pedal and/or the parking brake.
1
Monitoring
Page 35 of 260
33
C-elysee_en_Chap02_ouvertures_ed01-2016
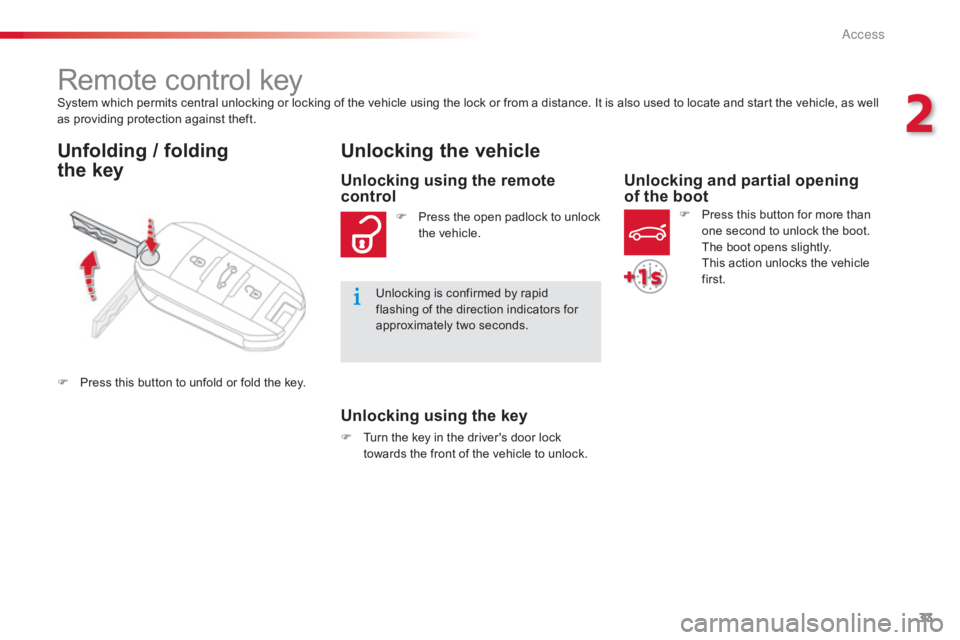
System which permits central unlocking or locking of the vehicle using the lock or from a distance. It is also used to locate and start the vehicle, as well as providing protection against theft.
Remote control key
Unfolding / folding
the key Unlocking the vehicle
Unlocking using the key
F Turn
the key in the driver's door lock t
owards the front of the vehicle to unlock.
Unlocking using the remote
control
F Press the open padlock to unlock t
he vehicle.
Unlocking
is confirmed by rapid
f
lashing of the direction indicators for
a
pproximately two seconds.
F
P
ress
this
button
to
unfold
or
fold
the
key.
Unlocking and partial opening
of the boot
F Press this button for more than o
ne second to unlock the boot.
T
he boot opens slightly.
T
his action unlocks the vehicle
f
irst.
2
Access
Page 36 of 260
34
C-elysee_en_Chap02_ouvertures_ed01-2016
If one of the doors or the boot is still open, the central locking does not
t
ake place; the vehicle locks then
i
mmediately unlocks, identifiable by the
s
ound of the locks rebounding.
When
the vehicle is locked, if it is
u
nlocked inadvertently, it will lock
a
gain automatically after thirty seconds
u
nless a door or the boot is open.
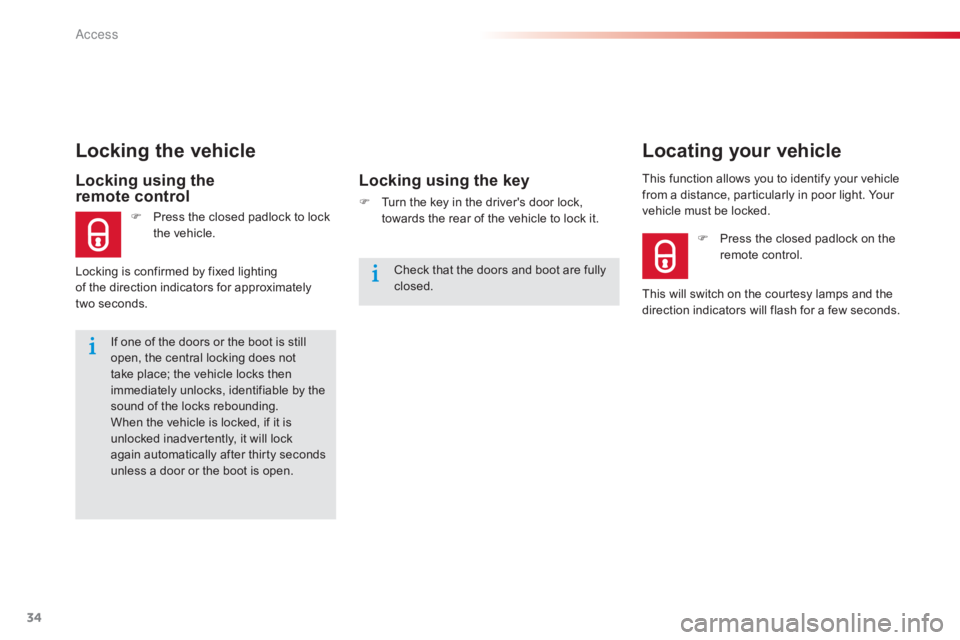
Locking using the
remote control
F Press the closed padlock to lock t
he vehicle.
Locking the vehicle
Locking is confirmed by fixed lighting
o f the direction indicators for approximately
two
seconds.
Locking using the key
F Turn the key in the driver's door lock, t
owards the rear of the vehicle to lock it.This
function allows you to identify your vehicle f
rom a distance, particularly in poor light. Your v
ehicle must be locked.
Locating your vehicle
F Press the closed padlock on the r
emote control.
This
will
switch on the courtesy lamps and the
d
irection
indicators will flash for a few seconds.
Check
that
the
doors
and
boot
are
fully
c
losed.
Access
Page 37 of 260
35
C-elysee_en_Chap02_ouvertures_ed01-2016
If the problem persists, contact a CITROËN dealer as soon as possible.
If the battery is flat, you are
informed
by
illumination
of
this
w
arning
lamp,
an
audible
signal
a
nd
a
message
in
the
screen.
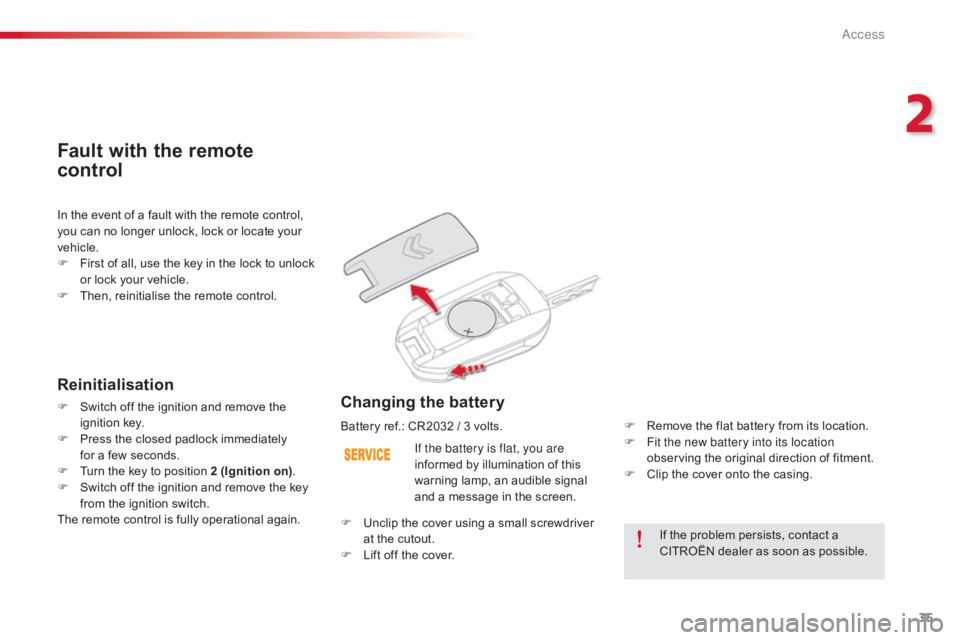
Changing the battery
F Remove
the flat battery from its location.
F F it the new battery into its location
observing
the original direction of fitment.
F
C
lip the cover onto the casing.
In
the
event
of
a
fault
with
the
remote
control,
y
ou
can
no
longer
unlock,
lock
or
locate
your
v
ehicle.
F
F
irst
of
all,
use
the
key
in
the
lock
to
unlock
o
r
lock
your
vehicle.
F
T
hen,
reinitialise
the
remote
control.
Fault with the remote
control
Reinitialisation
F Switch
off the ignition and remove the ig
nition k ey.
F
P
ress the closed padlock immediately
for
a few seconds.
F
T
urn the key to position 2 (Ignition on).
F
S
witch off the ignition and remove the key
f
rom the ignition switch.
The
remote control is fully operational again.Battery
ref.: CR2032 / 3 volts.
F
U
nclip the cover using a small screwdriver
a
t the cutout.
F
L
ift off the cover.
2
Access
Page 38 of 260
36
C-elysee_en_Chap02_ouvertures_ed01-2016
Lost keys
Go to a CITROËN dealer with the vehicle's registration document, your personal identification documents and if possible the key code label.
The
CITROËN dealer will be able to look up the key code and the transponder code
r
equired to order a new key.
Remote control
The high frequency remote control is a sensitive system; do not operate it while it is in your pocket as there is a possibility that it may unlock the vehicle, without you being aware of it.
Do
not repeatedly press the buttons of your remote control out of range and out of sight of
y
our vehicle. You run the risk of stopping it from working and the remote control would have
t
o be reinitialised.
No
remote control can operate when the key is in the ignition switch, even when the ignition
i
s switched off, except for reinitialisation.
Locking the vehicle
Driving with the doors locked may make access to the passenger compartment by the emergency services more difficult in an emergency.
As
a safety precaution, never leave children alone in the vehicle, except for a very short
p
eriod.
In
all cases, it is essential to remove the key from the ignition switch when leaving the vehicle.
Anti-theft protection
Do not make any modifications to the electronic engine immobiliser system; this could cause m alfunctions.
When purchasing a second-hand vehicle
Have the pairing of all of the keys in your possession checked by a CITROËN dealer, to ensure that only your keys can be used to open and start the vehicle.Do
not throw the remote control
b
atteries away, they contain metals
w
hich are harmful to the environment.
Take them to an approved collection
po
int.
Ac
Page 40 of 260
38
C-elysee_en_Chap02_ouvertures_ed01-2016
Triggering of the alarm Locking the vehicle without activating the alarm
F Lock the vehicle using the key.
Failure of the remote control
To deactivate the monitoring functions:
F
U
nlock the vehicle using the key.
F
O
pen the door; the alarm is triggered.
F
S
witch on the ignition; the alarm stops.
Faults
This is indicated by sounding of the siren
a nd flashing of the direction indicators for
thirty
seconds.
When
the ignition is switched on, fixed
i
llumination of the indicator lamp indicates a
f
ault with the system.
Have
it checked by a CITROËN dealer or a
q
ualified
w
orkshop.
When
the vehicle is unlocked using
t
he remote control, rapid flashing
o
f the indicator lamp informs you
t
hat the alarm was triggered during
y
our absence. When the ignition
i
s switched on, this flashing stops
i
mmediately.
Access
Page 41 of 260

39
C-elysee_en_Chap02_ouvertures_ed01-2016
Doors
From outside
F After unlocking the vehicle using the r
emote control or the key, pull the door
han
dle.
Opening
From inside
F Pull the interior control lever of a front door; t
his unlocks the vehicle completely. -
w
hen the engine is running
,
this warning lamp comes on,
a
ccompanied by a message in
t
he multifunction screen for
a few seconds,
-
w
hen the vehicle is moving (speed
h
igher than 6 mph (10 km/h)), this warning
l
amp comes on, accompanied by an
a
udible signal and a message in the
m
ultifunction screen for a few seconds.
Closing
When a door is not closed correctly:
Secondary control
For mechanically locking and unlocking the d
oors in the event of a fault with the central
l
ocking system or a battery failure.
Driver's door
Insert the key in the lock to lock or unlock the do o r.
Passenger doors
F On the rear doors, check that the child lock i
s not on.
F
R
emove the black cap located on the edge
o
f the door, using the key.
F
I
nsert the key into the aperture without
f
orcing, then without turning, move the latch
s
ideways towards the inside of the door.
F
R
emove the key and refit the cap.
2
Access
Page 44 of 260

42
C-elysee_en_Chap02_ouvertures_ed01-2016
Windows
Electric controls Manual controls
The electric window switches remain operational for about 45 seconds after
s
witching off the ignition or until a front
d
oor is opened. During this period of
4
5 seconds, if you open a door while
o
perating a window, the window stops.
O
perating the switch again has no
e
ffect until the ignition is switched on
ag
ain. Always
remove the key from the ignition
w
hen leaving the vehicle, even for a
s
hort time.
In the event of contact during operation
o
f the windows, you must reverse the
m
ovement of the window. To do this,
p
ress the switch concerned.
When operating the passenger electric w
indow switches, the driver must e
nsure that no one is preventing correct
c
losing of the windows.
The
driver must ensure that the
p
assengers use the electric windows
c
o r r e c t l y.
Be
particularly aware of children when
o
perating
t
he
w
indows.
1.
L
eft hand front electric window.
2.
R
ight hand front electric window.
3.
R
ight hand rear electric window.
4.
L
eft hand rear electric window.
5.
D
eactivating the rear electric window
switches .
To
open or close the window, press or pull the
s
witch.
T
he
w
indow
s
tops
a
s
s
oon
a
s
t
he
s
witch
i
s
r
eleased.
Turn
the
window
winder
located
on
the
door
t
rim
pan
el.
Deactivating the rear window
controls
For the safety of your children, press switch 5
t o prevent operation of all of the windows,
i
rrespective of their position.
With
the warning lamp on, the switches are
d
eactivated. With the warning lamp off, the
s
witches are active.
Model with front electric windows
Model with front and rear electric windows
Access