light CITROEN C-ELYSÉE 2022 Handbook (in English)
[x] Cancel search | Manufacturer: CITROEN, Model Year: 2022, Model line: C-ELYSÉE, Model: CITROEN C-ELYSÉE 2022Pages: 260, PDF Size: 8.4 MB
Page 44 of 260

42
Deactivation
If you put the air flow control in the 0 position,
t he temperature is no longer controlled.
A slight flow of air can still be felt, resulting from
the for ward movement of the vehicle.
Air distribution
Windscreen and side windows.
Windscreen, side windows and
footwells.
Footwells.
Centre and side air vents,
footwells.
Central and side vents.
The air distribution can be adapted
by placing the thumb wheel in an
intermediate position or by closing
the vents.
Air intake / Air recirculation
Recirculation of the interior air isolates the
passenger compartment from exterior odours
and fumes.
Return to exterior air intake as soon as possible
to avoid deterioration of the air quality and the
formation of mist.
F
M
ove the manual control to the
left for the "Recirculation of
interior air" position.
F
M
ove the manual control to the
right to return to the "Exterior air
intake" position.
Manual air conditioning
(without display screen)
This system operates only with the engine
running.
1 Temperature.
2 A ir f low.
3 Air distribution.
4 Air intake / Air recirculation.
5 Air conditioning.
Temperature
F Turn the thumb wheel from
blue (cold) to red (hot) to adjust
the temperature to your liking.
Air flow
F Turn the thumb wheel to obtain a comfortable air flow.
Ease of use and comfort
Page 45 of 260

43
Deactivation
If you put the air flow control in the 0 position,
t he temperature is no longer controlled.
A slight flow of air can still be felt, resulting from
the for ward movement of the vehicle.
Air distribution
Windscreen and side windows.
Windscreen, side windows and
footwells.
Footwells.
Centre and side air vents,
footwells.
Central and side vents.
The air distribution can be adapted
by placing the thumb wheel in an
intermediate position or by closing
the vents.
Air intake / Air recirculation
Recirculation of the interior air isolates the
passenger compartment from exterior odours
and fumes.
Return to exterior air intake as soon as possible
to avoid deterioration of the air quality and the
formation of mist.
F
M
ove the manual control to the
left for the "Recirculation of
interior air" position.
F
M
ove the manual control to the
right to return to the "Exterior air
intake" position.
Air conditioning
The air conditioning is designed to operate
efficiently in all seasons, with the windows
closed.
It allows you:
-
i
n summer, to lower the temperature,
-
i
n winter, to increase the effectiveness of
the demisting, above 3°C.
Switching on
F Press this button, its indicator lamp comes on.
The air conditioning does not operate
when the air flow adjustment control is in
position "0".
Faster cool air
To obtain cool air more quickly, you can
use recirculation of the interior air for a few
moments. F
M
ove the manual control to the
left for the "Recirculation of
interior air" position.
F
T
hen, move the manual control
to the right to return to the
"Exterior air intake" position.
Switching off
F Press this button again, its indicator lamp goes off.
Switching the system off could result in
discomfort (humidity, condensation).
3
Ease of use and comfort
Page 47 of 260

45
Air distribution
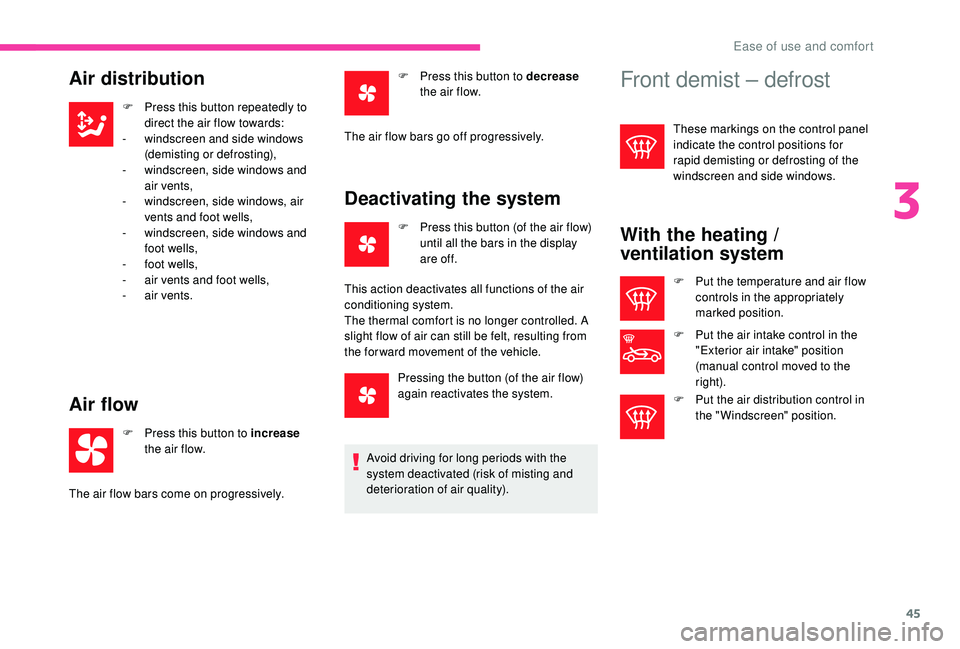
F Press this button repeatedly to direct the air flow towards:
-
w
indscreen and side windows
(demisting or defrosting),
-
w
indscreen, side windows and
air vents,
-
w
indscreen, side windows, air
vents and foot wells,
-
w
indscreen, side windows and
foot wells,
-
f
oot wells,
-
a
ir vents and foot wells,
-
a
ir vents.
Air flow
F Press this button to increase
the air flow.
Deactivating the system
F Press this button (of the air flow) until all the bars in the display
are of f.
F
P
ress this button to decrease
the air flow.
The air flow bars come on progressively. The air flow bars go off progressively.
This action deactivates all functions of the air
conditioning system.
The thermal comfort is no longer controlled. A
slight flow of air can still be felt, resulting from
the for ward movement of the vehicle.
Pressing the button (of the air flow)
again reactivates the system.
Avoid driving for long periods with the
system deactivated (risk of misting and
deterioration of air quality).
Front demist – defrost
These markings on the control panel
indicate the control positions for
rapid demisting or defrosting of the
windscreen and side windows.
With the heating /
ventilation system
F Put the temperature and air flow controls in the appropriately
marked position.
F
P
ut the air intake control in the
"Exterior air intake" position
(manual control moved to the
right).
F
P
ut the air distribution control in
the "Windscreen" position.
3
Ease of use and comfort
Page 48 of 260

46
With the manual air
conditioning system
(without screen)
F Put the temperature and air flow controls in the appropriately
marked position.
F
P
ut the air intake control in the
"Exterior air intake" position
(manual control moved to the
right).
F
P
ut the air distribution control in
the "Windscreen" position.
F
S
witch on the air conditioning by
pressing the appropriate button;
the lighting of the associated
control comes on.
With the electronic air
conditioning system (with
screen)
F Press this button.
The button indicator lamp comes on.
F
P
ress this button again to switch
it of f.
The button indicator lamp goes off.
Heated lower windscreenRear screen demist –
defrost
Switching on
Demisting – defrosting of the rear screen can
only function when the engine is running.
Switching off
Defrosting switches off automatically to prevent
excessive electrical consumption.
F
T
he front defrosting operation
can be stopped before it turns
off automatically by pressing the
button again.
The indicator lamp associated with the button
goes off.
The function is active when the exterior
temperature is below 0°C.
(Depending on the country of sale.)
F
P
ress this button to demist /
defrost the rear screen and
(depending on version) the
door mirrors. The indicator
lamp associated with the button
comes on.
In cold conditions, the heated rear screen
switch also allows the lower windscreen to be
heated, so as to free the wiper blades when
frozen to the glass by frost or snow.
Ease of use and comfort
Page 50 of 260

48
Fittings
Glove box
It can be used to hold a water bottle, the
vehicle's handbook pack, etc.
Depending on version, it may have a lid. In this
case:
F
T
o open the glove box, raise the handle.
Removable ashtray
F Raise the cover to open the ashtray.
F T o empty it, with the cover raised, pull the
ashtray upward.
It contains the front passenger airbag
deactivation switch.
To avoid any problem of inter ference
or risk of overturning, do not place the
ashtray near the gear lever.
Sun visor
Provides protection against sunlight from the
front or the side.
The passenger's sun visor is fitted with a vanity
mirror with concealing flap and a ticket holder.
If after a long period parked in the
sun, the interior temperature is very
high, first ventilate the passenger
compartment for a few moments.
Put the air flow control at a setting high
enough to quickly change the air in the
passenger compartment.
The air conditioning system does not
contain chlorine and does not present
any danger to the ozone layer.
Stop & Star t
The heating and air conditioning systems
only work when the engine is running.
To maintain a comfortable temperature
in the passenger compartment, you can
temporarily deactivate the Stop & Start
system.
For more information on Stop & Star t ,
refer to the corresponding section.
Ease of use and comfort
Page 51 of 260

49
Front armrest
Comfort and storage system for the driver and
front passenger.
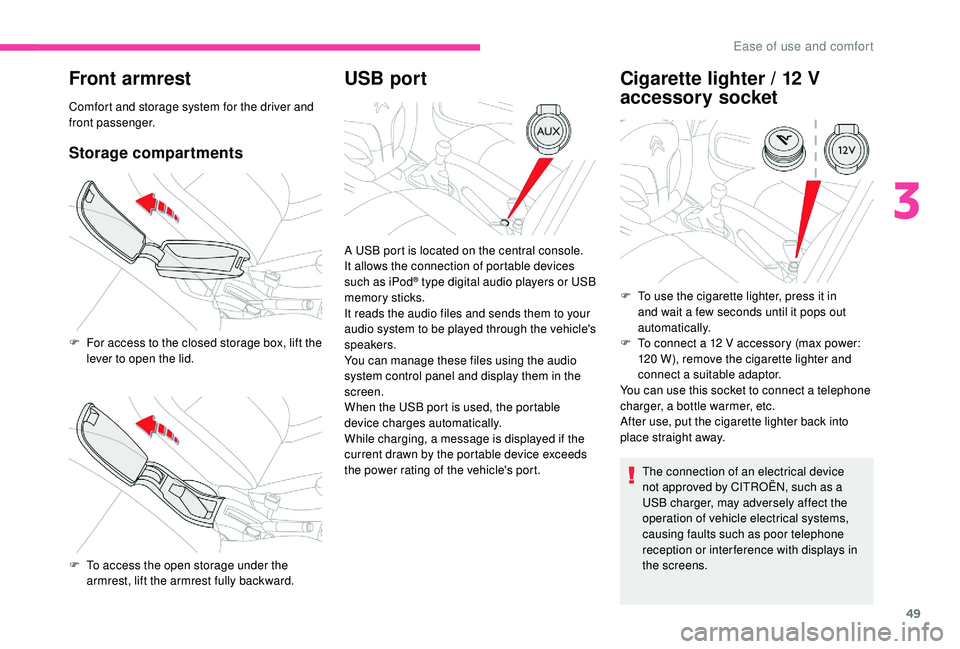
Storage compartments
USB portCigarette lighter / 12 V
accessory socket
The connection of an electrical device
not approved by CITROËN, such as a
USB charger, may adversely affect the
operation of vehicle electrical systems,
causing faults such as poor telephone
reception or inter ference with displays in
the screens.
F
F
or access to the closed storage box, lift the
lever to open the lid.
F
T
o access the open storage under the
armrest, lift the armrest fully backward. A USB port is located on the central console.
It allows the connection of portable devices
such as iPod
® type digital audio players or USB
memory sticks.
It reads the audio files and sends them to your
audio system to be played through the vehicle's
speakers.
You can manage these files using the audio
system control panel and display them in the
screen.
When the USB port is used, the portable
device charges automatically.
While charging, a message is displayed if the
current drawn by the portable device exceeds
the power rating of the vehicle's port. F
T o use the cigarette lighter, press it in
and wait a few seconds until it pops out
automatically.
F
T
o connect a 12 V accessory (max power:
120
W), remove the cigarette lighter and
connect a suitable adaptor.
You can use this socket to connect a telephone
charger, a bottle warmer, etc.
After use, put the cigarette lighter back into
place straight away.
3
Ease of use and comfort
Page 53 of 260

51
Lighting control
In some weather conditions (e.g. low
temperature or humidity), the presence
of misting on the internal sur face of the
glass of the headlamps and rear lamps is
normal; it disappears after the lamps have
been on for a few minutes.
Travelling abroad
The design of the dipped beam headlamps
allows, without modification, driving in a
country that drives on the other side of
the road than the country in which your
vehicle was sold.
Selection ring for main
lighting mode
Lamps off (ignition off) / Daytime
running lamps (engine running).
Sidelamps only.
Dipped or main beam headlamps.
Dipping the headlamps
Pull the lever to switch the lighting
between dipped and main beam
headlamps.
When the lamps are off or only the sidelamps
are on, the driver can switch on the main beam
headlamps (headlamp flash) by pulling and
releasing the stalk.
Display
Turn to align the desired symbol with the mark. Illumination of the corresponding indicator
lamp in the instrument panel confirms that the
lighting selected is on.
Foglamp selection ring
The foglamps operate with the dipped and main
beam headlamps.
Rear foglamp only
F To switch it on, turn the ring for wards.
F
T o switch it off, turn the ring rear wards.
4
Lighting and visibility
Page 54 of 260

52
Front foglamps and rear foglamp
Turn and release the ring:
F O nce for wards to switch the front foglamps
on.
F
A s
econd time for wards to switch the rear
foglamp on.
F
O
nce rearwards to switch the rear foglamp
of f.
F
A s
econd time rear wards to switch the front
foglamps off.
The foglamps and sidelamps remain on if the
dipped beams are switched off manually.
F
T
urn the ring rear wards to switch the
foglamps off; the sidelamps will then switch
of f. In good or rainy weather, both day and
night, using the front foglamps and the
rear foglamp is prohibited. In these
situations, the power of their beams may
dazzle other drivers. They should only be
used in fog or falling snow.
In these weather conditions, it is your
responsibility to switch on the foglamps
and dipped headlamps manually as the
sunshine sensor may detect sufficient
light.
Do not forget to turn off the front foglamps
and the rear foglamp as soon as they are
no longer necessary.
Switching off the lamps when the
ignition is switched off
On switching off the ignition, all of the
lamps turn off immediately, except for
the dipped beams if automatic guide-me-
home lighting is activated.
Switching on the lamps after switching
off the ignition
To reactivate the lighting control, rotate
the ring to the "0" position – lamps off,
then to the desired position.
When the driver's door is opened, a
temporary audible signal warns you that
the vehicle's lamps are on.
The lamps, with the exception of the
sidelamps, switch off automatically after
a maximum duration of thirty minutes to
prevent discharging of the battery.
Daytime running lamps
(Depending on the country of sale.)
When starting the vehicle, the daytime running
lamps come on automatically, if the lighting
control is in the "0" position.
The daytime running lamps go off
when the sidelamps and dipped
beam headlamps are switched on.
This function cannot be deactivated.
Lighting and visibility
Page 55 of 260

53
Manual guide-me-home
lighting
The temporary illumination of the dipped beam
headlamps after the vehicle's ignition has been
switched off makes the driver's exit easier
when the light is poor.
Switching on
F With the ignition off, "flash" the headlamps using the lighting stalk.
F
A f
urther "headlamp flash" switches the
function off.
Switching off
The manual guide-me-home lighting goes off
automatically at the end of a given period of
time.
Automatic guide-me-home
lighting
When the automatic headlamp illumination
function is activated (lighting control stalk in the
" AUTO " position), if the ambient light is poor the
dipped beam headlamps remain on when the
ignition is switched off.
With audio system
The guide-me-home lighting can be
configured in the " Personalisation-
configuration " menu.
With touch screen
The guide-me-home lighting can be
configured in the " Driving / Vehicle "
menu.
Direction indicators
Three flashes
F Press briefly upwards or downwards, without going beyond the point of
resistance; the direction indicators will flash
3
times.
F
L
eft: lower the lighting control stalk passing
the point of resistance.
F
R
ight: raise the lighting control stalk passing
the point of resistance.
4
Lighting and visibility
Page 56 of 260

54
Headlamp adjustment
To avoid causing a nuisance to other road
users, the height of the headlamp beams
should be adjusted according to the load in the
vehicle.
Depending on the version, this adjustment can
be carried out using the control located:
-
U
nder the bonnet.
-
T
o the left of the steering wheel
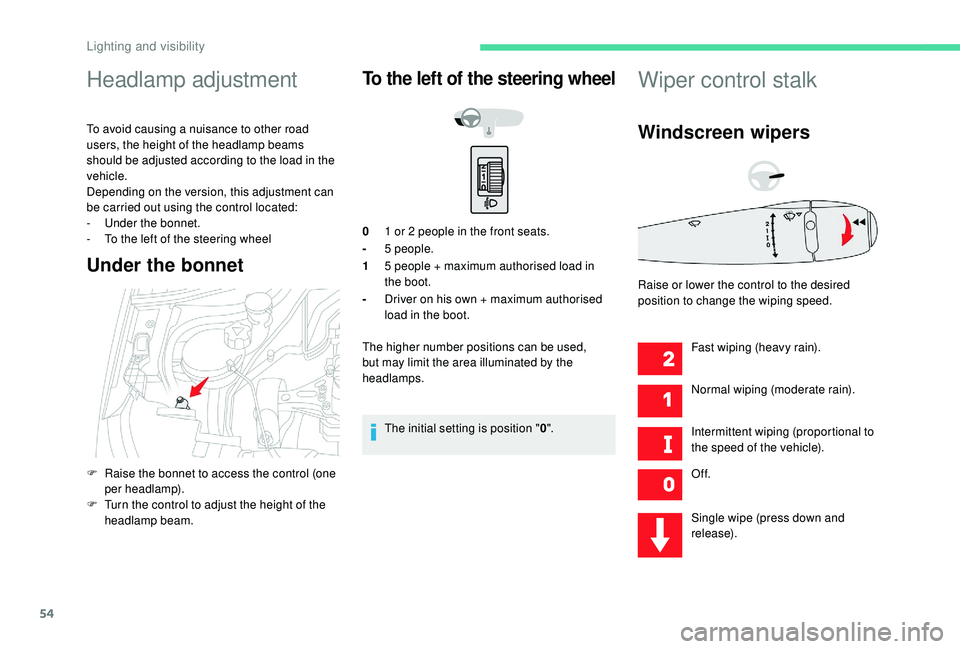
Under the bonnet
To the left of the steering wheel
01 or 2 people in the front seats.
- 5
people.
1 5
people + maximum authorised load in
the boot.
- Driver on his own + maximum authorised
load in the boot.
The higher number positions can be used,
but may limit the area illuminated by the
headlamps.
The initial setting is position " 0".
Wiper control stalk
Windscreen wipers
Fast wiping (heavy rain).
Normal wiping (moderate rain).
Intermittent wiping (proportional to
the speed of the vehicle).
Of f.
Single wipe (press down and
release).
F
R
aise the bonnet to access the control (one
per headlamp).
F
T
urn the control to adjust the height of the
headlamp beam. Raise or lower the control to the desired
position to change the wiping speed.
Lighting and visibility