key CITROEN C-ELYSÉE 2022 Handbook (in English)
[x] Cancel search | Manufacturer: CITROEN, Model Year: 2022, Model line: C-ELYSÉE, Model: CITROEN C-ELYSÉE 2022Pages: 260, PDF Size: 8.4 MB
Page 160 of 260
12
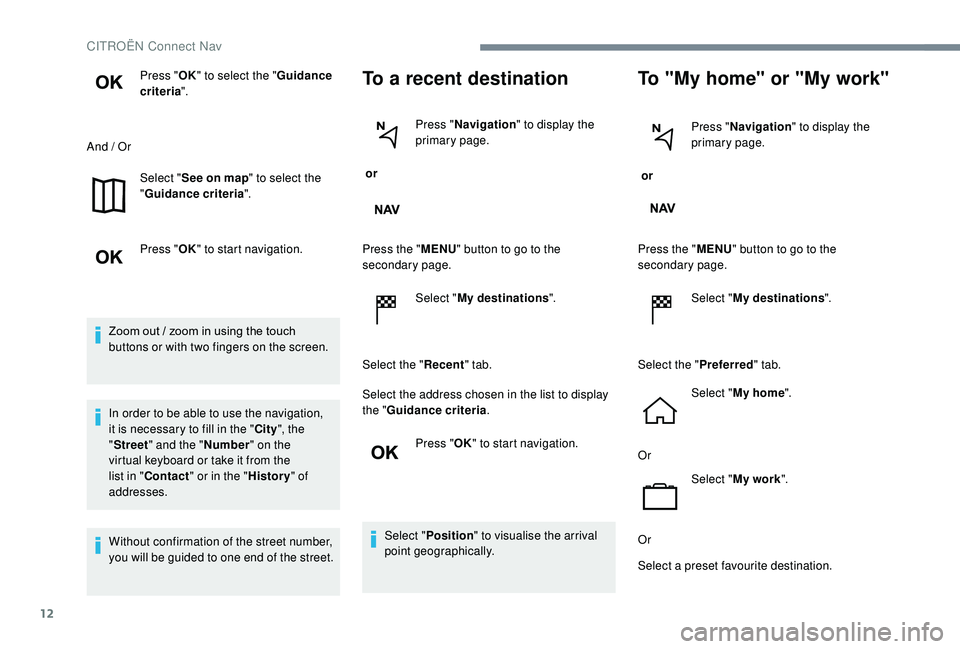
Press "OK" to select the " Guidance
criteria ".
And / Or Select "See on map " to select the
" Guidance criteria ".
Press " OK" to start navigation.
Zoom out / zoom in using the touch
buttons or with two fingers on the screen.
In order to be able to use the navigation,
it is necessary to fill in the " City", the
" Street " and the " Number" on the
virtual keyboard or take it from the
list in " Contact " or in the " History" of
addresses.
Without confirmation of the street number,
you will be guided to one end of the street.To a recent destination
or Press "
Navigation " to display the
primary page.
Press the " MENU" button to go to the
secondary page.
Select "My destinations ".
Select the " Recent" tab.
Select the address chosen in the list to display
the " Guidance criteria .
Press " OK" to start navigation.
Select " Position " to visualise the arrival
point geographically.
To "My home" or "My work"
or Press "
Navigation " to display the
primary page.
Press the " MENU" button to go to the
secondary page.
Select "My destinations ".
Select the " Preferred" tab.
Select " My home ".
Or Select "My work ".
Or
Select a preset favourite destination.
CITROËN Connect Nav
Page 162 of 260
14
To GPS coordinates
or Press "
Navigation " to display the
primary page.
Explore the map by sliding a finger on the
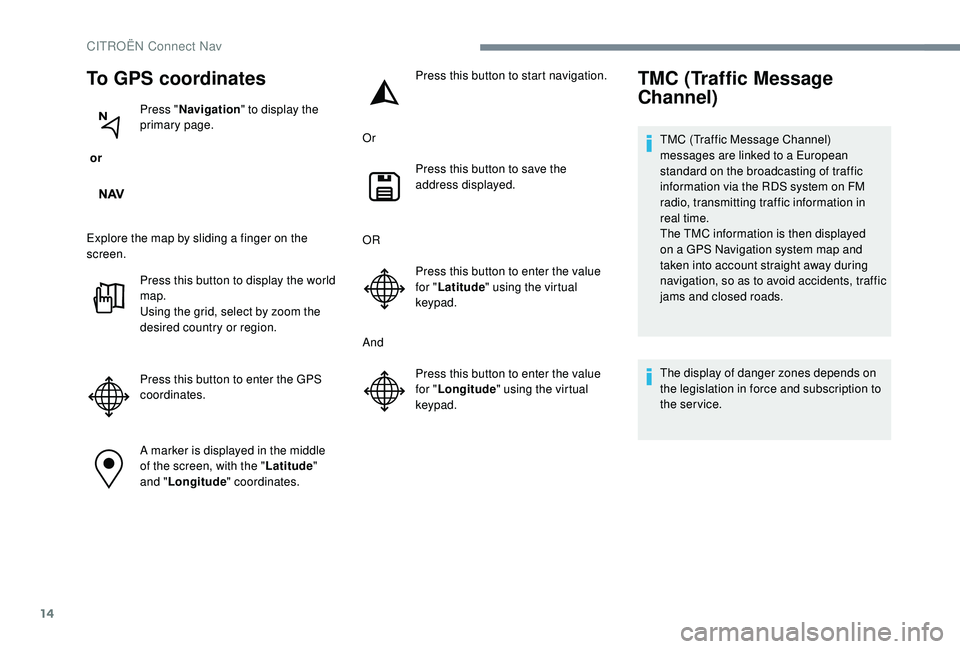
screen. Press this button to display the world
map.
Using the grid, select by zoom the
desired country or region.
Press this button to enter the GPS
coordinates.
A marker is displayed in the middle
of the screen, with the " Latitude"
and " Longitude " coordinates. Press this button to start navigation.
Or Press this button to save the
address displayed.
OR Press this button to enter the value
for "Latitude " using the virtual
keypad.
And Press this button to enter the value
for "Longitude " using the virtual
keypad.
TMC (Traffic Message
Channel)
TMC (Traffic Message Channel)
messages are linked to a European
standard on the broadcasting of traffic
information via the RDS system on FM
radio, transmitting traffic information in
real time.
The TMC information is then displayed
on a GPS Navigation system map and
taken into account straight away during
navigation, so as to avoid accidents, traffic
jams and closed roads.
The display of danger zones depends on
the legislation in force and subscription to
the service.
CITROËN Connect Nav
Page 165 of 260
17
To distribute information on the
declaration of danger zones, you should
check the option: "Allow declaration of
danger zones ".
or Press "
Navigation " to display the
primary page.
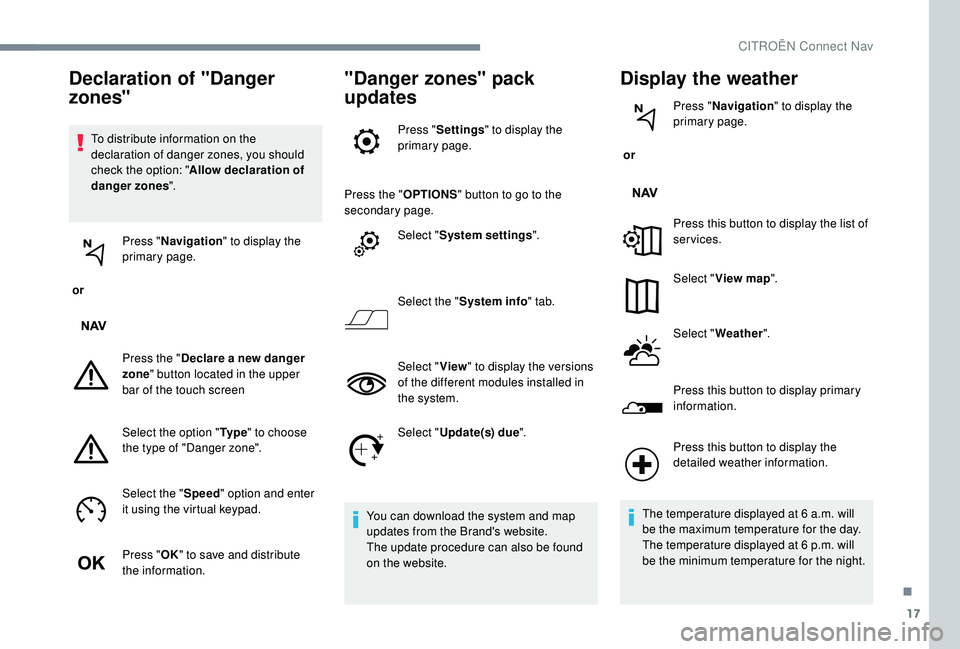
Press the " Declare a new danger
zone " button located in the upper
bar of the touch screen
Select the option " Ty p e" to choose
the type of "Danger zone".
Select the " Speed" option and enter
it using the virtual keypad.
Press " OK" to save and distribute
the information.
"Danger zones" pack
updates
Press " Settings " to display the
primary page.
Press the " OPTIONS" button to go to the
secondary page.
Select "System settings ".
Select the " System info " tab.
Select " View" to display the versions
of the different modules installed in
the system.
Select " Update(s) due ".
You can download the system and map
updates from the Brand's website.
The update procedure can also be found
on the website.
Display the weather
or Press "
Navigation " to display the
primary page.
Press this button to display the list of
services.
Select " View map ".
Select " Weather ".
Press this button to display primary
information.
Declaration of "Danger
zones"
Press this button to display the
detailed weather information.
The temperature displayed at 6
a.m. will
be the maximum temperature for the day.
The temperature displayed at 6
p.m. will
be the minimum temperature for the night.
.
CITROËN Connect Nav
Page 170 of 260
22
Connection sharing
The system offers to connect the telephone
with 3 profiles:
-
"Telephone " (hands-free kit, telephone
only),
-
"Streaming " (streaming: wireless playing of
the audio files on the telephone),
-
"Mobile internet data ".
The " Mobile internet data " profile
must be activated for connected
navigation (where the vehicle does not
have "Emergency and assistance call"
services), having first activated sharing of
this connection on your smartphone.
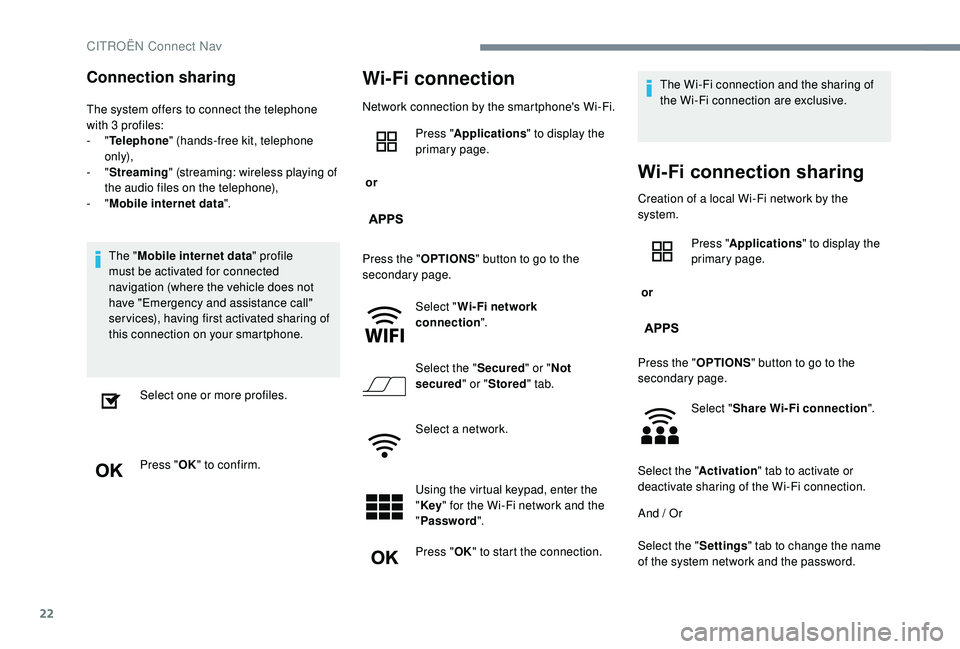
Select one or more profiles.
Press " OK" to confirm.
Wi-Fi connection
Network connection by the smartphone's Wi-Fi.
or Press "
Applications " to display the
primary page.
Press the " OPTIONS" button to go to the
secondary page.
Select "Wi- Fi network
connection ".
Select the " Secured" or "Not
secured " or "Stored " tab.
Select a network.
Using the virtual keypad, enter the
" Key " for the Wi-Fi network and the
" Password ".
Press " OK" to start the connection. The Wi-Fi connection and the sharing of
the Wi-Fi connection are exclusive.
Wi-Fi сonnection sharing
Creation of a local Wi-Fi network by the
system.
or
Press "
Applications " to display the
primary page.
Press the " OPTIONS" button to go to the
secondary page.
Select "Share Wi-Fi connection ".
Select the " Activation" tab to activate or
deactivate sharing of the Wi-Fi connection.
And / Or
Select the " Settings" tab to change the name
of the system network and the password.
CITROËN Connect Nav
Page 171 of 260
23
Press "OK" to confirm.
To protect against unauthorised access
and make your systems as secure as
possible, the use of a complex security
code or password is recommended.
Managing connections
or Press "
Applications " to display the
primary page.
Press the " OPTIONS" button to go to the
secondary page.
Select "Manage connection ".
With this function you can view the access
to connected ser vices, the availability of
connected services and modify the connection
mode.
Radio
Selecting a station
or Press "
Radio Media " to display the
primary page.
Press " Frequency ".
Press one of the buttons for an
automatic search for radio stations.
Or Move the cursor for a manual search
for frequencies up or down.
Or
or Press "
Radio Media " to display the
primary page. Press the "
OPTIONS" button to go to the
secondary page.
Select "Radio stations " in the
secondary page.
Press " Frequency ".
Enter the values using the virtual
keypad.
First enter the units then click on the
decimals zone to enter the figures
after the decimal point.
Press " OK" to confirm.
Radio reception may be affected by the
use of electrical equipment not approved
by the Brand, such as a USB charger
connected to the 12
V socket.
The external environment (hills, buildings,
tunnels, basement car parks, etc.) may
block reception, including in RDS mode.
This is a normal effect of the way in
which radio waves are transmitted and
does not indicate any failure of the audio
equipment.
.
CITROËN Connect Nav
Page 178 of 260
30
Managing paired telephones
This function allows the connection or
disconnection of a peripheral device as
well as the deletion of a pairing.
or Press "
Telephone " to display the
primary page.
Press the " OPTIONS" button to go to the
secondary page.
Select "Bluetooth connection " to
display the list of paired devices.
Press on the name of the telephone
chosen in the list to disconnect it.
Press again to connect it.
Deleting a telephone
Select the basket at top right of the
screen to display a basket alongside
the telephone chosen.
Press the basket alongside the
telephone chosen to delete it.
Receiving a call
An incoming call is announced by a ring and a
superimposed display in the screen.
Make a short press on the steering
mounted TEL button to accept an
incoming call.
And Make a long press
on the steering mounted TEL button
to reject the call.
or Select "End call".
Making a call
Using the telephone is not recommended
while driving.
Park the vehicle.
Make the call using the steering mounted
controls.
Calling a new number
or Press "
Telephone " to display the
primary page.
Enter the phone number using the
digital keypad.
Press " Call" to start the call.
CITROËN Connect Nav
Page 182 of 260
34
The sound balance / distribution (or
spatialisation with the Arkamys© system) is
audio processing that allows the quality of
the sound to be adapted according to the
number of passengers in the vehicle.
Available only with the front and rear
speakers configuration.
The audio settings Ambience (6
optional
ambiences) and Bass , Medium and
Tr e b l e are different and independent for
each audio source.
Activate or Deactivate " Loudness".
The settings for " Position" (All
passengers, Driver and Front passenger
only) are common to all sources.
Activate or Deactivate " Touch tones",
" Volume linked to speed " and "Auxiliary
input ".
Onboard audio: Arkamys
© Sound Staging
optimises the balance / distribution of
sound in the passenger compartment.
Profile settings
As a safety measure and because it
requires the sustained attention of the
driver, changes to settings must only be
done with the vehicle stationary .
or Press "
Settings " to display the
primary page.
Press the " OPTIONS" button to go to the
secondary page.
Select "Setting of the profiles ".
Select " Profile 1 " or "Profile 2 " or "Profile 3 "
or " Common profile ".
Press this button to enter a name for
the profile using the virtual keypad. Press "
OK" to confirm.
Press this button to add a
photograph to the profile.
Insert a USB memory stick
containing the photograph in the
USB port.
Select the photograph.
Press " OK" to accept the transfer of
the photograph.
Press " OK" again to save the
settings.
The location for the photograph is
square; the system reshapes the original
photograph if in another format.
Press this button to initialise the
profile selected.
CITROËN Connect Nav
Page 184 of 260

36
Selecting the language
or Press "
Settings " to display the
primary page.
Press the " OPTIONS" button to go to the
secondary page.
Select "Languages " to change the
language.
Setting the date
or Press "
Settings " to display the
primary page.
Press the " OPTIONS" button to go to the
secondary page. Select "
Setting the time- date".
Select " Date".
Press on this button to define the
date.
Press " OK" to confirm.
Select the display format of the date.
Adjustment of the time and date is only
available if "GPS synchronisation" is
deactivated.
The change between winter and summer
time is done by changing the time zone.
Setting the time
or Press "
Settings " to display the
primary page.
Press the " OPTIONS" button to go to the
secondary page.
Select "Setting the time- date".
Select " Time".
Press this button to adjust the time
using the virtual keypad.
Press " OK" to confirm.
Press this button to define the time
zone.
CITROËN Connect Nav
Page 196 of 260
2
First steps
With the engine running, a press
mutes the sound.
With the ignition off, a press turns
the system on.
Adjustment of the volume.
Use the buttons either side of or below the
touch screen for access to the menus, then
press the virtual buttons in the touch screen.
Depending on the model, use the "Source" or
"Menu" buttons either side of the touch screen
for access to the menus, then press the virtual
buttons in the touch screen.
You can display the menu at any time by
pressing the screen briefly with three fingers.
All of the touch areas of the screen are white.
Press in the grey zone to go back a level or
confirm.
Press the back arrow to go back a level or
confirm. The touch screen is of the "capacitive"
type.
To clean the screen, use a soft, non-
abrasive cloth (spectacles cloth) with no
additional product.
Do not use sharp objects on the screen.
Do not touch the screen with wet hands.
*
D
epending on equipment. Certain information is displayed permanently in
the upper band of the touch screen:
-
R
epeat of the air conditioning information
(depending on version), and direct access to
the corresponding menu.
-
R
eminder of the Radio Media and
Telephone menu information.
-
A
ccess to the Settings of the touch screen
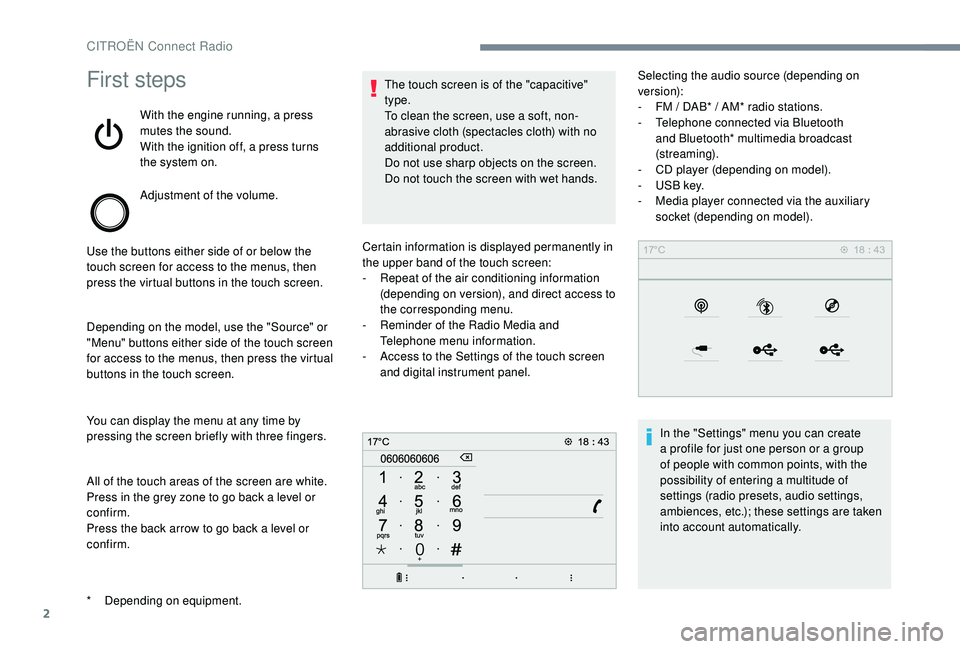
and digital instrument panel. Selecting the audio source (depending on
version):
-
F M / DAB* / AM* radio stations.
- T elephone connected via Bluetooth
and Bluetooth* multimedia broadcast
(streaming).
-
C
D player (depending on model).
-
U
SB key.
-
M
edia player connected via the auxiliary
socket (depending on model).
In the "Settings" menu you can create
a profile for just one person or a group
of people with common points, with the
possibility of entering a multitude of
settings (radio presets, audio settings,
ambiences, etc.); these settings are taken
into account automatically.
CITROËN Connect Radio
Page 201 of 260
7
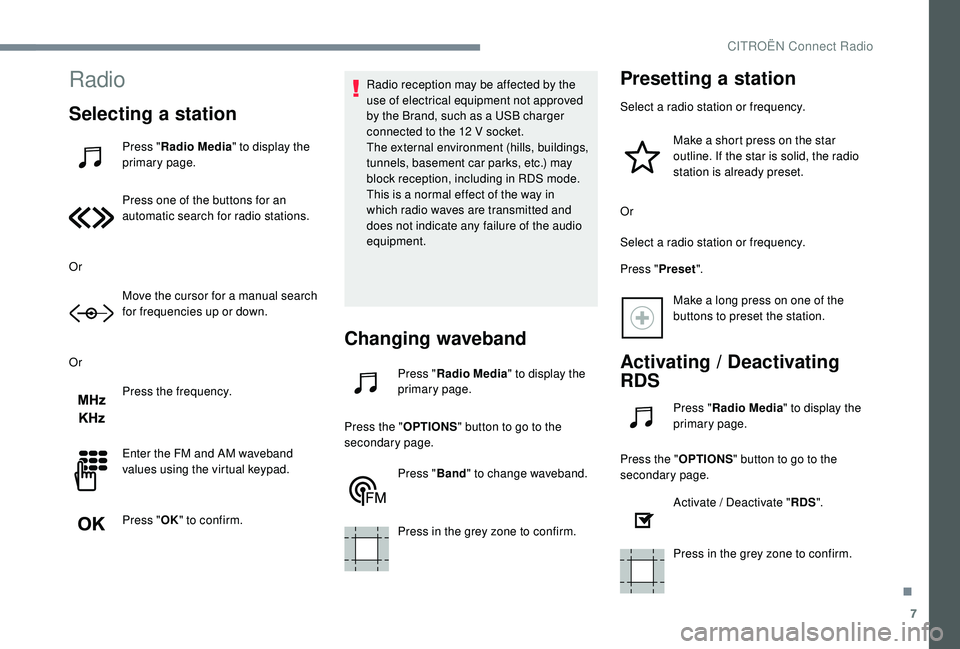
Radio
Selecting a station
Press "Radio Media " to display the
primary page.
Press one of the buttons for an
automatic search for radio stations.
Or Move the cursor for a manual search
for frequencies up or down.
Or Press the frequency.
Enter the FM and AM waveband
values using the virtual keypad.
Press "OK" to confirm. Radio reception may be affected by the
use of electrical equipment not approved
by the Brand, such as a USB charger
connected to the 12
V socket.
The external environment (hills, buildings,
tunnels, basement car parks, etc.) may
block reception, including in RDS mode.
This is a normal effect of the way in
which radio waves are transmitted and
does not indicate any failure of the audio
equipment.
Changing waveband
Press " Radio Media " to display the
primary page.
Press the " OPTIONS" button to go to the
secondary page.
Press "Band" to change waveband.
Press in the grey zone to confirm.
Presetting a station
Select a radio station or frequency. Make a short press on the star
outline. If the star is solid, the radio
station is already preset.
Or
Select a radio station or frequency.
Press " Preset".
Make a long press on one of the
buttons to preset the station.
Activating / Deactivating
RDS
Press " Radio Media " to display the
primary page.
Press the " OPTIONS" button to go to the
secondary page.
Activate / Deactivate " RDS".
Press in the grey zone to confirm.
.
CITROËN Connect Radio