changing a Citroen C3 2015 2.G User Guide
[x] Cancel search | Manufacturer: CITROEN, Model Year: 2015, Model line: C3, Model: Citroen C3 2015 2.GPages: 401, PDF Size: 13.04 MB
Page 131 of 401
129
Automatic operation
F Select position D for automatic changing
of the four gears.
The gearbox then operates in auto-adaptive
mode, without any intervention on the part
of the driver. It continuously selects the most
suitable gear according to the style of driving,
the profile of the road and the load in the
vehicle.
For maximum acceleration without touching
the selector, press the accelerator pedal down
fully (kick down). The gearbox changes down
automatically or maintains the gear selected
until the maximum engine speed is reached.
On braking, the gearbox changes down
automatically to provide efficient engine
braking.
If you release the accelerator sharply, the
gearbox will not change to a higher gear for
safety reasons.
Sport and snow programmes
Sport programme "S"
F Press button "S" , after starting the engine.
The gearbox automatically favours a dynamic
style of driving.
Snow programme " T"
F Press button " T", after starting the engine.
The gearbox adapts to driving on slippery
roads.
This programme improves starting and drive
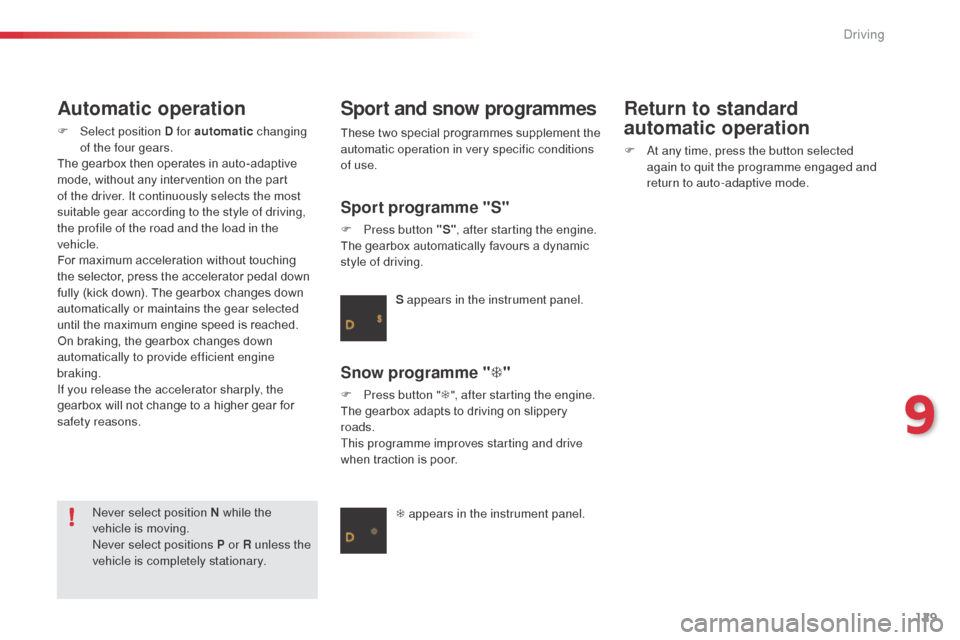
when traction is poor. S appears in the instrument panel.
T appears in the instrument panel.
ne
ver select position N while the
vehicle is moving.
ne
ver select positions P or R unless the
vehicle is completely stationary. These two special programmes supplement the
automatic operation in very specific conditions
of use.
Return to standard
automatic operation
F at any time, press the button selected
again to quit the programme engaged and
return to auto-adaptive mode.
9
Driving
Page 132 of 401
130
Manual operation
F Select position M for sequential changing
of the four gears.
F
P
ush the selector towards the + sign to
change up a gear.
F
P
ull the selector towards the - sign to
change down a gear.
It is only possible to change from one gear to
another if the vehicle speed and engine speed
permit; other wise, the gearbox will operate
temporarily in automatic mode.
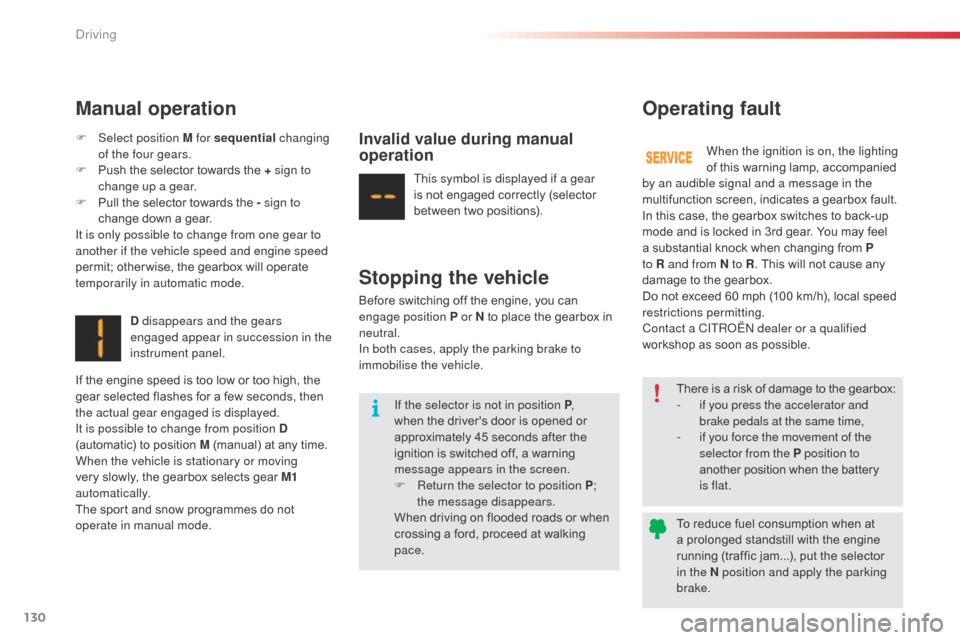
D disappears and the gears
engaged appear in succession in the
instrument panel.
If the engine speed is too low or too high, the
gear selected flashes for a few seconds, then
the actual gear engaged is displayed.
It is possible to change from position D
(automatic) to position M (manual) at any time.
When the vehicle is stationary or moving
very slowly, the gearbox selects gear M1
automatically.
The sport and snow programmes do not
operate in manual mode.Invalid value during manual
operation
This symbol is displayed if a gear
is not engaged correctly (selector
between two positions).
Stopping the vehicle
Before switching off the engine, you can
engage position P or N to place the gearbox in
neutral.
In both cases, apply the parking brake to
immobilise the vehicle.
If the selector is not in position P ,
when the driver's door is opened or
approximately 45 seconds after the
ignition is switched off, a warning
message appears in the screen.
F
R
eturn the selector to position P ;
the message disappears.
When driving on flooded roads or when
crossing a ford, proceed at walking
pace. When the ignition is on, the lighting
of this warning lamp, accompanied
by an audible signal and a message in the
multifunction screen, indicates a gearbox fault.
In this case, the gearbox switches to back-up
mode and is locked in 3rd gear. You may feel
a substantial knock when changing from P
to R and from N to R . This will not cause any
damage to the gearbox.
Do not exceed 60 mph (100 km/h), local speed
restrictions permitting.
Contact a CITR
oËn
dealer or a qualified
workshop as soon as possible.
Operating fault
There is a risk of damage to the gearbox:
- i f you press the accelerator and
brake pedals at the same time,
-
i
f you force the movement of the
selector from the P position to
another position when the battery
is
flat.
To reduce fuel consumption when at
a prolonged standstill with the engine
running (traffic jam...), put the selector
in the N position and apply the parking
brake.
Driving
Page 141 of 401
139
Programming
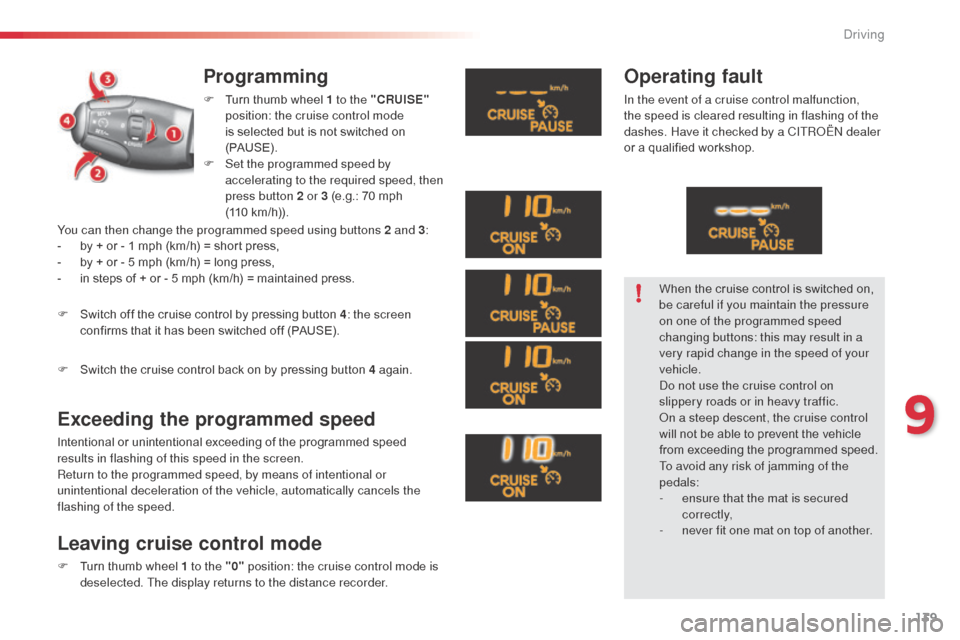
F Turn thumb wheel 1 to the "CRUISE"
position: the cruise control mode
is selected but is not switched on
(PAUS E).
F
S
et the programmed speed by
accelerating to the required speed, then
press button 2 or 3 (e.g.: 70 mph
(110 km/h)).
Exceeding the programmed speed
Intentional or unintentional exceeding of the programmed speed
results in flashing of this speed in the screen.
Return to the programmed speed, by means of intentional or
unintentional deceleration of the vehicle, automatically cancels the
flashing of the speed.
Leaving cruise control mode
F Turn thumb wheel 1 to the "0" position: the cruise control mode is
deselected. The display returns to the distance recorder.
F
S
witch off the cruise control by pressing button 4
: the screen
confirms that it has been switched off (PAUSE).
F
S
witch the cruise control back on by pressing button 4 again.
Operating fault
In the event of a cruise control malfunction,
the speed is cleared resulting in flashing of the
dashes. Have it checked by a CITR
oËn
dealer
or a qualified workshop.
When the cruise control is switched on,
be careful if you maintain the pressure
on one of the programmed speed
changing buttons: this may result in a
very rapid change in the speed of your
vehicle.
do n
ot use the cruise control on
slippery roads or in heavy traffic.
on a s
teep descent, the cruise control
will not be able to prevent the vehicle
from exceeding the programmed speed.
To avoid any risk of jamming of the
pedals:
-
e
nsure that the mat is secured
c o r r e c t l y,
-
n
ever fit one mat on top of another.
You can then change the programmed speed using buttons 2 and 3
:
-
b
y + or - 1 mph (km/h) = short press,
-
b
y + or - 5 mph (km/h) = long press,
-
i
n steps of + or - 5 mph (km/h) = maintained press.
9
Driving
Page 149 of 401

147
Checking levels
Engine oil level
The check is carried out either when
the ignition is switched on using the
oil level indicator in the instrument
panel for vehicles so equipped, or
using the dipstick.
Checking using
the dipstick
Refer to the "Petrol engine" or "di esel engine"
section for the location of the dipstick in the
engine compartment of your vehicle.
F
T
ake the dipstick by its coloured grip and
remove it completely.
F
W
ipe the end of the dipstick using a clean
non-fluffy cloth.
F
R
efit the dipstick and push fully down, then
pull it out again to make the visual check:
the correct level is between the marks A
and B .
To ensure that the reading is correct,
your vehicle must be parked on a level
sur face with the engine having been off
for more than 30 minutes.
Check all of these levels regularly, in line with the manufacturer's service schedule. Top them up if necessary, unless other wise indicated.
If a level drops significantly, have the corresponding system checked by a CITROËN dealer or a qualified workshop.
Take care when working under the
bonnet, as certain areas of the engine
may be extremely hot (risk of burns) and
the cooling fan could start at any time
(even with the ignition off).
It is normal to top up the oil level between
two services (or oil changes). CITROËN
recommends that you check the level, and top
up if necessary, every 3 000 miles (5 000 kms). A = MA X
B = MINIf you find that the level is above the A mark or
below the B mark, do not star t the engine
.
-
I
f the level is above the MAX mark (risk
of damage to the engine), contact a
CITROËN dealer or a qualified workshop.
-
I
f the level is below the MIN mark, you
must top up the engine oil.
Oil grade
before topping-up the oil or changing the oil,
check that the oil is the correct grade for your
engine and conforms to the manufacturer's
recommendations.
10
Checks
Page 150 of 401
148
The brake fluid level should be close
to the "MaX" mark. If it is not, check
the brake pad wear.
Brake fluid level
Changing the fluid
Refer to the manufacturer's service schedule
for details of the interval for this operation.
Fluid specification
The brake fluid must conform to the
manufacturer's recommendations.
Topping up the engine oil level
Refer to the "Petrol engine" or "di esel engine"
section for the location of the oil filler cap in the
engine compartment of your vehicle.
F
U
nscrew the oil filler cap to reveal the filler
aperture.
F
a
d
d oil in small quantities, avoiding any
spills on engine components (risk of fire).
F
W
ait a few minutes before checking the
level again using the dipstick.
F
a
d
d more oil if necessary.
F
a
f
ter checking the level, carefully refit the
oil filler cap and the dipstick in its tube.
After topping up the oil, the check when
switching on the ignition with the oil level
indicator in the instrument panel is not valid
during the 30 minutes after topping up.
Engine oil change
Refer to the manufacturer's service schedule
for details of the interval for this operation.
In order to maintain the reliability of the engine
and emission control system, never use
additives in the engine oil.
Checks
Page 151 of 401
149
Additive level (Diesel with
particle filter)
according to your version of instrument panel,
the additive reservoir low level is indicated by:
To p p i n g u p
The reservoir must be topped up without delay
by a CITROËN dealer or a qualified workshop.
Used products
- fixed illumination of the particle filter warning lamp, accompanied
by an audible signal,
or
do n
ot discard used oil or fluids into
sewers or onto the ground.
Take used oil to a CITR
oËn
dealer or
a qualified workshop (France) or to an
authorised waste disposal site.
av
oid prolonged contact of used oil or
fluids with the skin.
Most of these fluids are harmful to
health or indeed very corrosive.
Coolant level
The coolant level should be close
to the "MaX " mark but should never
exceed it.
When the engine is warm, the temperature of
the coolant is regulated by the fan.
Changing the coolant
The coolant does not have to be replaced at
routine services.
Fluid specification
The coolant must conform to the
manufacturer's recommendations. Top up the level when necessary.
The cooling fan may star t after
switching off the engine: take care
with articles and clothing that might
be caught by the fan blades.
In addition, as the cooling system is pressurised,
wait at least one hour after switching off the
engine before carrying out any work.
To avoid any risk of scalding, unscrew the cap
by two turns to allow the pressure to drop. When
the pressure has dropped, remove the cap and
top up the level.
Screenwash fluid level
Fluid specification
For optimum cleaning and to avoid freezing,
this fluid must not be topped up or replaced
with plain water.
In wintry conditions, it is recommended that you
use an ethyl alcohol or methanol based fluid.
-
fixed illumination of the service
warning lamp, accompanied by an
audible signal and a message that the
particle filter additive level is too low.
10
Checks
Page 173 of 401

171
Changing a wheel
The tools are stowed in the boot under the
f l o o r.
To gain access to them:
F
o
pen the boot,
F
r
aise the floor,
F
r
emove the polystyrene storage box,
F
u
nclip and remove the box containing the
tools.
Access to the tools
Procedure for changing a faulty wheel for the spare wheel using the tools provided with the vehicle.
List of tools
1. Wheelbrace. F
or removing the wheel trim and removal of
the wheel fixing bolts.
2.
J
ack with integral handle.
F
or raising of the vehicle.
3.
"bo
lt cover" tool.
F
or removing the bolt protectors (covers)
on alloy wheels.
4.
S
ocket for the security wheel bolts (located
in the glove box).
F
or adapting the wheelbrace to the special
"security" wheel bolts (if your vehicle has
them).
al
l of these tools are specific to your
vehicle.
d
o n
ot use them for other
purposes.
ne
ver use a jack other than the one
listed by the manufacturer. If the vehicle
does not have one, contact a CITR
oËn
dealer or a qualified workshop to obtain
a jack intended for the the vehicle.
11
Practical information
Page 178 of 401

176
List of operations
F Put the wheel in place on the hub.
F S crew in the bolts by hand.
F
P
re-tighten the security bolt (if your vehicle
has them) using the wheelbrace 1 fitted
with the security bolt socket 4 .
F
P
re-tighten the other bolts using the
wheelbrace 1 o n l y.
Fitting a wheel
After changing a wheel
To store the punctured wheel in the
boot correctly, first remove the central
c ove r.
When using the "space-saver" type
temporary use spare wheel, do not
exceed 50 mph (80 km/h).
Have the tightening of the bolts and the
pressure of the spare wheel checked
by a CITR
oËn
dealer or a qualified
workshop without delay.
Have the punctured wheel repaired and
replace it on the vehicle as soon as
possible.
Do not drive with more than one
temporary use spare wheel fitted to the
vehicle at one time.
Practical information
Page 180 of 401

178
Changing a bulb
1. Direction indicators (PY21W amber).
2. Sidelamps (W5W).
3.
M
ain beam headlamps (H1-55W).
4.
D
ipped beam headlamps (H7-55W).
5.
L
ED daytime running lamps.
6.
F
ront foglamps (PSX24W).
Front lampsThe headlamps are fitted with
polycarbonate glass with a protective
coating:
F
d
o not clean them using a dr y
or abrasive cloth, nor with a
detergent or solvent product,
F
u
se a sponge and soapy water or a
pH neutral product,
F
w
hen using a high pressure washer
on persistent marks, do not keep
the lance directed towards the
lamps or their edges for too long,
so as not to damage their protective
coating and seals. Changing a bulb should only be done
after the headlamp has been switched
off for several minutes (risk of serious
burns).
F
D
o not touch the bulb directly with
your fingers, use a lint-free cloth.
It is imperative to use only anti-
ultraviolet (UV) type bulbs to avoid
damaging the headlamp.
Always replace a failed bulb with a
new bulb with the same type and
specification.
Practical information
Page 181 of 401

179
Changing direction indicator
bulbs
F Turn the bulb holder a quarter of a turn and extract it.
F
P
ull out the bulb and change it.
To refit, carry out these operations in reverse
o r d e r.
Changing dipped beam headlamp
bulbs
F Remove the protective cover by pulling the tab.
F
d
i
sconnect the bulb connector.
F
S
pread the springs to release the bulb.
F
P
ull the bulb out and change it.
To refit, carry out these operations in reverse
o r d e r.
Rapid flashing of the direction indicator
warning lamp (right or left) indicates the
failure of a bulb on that side.
When refitting, close the protective
cover carefully to preserve the sealing
of the headlamp.am
ber coloured bulbs, such as the
direction indicators, must be replaced
with bulbs of identical specifications
and colour.
11
Practical information