audio CITROEN C4 AIRCROSS 2021 Handbook (in English)
[x] Cancel search | Manufacturer: CITROEN, Model Year: 2021, Model line: C4 AIRCROSS, Model: CITROEN C4 AIRCROSS 2021Pages: 414, PDF Size: 20.29 MB
Page 4 of 414
Instrument panel 12
Warning and indicator lamps
1
3
Instrument panel screen
1
9
Trip computer
3
2
Distance recorder
3
2
Trip distance recorder
3
2
Service indicator
3
3
Adjusting vehicle settings
3
7
Audio- CD system screen
4
4
Audio- CD system touch screen
4
6
Audio-Telematic system touch screen
4
8
Lighting dimmer
5
1
Monitoring
ove
r view
Remote control key 5
2
"Keyless Entry and Starting" system
5
6
Doors
6
2
Boot
6
3
Alarm
6
5
Electric windows
6
8
Panoramic sunroof
7
0
access
Front seats 71
Rear seats
7
5
Mirrors
7
7
Steering wheel adjustment
7
9
Ventilation
8
0
Manual heating / air conditioning
8
2
Automatic air conditioning
8
4
Rear screen demist - defrost
8
9
Interior fittings
9
0
Boot fittings
9
6
Comfort
Starting - stopping the engine with the key 98
Starting - stopping the engine with
the Keyless Entry and Starting system
9
9
Parking brake
1
02
Manual gearbox
1
03
Gear shift indicator
1
04
CVT gearbox
1
05
Hill start assist
1
10
Stop & Start (Auto Stop & Go) function
1
11
Under-inflation detection
1
14
Four wheel drive system
1
18
Cruise control
1
20
Parking sensors
1
23
Reversing camera
1
26
Driving
Lighting controls 1 27
Daytime running lamps
1
30
Automatic illumination of headlamps
1
30
Manual guide-me-home lighting
1
31
Welcome lighting
1
32
Headlamp adjustment
1
33
Wiper controls
1
34
Automatic rain sensitive wipers
1
36
Courtesy lamps
1
38
Boot lamp
1
40
Panoramic roof lighting
1
40
Visibility
Eco-driving
Contents
Page 5 of 414
Direction indicators 141
Hazard warning lamps
1
41
H o r n
1
41
Braking assistance systems
1
42
Trajectory control systems
1
44
Front seat belts
1
46
Airbags
1
50
Child seats
1
55
Deactivating the passenger's front airbag
1
57
ISOFIX child seats
1
64
Child lock
1
70
Safety
Temporary puncture repair kit 1 71
Changing a wheel
1
75
Snow chains
1
81
Changing a bulb
1
82
Changing a fuse
1
88
12 V battery
1
94
Automatic power cut-off to accessories
1
97
Changing a wiper blade
1
97
Recovering the vehicle
1
98
Towing a trailer
2
01
Fitting roof bars
2
03
Accessories
2
04
Practical information
Bonnet 20 7
Petrol engines
2
08
Diesel engines
2
09
Fuel tank
2
10
Running out of fuel (Diesel)
2
12
Checking levels
2
13
Checks
2
16
Checks
Petrol engines 2 19
Petrol weights
2
20
Diesel engines
2
26
Diesel weights
2
27
Dimensions
2
33
Identification markings
2
35
Technical data
bluetooth® telephone with voice recognition 237
Touch screen AUDIO -TELEMATIC system
2
49
TOUCH SCREEN AUDIO - CD system
2
89
AUDIO - CD system
3
11
Audio and telematics
Alphabetical index
Contents
Page 8 of 414
6
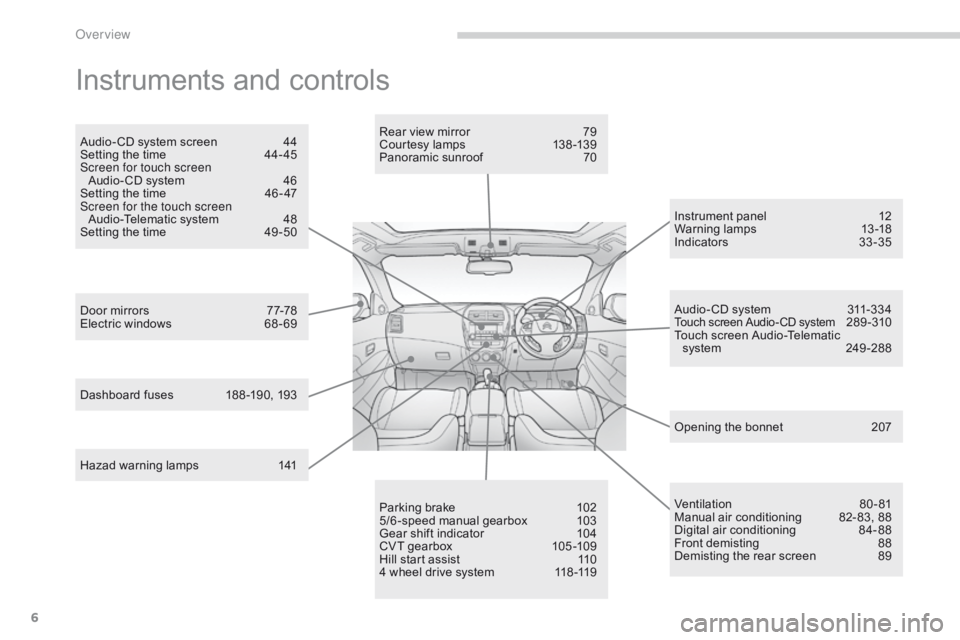
Instruments and controls
Opening the bonnet 207
Door mirrors
7
7-78
Electric windows
6
8 - 69 Rear view mirror
7
9
Courtesy lamps
1
38 -139
Panoramic sunroof
7
0
Dashboard fuses
1
88 -190, 193 Instrument panel
1
2
Warning lamps
1
3-18
Indicators
33
-35
Audio- CD system screen
4
4
Setting the time
4
4- 45
Screen for touch screen Audio- CD system
4
6
Setting the time
4
6 - 47
Screen for the touch screen Audio-Telematic system
4
8
Setting the time
4
9 -50
Parking brake
1
02
5/6 -speed manual gearbox
1
03
Gear shift indicator
1
04
CVT gearbox
1
05 -109
Hill start assist
1
10
4 wheel drive system
1
18 -119 Audio- CD system
3
11-334
Touch screen Audio- CD system 289 - 310
Touch screen Audio-Telematic system
2
49 -288
Ventilation
8
0-81
Manual air conditioning
8
2- 83, 88
Digital air conditioning
8
4-88
Front demisting
8
8
Demisting the rear screen
8
9
Hazad warning lamps
1
41
over view
Page 9 of 414
7
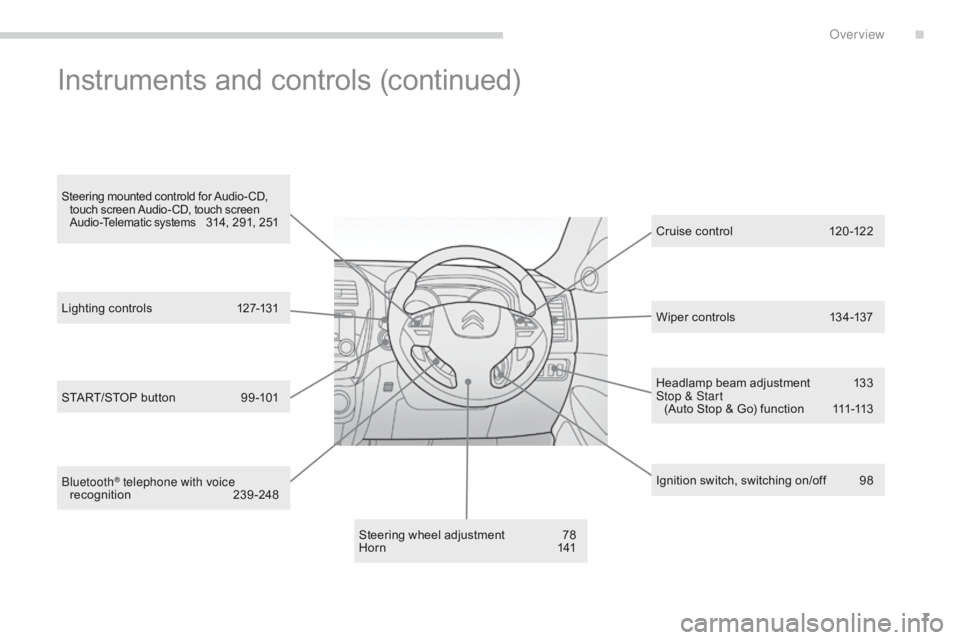
Headlamp beam adjustment 133
Stop & Start (Auto Stop & Go) function
1
11-113
Steering wheel adjustment
7
8
H o r n
1
41 Cruise control
1
20 -122
Ignition switch, switching on/off
9
8
Instruments and controls (continued)
Lighting controls 127-131
b
luetooth
® telephone with voice
recognition 23 9-248 Wiper controls
1
34-137
Steering mounted controld for Audio- CD,
touch screen Audio- CD, touch screen
Audio-Telematic systems
314, 291, 251
START/STOP button
9
9 -101
.
over view
Page 46 of 414

44
Audio-CD system screen
Associated with the Audio- CD system, this
screen can display the following information:
-
t
he time,
-
a
udio system information.
(
see the "Audio and telematics" section).
Setting the time
Selecting the adjustment mode
The digital clock can be set in automatic mo de
or in manual mode . Manual mode
This mode permits manual setting of the time
using the audio system buttons.
It can also be used when the "Automatic mode"
displays an inaccurate time, when the local
RDS stations are broadcasting from a different
time zone. Automatic mode
This mode permits automatic setting of the
local time using the signal from RDS stations.
The symbol "CT"
appears in the screen.
Monitoring
Page 47 of 414
45
If no action is carried out within
10 seconds, the selection menu closes
automatically.
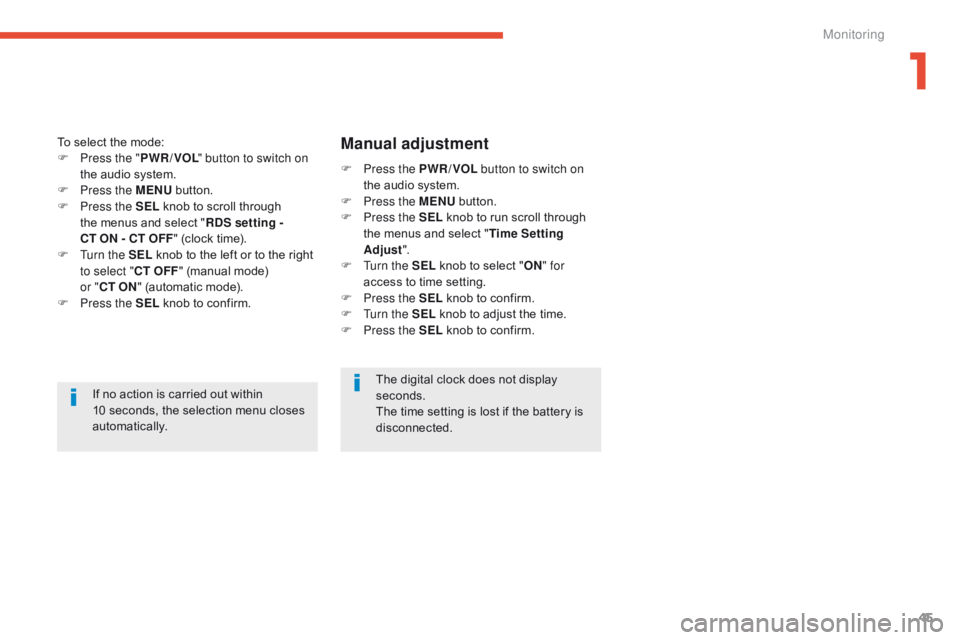
To select the mode:
F
P
ress the "
PWR / VOL " button to switch on
the audio system.
F
P
ress the MENU
button.
F
P
ress the SEL
knob to scroll through
the menus and select " RDS setting -
CT ON - CT OFF " (clock time).
F
T
urn the SEL
knob to the left or to the right
to select " CT OFF" (manual mode)
or " CT ON
" (automatic mode).
F
P
ress the SEL
knob to confirm.
The digital clock does not display
seconds.
The time setting is lost if the battery is
disconnected.
Manual adjustment
F Press the PWR / VOL button to switch on
the audio system.
F
P
ress the MENU button.
F
P
ress the SEL knob to run scroll through
the menus and select " Time Setting
Adjust ".
F
T
urn the SEL knob to select " ON" for
access to time setting.
F
P
ress the SEL knob to confirm.
F
T
urn the SEL knob to adjust the time.
F
P
ress the SEL knob to confirm.
1
Monitoring
Page 48 of 414

46
Audio-CD system touch screen
Associated with the touch screen Audio- CD
system, this screen can display:
-
t
he time,
-
i
nformation related to the audio system.
(
See the "Audio and telematics" section).
For reasons of safety, the driver
should only carry out operations that
require close attention with the vehicle
stationary. Do not use pointed objects on the touch
screen.
Do not touch the screen with wet hands.
Use a clean soft cloth to clean the
screen.
Use the buttons arranged on the screen to
operate the system.
F
P
ress the MENU button to display the main
menu.
F
P
ress "Setting ".
F
P
ress "System Setting ".
F
P
ress "Time Setting ".Setting the time
General operation
1. CD eject.
2. S
ystem On / Off.
V
olume adjustment.
3.
A
ccess to the different menus in the system.
Monitoring
Page 50 of 414

48
Audio-Telematic system touch screen
General operationUse the buttons on either side of the screen,
or touch the virtual buttons appearing in the
screen to operate the system.1.
P
WR / VOL: audio system on/off, volume
adjustment.
2.
AU
DIO: display of the last audio source
used.
3.
S
EEK TR ACK: change of audio source,
fast for ward / back, automatic frequency
search.
4.
M
ODE: selection of an audio source.
5.
O
PEN: access to the CD/DVD player.
6.
S
ETTINGS: access to system settings.
7.
I
NFO: access to information (calendar,
voice commands...). 8.
N
AV I M E NU: access to navigation settings.
9.
F
OLDER / TUNE SOUND: selection of a
folder or search for a radio station.
10.
M
AP: display the map with the location of
the vehicle.
11.
Z
OOM: zoom (in or out) on the map.
12 .
A
ccess to the navigation settings and the
selection of destination.
13.
D
ay / night mode.
Associated with the touch screen Audio-
Telematic system, the screen can display:
-
t
he time,
-
i
nformation related to the audio and
satellite navigation systems.
(
See the "Audio and telematics" section).
Monitoring
Page 51 of 414

49
System screen
once in the "Tuning…" menu, select " System"
to modify the time zone, the units, or the
display language (English, Dutch, Swedish,
French, Portuguese, Italian, German, Spanish,
Nor wegian, Flemish or Danish) and adjust
other settings.
"Settings" menu
Press the S ETTINGS button on the control
panel to open the menu.
Uses a soft clean cloth to clean the
screen. Do not use pointed objects on the touch
screen.
Do not touch the screen with wet hands. For reasons of safety, the driver
should only carry out operations that
require close attention with the vehicle
stationary.
In addition, some functions are not
accessible when driving.
For more information on these menus,
refer to the "Audio and telematics"
section.
Setting the time
The digital clock is set automatically .
This mode enables the system to set the local
time automatically using the signal from the
RDS stations.
F
o
n t
he control panel, press the SETTINGS
button for access to settings.
1
Monitoring
Page 96 of 414

94
It permits the connection of a portable device,
such as a digital audio player of the iPod® or
USB memory stick type.
Open the front armrest cover for access to
the
po
rt.
It reads certain audio file formats allowing them
to be heard via the vehicle's speakers.
You can manage these files using the steering
mounted controls or the audio system control
panel. For more information on the use of this
equipment, see "Audio and Telematics".
USb port
Connected to the USB port, the
portable device charges automatically
while in use.
Auxiliary sockets
(RC
a
)
They are used to connect a portable device
(MP3 player...).
Open the front armrest cover for access to the
sockets.
For more information on using this equipment,
see "Audio and Telematics".
Comfort