audio Citroen C4 PICASSO RHD 2015 1.G User Guide
[x] Cancel search | Manufacturer: CITROEN, Model Year: 2015, Model line: C4 PICASSO RHD, Model: Citroen C4 PICASSO RHD 2015 1.GPages: 428, PDF Size: 10.09 MB
Page 345 of 428
343
The
system
is
protected
in
such
a
way
that
it
will
only
operate
in
your
vehicle.
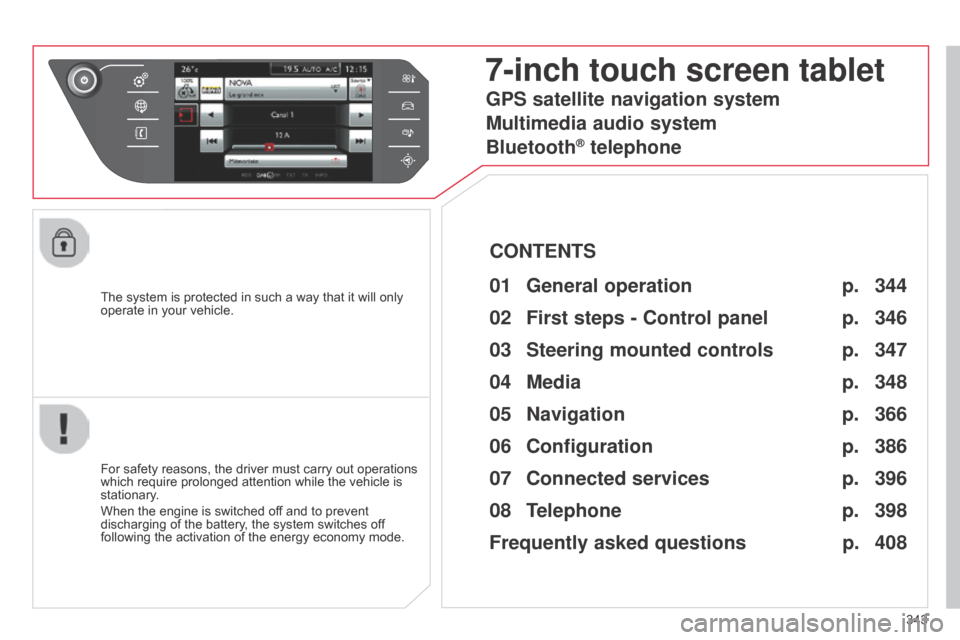
7-inch touch screen tablet
01 General
operation
For safety reasons, the driver must carry out operations which
require prolonged attention while the vehicle is
stationary
.
When
the engine is switched off and to prevent
discharging
of the battery, the system switches off
following
the activation of the energy economy mode.
CONTENTS
02
First steps - Control
panel
04
Media
05
Navigation
06
Configuration
07
Connected service
s
08
Telephone p.
p.
p.
p.
p.
p.
p.
Frequently asked questions p.
GPS satellite navigation system
Multimedia audio system
Bluetooth
® telephone
344
346
366 348
386
396
398
408
03
Steering mounted
controls p. 347
Page 348 of 428
02
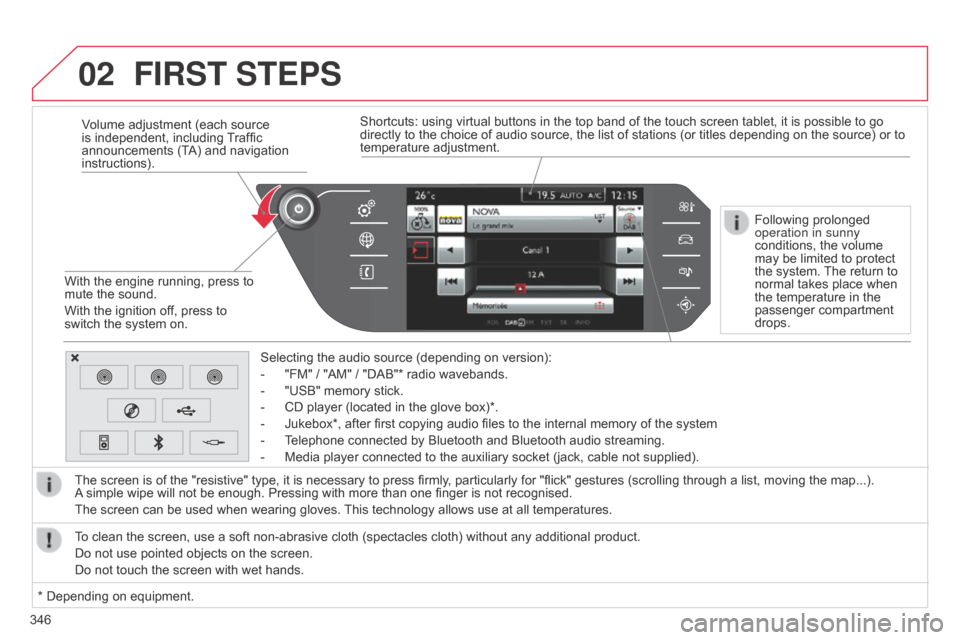
346Volume adjustment (each source
is
independent, including
T
raffic
announcements
(TA) and navigation
instructions).
With
the engine running, press to
mute
the sound.
With the ignition off, press to
switch
the system on.
Selecting the audio source (depending on version):
-
"FM"
/ "AM" / "DAB"* radio wavebands.
-
"USB"
memory stick.
-
CD
player (located in the glove box)*.
-
Jukebox*,
after first copying audio files to the internal memory of the system
-
T
elephone connected by Bluetooth and Bluetooth audio streaming.
-
Media
player connected to the auxiliary socket (jack, cable not supplied).
The screen is of the "resistive" type, it is necessary to press firmly, particularly for "flick" gestures (scrolling through a list, moving the map...).
A
simple wipe will not be enough. Pressing with more than one finger is not recognised.
The screen can be used when wearing gloves.
This
technology allows use at all temperatures.
FIRST STEPS
* Depending on equipment.
T o clean the screen, use a soft non-abrasive cloth (spectacles cloth) without any additional product.
Do not use pointed objects on the screen.
Do not touch the screen with wet hands. Following prolonged
operation in sunny
conditions,
the volume
may
be limited to protect
the
system.
The
return to
normal
takes place when
the
temperature in the
passenger
compartment
drops.
Shortcuts:
using virtual buttons in the top band of the touch screen tablet, it is possible to go
directly
to the choice of audio source, the list of stations (or titles depending on the source) or to
temperature
adjustment.
Page 349 of 428
03
347
STEERING MOUNTED CONTROLS
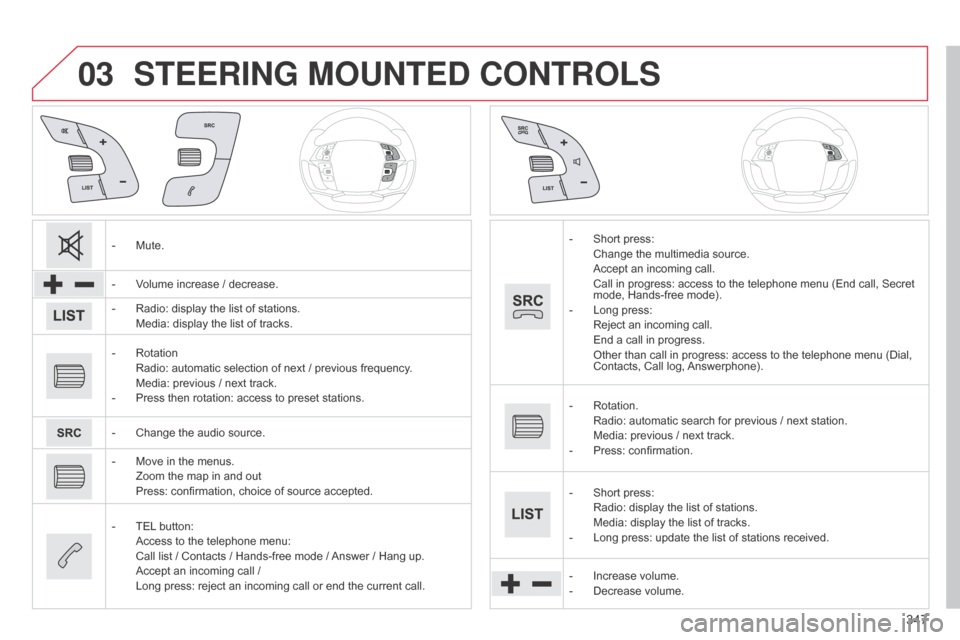
- Mute.
-
V
olume increase / decrease.
-
Radio:
display the list of stations.
Media:
display the list of tracks.
-
Rotation Radio:
automatic selection of next / previous frequency.
Media:
previous / next track.
-
Press
then rotation: access to preset stations.
-
Change
the audio source.
-
Move
in the menus.
Zoom
the map in and out
Press:
confirmation, choice of source accepted.
-
TEL
button:
Access
to the telephone menu:
Call
list / Contacts / Hands-free mode /
Answer
/ Hang up.
Accept
an incoming call /
Long
press: reject an incoming call or end the current call.-
Short press: Change
the multimedia source.
Accept
an incoming call.
Call
in progress: access to the telephone menu (End call, Secret
mode,
Hands-free mode).
-
Long
press:
Reject
an incoming call.
End
a call in progress.
Other
than call in progress: access to the telephone menu (Dial,
Contacts,
Call log,
Answerphone).
-
Rotation. Radio:
automatic search for previous / next station.
Media:
previous / next track.
-
Press:
confirmation.
-
Short
press:
Radio:
display the list of stations.
Media:
display the list of tracks.
-
Long
press: update the list of stations received.
-
Increase
volume.
-
Decrease
volume.
Page 356 of 428
04
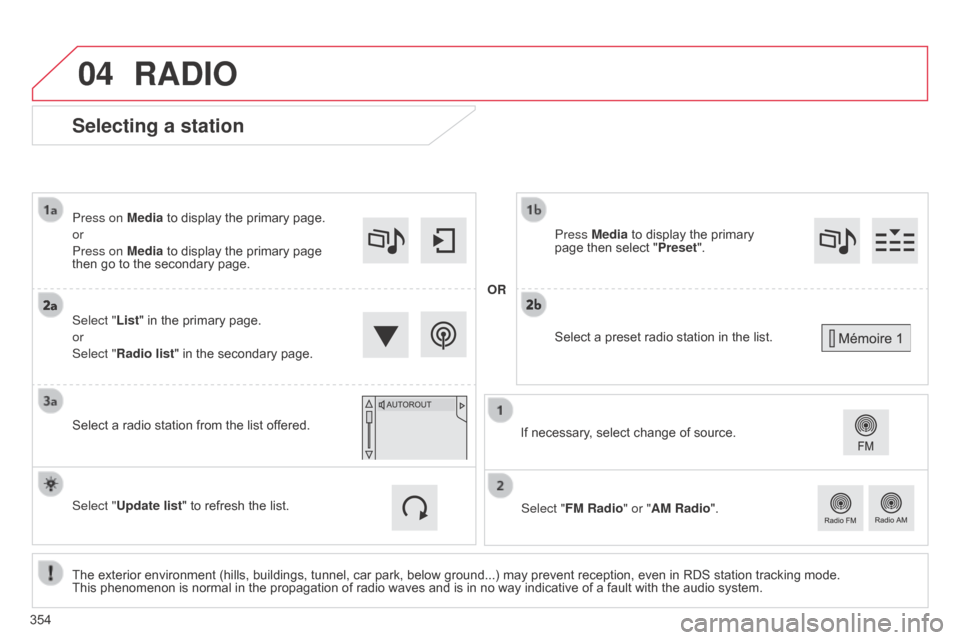
Selecting a station
The exterior environment (hills, buildings, tunnel, car park, below ground...) may prevent reception, even in RDS station tracking mode. This phenomenon is normal in the propagation of radio waves and is in no way indicative of a fault with the audio system.
Select "List"
in the primary page.
or
Select "Radio list" in the secondary page.
Press on Media to display the primary page.
or
Press on Media to display the primary page
then
go to the secondary page.
Select a radio station from the list offered.
If necessary, select change of source.
Press Media to display the primary
page
then select "
Preset ".
Select "FM Radio" or "AM Radio".
OR
Select "Update list" to refresh the list.
RADIO
Select a preset radio station in the list.
354
Page 360 of 428
04
358
RADIO
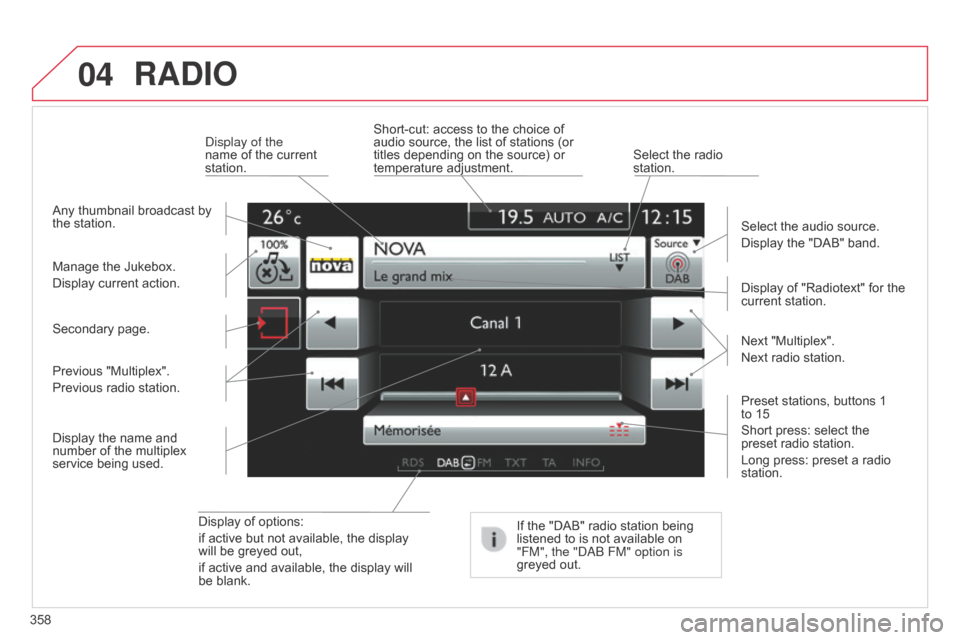
Display of options:
if active but not available, the display
will
be greyed out,
if
active and available, the display will
be
blank. Display
of "Radiotext" for the
current
station.
Manage
the
Jukebox.
Display
current
action.
Select the audio source.
Display the "DAB" band.
d
isplay of the
name of the current
station.
Short-cut:
access to the choice of
audio
source, the list of stations (or
titles
depending on the source) or
temperature
adjustment.
Select the radio
station.
If
the "DAB" radio station being
listened
to is not available on
"FM", the "
dab FM" option is
greyed
out.
Any
thumbnail
broadcast
by
the
station.
Preset stations, buttons 1
to 15
Short
press: select the
preset
radio station.
Long press: preset a radio
station. Next
"Multiplex".
Next radio station.
Secondary
page.
Display
the
name
and
number
of
the
multiplex
service
being
used.
Previous
"Multiplex".
Previous
radio
station.
Page 361 of 428
04
359
RADIO
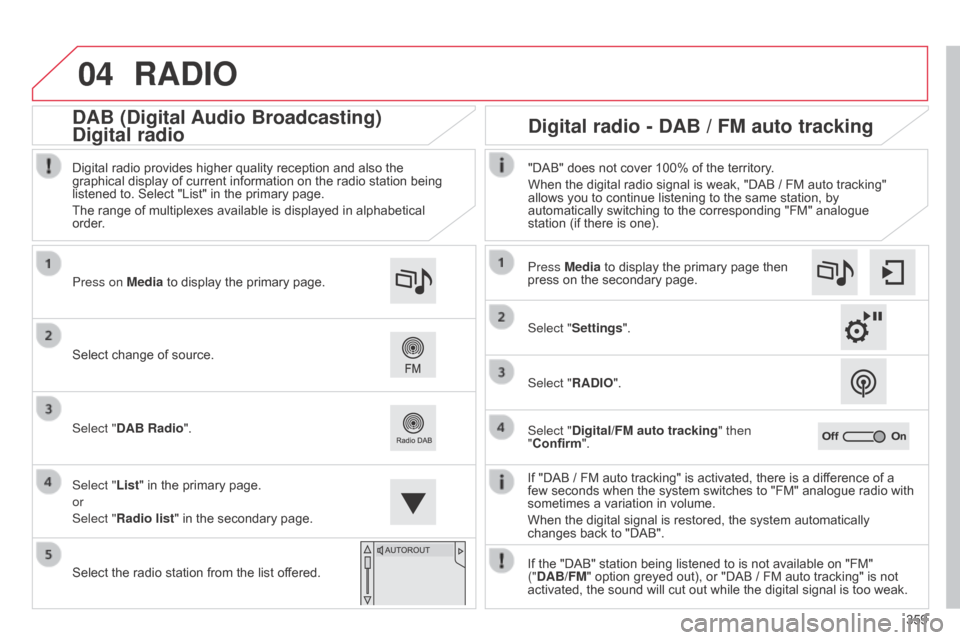
If "DAB / FM auto tracking" is activated, there is a difference of a few seconds when the system switches to "FM" analogue radio with
sometimes
a variation in volume.
When
the digital signal is restored, the system automatically
changes
back to "DAB".
Select
change
of
source.
Press on Media
to
display
the
primary
page.
Select "DAB Radio".
Select "List"
in
the
primary
page.
or
Select "Radio list"
in
the
secondary
page.
Select
the
radio
station
from
the
list
offered.
Digital
radio
provides
higher
quality
reception
and
also
the
graphical
display
of
current
information
on
the
radio
station
being
listened
to.
Select
"List"
in
the
primary
page.
The
range
of
multiplexes
available
is
displayed
in
alphabetical
order
.
Press Media to display the primary page then
press
on the secondary page.
Select "Settings".
Select "RADIO".
Select "Digital/FM auto tracking " then
"Confirm". "DAB" does not cover 100% of the territory.
When the digital radio signal is weak, "DAB / FM auto tracking"
allows
you to continue listening to the same station, by
automatically
switching to the corresponding "FM" analogue
station
(if there is one).
If the "DAB" station being listened to is not available on "FM"
("
DAB/FM" option greyed out), or "DAB / FM auto tracking" is not
activated,
the sound will cut out while the digital signal is too weak.
Digital radio - DAB / FM auto tracking
DAB (Digital Audio Broadcasting)
Digital radio
Page 363 of 428
04
361
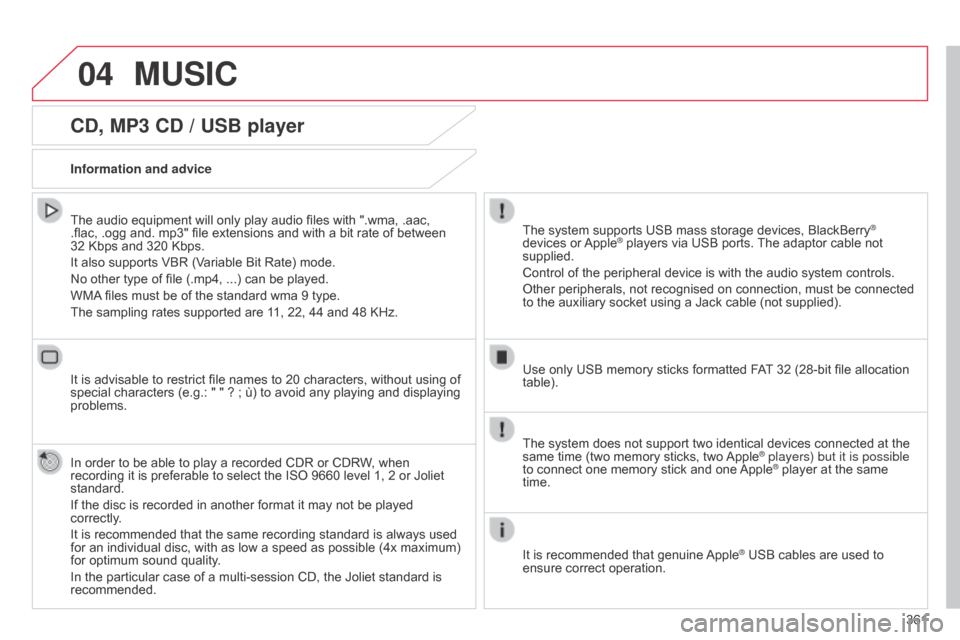
CD, MP3 CD / USB player
The audio equipment will only play audio files with ".wma, .aac,
.flac, .ogg and. mp3" file extensions and with a bit rate of between
32
Kbps and 320 Kbps.
It
also supports VBR (Variable Bit Rate) mode.
No
other type of file (.mp4, ...) can be played.
WMA
files must be of the standard wma 9 type.
The
sampling rates supported are 11, 22, 44 and 48 KHz.
It
is advisable to restrict file names to 20 characters, without using of
special
characters (e.g.: " " ? ; ù) to avoid any playing and displaying
problems.
In
order to be able to play a recorded CDR or CDRW, when
recording
it is preferable to select the ISO 9660 level 1, 2 or Joliet
standard.
If
the disc is recorded in another format it may not be played
correctly
.
It
is recommended that the same recording standard is always used
for
an individual disc, with as low a speed as possible (4x maximum)
for
optimum sound quality.
In
the particular case of a multi-session CD, the Joliet standard is
recommended. Information and advice The
system supports USB mass storage devices, BlackBerry®
devices
or
Apple® players via USB ports. The adaptor cable not supplied.
Control
of
the
peripheral device is with the audio system controls.
Other
peripherals, not recognised on connection, must be connected
to
the
auxiliary
socket using a Jack cable (not supplied).
Use
only
USB
memory sticks formatted FAT
32 (28-bit file allocation
table).
MUSIC
The system does not support two identical devices connected at the same time (two memory sticks, two Apple® players) but it is possible
to
connect
one
memory
stick
and
one
Apple® player at the same time.
It
is
recommended
that
genuine
Apple® USB cables are used to ensure
correct
operation.
Page 365 of 428
04
363
Audio streaming
Streaming allows audio files on your telephone to be played via the vehicle's speakers.
Connect
the telephone: see the "Telephone" section, then
"Bluetooth".
Choose the " Audio" or "All"
profile.
If
play does not start automatically, it may be necessary to start the
audio
playback from the telephone.
Control
is from the peripheral device or by using the audio system
buttons.
Once
connected in streaming mode, the telephone is considered to
be
a media source.
It
is recommended that you activate "Repeat" on the b luetooth
peripheral.
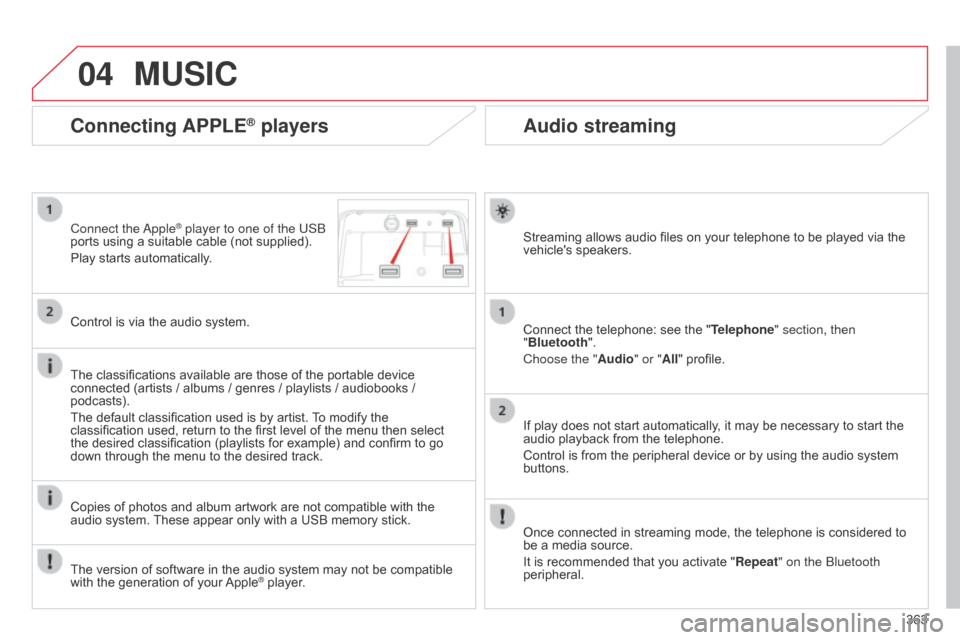
Connecting APPLE® players
Connect the apple® player to one of the USb
ports
using
a
suitable cable (not supplied).
Play
starts
automatically.
Control
is
via
the
audio system.
The
classifications
available are those of the portable device
connected
(artists
/
albums / genres / playlists / audiobooks /
podcasts).
The
default
classification used is by artist.
T
o modify the
classification
used,
return to the first level of the menu then select
the
desired
classification (playlists for example) and confirm to go
down
through
the
menu to the desired track.
Copies
of
photos
and album artwork are not compatible with the
audio
system.
These
appear only with a USB memory stick.
MUSIC
The version of software in the audio system may not be compatible with the generation of your Apple® player.
Page 366 of 428
04
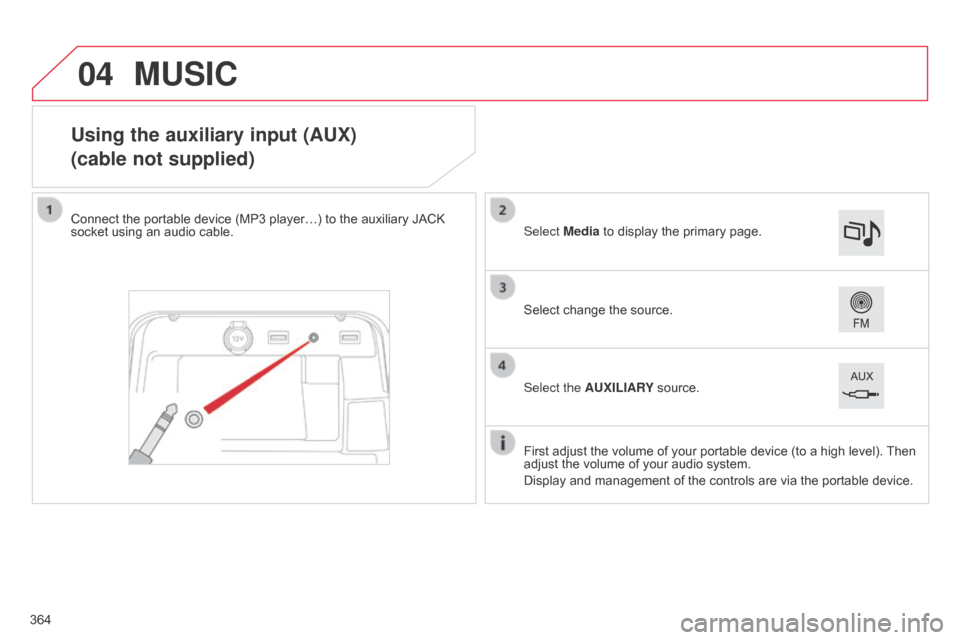
Using the auxiliary input (AUX)
(cable not supplied)
Connect the portable device (MP3 player…) to the auxiliary JACK socket using an audio cable.
First
adjust the volume of your portable device (to a high level).
Then
adjust
the volume of your audio system.
Display
and management of the controls are via the portable device.
Select
change the source.
Select Media
to display the primary page.
Select the AUXILIARY
source.
MUSIC
364
Page 367 of 428
04
365
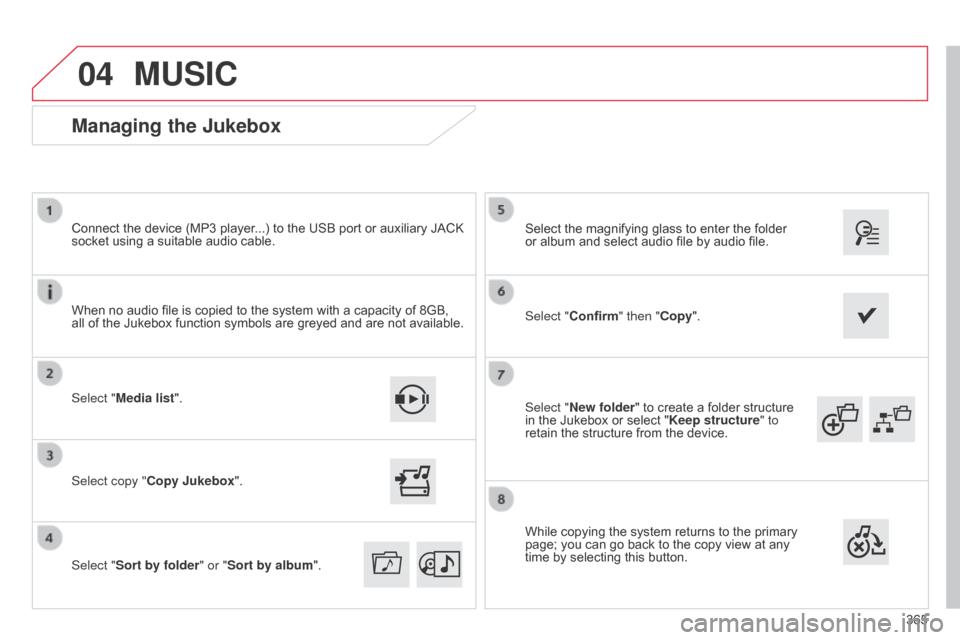
Select "New folder"
to
create
a
folder
structure
in
the
Jukebox
or
select
"
Keep structure " to
retain
the
structure
from
the
device.
Select
the
magnifying
glass
to
enter
the
folder
or
album
and
select
audio
file
by
audio
file.
Managing the Jukebox
Select "Media list". Connect
the device (MP3 player...) to the USB port or auxiliary JACK
socket
using a suitable audio cable.
Select copy "Copy Jukebox".
MUSIC
When no audio file is copied to the system with a capacity of 8GB, all of the Jukebox function symbols are greyed and are not available.
Select "Sort by folder" or "Sort by album ".Select "Confirm" then "Copy".
While
copying the system returns to the primary
page;
you can go back to the copy view at any
time
by selecting this button.