display CITROEN DISPATCH SPACETOURER DAG 2020 Handbook (in English)
[x] Cancel search | Manufacturer: CITROEN, Model Year: 2020, Model line: DISPATCH SPACETOURER DAG, Model: CITROEN DISPATCH SPACETOURER DAG 2020Pages: 324, PDF Size: 10.89 MB
Page 25 of 324
23
Indicators
Service indicator
The ser vice indicator is displayed on the instrument panel. Depending on the vehicle version:
- t he distance recorder display line indicates the distance remaining before the next ser vice is
due, or the distance travelled since it was due preceded by the sign “-”.
-
a
n alert message indicates the distance remaining, as well as the period before the next ser vice
is due or how long it is overdue.
Warning
/ indicator
lamp State
CauseActions
/
Observations
Ser vice
spanner Lights up temporarily
when the ignition is
switched on.
Between 620 and
1,860 miles (1,000 and
3 ,000 km) remain before
the next ser vice is due.
Fixed, when the
ignition is switched on. The ser vice is due in
less than 620
miles
(1,000
km).Have your vehicle
serviced very soon.
+ Ser vice
spanner
flashing
Flashing then fixed,
when the ignition is
switched on.
(With BlueHDi Diesel
engines, associated
with the Ser vice
warning lamp). The servicing interval
has been exceeded.
Have your vehicle
ser viced as soon as
possible.
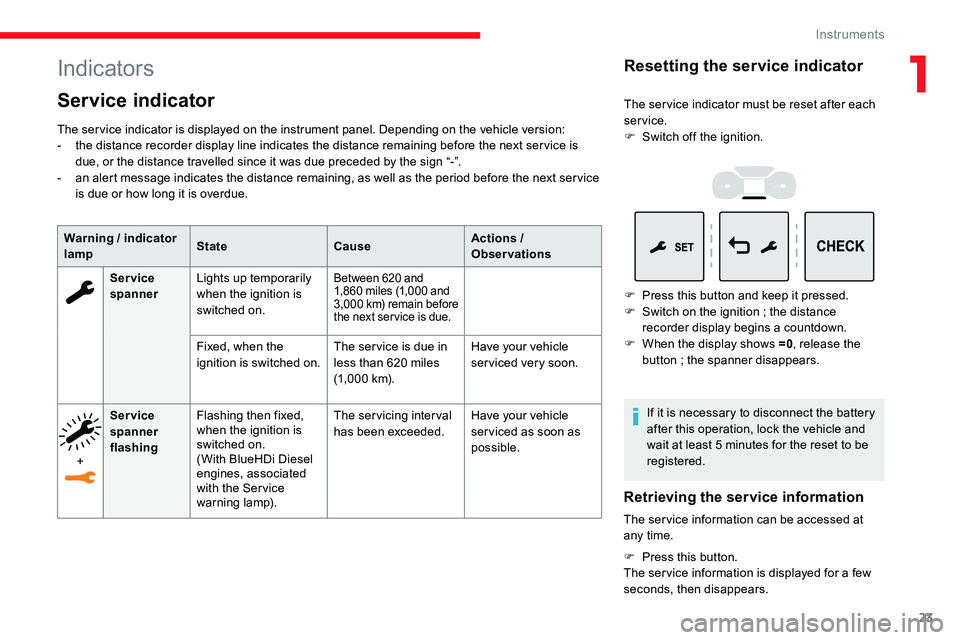
Resetting the service indicator
The ser vice indicator must be reset after each
service.
F
S
witch off the ignition.
F
P
ress this button and keep it pressed.
F
S
witch on the ignition ; the distance
recorder display begins a countdown.
F
W
hen the display shows =0 , release the
button
; the spanner disappears.
If it is necessary to disconnect the battery
after this operation, lock the vehicle and
wait at least 5
minutes for the reset to be
registered.
Retrieving the service information
The ser vice information can be accessed at
any time.
F
P
ress this button.
The ser vice information is displayed for a few
seconds, then disappears.
1
Instruments
Page 26 of 324
24
The distance indicated (in miles or
k ilometres) is calculated according to the
distance covered and the time elapsed
since the last ser vice.
The alert may be triggered close to a due
date.
Engine coolant temperature
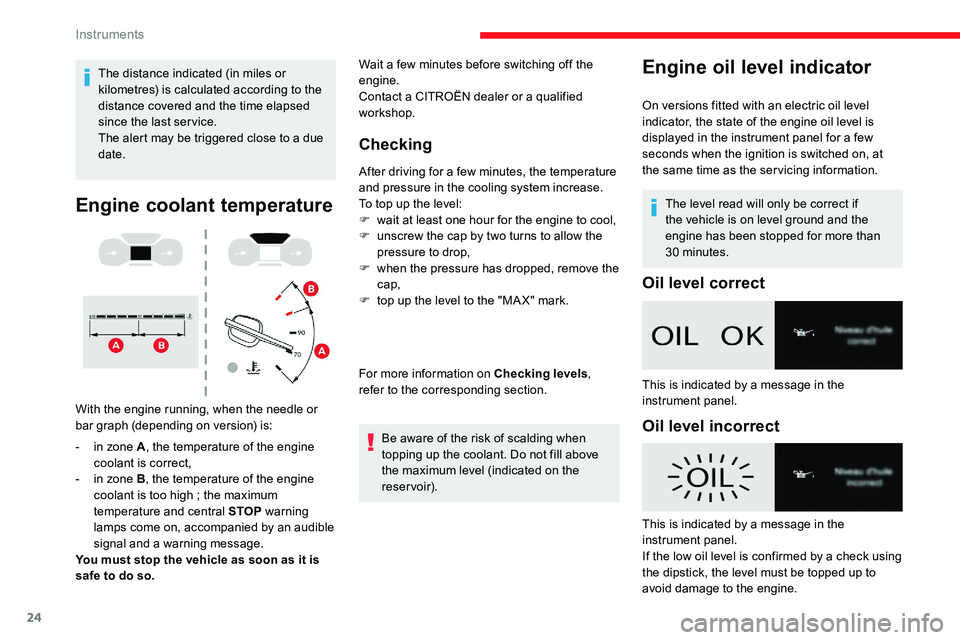
With the engine running, when the needle or
bar graph (depending on version) is:
-
i
n zone A , the temperature of the engine
coolant is correct,
-
i
n zone B , the temperature of the engine
coolant is too high
; the maximum
temperature and central STOP warning
lamps come on, accompanied by an audible
signal and a warning message.
You must stop the vehicle as soon as it is
safe to do so.
Checking
After driving for a few minutes, the temperature
a nd pressure in the cooling system increase.
To top up the level:
F
w
ait at least one hour for the engine to cool,
F
u
nscrew the cap by two turns to allow the
pressure to drop,
F
w
hen the pressure has dropped, remove the
cap,
F
t
op up the level to the "MA X" mark.
For more information on Checking levels ,
refer to the corresponding section.
Be aware of the risk of scalding when
topping up the coolant. Do not fill above
the maximum level (indicated on the
reservoir).
Wait a few
minutes before switching off the
engine.
Contact a CITROËN dealer or a qualified
workshop.
The level read will only be correct if
the vehicle is on level ground and the
engine has been stopped for more than
30
minutes.
Oil level correct
This is indicated by a message in the
instrument panel.
Oil level incorrect
This is indicated by a message in the
instrument panel.
If the low oil level is confirmed by a check using
the dipstick, the level must be topped up to
avoid damage to the engine.
Engine oil level indicator
On versions fitted with an electric oil level
indicator, the state of the engine oil level is
displayed in the instrument panel for a few
seconds when the ignition is switched on, at
the same time as the ser vicing information.
Instruments
Page 27 of 324
25
Oil level indicator fault
This is indicated by a message on the
instrument panel. Contact a CITROËN dealer
or a qualified workshop.To locate the dipstick and the oil filler
cap for the Diesel engine , refer to the
corresponding section.
AdBlue® range indicators
(BlueHDi)
The Diesel BlueHDi engines are equipped with
a system that associates the SCR (Selective
Catalytic Reduction) emissions control system
and the Diesel particle filter (DPF) for the
treatment of exhaust gases. They cannot
function without AdBlue
®fluid.
When the level of AdBlue® falls below the
reser ve level (between 1,500 miles and 0 miles
(2,400 and 0
km)), a warning lamp lights
up when the ignition is switched on and an
estimate of the distance that can be travelled
before engine starting is prevented is displayed
in the instrument panel.
The engine starting prevention system
required by regulations is activated
automatically once the AdBlue
® tank is
empty. It is then no longer possible to
start the engine until the minimum level of
AdBlue
® has been topped up.
Manual display of the range
While the range is greater than 1,500 miles
( 2,400 km), it is not displayed automatically. With touch screen
Actions required related to a lack
of AdBlue®
The following warning lamps light up when the
quantity of AdBlue® is lower than the reser ve
level corresponding to a range of 1,500
miles
(2, 4 0 0
k m).
Together with the warning lamps, messages
regularly remind you of the need to top up to
avoid engine starting being prevented. Refer to
the Warning and indicator lamps section for
details of the messages displayed. You can access this information via
the "
Driving/Vehicle " menu.
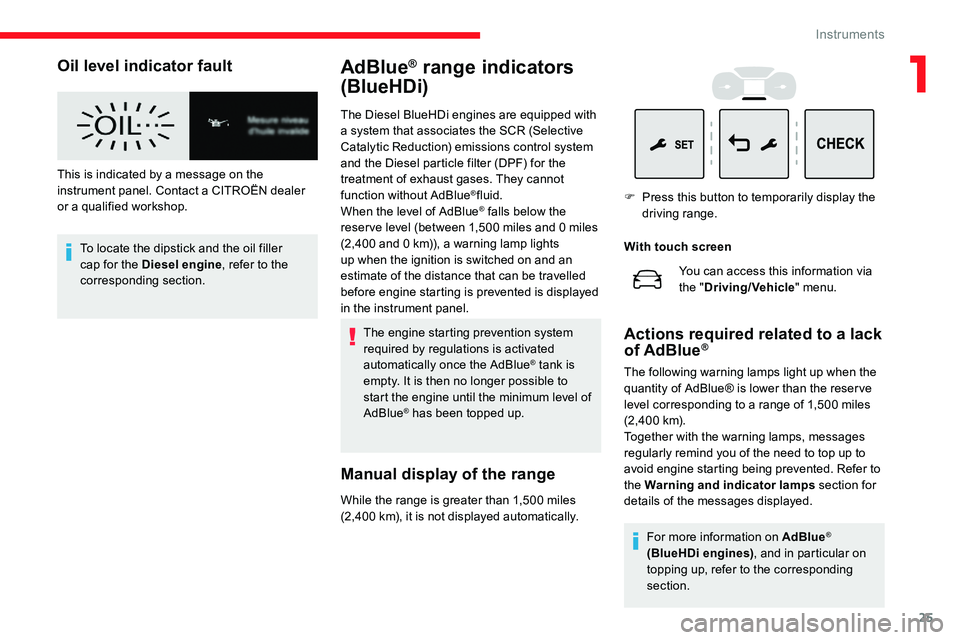
F
P
ress this button to temporarily display the
driving range.
For more information on AdBlue
®
(BlueHDi engines) , and in particular on
topping up, refer to the corresponding
section.
1
Instruments
Page 28 of 324
26
With BlueHDi (Euro 6.1) engines
Warning/
indicator
lamps litAction
Remaining
range
Top up as soon
as possible.
Between
1,5 0 0 and
375
miles (2,400
and 600
km)
A top-up is
vital, there is
the risk that the
engine will be
prevented from
starting. Between 375
and 0
miles
(600 and
0
k m)
To be able
to restart the
engine, add at
least 5
litres of
AdBlue
® to its
tank. 0
miles (km)
With BlueHDi (Euro 6.2) engines
Warning/
indicator
lamps lit
Action
Remaining
range
To p u p .
Between 1,500 and
500 miles (2,400
and 800
km)
Top up as soon
as possible. Between 500
and 62
miles
(800 and
10 0
k m)
A top-up is
vital , there is
the risk that the
engine will be
prevented from
starting. Between 62
and 0
miles
(100 and
0
k m)
To be able
to restart the
engine, add at
least 5
litres of
AdBlue
® to its
tank. 0
miles (km)
Malfunction of the SCR
emissions control system
Malfunction detection
If a malfunction is detected, these
warning lamps come on, accompanied
by an audible signal and the display
of an "Emissions fault" or "NO START
IN" message.
If it is a temporary fault, the alert
disappears during the next journey,
after self-diagnostic checks of the SCR
emissions control system.
Malfunction confirmed during
the permitted driving phase
(between 685 and 0 miles (1,100
and 0
km))
If the warning lamp is still on after 31 miles
( 50 km) of driving, the fault in the SCR system
is confirmed. The alert is triggered while driving as soon
as the fault is detected for the first time, then
when switching on the ignition for subsequent
journeys, while the fault persists.
Instruments
Page 29 of 324
27
Have the system checked by a CITROËN
dealer or a qualified workshop as soon as
possible.
Starting prevented
Every time the ignition is switched on, the
message "Emissions fault: Starting prevented"
or "NO START IN" is displayed.To be able to restart the engine, call on a
CITROËN dealer or a qualified workshop.
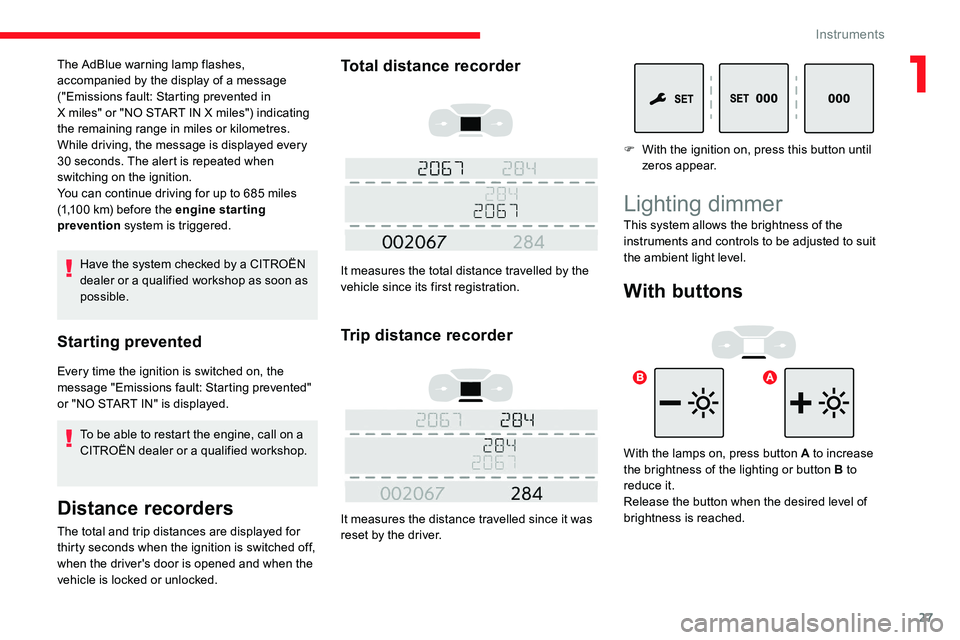
Distance recorders
The total and trip distances are displayed for
thirty seconds when the ignition is switched off,
when the driver's door is opened and when the
vehicle is locked or unlocked.
Total distance recorder
It measures the total distance travelled by the
vehicle since its first registration.
Trip distance recorder
It measures the distance travelled since it was
reset by the driver.
The AdBlue warning lamp flashes,
accompanied by the display of a message
("Emissions fault: Starting prevented in
X
miles" or "NO START IN X
miles") indicating
the remaining range in
miles or kilometres.
While driving, the message is displayed every
30 seconds. The alert is repeated when
switching on the ignition.
You can continue driving for up to 685
miles
(1,100
km) before the engine star ting
prevention system is triggered. F
W
ith the ignition on, press this button until
zeros appear.
Lighting dimmer
With buttons
With the lamps on, press button A to increase
the brightness of the lighting or button B to
reduce it.
Release the button when the desired level of
brightness is reached. This system allows the brightness of the
instruments and controls to be adjusted to suit
the ambient light level.
1
Instruments
Page 30 of 324
28
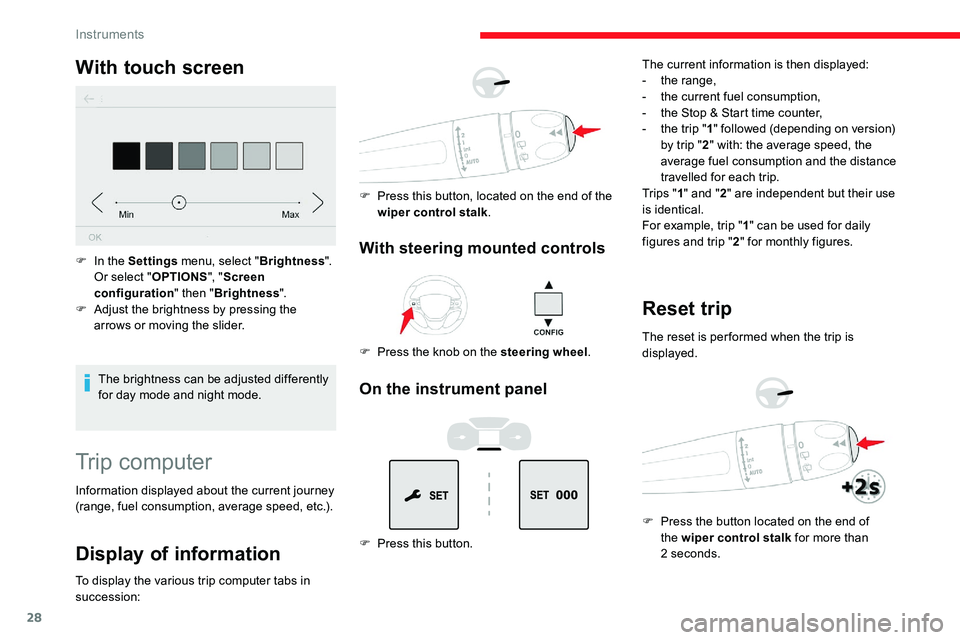
With touch screen
The brightness can be adjusted differently
for day mode and night mode.
F
I
n the Settings
menu, select " Brightness".
Or select " OPTIONS", "Screen
configuration " then "Brightness ".
F
A
djust the brightness by pressing the
arrows or moving the slider.
Trip computer
Information displayed about the current journey
(range, fuel consumption, average speed, etc.).
Display of information
To display the various trip computer tabs in
succession:
With steering mounted controls
F Press the knob on the steering wheel .
F
P
ress this button, located on the end of the
wiper control stalk .
On the instrument panel
F Press this button. The current information is then displayed:
-
t
he range,
-
t
he current fuel consumption,
-
t
he Stop & Start time counter,
-
t
he trip "
1" followed (depending on version)
by trip " 2" with: the average speed, the
average fuel consumption and the distance
travelled for each trip.
Tr i p s " 1" and " 2" are independent but their use
is identical.
For example, trip " 1" can be used for daily
figures and trip " 2" for monthly figures.
Reset trip
The reset is per formed when the trip is
displayed.
F
P
ress the button located on the end of
the wiper control stalk for more than
2
seconds.
Instruments
Page 31 of 324
29
F Press this button for more than 2 seconds. F
P
ress the knob on the steering wheel
for
more than 2 seconds.
A few definitions
Range
(miles or km)
T he distance which can still be
travelled with the fuel remaining in
the tank (depending on the average
fuel consumption over the last
few
miles (kilometres) travelled). When the range falls below 19
miles (30 km),
dashes are displayed.
After filling with at least 5 litres of fuel, the
range is recalculated and is displayed if it
exceeds 62 miles (100 km).
If dashes instead of figures continue to be
displayed when driving, contact a CITROËN
dealer or a qualified workshop.
This value may vary following a change in
the style of driving or the terrain, resulting
in a significant change in the current fuel
consumption.
Current fuel consumption
(mpg or l/100 km or km/l)
C alculated during the last few
seconds.
This function is only displayed from 19 mph
(30
km/h).
Average fuel consumption
(mpg or l/100 km or km/l)
C alculated since the last trip
computer reset.
Average speed
(mph or km/h)
C alculated since the last trip
computer reset.
Distance travelled
(miles or km)
C alculated since the last trip
computer reset.
Stop & Start time counter
(minutes/seconds or hours/minutes)
If your vehicle is fitted with Stop & Start, a time
counter calculates the time spent in STOP
mode during a journey.
It resets to zero every time the ignition is
switched on.
Setting the time and date
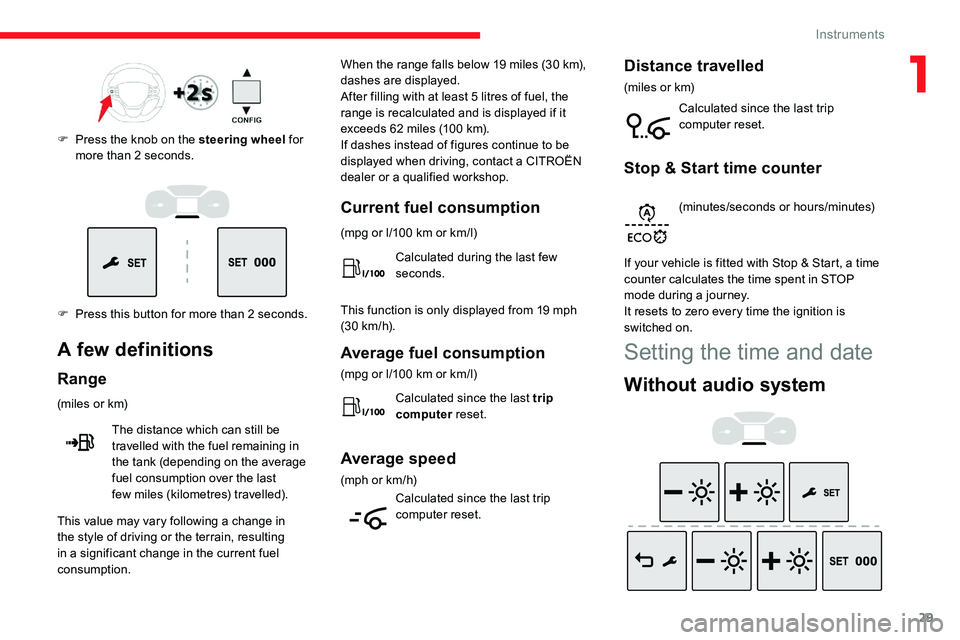
Without audio system
1
Instruments
Page 32 of 324
30
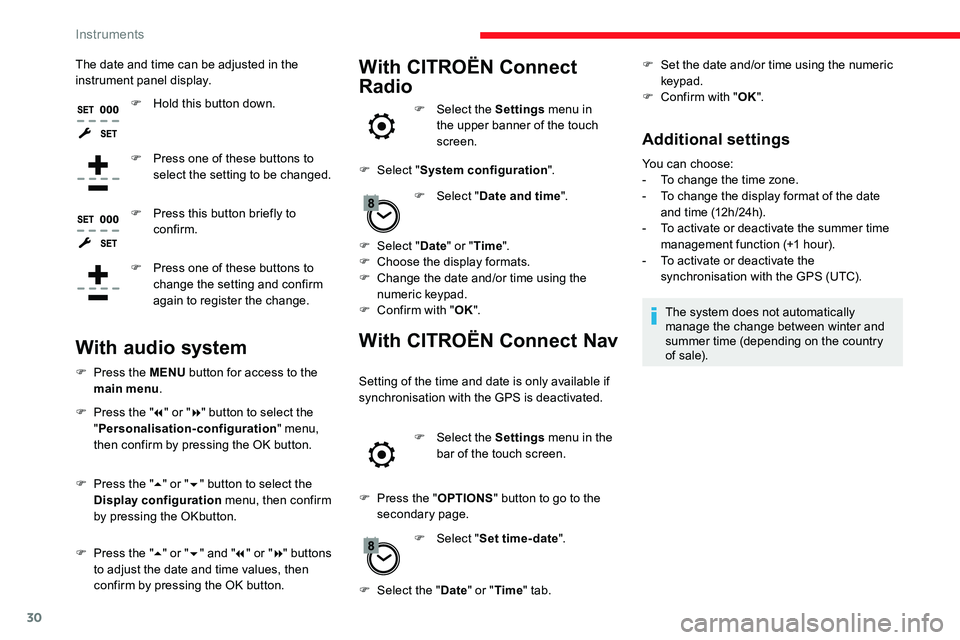
The date and time can be adjusted in the
instrument panel display.F
H
old this button down.
F
P
ress one of these buttons to
select the setting to be changed.
F
P
ress this button briefly to
confirm.
F
P
ress one of these buttons to
change the setting and confirm
again to register the change.With CITROËN Connect
Radio
F Select the Settings menu in
the upper banner of the touch
screen.
F
Sel
ect " System configuration ".
F
Sel
ect "Date and time ".
F
Sel
ect " Date " or "Time ".
F
C
hoose the display formats.
F
C
hange the date and/or time using the
numeric keypad.
F
C
onfirm with " OK".
With CITROËN Connect Nav
Setting of the time and date is only available if
synchronisation with the GPS is deactivated.
F
Sel
ect the Settings menu in the
bar of the touch screen.
F
P
ress the " OPTIONS " button to go to the
secondary page.
F
Sel
ect "Set time-date ".
With audio system
F Press the MENU button for access to the
main menu .
F
P
ress the " 7" or " 8" button to select the
" Personalisation-configuration " menu,
then confirm by pressing the OK button.
F
P
ress the " 5" or " 6" button to select the
Display configuration menu, then confirm
by pressing the OKbutton.
F
P
ress the " 5" or " 6" and " 7" or " 8" buttons
to adjust the date and time values, then
confirm by pressing the OK button. F
Sel
ect the "Date" or "Time " tab. F
S
et the date and/or time using the numeric
keypad.
F
C
onfirm with "
OK".
Additional settings
You can choose:
-
T o change the time zone.
-
T
o change the display format of the date
and time (12h/24h).
-
T
o activate or deactivate the summer time
management function (+1 hour).
-
T
o activate or deactivate the
synchronisation with the GPS (UTC).
The system does not automatically
manage the change between winter and
summer time (depending on the country
of s a l e).
Instruments
Page 36 of 324
34
The separation of the cab and loading
area unlocking is a security measure.
It is used to prevent access to the part
of the vehicle in which the driver is not
present.
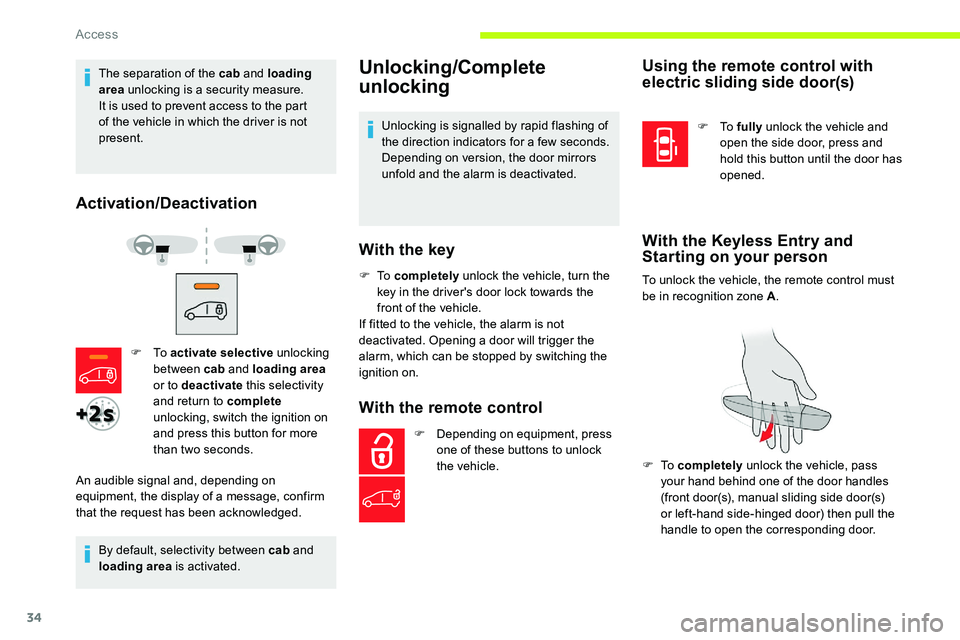
Activation/Deactivation
By default, selectivity between cab and
loading area is activated.
Unlocking/Complete
unlocking
F To activate selective unlocking
between cab and loading area
or to deactivate this selectivity
and return to complete
unlocking, switch the ignition on
and press this button for more
than two seconds.
An audible signal and, depending on
equipment, the display of a message, confirm
that the request has been acknowledged. Unlocking is signalled by rapid flashing of
the direction indicators for a few seconds.
Depending on version, the door mirrors
unfold and the alarm is deactivated.
With the key
F To
completely unlock the vehicle, turn the
key in the driver's door lock towards the
front of the vehicle.
If fitted to the vehicle, the alarm is not
deactivated. Opening a door will trigger the
alarm, which can be stopped by switching the
ignition on.
With the remote control
F Depending on equipment, press one of these buttons to unlock
the vehicle.
Using the remote control with
electric sliding side door(s)
F To fully unlock the vehicle and
open the side door, press and
hold this button until the door has
opened.
With the Keyless Entry and
Starting on your person
To unlock the vehicle, the remote control must
be in recognition zone A .
F
To completely unlock the vehicle, pass
your hand behind one of the door handles
(front door(s), manual sliding side door(s)
or left-hand side-hinged door) then pull the
handle to open the corresponding door.
Access
Page 42 of 324
40
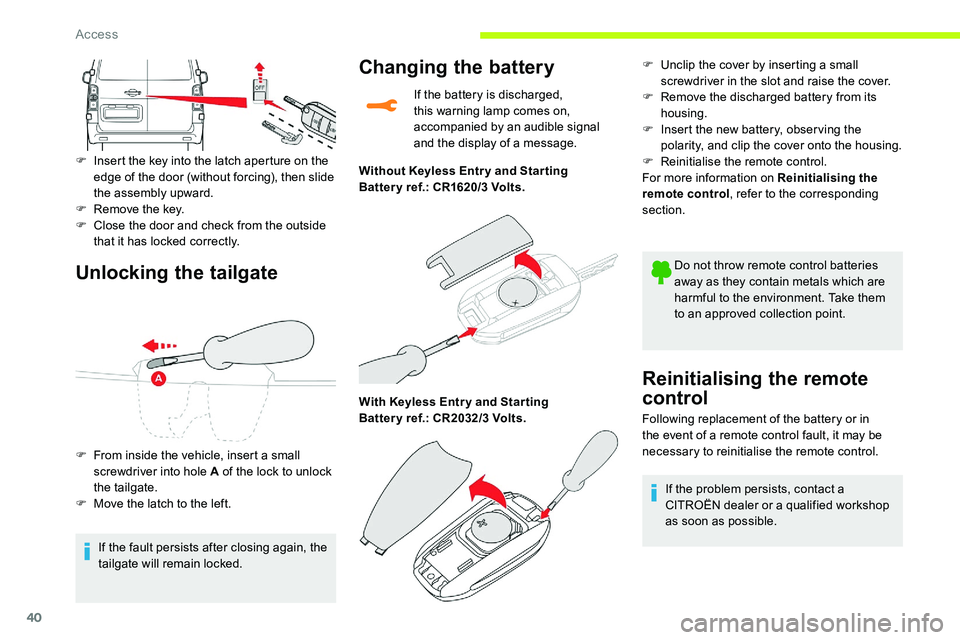
Unlocking the tailgate
F Insert the key into the latch aperture on the edge of the door (without forcing), then slide
the assembly upward.
F
R
emove the key.
F
C
lose the door and check from the outside
that it has locked correctly.
If the fault persists after closing again, the
tailgate will remain locked.
F
F
rom inside the vehicle, insert a small
screwdriver into hole A of the lock to unlock
the tailgate.
F
M
ove the latch to the left.
Changing the battery
If the battery is discharged,
this warning lamp comes on,
accompanied by an audible signal
and the display of a message.
Without Keyless Entr y and Star ting
Batter y ref.: CR1620/3
Volts.
With Keyless Entr y and Star ting
Batter y ref.: CR2032/3
Volts. F
U
nclip the cover by inserting a small
screwdriver in the slot and raise the cover.
F R emove the discharged battery from its
housing.
F
I
nsert the new battery, observing the
polarity, and clip the cover onto the housing.
F
R
einitialise the remote control.
For more information on Reinitialising the
remote control , refer to the corresponding
section.
Do not throw remote control batteries
away as they contain metals which are
harmful to the environment. Take them
to an approved collection point.
Reinitialising the remote
control
Following replacement of the battery or in
the event of a remote control fault, it may be
necessary to reinitialise the remote control.If the problem persists, contact a
CITROËN dealer or a qualified workshop
as soon as possible.
Access