service CITROEN DS3 CABRIO 2018 Handbook (in English)
[x] Cancel search | Manufacturer: CITROEN, Model Year: 2018, Model line: DS3 CABRIO, Model: CITROEN DS3 CABRIO 2018Pages: 248, PDF Size: 8.79 MB
Page 157 of 248
155
3A i r f i l t e r.
4 Brake fluid reser voir.
5 Battery.
6 Fusebox.
7 Engine oil dipstick.
8 Engine oil filler cap.
9 Priming pump (on diesel filter)*.
The Diesel circuit is under very high
pressure.
All work on this circuit must be carried out
only in the dealer network or a
qualified
workshop.
*
D
epending on engine.
Checking levels
Check all of these levels regularly, in line with
the manufacturer's service schedule. Top them
up if necessary, unless other wise indicated.
If a level drops significantly, have the
corresponding system checked by the dealer
network or a
qualified workshop.
The liquids must comply with the
manufacturer's recommendations and with
the vehicle's engine. Take care when working under the bonnet,
as certain areas of the engine may be
extremely hot (risk of burns) and the
cooling fan could start at any time (even
with the ignition off).
Used products
Avoid prolonged contact of used oil or
fluids with the skin.
Most of these fluids are harmful to health
or indeed very corrosive.
Do not discard used oil or fluids into
sewers or onto the ground.
Return used oil to the dealer network or
a
qualified workshop and dispose of it in
the containers reser ved for this purpose.
Engine oil level
The check is carried out either when
the ignition is switched on using the
oil level indicator in the instrument
panel for vehicles equipped with an
electric gauge, or using the dipstick. To ensure that the reading is correct, your
vehicle must be parked on a
level sur face
with the engine stopped for more than
30
minutes.
It is normal to top up the oil level between two
ser vices (or oil changes). We recommend that
you check the level, and top up if necessary,
every 3,000 miles (5,000 km).
Checking using the dipstick
The location of the dipstick is shown in the
corresponding underbonnet layout view.
F
H
old the dipstick by its coloured grip and
pull it out completely.
F
W
ipe the end of the dipstick using a clean
non-fluffy cloth.
F
R
efit the dipstick and push fully down, then
pull it out again to make the visual check:
the correct level is between marks A and B .
07
Practical information
Page 158 of 248
156
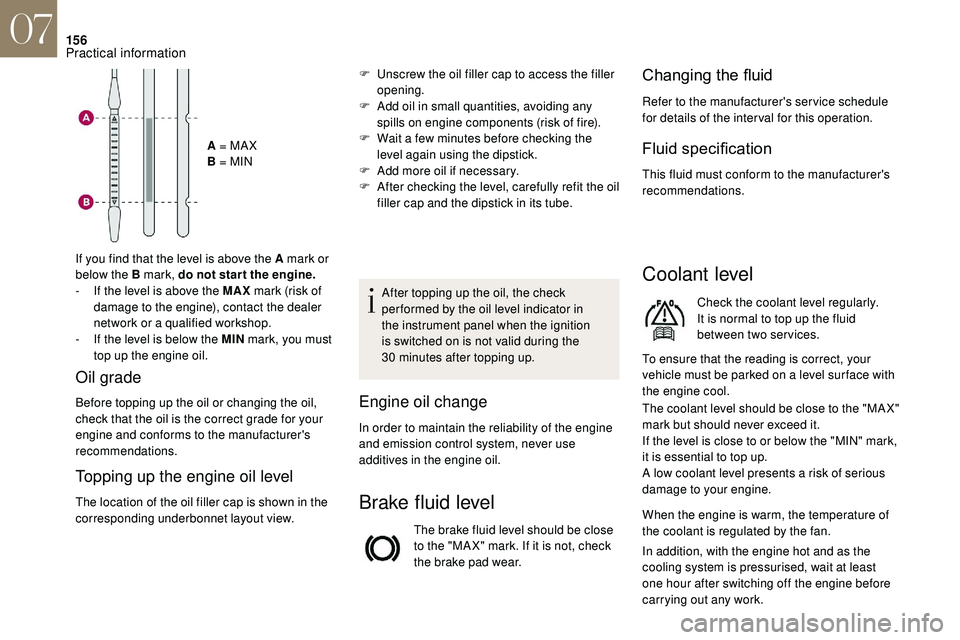
A = MA X
B = MIN
If you find that the level is above the A mark or
below the B mark, do not star t the engine.
-
I
f the level is above the MAX mark (risk of
damage to the engine), contact the dealer
network or a
qualified workshop.
-
I
f the level is below the MIN mark, you must
top up the engine oil.
Topping up the engine oil level
The location of the oil filler cap is shown in the
corresponding underbonnet layout view. After topping up the oil, the check
per formed by the oil level indicator in
the instrument panel when the ignition
is switched on is not valid during the
30
minutes after topping up.
Engine oil change
In order to maintain the reliability of the engine
and emission control system, never use
additives in the engine oil.
Brake fluid level
The brake fluid level should be close
to the "MA X" mark. If it is not, check
the brake pad wear.
Changing the fl
uid
Refer to the manufacturer's service schedule
for details of the inter val for this operation.
Fluid specification
This fluid must conform to the manufacturer's
recommendations.
Coolant level
Check the coolant level regularly.
It is normal to top up the fluid
between two services.
To ensure that the reading is correct, your
vehicle must be parked on a
level sur face with
the engine cool.
The coolant level should be close to the "MA X"
mark but should never exceed it.
If the level is close to or below the "MIN" mark,
it is essential to top up.
A low coolant level presents a
risk of serious
damage to your engine.
When the engine is warm, the temperature of
the coolant is regulated by the fan.
F
U
nscrew the oil filler cap to access the filler
opening.
F
A
dd oil in small quantities, avoiding any
spills on engine components (risk of fire).
F
W
ait a
few minutes before checking the
level again using the dipstick.
F
A
dd more oil if necessary.
F
A
fter checking the level, carefully refit the oil
filler cap and the dipstick in its tube.
Oil grade
Before topping up the oil or changing the oil,
check that the oil is the correct grade for your
engine and conforms to the manufacturer's
recommendations.
In addition, with the engine hot and as the
cooling system is pressurised, wait at least
one hour after switching off the engine before
carrying out any work.
07
Practical information
Page 159 of 248
157
The cooling fan may star t after
switching off the engine: take care
with articles and clothing that might be
caught by the fan blades.
Fluid specification
The fluid must conform to the manufacturer's
recommendations.
Screenwash fluid level
Top up to the required level when
necessary.
Fluid specification
The screenwash fluid must be topped up with
a ready for use mix.
In winter (temperatures below zero), a fluid with
antifreeze must be used that is appropriate for
the prevailing conditions, in order to preser ve
the elements of the system (pump, tank, ducts,
e t c .) . To avoid the risk of scalding when you need to
top up in an emergency, place a cloth around
the cap and unscrew the cap by two turns to
allow the pressure to drop.
Once the pressure has dropped, remove the
cap and top up the level.
Diesel fuel additive level
(Diesel with particle filter)
The additive tank minimum level is
indicated by fixed illumination of this
warning lamp, accompanied by an
audible signal and a
message that
the particle filter additive level is
too low.
Topping up
This additive must be topped up without
delay by a member of the dealer network or
a
qualified workshop.
AdBlue level
An alert is triggered once the reser ve level is
reached.
To avoid the vehicle being immobilised as per
regulations, you must top up with AdBlue.
For more information on AdBlue
® and the SCR
system, and in particular topping it up, refer to
the corresponding section.
Checks
Unless otherwise indicated, check these
components in accordance with the
manufacturer's service schedule and according
to your engine.
Otherwise, have them checked by the dealer
network or a
qualified workshop.
12 V battery
The battery does not require any
maintenance.
However, check regularly that the
terminals are correctly tightened and
that the connections are clean.
Versions equipped with Stop & Start are
fitted with a
12 V lead-acid battery of
specific technology and specification.
Its replacement should be carried out
only in the dealer network or a
qualified
workshop.
When carrying out any operation on the 12
V
battery, refer to the corresponding section for
details of the precautions to be taken before
starting work.
Filling with pure water is prohibited under all
circumstances (risk of freezing, limestone
deposits, etc.).
07
Practical information
Page 160 of 248
158
Air filter
Depending on the environment
(e.g. dusty atmosphere) and the
use of the vehicle (e.g. city driving),
replace it twice as often if
necessary.
Passenger compartment filter
Depending on the environment
(e.g. dusty atmosphere) and the
use of the vehicle (e.g. city driving),
replace it twice as often if
necessary.
A clogged passenger compartment
filter may have an adverse effect on
the per formance of the air conditioning
system and generate undesirable odours.
Oil filter
Replace the oil filter each time the
engine oil is changed.
Particle filter (Diesel)
The start of saturation of the particle
filter is indicated by the temporary
illumination of this warning lamp
accompanied by the display of
a
message.
As soon as the traffic conditions permit,
regenerate the filter by driving at a
speed of at
least 40
mph (60 km/h) until the warning lamp
goes off.
If the warning lamp stays on, this indicates
a
low Diesel additive level.
For more information on Checking levels ,
refer to the corresponding section.
On a
new vehicle, the first particle
filter regeneration operations may be
accompanied by a "burning" smell, which
is per fectly normal.
Following prolonged operation of the
vehicle at very low speed or at idle,
you may, in exceptional circumstances,
notice the emission of water vapour at the
exhaust on acceleration. This does not
affect the behaviour of the vehicle or the
environment.
Manual gearbox
The gearbox does not require any
maintenance (no oil change).
Electronic gearbox
The gearbox does not require any
maintenance (no oil change).
Automatic gearbox
The gearbox does not require any
maintenance (no oil change).
Parking brake
If excessive travel or a loss of
e ffectiveness of this system is
noticed, the parking brake must
be checked, even between two
services.
This system must be checked in the dealer
network or by a
qualified workshop.
07
Practical information
Page 161 of 248
159
Brake pads
Brake wear depends on the style
of driving, particularly in the case
of vehicles used in town, over short
distances. It may be necessary to
have the condition of the brakes
checked, even between vehicle
services.
Unless there is a
leak in the circuit, a drop in
the brake fluid level indicates that the brake
pads are worn.
Brake disc/drum wear
For information on checking brake
disc wear, contact the dealer
network or a
qualified workshop. Only use products recommended by
DS
AUTOMOBILES or products of
equivalent quality and specification.
In order to optimise the operation of
components as important as those in
the braking system, DS AUTOMOBILES
selects and offers very specific products.
After washing the vehicle, dampness, or
in wintry conditions, ice can form on the
brake discs and pads: braking efficiency
may be reduced. Make light brake
applications to dry and defrost the brakes.
AdBlue® (BlueHDi
engines)
To respect the environment and ensure
compliance with the Euro 6
standard,
without adversely affecting the performance
or fuel consumption of diesel engines,
DS
AUTOMOBILES has taken the decision to
equip its vehicles with a
system that combines
SCR (Selective Catalytic Reduction) with
a
diesel particle filter (DPF) for the treatment of
exhaust gases.
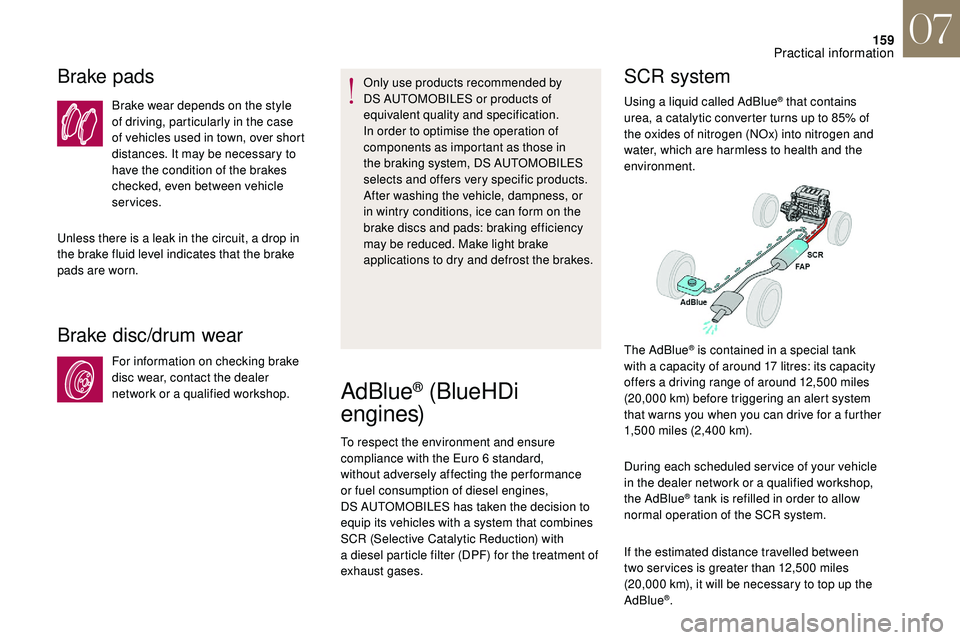
SCR system
Using a liquid called AdBlue® that contains
urea, a catalytic converter turns up to 85% of
the oxides of nitrogen (NOx) into nitrogen and
water, which are harmless to health and the
environment.
During each scheduled ser vice of your vehicle
in the dealer network or a
qualified workshop,
the AdBlue
® tank is refilled in order to allow
normal operation of the SCR system.
If the estimated distance travelled between
two ser vices is greater than 12,500
miles
(20,000
km), it will be necessary to top up the
AdBlue
®.
The AdBlue
® is contained in a special tank
w
ith a
capacity of around 17 litres: its capacity
offers a
driving range of around 12,500 miles
(20,000
km) before triggering an alert system
that warns you when you can drive for a
further
1,500
miles (2,400 km).
07
Practical information
Page 205 of 248
1
7-inch touch screen tablet
GPS satellite navigation –
Multimedia audio system –
Bluetooth
® telephone
Contents
First steps
2
S
teering mounted controls
3
M
enus
3
N
avigation
4
R
adio
7
D
AB radio (Digital Audio Broadcasting)
9
M
edia
9
S
ettings
1
1
Connected services
1
2
Telephone
1
4
Frequently asked questions
1
7The system is protected in such a
way that
it will only operate in your vehicle.
As a safety measure, the driver should
only carry out operations that require
close attention with the vehicle stationary.
The display of the energy economy mode
message signals that the system is about
to go into standby. For more information,
refer to the "Energy economy mode"
section.
7-inch touch screen tablet
Page 207 of 248
3
Steering mounted controls
Radio: select previous/next preset
station.
Media: select the genre/artist/
folder from the list depending on
classification.
Select the previous/next item in
a menu.
Radio: automatic search for a
higher
frequency.
Media: select the next track.
Media, press and hold: fast for ward.
Skip in the list.
Change the audio source.
Confirm a
selection.
Call/end call on the telephone.
Press for more than 2
seconds:
access telephone main menu.
Radio: automatic search for a
lower
frequency.
Media: select the previous track.
Media, press and hold: rewind.
Skip in the list. Increase volume.
Decrease volume.
Mute on: cut the sound by
simultaneously pressing the volume
up and down buttons.
Mute off: press one of the two
volume buttons.
Menus
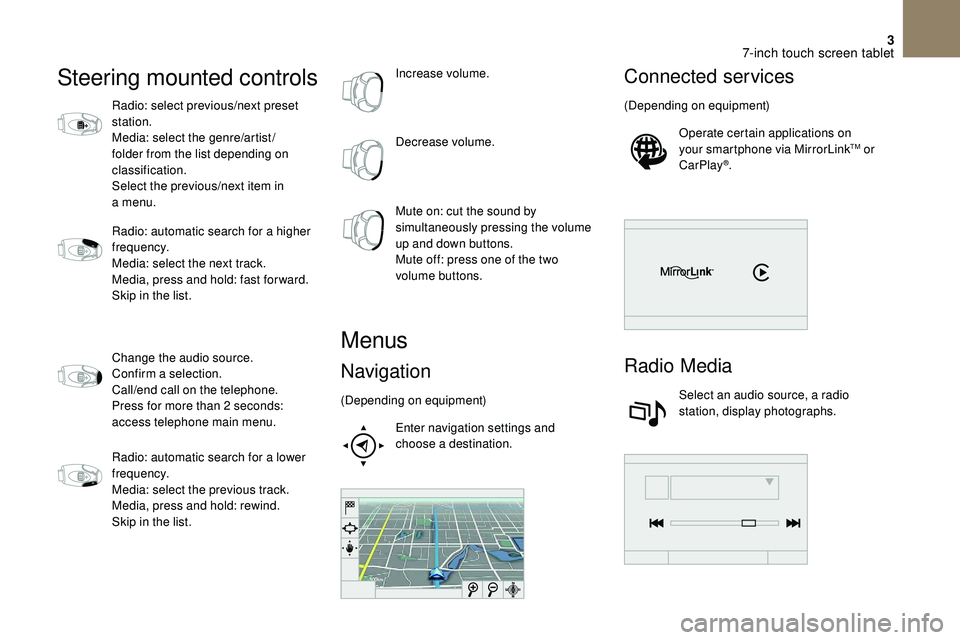
Navigation
(Depending on equipment)
Enter navigation settings and
choose a
destination.
Connected services
(Depending on equipment)Operate certain applications on
your smartphone via MirrorLink
TM or
CarPlay®.
Radio Media
Select an audio source, a radio
station, display photographs.
7-inch touch screen tablet
Page 216 of 248
12
- "Ambience " (choice of 6 musical ambiences).- "Bass ".- "Tr e b l e ".- "Loudness " (Activate/Deactivate).- "Balance " ("Driver ", "All passengers ",
" Front only ").
- "Audible response from touch screen ".- "Volume linked to speed " (Activate/
Deactivate).
Onboard audio: Arkamys© Sound Staging
optimises the distribution of sound in the
passenger compartment.
Modifying system settings
Press Settings to display the
primary page.
Press on the secondary page. Select "System Settings ".
Select " Units" to change the units of distance,
fuel consumption and temperature.
Select " Delete data " to delete the list of recent
destinations, personal points of interest,
contacts in the list. Check the settings then select
"
Delete ".
Select " Factory settings " to return to the
original settings.
Press Settings to display the
primary page.
Press on the secondary page. Select "Screen settings ".
Activate or deactivate: " Activate
automatic text scrolling " and
" Activate animations ".
Press Settings to display the
primary page.
Press on the secondary page. Select "Time/Date " to change the
time zone, synchronisation with
GPS, the time and its format, then
the date.
The system does not automatically
manage the change between winter and
summer time (depending on country). Select "
Languages " to change the
language.
Select " Calculator " to display
a
calculator.
Select " Calendar " to display
a
calendar.
Connected services
MirrorLinkTM
MirrorLink™ smartphone
connection
As a safety measure and because it
r equires sustained attention by the driver,
using a
smartphone when driving is
prohibited.
All operations must be done with the
vehicle stationary .
7-inch touch screen tablet
Page 217 of 248
13
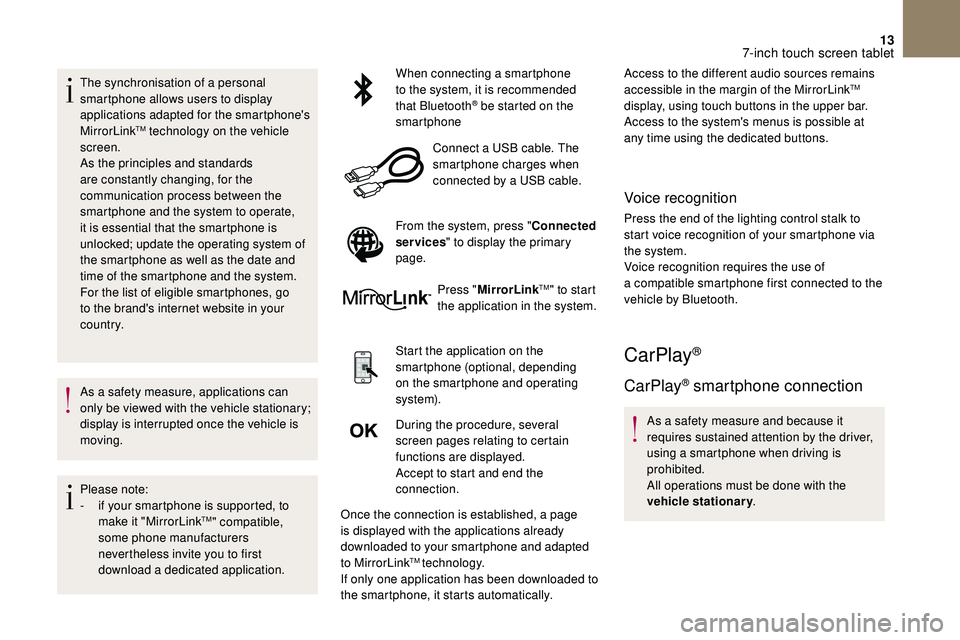
The synchronisation of a personal
sm artphone allows users to display
applications adapted for the smartphone's
MirrorLink
TM technology on the vehicle
screen.
As the principles and standards
are constantly changing, for the
communication process between the
smartphone and the system to operate,
it is essential that the smartphone is
unlocked; update the operating system of
the smartphone as well as the date and
time of the smartphone and the system.
For the list of eligible smartphones, go
to the brand's internet website in your
c o u nt r y.
As a
safety measure, applications can
only be viewed with the vehicle stationary;
display is interrupted once the vehicle is
moving.
Please note:
-
i
f your smartphone is supported, to
make it "MirrorLink
TM" compatible,
some phone manufacturers
nevertheless invite you to first
download a
dedicated application. When connecting a
smartphone
to the system, it is recommended
that Bluetooth
® be started on the
smartphone
Connect a
USB cable. The
smartphone charges when
connected by a
USB cable.
From the system, press " Connected
services " to display the primary
page.
Press "MirrorLink
TM" to start
the application in the system.
Start the application on the
smartphone (optional, depending
on the smartphone and operating
syste m).
During the procedure, several
screen pages relating to certain
functions are displayed.
Accept to start and end the
connection.
Once the connection is established, a page
is displayed with the applications already
downloaded to your smartphone and adapted
to MirrorLink
TM technology.
If only one application has been downloaded to
the smartphone, it starts automatically. Access to the different audio sources remains
accessible in the margin of the MirrorLink
TM
display, using touch buttons in the upper bar.
Access to the system's menus is possible at
any time using the dedicated buttons.
Voice recognition
Press the end of the lighting control stalk to
start voice recognition of your smartphone via
the system.
Voice recognition requires the use of
a
compatible smartphone first connected to the
vehicle by Bluetooth.
CarPlay®
CarPlay® smartphone connection
As a safety measure and because it
r equires sustained attention by the driver,
using a
smartphone when driving is
prohibited.
All operations must be done with the
vehicle stationary .
7-inch touch screen tablet
Page 218 of 248
14
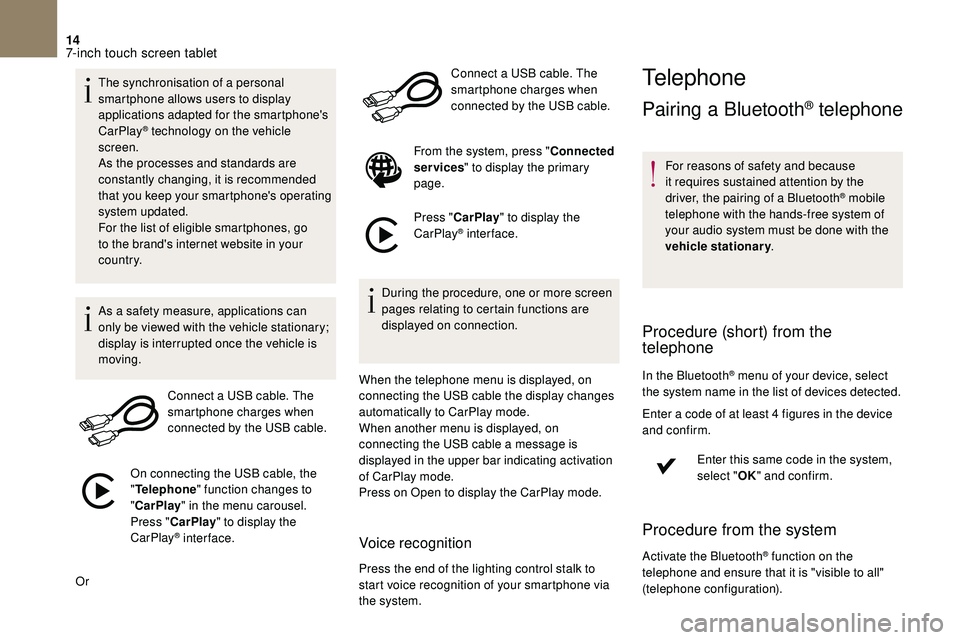
The synchronisation of a personal
sm artphone allows users to display
applications adapted for the smartphone's
CarPlay
® technology on the vehicle
screen.
As the processes and standards are
constantly changing, it is recommended
that you keep your smartphone's operating
system updated.
For the list of eligible smartphones, go
to the brand's internet website in your
c o u nt r y.
As a
safety measure, applications can
only be viewed with the vehicle stationary;
display is interrupted once the vehicle is
moving.
Connect a
USB cable. The
smartphone charges when
connected by the USB cable.
On connecting the USB cable, the
" Telephone " function changes to
" CarPlay " in the menu carousel.
Press " CarPlay " to display the
CarPlay
® inter face.
Or Connect a
USB cable. The
smartphone charges when
connected by the USB cable.
From the system, press " Connected
services " to display the primary
page.
Press " CarPlay " to display the
CarPlay
® inter face.
During the procedure, one or more screen
pages relating to certain functions are
displayed on connection.
When the telephone menu is displayed, on
connecting the USB cable the display changes
automatically to CarPlay mode.
When another menu is displayed, on
connecting the USB cable a
message is
displayed in the upper bar indicating activation
of CarPlay mode.
Press on Open to display the CarPlay mode.
Voice recognition
Press the end of the lighting control stalk to
start voice recognition of your smartphone via
the system.
Telephone
Pairing a Bluetooth® telephone
For reasons of safety and because
it requires sustained attention by the
driver, the pairing of a
Bluetooth
® mobile
telephone with the hands-free system of
your audio system must be done with the
vehicle stationary .
Procedure (short) from the
telephone
In the Bluetooth® menu of your device, select
the system name in the list of devices detected.
Enter a
code of at least 4 figures in the device
and confirm.
Enter this same code in the system,
select "OK" and confirm.
Procedure from the system
Activate the Bluetooth® function on the
telephone and ensure that it is "visible to all"
(telephone configuration).
7-inch touch screen tablet