audio Citroen DS3 RHD 2015 1.G Repair Manual
[x] Cancel search | Manufacturer: CITROEN, Model Year: 2015, Model line: DS3 RHD, Model: Citroen DS3 RHD 2015 1.GPages: 387, PDF Size: 12.26 MB
Page 337 of 387

335
Audioô system
Audio system / BluetoothôÛ
Contents
First
ô
steps
ô 3 36
Steering
ô
mounted
ô
controls
ô
3
37
Menus
ô
3
38
Radio
ô
3
38
Media
ô
3
40
Telephone
ô 3
44
Screen
ô
menu
ô
map(s)
ô
3
46
Frequently
ô
asked
ô
questions
ô
3
50
Your
ô
Audio
ô
system
ô
is
ô
coded
ô
in
ô
such
ô
a
ô
way
ô
that
ô
it
ô
will
ô
only
ô
operate
ô
i
n
ô
your
ô
vehicle. As
ô
a
ô
safety
ô
measure,
ô
the
ô
driver
ô
must
ô
only
ô
carry
ô
out
ô
operations
ô w
hich
ô
require
ô
prolonged
ô
attention
ô
while
ô
the
ô
vehicle
ô
is
ô
stationary.
When
ô
the
ô
engine
ô
is
ô
switched
ô
off
ô
and
ô
to
ô
prevent
ô
discharging
ô of ô the
ô b
attery,
ô
the
ô
audio
ô
equipment
ô
may
ô
switch
ô
off
ô
after
ô
a
ô
few
ô
minutes.
Audio and Telematics
Page 338 of 387
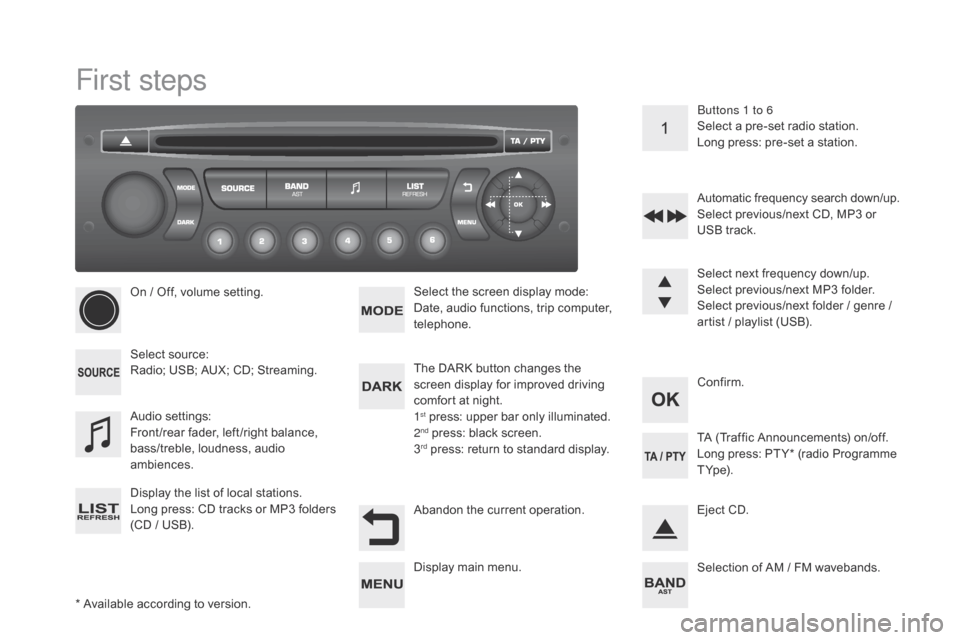
First steps
*ô Availableô accordingô toô version.
O n ô / ô Off, ô volume ô setting.
Select
ô s
ource:
Radio; ô USB; ô AUX; ô CD; ô Streaming.
Display ô the ô list ô of ô local ô stations.
Long ô
p
ress: ô
C
D ô
t
racks ô
o
r ô
M
P3 ô
f
olders ô
(
CD ô / ô USB). Select ô the ô screen ô display ô mode:
Date, ô audio ô functions, ô trip ô computer, ô
t
elephone.
Audio
ô se
ttings:
Front /rear ô fader, ô left /right ô balance, ô
b
ass/treble, ô loudness, ô audio ô
am
biences.
The ô DARK ô button ô changes ô the ô
s
creen ô display ô for ô improved ô driving ô
c
omfort ô at ô night.
1
stô press:ô upperô barô onlyô illuminated.
2ndô press:ô blackô screen.
3rdô press:ô returnô toô standardô display. S elect ô next ô frequency ô down/up.
Select ô previous/next ô MP3 ô folder.
Select ô previous/next ô folder ô / ô genre ô / ô
a
rtist ô / ô playlist ô (USB).
Abandon ô the ô current ô operation. Confirm. Buttons 1 to 6
Select ô a ô pre-set ô radio ô station.
Long ô press: ô pre-set ô a ô station.
Automatic ô frequency ô search ô down/up.
Select ô previous/next ô CD, ô MP3 ô or ô
U
SB ô track.
Eject ô CD.
Display
ô main ô menu. TA
ô (Traffic ô Announcements) ô on/off.
Long ô press: ô PT Y* ô (radio ô Programme ô
T
Yp e).
Selection
ô of ô AM ô / ô FM ô wavebands.
Page 339 of 387

337
Steeringô mountedô controls
Radio:ô selectô theô previous/nextô pre-
s et ô station.
USB:
ô select ô genre ô / ô artist ô / ô folder ô
f
rom ô the ô classification ô list.
Select
ô the ô previous/next ô item ô in ô
aô m
enu.
Volume
ô decrease.
Radio:
ô automatic ô search ô for ô a ô higher ô
f
requency.
CD
ô / ô MP3 ô / ô USB: ô selection ô of ô the ô next ô
t
rack.
CD
ô / ô USB: ô continuous ô press: ô fast ô
fo
rward.
Move
ô in ô the ô list. Mute:
ô press ô the ô volume ô increase ô and ô
d
ecrease
ô b
uttons
ô s
imultaneously.
The
ô sound ô is ô restored ô by ô pressing ô
o
ne ô of ô the ô two ô volume ô buttons.
Radio:
ô automatic ô search ô for ô a ô lower ô f
requency.
CD
ô / ô MP3 ô / ô USB: ô selection ô of ô the ô
p
revious ô track.
CD
ô / ô USB: ô continuous ô press: ô fast ô
b
ack.
Move
ô in ô the ô list.
Change
ô audio ô source.
Confirm
ô a ô selection.
Call/end
ô call ô on ô the ô telephone.
Press
ô for ô more ô than ô 2 ô seconds: ô
t
elephone ô main ô menu. Volume
ô increase.
Audio and Telematics
Page 340 of 387
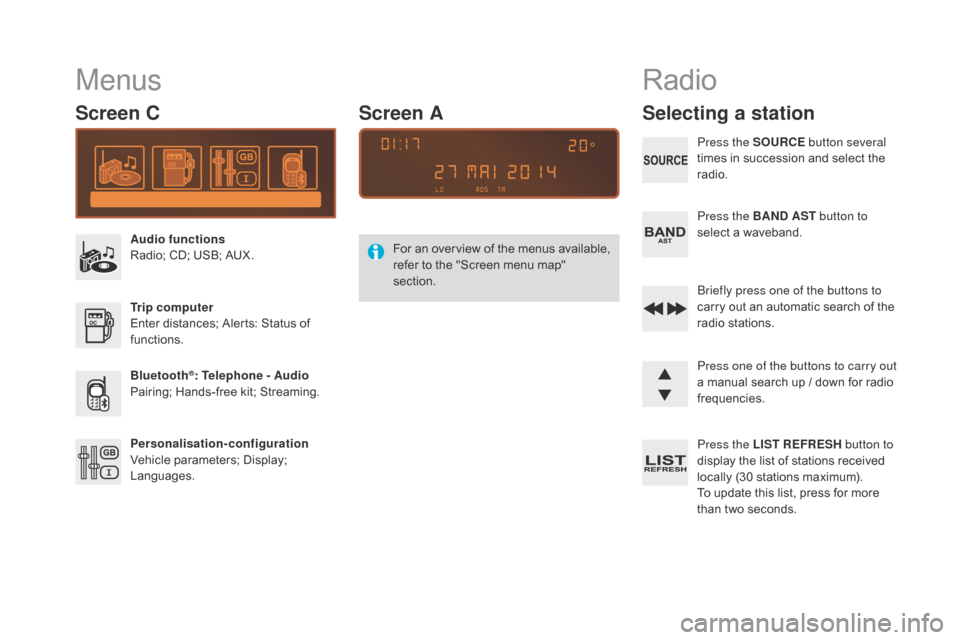
Menus
Screen C
Audio functions
Radio;ô CD; ô USB; ô AUX.
Trip computer
Enter
ô distances; ô Alerts: ô Status ô of ô
f
unctions.
Bluetooth
ôÛ: Telephone - Audio
Pairing;
ô
Hands-free ô kit; ô Streaming.
Personalisation-configuration
Vehicle
ô
parameters; ô Display; ô
L
anguages. For
ô
a
n ô
ov
erview ô
o
f ô
t
he ô
m
enus ô
a
vailable, ô
r
efer ô to ô the ô "Screen ô menu ô map" ô
s
ection.
Screen A
Radio
Selecting a station
Press the SOURCE
button several
times ô in ô succession ô and ô select ô the ô
r
adio.
Press the BA
n
d AST button to
select
ô a ô waveband.
Briefly press one of the buttons to
carry
ô out ô an ô automatic ô search ô of ô the ô
r
adio
ô s
tations.
Press one of the buttons to carry out
a
ô manual ô search ô up ô / ô down ô for ô radio ô
f
requencies.
Press the LIST REFRESH button to
display
ô the ô list ô of ô stations ô received ô
l
ocally ô (30 ô stations ô maximum).
To
ô update ô this ô list, ô press ô for ô more ô
t
han ô two ô seconds.
Page 341 of 387
339
RdS
Theô externalô environmentô (hills,ô b
uildings, ô tunnels, ô basement ô car ô
p
arks,ô ...) ô may ô block ô reception, ô
i
ncluding ô in ô RDS ô mode. ô This ô is ô a ô
n
ormal ô effect ô of ô the ô way ô in ô which ô radio ô
w
aves ô are ô transmitted ô and ô does ô not ô
i
ndicate ô any ô failure ô of ô the ô audio ô system.
Press the ME
n
U
ô
button.
Select " Audio functions ".
Press OK.
Select the " FM waveband
preferences "
ô function.
Press OK. Select "
Activate RdS".
P ress OK,
ô RDS ô is ô displayed ô in ô the ô
sc
reen.
In " Radio "
ô mode, ô press ô OK
ô
directly ô to ô activate ô / ô
d
eactivate ô RDS ô mode.
RDS,
ô if ô displayed, ô enables ô you ô to ô continue
ô l
istening ô to ô the ô same ô station ô by ô automatic
ô r
etuning ô to ô alternative ô frequencies.
ô H
owever, ô in ô certain ô conditions, ô coverage
ô o
f ô an ô RDS ô station ô may ô not ô be ô assured
ô t
hroughout ô the ô country ô as ô radio ô stations
ô d
o ô not ô cover ô 100 ô % ô of ô the ô territory. ô This
ô e
xplains ô the ô loss ô of ô reception ô of ô a ô station
ô t
hat ô can ô occur ô during ô a ô journey.
Receiving TA messages
Press the TA button to activate or
deactivate ô traffic ô messages.
The
ô TA ô (Traffic ô Announcement) ô
f
unction ô gives ô priority ô to ô TA ô alert ô
m
essages. ô To ô operate, ô this ô function ô
n
eeds ô good ô reception ô of ô a ô radio ô station ô
t
ransmitting ô this ô type ô of ô message. ô
W
hen ô a ô traffic ô report ô is ô transmitted, ô the ô
c
urrent ô audio ô source ô (Radio, ô CD, ô ...) ô
i
s
ô
interrupted ô automatically ô to ô play ô the ô
T
A
ô
message. ô Normal ô playback ô of ô the ô
a
udio ô source ô resumes ô at ô the ô end ô of ô the ô
t
ransmission ô of ô the ô message.
Audio and Telematics
Page 343 of 387
341
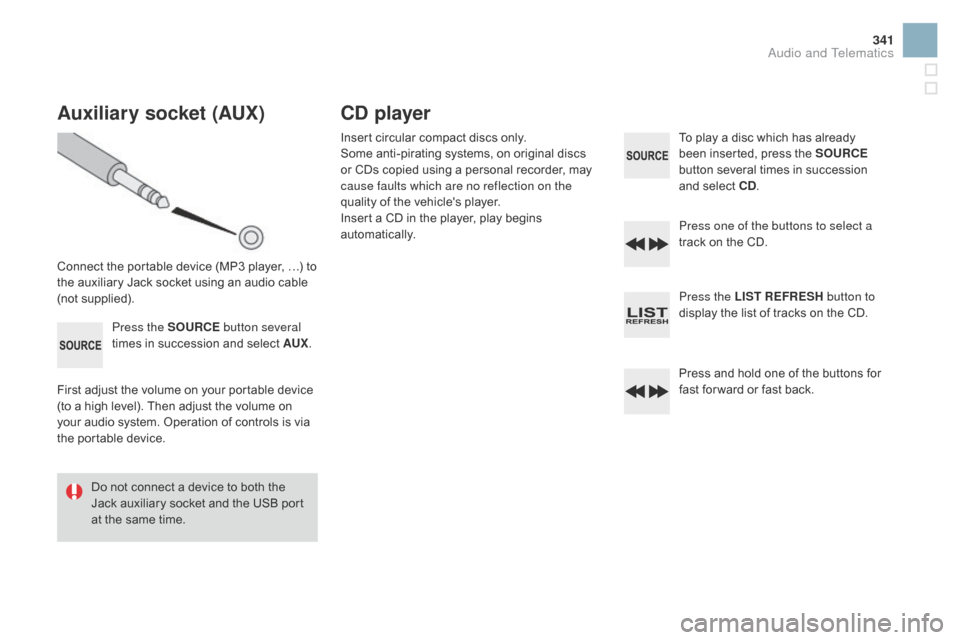
Auxiliary socket (AUX)
Connectô theô portableô deviceô (MP3ô player,ô ãÎ)ô toô the ô auxiliary ô Jack ô socket ô using ô an ô audio ô cable ô
(
not
ô sup
plied).Press the SOURCE button several
times
ô in ô succession ô and ô select ô AUX.
First
ô adjust ô the ô volume ô on ô your ô portable ô device ô
(
to ô a ô high ô level). ô Then ô adjust ô the ô volume ô on ô
y
our ô audio ô system. ô Operation ô of ô controls ô is ô via ô
t
he ô portable ô device.
Do
ô not ô connect ô a ô device ô to ô both ô the ô
J
ack ô auxiliary ô socket ô and ô the ô USB ô port ô
a
t ô the ô same ô time.
Cd player
Insertô circularô compactô discsô only.
S ome ô anti-pirating ô systems, ô on ô original ô discs ô
o
r ô CDs ô copied ô using ô a ô personal ô recorder, ô may ô
c
ause faults which are no reflection on the
quality
ô of ô the ô vehicle's ô player.
Insert
ô a ô CD ô in ô the ô player, ô play ô begins ô
au
tomatically. To
ô play ô a ô disc ô which ô has ô already ô b
een ô inserted, ô press ô the ô SOURCE
button
ô several ô times ô in ô succession ô
a
nd ô select ô C d
.
P
ress one of the buttons to select a
track
ô on ô the ô CD.
Press the LIST REFRESH button to
display
ô the ô list ô of ô tracks ô on ô the ô CD.
Press
ô and ô hold ô one ô of ô the ô buttons ô for ô
f
ast ô for ward ô or ô fast ô back.
Audio and Telematics
Page 344 of 387
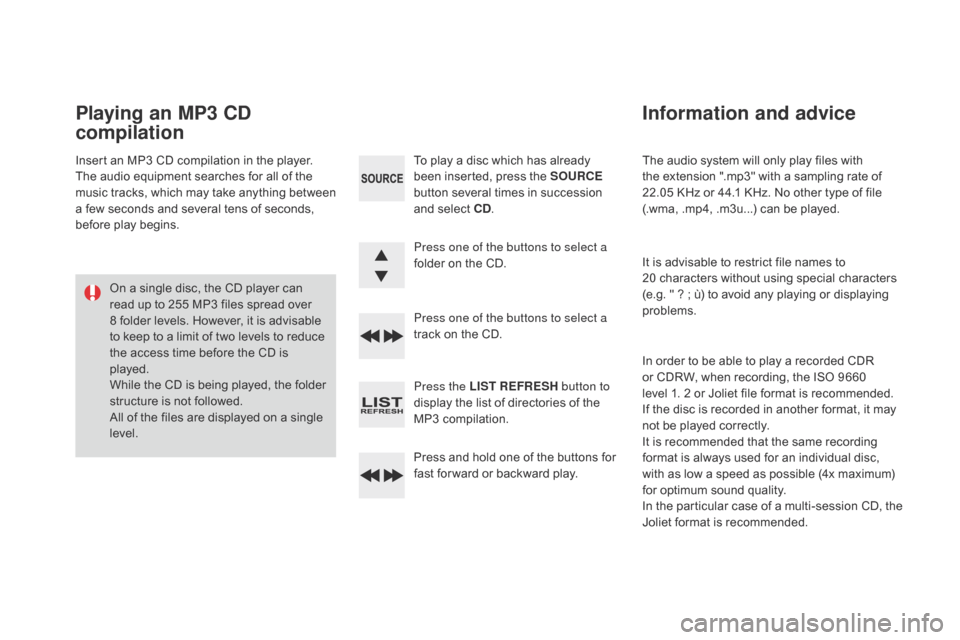
Theô audioô systemô willô onlyô playô filesô withô the ô extension ô ".mp3" ô with ô a ô sampling ô rate ô of ô
2
2.05ô KHz ô or ô 44.1 ô KHz. ô No ô other ô type ô of ô file ô
(
.wma, ô .mp4, ô .m3u...) ô can ô be ô played.
It
ô is ô advisable ô to ô restrict ô file ô names ô to ô
2
0ô characters ô without ô using ô special ô characters ô
(
e.g. ô " ô ? ô ; ô û¿) ô to ô avoid ô any ô playing ô or ô displaying ô
pro
blems.
In
ô order ô to ô be ô able ô to ô play ô a ô recorded ô CDR ô
o
r ô CDRW, ô when ô recording, ô the ô ISO ô 9660 ô
l
evelô 1.ô 2 ô or ô Joliet ô file ô format ô is ô recommended.
If
ô the ô disc ô is ô recorded ô in ô another ô format, ô it ô may ô
n
ot ô be ô played ô correctly.
It
ô is ô recommended ô that ô the ô same ô recording ô
f
ormat ô is ô always ô used ô for ô an ô individual ô disc, ô
w
ith ô as ô low ô a ô speed ô as ô possible ô (4x ô maximum) ô
f
or ô optimum ô sound ô quality.
In
ô the ô particular ô case ô of ô a ô multi-session ô CD, ô the ô
J
oliet ô format ô is ô recommended.
Information and advice
Toô playô aô discô whichô hasô alreadyô been ô inserted, ô press ô the ô SOURCE
button
ô several ô times ô in ô succession ô
a
nd ô select ô C d
.
P
ress one of the buttons to select a
folder
ô on ô the ô CD.
Press one of the buttons to select a
track
ô on ô the ô CD.
Press the LIST REFRESH button to
display
ô the ô list ô of ô directories ô of ô the ô
M
P3 ô compilation.
Press
ô and ô hold ô one ô of ô the ô buttons ô for ô
f
ast ô for ward ô or ô backward ô play.
Playing an MP3 Cd
compilation
Insertô anô MP3ô CDô compilationô inô theô player.
T he ô audio ô equipment ô searches ô for ô all ô of ô the ô
m
usic ô
t
racks, ô
w
hich ô
m
ay ô
t
ake ô
a
nything ô
b
etween ô
a
ô few ô seconds ô and ô several ô tens ô of ô seconds, ô
b
efore ô play ô begins.
On
ô a ô single ô disc, ô the ô CD ô player ô can ô
r
ead ô up ô to ô 255 ô MP3 ô files ô spread ô over ô
8
ô folder ô levels. ô However, ô it ô is ô advisable ô
t
o ô keep ô to ô a ô limit ô of ô two ô levels ô to ô reduce ô
t
he ô access ô time ô before ô the ô CD ô is ô
p
layed.
While
ô the ô CD ô is ô being ô played, ô the ô folder ô
s
tructure ô is ô not ô followed.
All
ô of ô the ô files ô are ô displayed ô on ô a ô single ô
l
evel.
Page 345 of 387
343
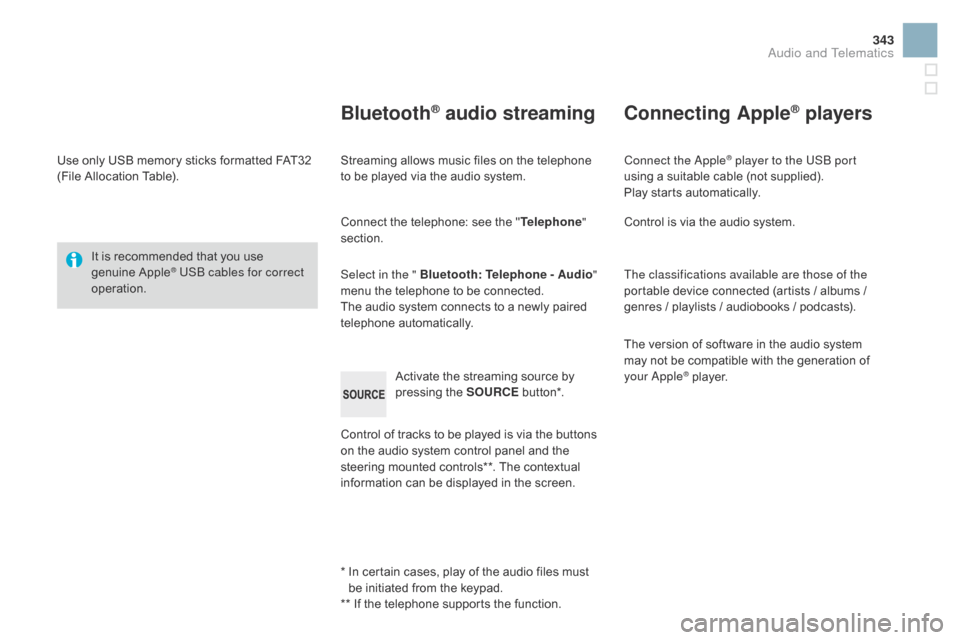
Useô onlyô USBô memoryô sticksô formattedô FAT32ô (File ô Allocation ô Table).
It
ô is ô recommended ô that ô you ô use ô
g
enuine
ô A
pple
ôÛ USB cables for correct
operation.
*
ô ô
I
n ô certain ô cases, ô play ô of ô the ô audio ô files ô must ô
b
e ô initiated ô from ô the ô keypad.
**
ô If ô the ô telephone ô supports ô the ô function.
BluetoothôÛ audio streaming
Streamingô allowsô musicô filesô onô theô telephoneô to ô be ô played ô via ô the ô audio ô system.
Connect
ô the ô telephone: ô see ô the ô "Telephone "
section.
Select in the " Bluetooth : Telephone - Audio"
menu
ô the ô telephone ô to ô be ô connected.
The
ô audio ô system ô connects ô to ô a ô newly ô paired ô
t
elephone
ô a
utomatically.
Control
ô of ô tracks ô to ô be ô played ô is ô via ô the ô buttons ô
o
n ô the ô audio ô system ô control ô panel ô and ô the ô
s
teering ô mounted ô controls**. ô The ô contextual ô
i
nformation ô can ô be ô displayed ô in ô the ô screen.
Activate
ô the ô streaming ô source ô by ô
p
ressing ô the ô SOURCE
ô b
ut to n*.
Connecting AppleôÛ players
Connect the AppleôÛ player to the USB port
using
ô
a
ô
suitable
ô
cable ô (not ô supplied).
Play
ô
starts
ô
automatically.
Control
ô
is
ô
via
ô
the
ô
audio ô system.
The classifications available are those of the
portable
ô
device
ô
connected ô (artists ô / ô albums ô / ô
g
enres
ô
/
ô
playlists
ô
/
ô
audiobooks ô / ô podcasts).
The
ô
version
ô
of
ô
software ô in ô the ô audio ô system ô
m
ay
ô
not
ô
be
ô
compatible ô with ô the ô generation ô of ô
y
our Apple
ôÛô player.
Audio and Telematics
Page 346 of 387
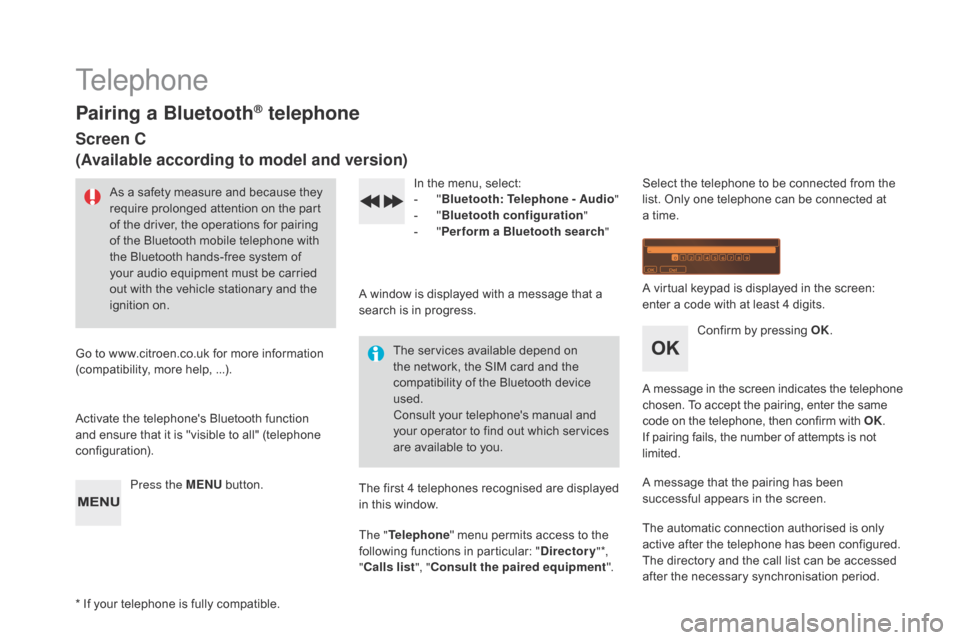
Telephone
Pairing a BluetoothôÛ telephone
Screen C
(Available according to model and version)
Asô aô safetyô measureô andô becauseô theyô require ô prolonged ô attention ô on ô the ô part ô
o
f ô the ô driver, ô the ô operations ô for ô pairing ô
o
f ô the ô Bluetooth ô mobile ô telephone ô with ô
t
he ô Bluetooth ô hands-free ô system ô of ô
y
our ô audio ô equipment ô must ô be ô carried ô
o
ut ô with ô the ô vehicle ô stationary ô and ô the ô
ig
nition
ô o
n.
Go
ô
to
ô
www.citroen.co.uk ô for ô more ô information ô
(
compatibility, ô more ô help, ô ...).
Activate
ô the ô telephone's ô Bluetooth ô function ô
a
nd
ô
ensure ô that ô it ô is ô "visible ô to ô all" ô (telephone ô
c
onfiguration). Press the ME
n
U
ô
button. In
ô the ô menu, ô select:
- ô "Bl
uetooth: Telephone - Audio "
-
ô
"B
luetooth configuration"
-
ô
"P
erform a Bluetooth search"
A
ô window ô is ô displayed ô with ô a ô message ô that ô a ô
s
earch ô is ô in ô progress.
The
ô services ô available ô depend ô on ô
t
he ô network, ô the ô SIM ô card ô and ô the ô
c
ompatibility ô of ô the ô Bluetooth ô device ô
u
sed.
Consult
ô your ô telephone's ô manual ô and ô
y
our ô operator ô to ô find ô out ô which ô services ô
a
re ô available ô to ô you.
*
ô
If
ô
your ô telephone ô is ô fully ô compatible. The
ô first ô 4 ô telephones ô recognised ô are ô displayed ô
i
n ô this ô window.
The " Telephone "
ô menu ô permits ô access ô to ô the ô
f
ollowing ô functions ô in ô particular: ô "
dir
ectory" *,
" Calls list ", "Consult the paired equipment ".Select
ô the ô telephone ô to ô be ô connected ô from ô the ô l
ist. ô Only ô one ô telephone ô can ô be ô connected ô at ô
a
ô time.
A
ô virtual ô keypad ô is ô displayed ô in ô the ô screen: ô
e
nter ô a ô code ô with ô at ô least ô 4 ô digits.
Confirm
ô by ô pressing ô OK.
A
ô
message
ô
in
ô
the
ô
screen
ô
indicates
ô
the
ô
telephone
ô c
hosen. ô To ô accept ô the ô pairing, ô enter ô the ô same
ô c
ode ô on ô the ô telephone, ô then ô confirm ô with ô OK.
If
ô pairing ô fails, ô the ô number ô of ô attempts ô is ô not
ô l
imited.
A
ô message ô that ô the ô pairing ô has ô been ô
s
uccessful ô appears ô in ô the ô screen.
The
ô automatic ô connection ô authorised ô is ô only ô
a
ctive ô after ô the ô telephone ô has ô been ô configured.
The
ô directory ô and ô the ô call ô list ô can ô be ô accessed ô
a
fter ô the ô necessary ô synchronisation ô period.
Page 347 of 387
345
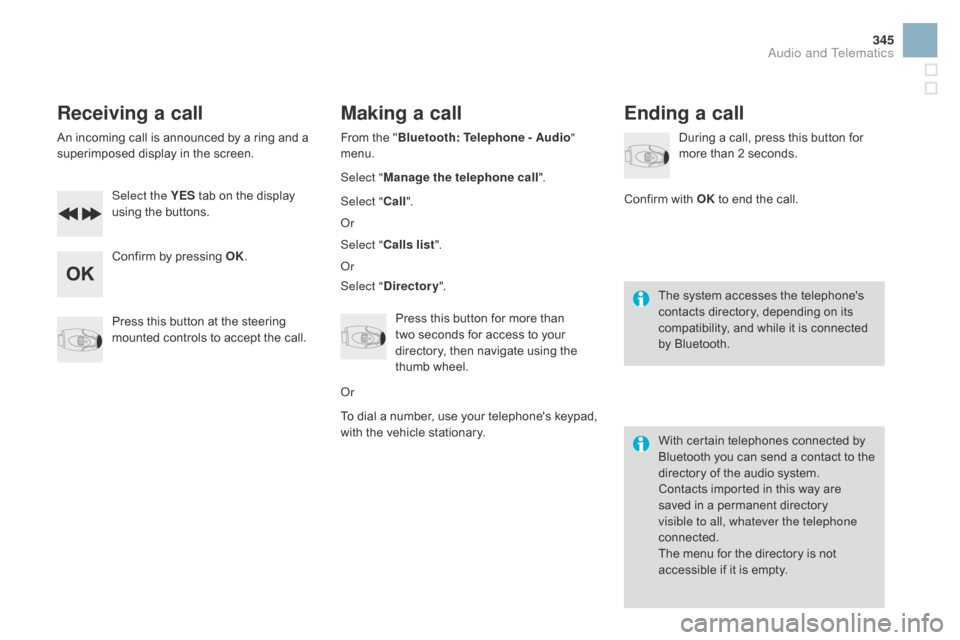
Receiving a call
Anô incomingô callô isô announcedô byô aô ringô andô aô superimposed ô display ô in ô the ô screen.
Select the YES
ô
tab ô on ô the ô display ô
u
sing ô the ô buttons.
Confirm
ô by ô pressing ô OK.
Press
ô this ô button ô at ô the ô steering ô
m
ounted ô controls ô to ô accept ô the ô call.
Making a call
Fromô theô "Bl uetooth: Telephone - Audio "
menu.
Select " Manage the telephone call".
Select " Call".
Or
Select " Calls list ".
Or
Select "
dir
ectory".
Press
ô this ô button ô for ô more ô than ô
t
woô seconds ô for ô access ô to ô your ô
d
irectory, ô then ô navigate ô using ô the ô
t
humb ô wheel.
Or
To
ô dial ô a ô number, ô use ô your ô telephone's ô keypad, ô
w
ith ô the ô vehicle ô stationary.
Ending a call
Duringô aô call,ô pressô thisô buttonô forô more ô than ô 2 ô seconds.
Confirm
ô
with ô OK
ô
to ô end ô the ô call.
The
ô system ô accesses ô the ô telephone's ô
c
ontacts ô directory, ô depending ô on ô its ô
c
ompatibility, ô and ô while ô it ô is ô connected ô
b
y
ô
Bluetooth.
With
ô certain ô telephones ô connected ô by ô
B
luetooth ô you ô can ô send ô a ô contact ô to ô the ô
d
irectory ô of ô the ô audio ô system.
Contacts
ô imported ô in ô this ô way ô are ô
s
aved ô in ô a ô permanent ô directory ô
v
isible to all, whatever the telephone
connected.
The
ô menu ô for ô the ô directory ô is ô not ô
a
ccessible ô if ô it ô is ô empty.
Audio and Telematics