ESP Citroen DS4 2012 1.G Service Manual
[x] Cancel search | Manufacturer: CITROEN, Model Year: 2012, Model line: DS4, Model: Citroen DS4 2012 1.GPages: 396, PDF Size: 12.14 MB
Page 258 of 396
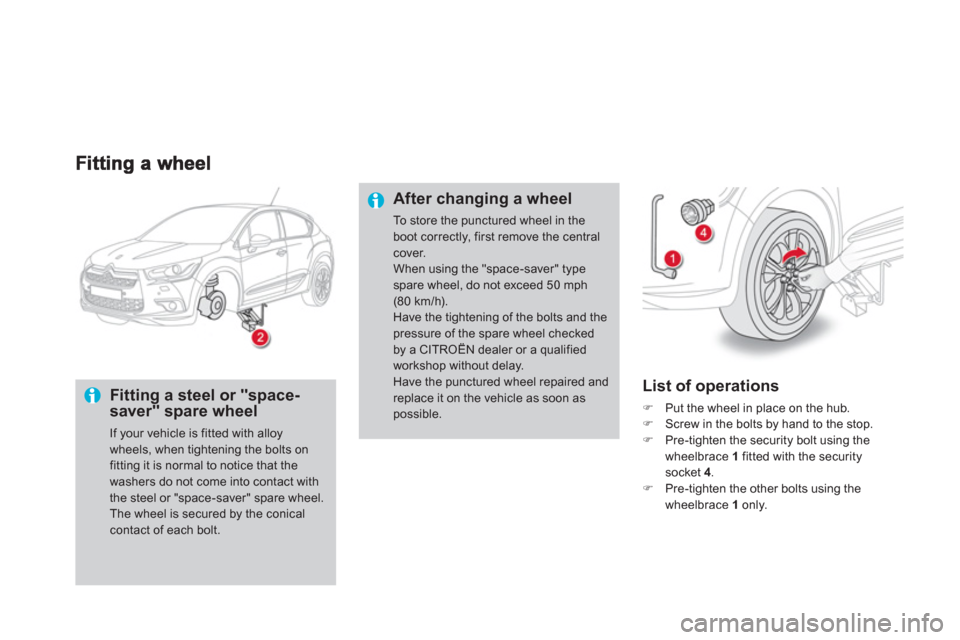
Fitting a steel or "space-saver" spare wheel
If your vehicle is fitted with alloy wheels, when tightening the bolts onfitting it is normal to notice that thewashers do not come into contact with the steel or "space-saver" spare wheel.The wheel is secured by the conical contact of each bolt.
List of operations
�)Put the wheel in place on the hub. �)Screw in the bolts by hand to the stop.
�)Pre-tighten the security bolt using the
wheelbrace 1fitted with the security socket 4.�)Pre-tighten the other bolts using the
wheelbrace 1only.
After changing a wheel
To store the punctured wheel in the boot correctly, first remove the centralcover. When using the "space-saver" typespare wheel, do not exceed 50 mph(80 km/h). Have the tightening of the bolts and thepressure of the spare wheel checked by a CITROËN dealer or a qualified workshop without delay. Have the punctured wheel repaired andreplace it on the vehicle as soon aspossible.
Page 265 of 396

263Practical information
1.Brake lamps (P21/5W).2.Sidelamps (LEDs).3.Direction indicators (PY21W amber)4.Reversing lamp (P21W).5. Rear foglamps (P21W).
Rear lamps
Amber bulbs, such as those for thedirection indicators, must be replaced by bulbs of the same rating and colour. The lamps on the tailgate, other than the guide lamps, are dummy units. They are there for aestheticpurposes only.
Changing stop lamp, reversing lamp and direction indicator bulbs
These three bulbs are changed from inside the boot:
�)
open the boot,�)
remove the access grille from thecorresponding side trim panel, �)
slacken the two nuts using a 10 mm tube spanner then remove the nuts by hand,�)
unclip the lamp unit connector,�)
extract the lamp unit carefully pulling in its
middle towards the outside,
�) remove the foam seal,�)
unclip the two small secondary connectors,�)
spread the two tabs and remove the bulb holder, �)
turn the bulb a quarter of a turn andchange it.
To reassemble, carry out these operations in
reverse order.
Take care to en
gage the lamp unit in its guides,
while keeping it in line with the vehicle.
Tighten sufficiently to ensure sealing, but
without damaging the lamp.
Page 268 of 396
Installing electricalaccessories
Your vehicle's electrical system isdesigned to operate with standard or optional equipment.
Before installing other electricalequipment or accessories on your vehicle, contact a CITROËN dealer or aqualified workshop.
CITROËN will not accept responsibilityfor the cost incurred in repairing your vehicle or for rectifying malfunctions resulting from the installation of accessories not supplied and notrecommended by CITROËN andnot installed in accordance with its instructions, in par ticular when thecombined consumption of all of the additional equipment connectedexceeds 10 milliamperes.
Be
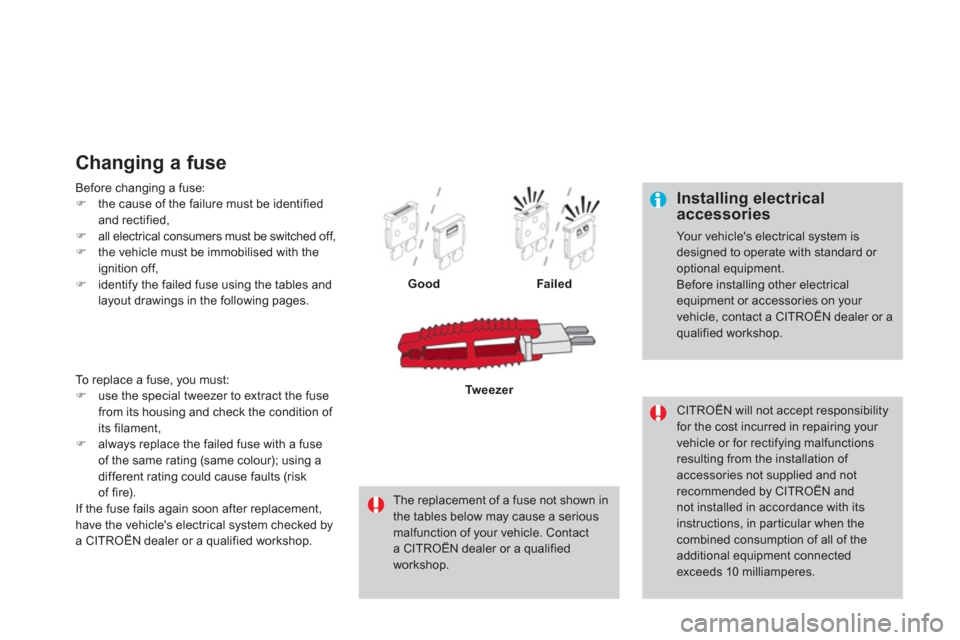
fore changing a fuse:�)the cause of the failure must be identifiedand rectified, �)all electrical consumers must be switched off, �)the vehicle must be immobilised with theignition off,�)identify the failed fuse using the tables andlayout drawings in the following pages.
Changing a fuse
GoodFailed
The replacement of a fuse not shown in the tables below may cause a serious malfunction of your vehicle. Contacta CITROËN dealer or a qualified workshop.
Tweezer To replace a fuse, you must: �)use the special tweezer to extract the fuse from its housing and check the condition of its filament,
�)always replace the failed fuse with a fuse
of the same rating (same colour); using a
different rating could cause faults (risk
of fire).
If the fuse fails again soon after replacement,have the vehicle's electrical system checked bya CITROËN dealer or a qualified workshop.
Page 271 of 396
269Practical information
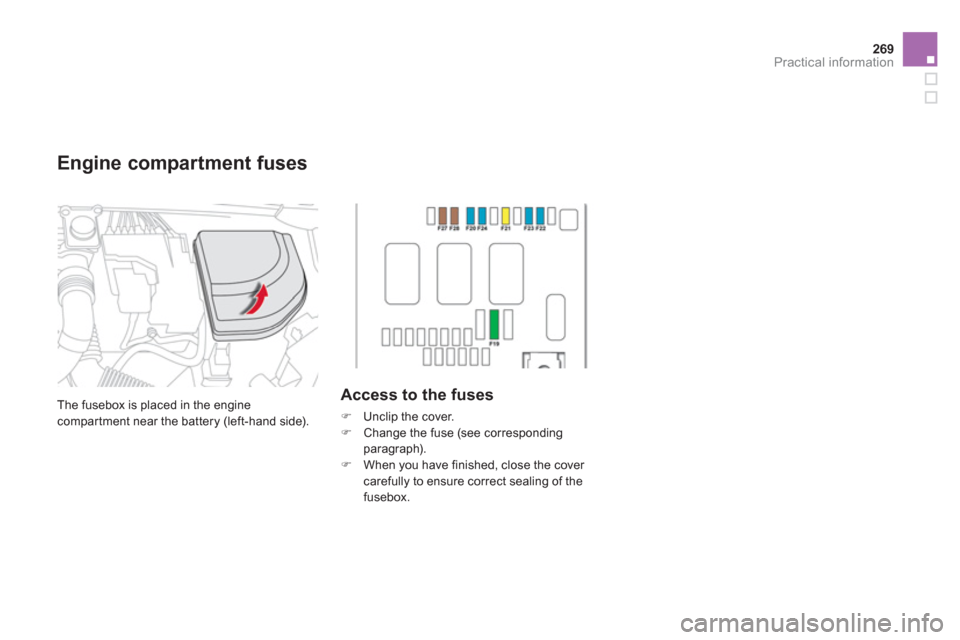
The fusebox is placed in the engine compartment near the battery (left-hand side).
Access to the fuses
�)
Unclip the cover.
�)
Change the fuse (see correspondingparagraph). �)
When you have finished, close the cover carefully to ensure correct sealing of the fusebox.
Engine compartment fuses
Page 275 of 396
273Practical information
Charging the battery using
a battery charger
If the battery of your vehicle is flat or prior
to taking the vehicle out of ser vice for an extended period, you can charge the battery
using a battery charger.
For information on the specification of batterychargers compatible with your battery, refer to
a CITROËN dealer or a qualified workshop.
The Stop & Start battery does not haveto be disconnected for charging.
Reinitialisation after
reconnection
After any reconnection of the battery, switch on
the ignition and wait at least one minute before
starting, to allow time for the initialisation of theelectronic systems.
By referring to the corresponding sections, you should set or initialise the following systems yourself:
- one-touch electric windows,
- time and date,
- audio and navigation system settings.
It is recommended that the battery be disconnected if the vehicle is not be used for more than a month.
Check that no aler t message or warning lamp comes on after switching on the ignition.
However, if minor problems persist after carrying out these operations, contact a CITROËN dealer or a qualified workshop.
Before disconnecting
�)Go to the battery. �)Check that all of the openings - doors, boot... - are closed but not locked.�)Wait at least four minutes after switchingoff the ignition.
Charging
�)
Disconnect the (+)terminal. �)
Follow the instructions on use provided by
the manufacturer of the charger.�) Connect the red cable of the charger to the (+) post of the battery, then the black cable
to the (-) terminal.�) Once charging is complete, disconnect thecharger cables in reverse order.
The charging operation must be carried outin a well ventilated area and well away from naked flames and sources of sparks, so as to avoid any risk of explosion and fire. Do not try to charge a frozen battery; the
battery must first be thawed out to avoid any risk of explosion. If the battery hasfrozen, before charging, have it checkedby a CITROËN dealer or a qualified workshop, who will ensure that the internal components have not been damaged and that the casing is not cracked, which wouldintroduce the risk of a leak of toxic and corrosive acid.
Page 276 of 396

Energy economy mode System which manages the period of use of cer tain functions to conser ve a sufficient level of charge in the battery.
After the engine has stopped, you can still use functions such as the audio equipment, windscreen
wipers, dipped beam headlamps, courtesy lamps, etc. for a maximum combined period of thirty
minutes.
This period may be greatly reduced if the battery is not fully charged.
A flat battery prevents the engine from
starting (refer to the corresponding paragraph).
If the telephone is being used at the same time on the navigation system, it will be interrupted after 10 minutes.
Switching to economy mode
Once this period has elapsed, a message
appears in the screen indicating that the vehiclehas switched to economy mode and the activefunctions are put on standby.
Exiting economy mode
These functions are reactivated automaticallythe next time the vehicle is driven. �)In order to resume the use of these functions immediately, star t the engine and
let it run for a few minutes.
The time available to you will then be double
the period for which the engine is left running. However, this period will always be between
five and thir ty minutes.
Load reduction mode System which manages the use of certainfunctions according to the level of chargeremaining in the battery.
When the vehicle is being driven, the load
reduction function temporarily deactivates cer tain functions, such as the air conditioning,
th
e heated rear screen...
The deactivated functions are reactivated automatically as soon as conditions permit.
Page 277 of 396
275
Practical information
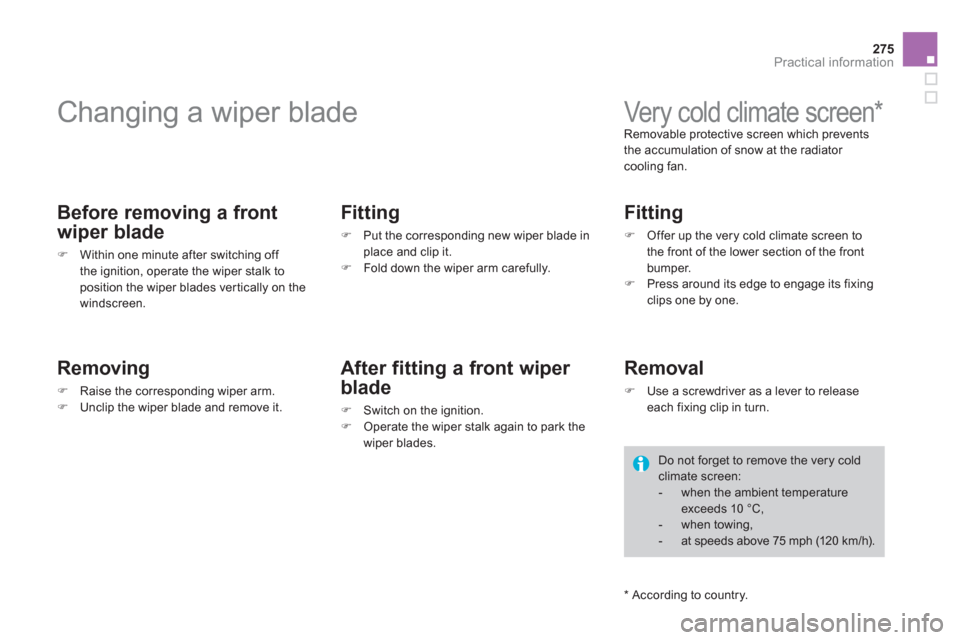
Changing a wiper blade
Before removing a front
w
iper blade
�)Within one minute after switching off
the ignition, operate the wiper stalk toposition the wiper blades ver tically on the
windscreen.
Removing
�)Raise the corresponding wiper arm.�)Unclip the wiper blade and remove it.
Fitting
�)
Put the corresponding new wiper blade in
place and clip it.
�) Fold down the wiper arm carefully.
After fitting a front wiper
blade
�)
Switch on the ignition. �)
Operate the wiper stalk again to park the
wiper blades.
Very cold climate screen * Removable protective screen which prevents
the accumulation of snow at the radiator
cooling fan.
Fitting
�)
Offer up the very cold climate screen to
the front of the lower section of the frontbumper. �) Press around its edge to engage its fixingclips one by one.
Removal
�)
Use a screwdriver as a lever to releaseeach fixing clip in turn.
* Accordin
g to country.
Do not forget to remove the very coldclimate screen:
- when the ambient temperature exceeds 10 °C,
- when towing,
- at speeds above 75 mph (120 km/h).
Page 278 of 396
Fitting roof bars
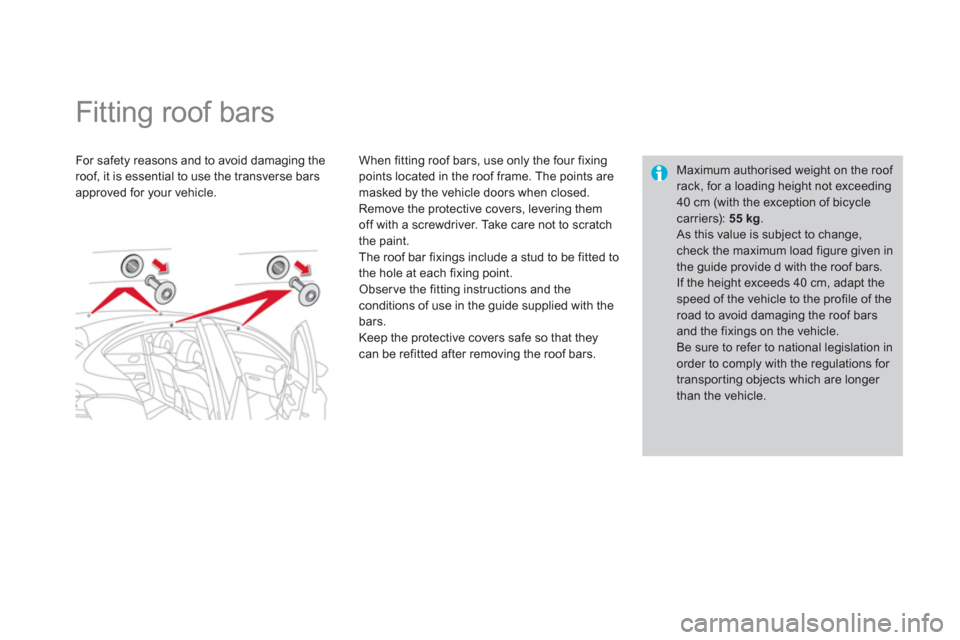
For safety reasons and to avoid damaging the roof, it is essential to use the transverse barsapproved for your vehicle.
When
fitting roof bars, use only the four fixing points located in the roof frame. The points are
masked by the vehicle doors when closed.
Remove the protective covers, levering them
off with a screwdriver. Take care not to scratch
the paint.
The roof bar fixin
gs include a stud to be fitted to
the hole at each fixing point.
Observe the fitting instructions and theconditions of use in the guide supplied with the bars.
Keep the protective covers safe so that theycan be refitted after removing the roof bars.
Maximum authorised weight on the roof rack, for a loading height not exceeding40 cm (with the exception of bicycle
carriers): 55kg. As this value is subject to change, check the maximum load figure given inthe guide provide d with the roof bars.
If the height exceeds 40 cm, adapt thespeed of the vehicle to the profile of theroad to avoid damaging the roof bars and the fixings on the vehicle.
Be sure to refer to national legislation in order to comply with the regulations for transporting objects which are longer than the vehicle.
Page 357 of 396
355
1
2
04
1
2
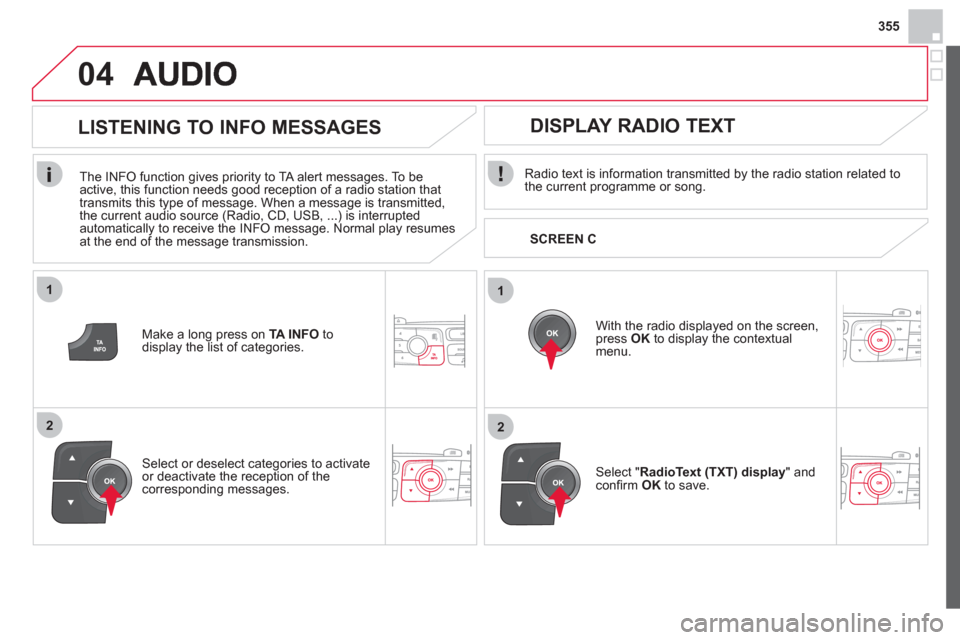
Radio text is information transmitted by the radio station related to
the current programme or song.
With the radio displa
yed on the screen,press OK
to display the contextualmenu.
Select "RadioText (TXT) display" andconfi rm OKto save.
DISPLAY RADIO TEXT
SCREEN C
Make a long press on TA INFO
to
display the list of categories.
LISTENING TO INFO MESSAGES
The INFO function gives priority to TA alert messages. To beactive, this function needs good reception of a radio station that
transmits this type of message. When a message is transmitted,
the current audio source (Radio, CD, USB, ...) is interrupted automatically to receive the INFO message. Normal play resumes at the end of the message transmission.
Select or deselect categories to activate
or deactivate the reception of thecorresponding messages.
Page 371 of 396

2c
2e
2d
05
369
In the contextual menu:
-
select "Telephone mode" totransfer the call to the telephone.
-
deselect " Telephone mode
" totransfer the call to the vehicle.
In certain cases, the combined mode has to activated
from the
telephone.
I
f the contact has been cut off, when you reconnect on returning to
the vehicle, the Bluetooth connection will be restored automatically (depending on the compatibility of the telephone). Combined mode
(to leave the vehicle without ending the call)
USING THE TELEPHONE
From the contextual menu, select "DTMF tones
" and confi rm to usethe digital keypad to navigate in the
interactive voice response menu.
From the contextual menu, select
"Switch" and conform to return to a callleft on hold.
Interactive voice res
ponse
Consultation call