window CITROEN DS7 CROSSBACK 2020 Owner's Manual
[x] Cancel search | Manufacturer: CITROEN, Model Year: 2020, Model line: DS7 CROSSBACK, Model: CITROEN DS7 CROSSBACK 2020Pages: 244, PDF Size: 6.87 MB
Page 88 of 244
86
Safety05
Curtain airbags
Do not fix or attach anything to the roof,
as this could cause head injuries when the
curtain airbag is deployed.
Do not remove the grab handles installed on
the roof, as these help to secure the curtain
airbags.
Child seats
The regulations on carrying children are
specific to each country. Refer to the
legislation in force in your country.
For maximum safety, please observe the following
recommendations:
–
In ac
cordance with European regulations,
all children under the age of 12 or less than 1.5
metres tall must travel in approved child seats
suited to their weight, on seats fitted with a seat
belt or ISOFIX mountings.
–
Statistically
, the safest seats in your vehicle for
carrying children are the rear seats.
–
C
hildren weighing less than 9 kg must travel
in the "rearward facing" position, whether in the
front or rear of the vehicle.
It is recommended that children travel on
the rear seats of the vehicle:
–
"rearward facing" up to the age of 3.
–
"forward facing" over the age of 3.
Make sure that the seat belt is correctly
positioned and tightened.
For child seats with a support leg, ensure that
the support leg is in firm and steady contact
with the floor.
An incorrectly installed child seat in a
vehicle compromises the child's safety in
the event of an accident.
Ensure that there is no seat belt or seat belt
buckle under the child seat, as this could
destabilise it.
Remember to fasten the seat belts or the child
seat harness keeping the slack relative to
the child's body to a minimum, even for short
journeys.
When installing a child seat using the seat
belt, ensure that the seat belt is tightened
correctly on the child seat and that it secures
the child seat firmly on the vehicle seat. If the
passenger seat is adjustable, move it forwards
if necessary.
Remove the head restraint before installing a
child seat with a backrest on a passenger seat.
Ensure that the head restraint is stored or
attached securely to prevent it from being
thrown around the vehicle in the event of sharp
braking. Refit the head restraint once the child
seat has been removed.
Installing a booster seat
The chest part of the seat belt must be
positioned on the child's shoulder without
touching the neck.
Ensure that the lap part of the seat belt passes
correctly over the child's thighs.
Use a booster seat with a backrest, equipped
with a belt guide at shoulder level.
Additional protections
To prevent accidental opening of the
doors and rear windows, use the "Child lock".
Take care not to open the rear windows by
more than one third.
To protect young children from the sun's rays,
fit side blinds on the rear windows.
As a safety measure, do not leave:
–
A child alone and unsupervised inside a
v
ehicle.
–
A child or an animal in a v
ehicle which is
exposed to the sun, with the windows closed.
–
The k
eys within reach of children inside the
vehicle.
Child seat at the rear
Forward-facing or rearward-facing
Page 97 of 244
95
Safety05
i-U: suitable for "forward facing" and
"rearward facing" Universal i-Size restraint
systems.
i-UF: only suitable for "forward facing"
Universal i-Size restraint systems.
X: seat position not suitable for Universal
i-Size restraint systems.
(a) Refer to the current legislation in your
country before placing a child in this seat
position.
(b) Tilt the seat backrest to 45°, then install the
child seat.
Straighten the backrest until it makes
contact with the child seat's backrest.
Manual child lock
The system prevents a rear door from being
opened using its interior handle.
The red control is located on the edge of each rear
door (marked by a label).
Activation/Deactivation
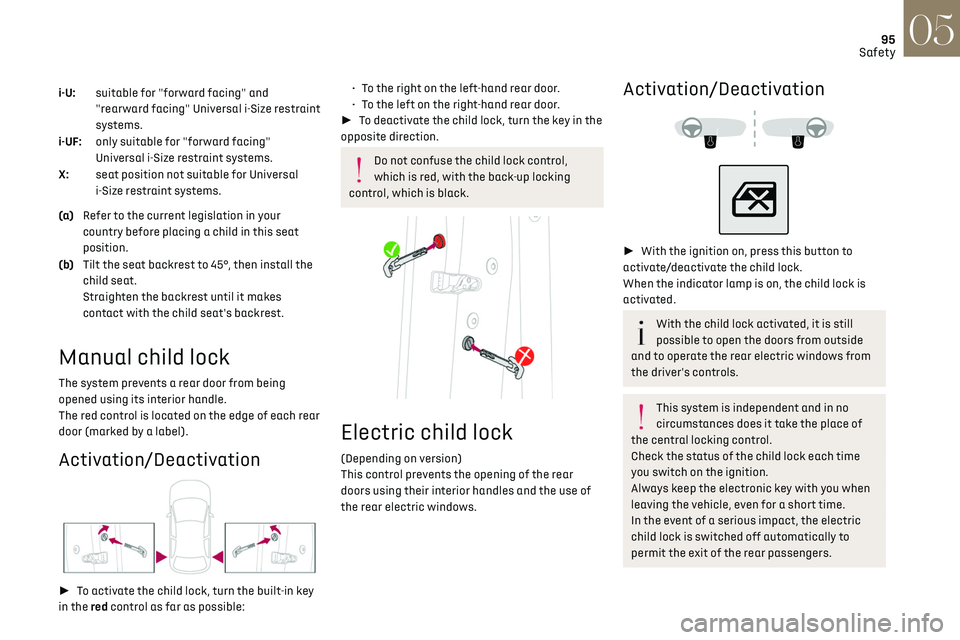
► To activate the child lock, turn the built-in key
in the red control as far as possible:
• To the right on the left-hand rear door.
• T o the left on the right-hand rear door.
► To deactivate the child lock, turn the key in the
opposite direction.
Do not confuse the child lock control,
which is red, with the back-up locking
control, which is black.
Electric child lock
(Depending on version)
This control prevents the opening of the rear
doors using their interior handles and the use of
the rear electric windows.
Activation/Deactivation
► With the ignition on, press this button to
activate/deactivate the child lock.
When the indicator lamp is on, the child lock is
activated.
With the child lock activated, it is still
possible to open the doors from outside
and to operate the rear electric windows from
the driver's controls.
This system is independent and in no
circumstances does it take the place of
the central locking control.
Check the status of the child lock each time
you switch on the ignition.
Always keep the electronic key with you when
leaving the vehicle, even for a short time.
In the event of a serious impact, the electric
child lock is switched off automatically to
permit the exit of the rear passengers.
Page 139 of 244
137
Driving06
or other objects; they may hamper correct
operation of the system.
Parking sensors
For more information, refer to the General
recommendations on the use of driving
and manoeuvring aids.
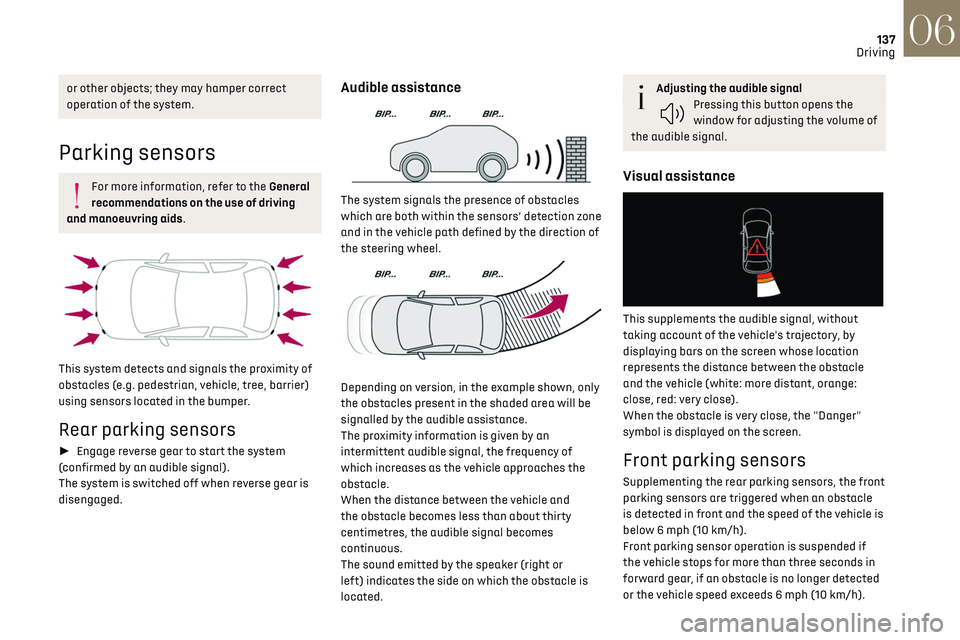
This system detects and signals the proximity of
obstacles (e.g. pedestrian, vehicle, tree, barrier)
using sensors located in the bumper.
Rear parking sensors
► Engage reverse gear to start the system
(confirmed by an audible signal).
The system is switched off when reverse gear is
disengaged.
Audible assistance
The system signals the presence of obstacles
which are both within the sensors’ detection zone
and in the vehicle path defined by the direction of
the steering wheel.
Depending on version, in the example shown, only
the obstacles present in the shaded area will be
signalled by the audible assistance.
The proximity information is given by an
intermittent audible signal, the frequency of
which increases as the vehicle approaches the
obstacle.
When the distance between the vehicle and
the obstacle becomes less than about thirty
centimetres, the audible signal becomes
continuous.
The sound emitted by the speaker (right or
left) indicates the side on which the obstacle is
located.
Adjusting the audible signalPressing this button opens the
window for adjusting the volume of
the audible signal.
Visual assistance
This supplements the audible signal, without
taking account of the vehicle's trajectory, by
displaying bars on the screen whose location
represents the distance between the obstacle
and the vehicle (white: more distant, orange:
close, red: very close).
When the obstacle is very close, the "Danger"
symbol is displayed on the screen.
Front parking sensors
Supplementing the rear parking sensors, the front
parking sensors are triggered when an obstacle
is detected in front and the speed of the vehicle is
below 6 mph (10 km/h).
Front parking sensor operation is suspended if
the vehicle stops for more than three seconds in
forward gear, if an obstacle is no longer detected
or the vehicle speed exceeds 6 mph (10 km/h).
Page 185 of 244
183
In the event of a breakdown08
► Lift the plastic cover on the (+) terminal, if the
vehicle has one.
► Connect the cables of charger B as follows:
•
the po
sitive (+) red cable to the (+) terminal
of battery A,
•
the nega
tive (-) black cable to earth point C on
the vehicle.
► At the end of the charging operation, switch
off charger B before disconnecting the cables
from battery A.
If this label is present, use only a 12 V
charger to avoid causing irreversible
damage to the electrical components.
24V
12V
Disconnecting/reconnecting the battery
In order to maintain an adequate state of
charge for starting the engine, we recommend
disconnecting the battery if the vehicle is to be
unused for an extended period.
Before disconnecting the battery:
► Close all openings (doors, boot, windows,
roof).
► Switch off all electricity-consuming devices
(audio system, wipers, lamps, etc.).
► Switch off the ignition and wait for 4 minutes. After accessing the battery, it is only necessary to
disconnect the (+) terminal.
Quick-release terminal clamp
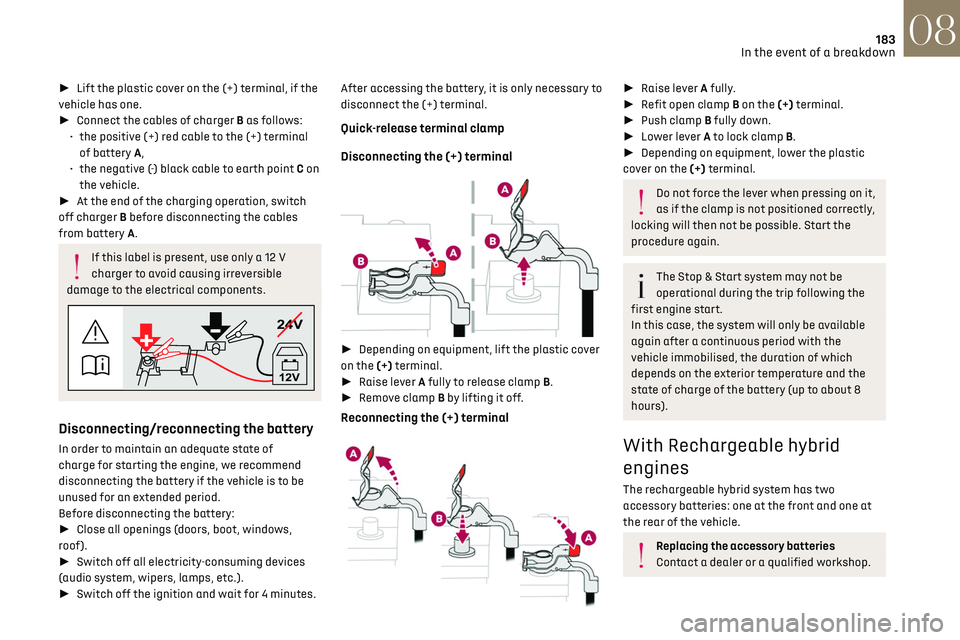
Disconnecting the (+) terminal
►
Depending on equipment, lift the plastic cover
on the (+) terminal.
► Raise lever A fully to release clamp B.
► Remove clamp B by lifting it off.
Reconnecting the (+) terminal
► Raise lever A fully.
► Refit open clamp B on the (+) terminal.
► Push clamp B fully down.
► Lower lever A to lock clamp B.
► Depending on equipment, lower the plastic
cover on the (+) terminal.
Do not force the lever when pressing on it,
as if the clamp is not positioned correctly,
locking will then not be possible. Start the
procedure again.
The Stop & Start system may not be
operational during the trip following the
first engine start.
In this case, the system will only be available
again after a continuous period with the
vehicle immobilised, the duration of which
depends on the exterior temperature and the
state of charge of the battery (up to about 8
hours).
With Rechargeable hybrid
engines
The rechargeable hybrid system has two
accessory batteries: one at the front and one at
the rear of the vehicle.
Replacing the accessory batteries
Contact a dealer or a qualified workshop.
Page 199 of 244
197DS IRIS SYSTEM - 12" touch screen Infotainment system10
connected service will be carried out remotely,
in particular using "Over the Air" technology.
To do this, a secure connection via radio
network is established between the vehicle
and the Manufacturer's device management
server each time the ignition is switched on,
when a mobile telephone network is available.
Depending on the vehicle's equipment,
the connection configuration must be set
to "Connected vehicle" to enable to the
connection to the radio network.
Irrespective of a valid subscription to a
connected service, the remote management
of devices relating to or connected with
the security of devices, and the updating of
software and firmware, will be carried out
when necessary in order to comply with a legal
requirement applicable to the Manufacturer
(e.g. the applicable law in terms of product
liability, the regulations governing e-call) or
when necessary to protect the respective
vital interests of the vehicle's users and
passengers.
The establishment of a secure connection via
radio network and the corresponding remote
updates are not affected by the privacy
settings and are intended to be carried out
after being initialised by the user in response
to a related notification.
The system can notify the receipt of an update
when it is connected to an exterior Wi-Fi network
or a mobile telephone network.Large updates are downloaded only via the Wi-Fi
network.
The availability of an update is notified on the
screen at the end of the journey with an option
of immediate installation or postponement of
installation.
The installation time is variable and can take
several minutes with a maximum of about 30
minutes. A notification will give an estimate of the
duration and a description of the update.
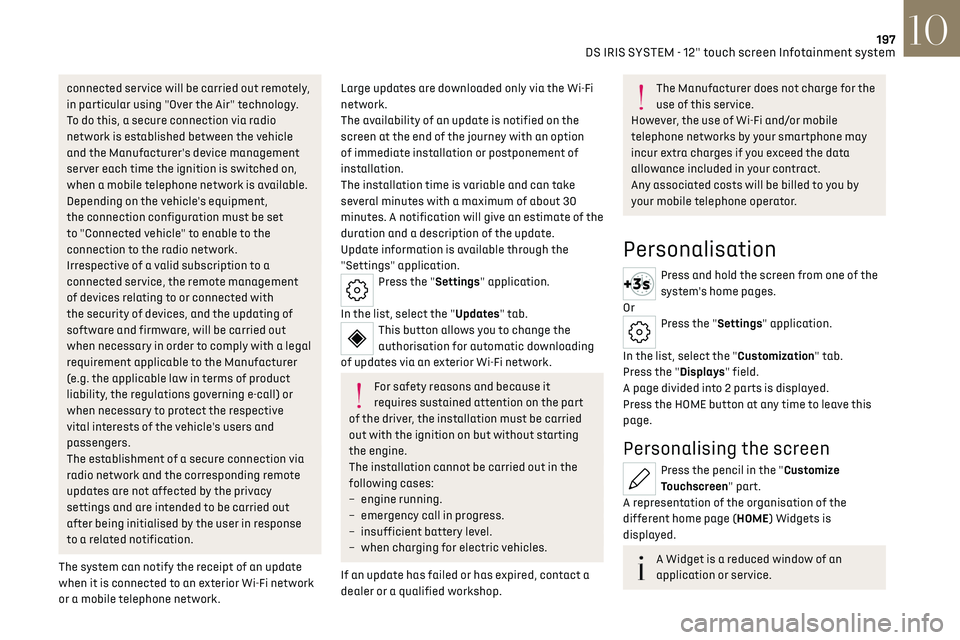
Update information is available through the
"Settings" application.
Press the "Settings" application.
In the list, select the "Updates" tab.
This button allows you to change the
authorisation for automatic downloading
of updates via an exterior Wi-Fi network.
For safety reasons and because it
requires sustained attention on the part
of the driver, the installation must be carried
out with the ignition on but without starting
the engine.
The installation cannot be carried out in the
following cases:
–
engine running.
–
emergenc
y call in progress.
–
insufficien
t battery level.
–
when charging for electric v
ehicles.
If an update has failed or has expired, contact a
dealer or a qualified workshop.
The Manufacturer does not charge for the
use of this service.
However, the use of Wi-Fi and/or mobile
telephone networks by your smartphone may
incur extra charges if you exceed the data
allowance included in your contract.
Any associated costs will be billed to you by
your mobile telephone operator.
Personalisation
Press and hold the screen from one of the
system's home pages.
Or
Press the "Settings" application.
In the list, select the "Customization" tab.
Press the "Displays" field.
A page divided into 2 parts is displayed.
Press the HOME button at any time to leave this
page.
Personalising the screen
Press the pencil in the "Customize
Touchscreen" part.
A representation of the organisation of the
different home page (HOME) Widgets is
displayed.
A Widget is a reduced window of an
application or service.
Page 200 of 244
198DS IRIS SYSTEM - 12" touch screen Infotainment system10
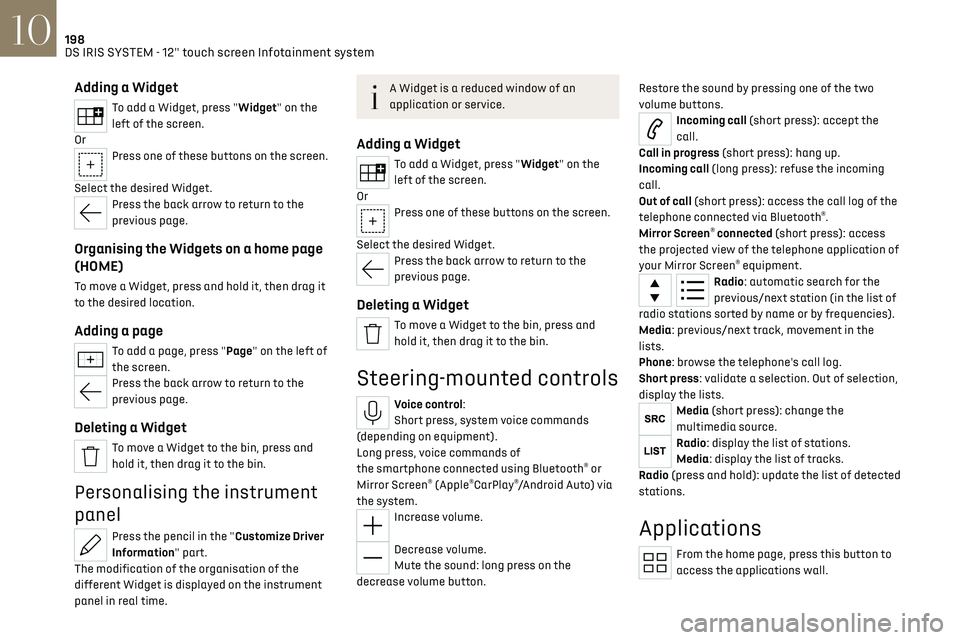
Adding a Widget
To add a Widget, press "Widget" on the
left of the screen.
Or
Press one of these buttons on the screen.
Select the desired Widget.
Press the back arrow to return to the
previous page.
Organising the Widgets on a home page
(HOME)
To move a Widget, press and hold it, then drag it
to the desired location.
Adding a page
To add a page, press "Page" on the left of
the screen.
Press the back arrow to return to the
previous page.
Deleting a Widget
To move a Widget to the bin, press and
hold it, then drag it to the bin.
Personalising the instrument
panel
Press the pencil in the "Customize Driver
Information" part.
The modification of the organisation of the
different Widget is displayed on the instrument
panel in real time.
A Widget is a reduced window of an
application or service.
Adding a Widget
To add a Widget, press "Widget" on the
left of the screen.
Or
Press one of these buttons on the screen.
Select the desired Widget.
Press the back arrow to return to the
previous page.
Deleting a Widget
To move a Widget to the bin, press and
hold it, then drag it to the bin.
Steering-mounted controls
Voice control:
Short press, system voice commands
(depending on equipment).
Long press, voice commands of
the smartphone connected using Bluetooth
® or
Mirror Screen® (Apple®CarPlay®/Android Auto) via
the system.
Increase volume.
Decrease volume.
Mute the sound: long press on the
decrease volume button. Restore the sound by pressing one of the two
volume buttons.
Incoming call (short press): accept the
call.
Call in progress (short press): hang up.
Incoming call (long press): refuse the incoming
call.
Out of call (short press): access the call log of the
telephone connected via Bluetooth
®.
Mirror Screen® connected (short press): access
the projected view of the telephone application of
your Mirror Screen
® equipment.Radio: automatic search for the
previous/next station (in the list of
radio stations sorted by name or by frequencies).
Media: previous/next track, movement in the
lists.
Phone: browse the telephone's call log.
Short press: validate a selection. Out of selection,
display the lists.
Media (short press): change the
multimedia source.
Radio: display the list of stations.
Media: display the list of tracks.
Radio (press and hold): update the list of detected
stations.
Applications
From the home page, press this button to
access the applications wall.
Page 202 of 244
200
DS IRIS SYSTEM - 12" touch screen Infotainment system10
– After opening voice recognition with
the steering wheel-mounted button or the
button on the touch screen, always wait for
the "beep” (audible signal) before talking.
No "beep" sounds when voice recognition is
opened using "OK Iris".
–
For optimal opera
tion, it is recommended
that you close the windows and the sunroof
(depending on equipment) to avoid any
external interference, and switch the
ventilation off.
–
Before speaking the v
oice commands, ask
the other passengers not to speak.
Voice command example for air
conditioning:
"raise the fan speed"
"Turn on air conditioning"
"i'm too hot"
Voice command example for radio and
media:
"I want to listen to michael jackson"
"switch to radio"
"tune to 88.5"
Media voice commands are only available
with a USB connection.
Voice command example for navigation:
"navigate home"
"Navigate me to gabrielle's house"
"search for public parking nearby"
Depending on the country, give
destination (address) instructions in the
language configured for the system.
Voice command example for telephone:
"Call Matthew's mobile"
"call 0113 345 9869"
"Call jonathan"
If there is no telephone connected by
Bluetooth®, a voice message announces:
"Connect a telephone by Bluetooth®", and the
voice session will be closed.
Voice command example for the weather:
"do i need a raincoat"
"how is the weather tonight"
"what is today's humidity level"
Navigation
Navigation home screen
(depending on equipment)
Access to additional videos
https://www.tomtom.com/
PSAGroup-Connected-Nav
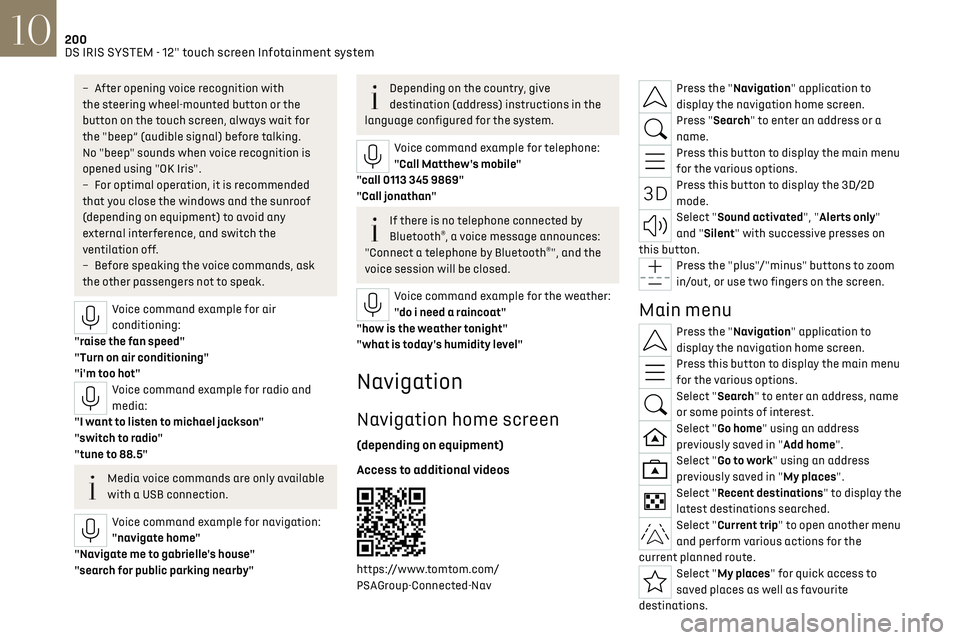
Press the "Navigation" application to
display the navigation home screen.
Press "Search" to enter an address or a
name.
Press this button to display the main menu
for the various options.
Press this button to display the 3D/2D
mode.
Select "Sound activated", "Alerts only"
and "Silent" with successive presses on
this button.
Press the "plus"/"minus" buttons to zoom
in/out, or use two fingers on the screen.
Main menu
Press the "Navigation" application to
display the navigation home screen.
Press this button to display the main menu
for the various options.
Select "Search" to enter an address, name
or some points of interest.
Select "Go home" using an address
previously saved in "Add home".
Select "Go to work" using an address
previously saved in "My places".
Select "Recent destinations" to display the
latest destinations searched.
Select "Current trip" to open another menu
and perform various actions for the
current planned route.
Select "My places" for quick access to
saved places as well as favourite
destinations.
Page 221 of 244
219Alphabetical index
U
Under-inflation (detection) 110
Unlocking
26, 28
Unlocking from the inside
30
Unlocking the boot
26, 28
Unlocking the doors
30
Unlocking the tailgate
26, 28
Updating the time
208
V
Vehicle data recording and privacy 210
Ventilation
49–50
Visibility
53
W
Wallbox (Rechargeable hybrid) 147–148, 154
Warning and indicator lamps
11
Warning lamp, driver's seat
belt not fastened
82
Warning lamp, READY
160
Warning lamps
11
Warning lamp, seat belts
82
Warnings and indicators
11–12
Washing
113
Washing (advice)
146, 167–168
Weights
189
Welcome function
45
Welcome lighting 66
Wheel, spare
164, 171–172, 175
Window controls
39
Windscreen, heated
54
Wiper blades (changing)
73–74
Wiper, rear
73
Wipers
72, 74
Wipers, automatic rain sensitive
74
Wipers, windscreen
72, 74