ignition CITROEN RELAY 2017 Handbook (in English)
[x] Cancel search | Manufacturer: CITROEN, Model Year: 2017, Model line: RELAY, Model: CITROEN RELAY 2017Pages: 292, PDF Size: 9.04 MB
Page 61 of 292

59
There are two methods of memorising a
speed higher than the previous one:
Without using the accelerator:
-
Move the switch up (+).
A
brief press increases the speed
by 1 mph (km/h).
A maintained press increases the speed in
steps of 5 mph (km/h).
Using the accelerator:
-
exceed the memorised speed until the
speed required is reached,
-
move the switch up (+) or down (-).
T
o memorise a speed lower than the
previous one:
-
move the switch down (-).
A
brief press decreases the speed
by 1 mph (km/h).
A maintained press decreases the speed in
steps of 5 mph (km/h).
changing the
programmed
speed Switching the system off
- Place the ring in the central
O position
or switch off the ignition to switch the
system off.
When the vehicle becomes stationary, after
switching off the ignition, the system no
longer memorises a speed.
Operating fault
In the event of a fault, the system
switches off and the indicator
goes off. Contact a CITROËN
dealer or a qualified workshop to
have the system checked.
Good practice
When changing the programmed reference
speed by means of a maintained press,
pay attention as the speed can increase or
decrease rapidly.
Do not use the cruise control on slippery
roads or in heavy traffic.
In the event of a steep slope, the cruise
control cannot prevent the vehicle from
exceeding the programmed speed.
In any event, the cruise control cannot
replace the need to observe the speed
limits, nor can it replace the need for
vigilance on the part of the driver.
It is advisable to leave your feet near the
pedals.
To avoid any jamming under the pedals:
-
ensure
that the mat and its fixings on the
floor are positioned correctly,
-
never place one mat on top of another
.
3
EASE OF uSE and cOMFOrt
Steering mounted controls
Page 64 of 292

62
Exceeding the programmed
speed
Pressing the accelerator pedal in order to
exceed the programmed speed will have
no effect unless you press the pedal firmly
beyond the point of resistance.
If the limiter is unable to prevent an increase
in the speed of the vehicle because of the
profile of the road or when going down a
step hill, the programmed speed may be
exceeded.
The limiter is deactivated temporarily and
the programmed speed flashes.
To return to the limiter function, reduce your
speed to below the programmed speed.
Switching the system off
- Place the ring in the central O position
or switch off the ignition to switch the
system off.
The last programmed speed remains in the
memory.
Operating fault
The programmed speed is cleared then
replaced by dashes.
Contact a CITROËN dealer or a qualified
workshop to have the system checked.
Good practice
In any event, the speed limiter cannot
replace the need to observe speed limits,
nor can it replace the need for vigilance on
the part of the driver.
Always pay attention to the profile of the
road and sharp acceleration and stay in
complete control of your vehicle.
To avoid any jamming under the pedals:
-
ensure
that the mat and its fixings on the
floor are positioned correctly,
-
never place one mat on top of another
.
Steering mounted controls
Page 72 of 292

70AddItIOnAL HEAt I n G SYS t EMS
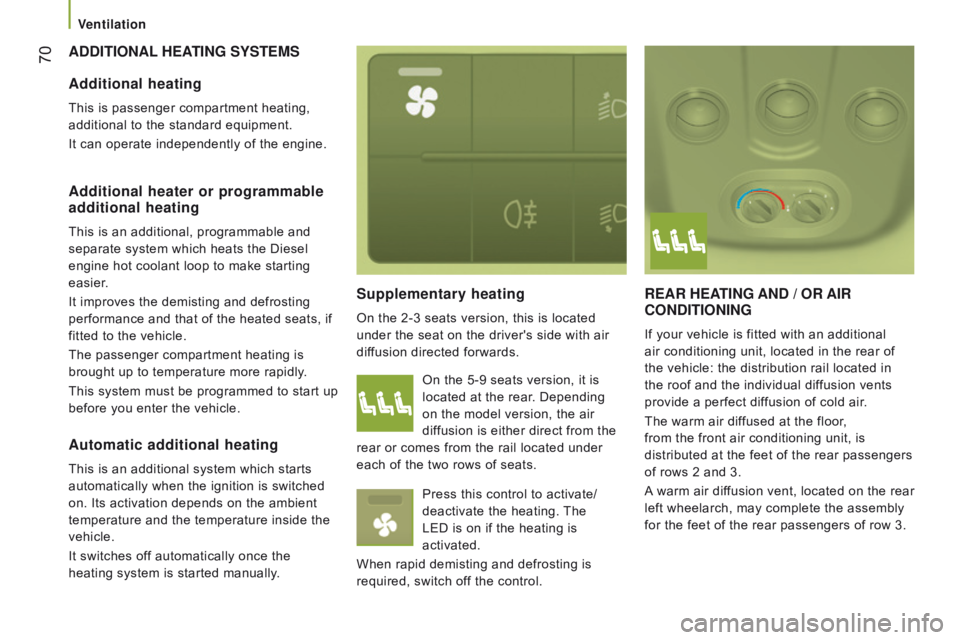
Supplementary heating
On the 2-3 seats version, this is located
under the seat on the driver's side with air
diffusion directed forwards.
rEAr HEAtI n G A nd / O r AI r
c O nd I t IO n I n G
If your vehicle is fitted with an additional
air conditioning unit, located in the rear of
the vehicle: the distribution rail located in
the roof and the individual diffusion vents
provide a perfect diffusion of cold air.
The warm air diffused at the floor,
from the
front air conditioning unit, is
distributed
at the feet of the rear passengers
of rows 2 and 3.
A warm air diffusion vent, located on the rear
left wheelarch, may complete the assembly
for the feet of the rear passengers of row 3.
Additional heating
This is passenger compartment heating,
additional to the standard equipment.
It can operate independently of the engine.
Additional heater or programmable
additional heating
This is an additional, programmable and
separate system which heats the Diesel
engine hot coolant loop to make starting
easier.
It improves the demisting and defrosting
performance and that of the heated seats, if
fitted to the vehicle.
The passenger compartment heating is
brought up to temperature more rapidly.
This system must be programmed to start up
before you enter the vehicle. On the 5-9 seats version, it is
located at the rear. Depending
on the model version, the air
diffusion is either direct from the
rear or comes from the rail located under
each of the two rows of seats.
Press this control to activate/
deactivate the heating. The
LED
is on if the heating is
activated.
When rapid demisting and defrosting is
required, switch off the control.
Automatic additional heating
This is an additional system which starts
automatically when the ignition is switched
on. Its activation depends on the ambient
temperature and the temperature inside the
vehicle.
It switches off automatically once the
heating system is started manually.
Ventilation
Page 87 of 292

85
Controls located at the bottom
of the dashboard on the driver's
side allow the driver to switch the
passenger spotlamp on or off.
reading lamps
These are controlled by the switches.
The driver's switch controls both reading
lamps simultaneously.
The passenger switch controls either the
driver's reading lamp or the passenger's
reading lamp.
courtesy lamp
It can be activated by means of:
-
the switches located on the courtesy
lamp, with the ignition on -
runn I n G
position,
-
opening or closing one of the front
doors,
-
locking/unlocking the vehicle.
It switches of
f automatically:
-
if the switch is not pressed to the right or
to the left,
-
in all cases after 15 minutes, if the doors
remain open,
-
or when the ignition is switched on.
Overhead storage compartment
This is located above the sun visors.
Maximum load: approximately 20 kg.
3
EASE OF uSE and cOMFOrt
Life on board
Page 90 of 292

88
Sliding side windows
Depending on the vehicle's equipment, the
side windows of row 2 can be opened.
Squeeze the two controls then slide the
window.
torch
If your vehicle has one, the magnetic torch is
located at the rear courtesy lamp.
A lamp is locatred in the centre of the torch
base.
Remove the torch from its base by
pressing the button then pivoting the torch
downwards by 90 degrees.
To switch on the torch, slide the switch
forwards.
To change the 4 batteries (NiMH type),
remove the protective cover, located on the
torch.With the vehicle stationary, key in the
ignition switch or removed, recharging
and lighting from the torch stops after
around 15 minutes.
The torch batteries recharge automatically
while driving. To put the torch back in place, engage
it in the notches on the base and pivot it
upwards.
While driving, the window must be
closed or secured in an intermediate
position.
Do not extend long objects outside the
vehicle via the window.
Practical information
Page 92 of 292

90
MIrrOrS
d
oor mirrors
These are divided into two zones:
A - Upper mirror
B - Lower mirror
The mirror glass is spherical in order to
widen the lateral field of vision. Objects
seen in the mirror are in reality closer than
they appear. Therefore, this must be taken
into account in order to assess the distance
correctly.
The shell incorporates the direction indicator
side repeater and the aerials, according to
the equipment available on board (GPS,
GSM, Radio, ...).
Electrical controls
The ignition switch must be in the MAr
position.
T
urn the control to select the mirror zone.
1 Driver's mirror:
A1 - Upper mirror
B1 - Lower mirror
Then move the control in the direction of the
adjustment required.
2 Passenger mirror:
A2 - Upper mirror
B2 - Lower mirror
Then move the control in the direction of the
adjustment required.
rear view mirror
The lever located on the lower edge moves
the mirror into two positions.
For the day position, the lever is pushed.
For the night position to prevent dazzle, pull
the lever towards you.
Electric folding
Press this control.
defrosting the mirrors
Press the rear screen defrosting
button.
Mirrors and windows
Page 93 of 292

91
ELEctrIc WIndOWS
A. d river's electric window
B.
Passenger's electric window Y
ou have two options:Manual operation
Press or pull control switch A/B, without
passing the point of resistance.
The window stops when you release the
control switch.
Automatic operation
Press or pull control switch A , beyond the
point of resistance: the window opens or
closes fully when the control is released.
Pressing the control switch again stops the
movement of the window.
Good practice
Always remove the key from the ignition
when leaving the vehicle, even for a short
time.
If the electric windows meet an obstacle
during operation, you must reverse the
movement of the window. To do this, press
the control switch in question.
When the driver operates the passenger
electric windows, they must ensure that
no one is preventing correct closing of the
windows.
The driver must ensure that the passengers
use the electric windows correctly.
Be particularly aware of children when
operating the windows.
3
EASE OF uSE and cOMFOrt
Mirrors and windows
Page 94 of 292

92PErSOnALISAtIO n - cO n FIG ur At IO n
u
sing the MO d E control panel
This control panel located alongside the
steering wheel provides access to menus for
the personalisation of some of the vehicle
systems.
The corresponding information appears in
the instrument panel screen.
Eleven languages are offered: Brazilian,
Dutch, English, French, German, Italian,
Polish, Portuguese, Russian, Spanish and
Turkish. You have access to all the menus if your
vehicle is fitted with an audio system.
If your vehicle is fitted with a touch screen
audio system, certain menus are only
accessible using the audio system control
panel.
-
scroll down through a menu,
-
decrease a value.
t
his MO d E button enables you to:
-
access the menus and sub-menus,
-
confirm your selections, within a
menu,
-
quit the menus.
A
long press takes you back to the
home screen.
t
his button enables you to:
t
his button enables you to:
-
scroll up through a menu,
-
increase a value.
As a safety measure, some menus can
only be accessed when the ignition is off.
Vehicle configuration
Page 98 of 292

96
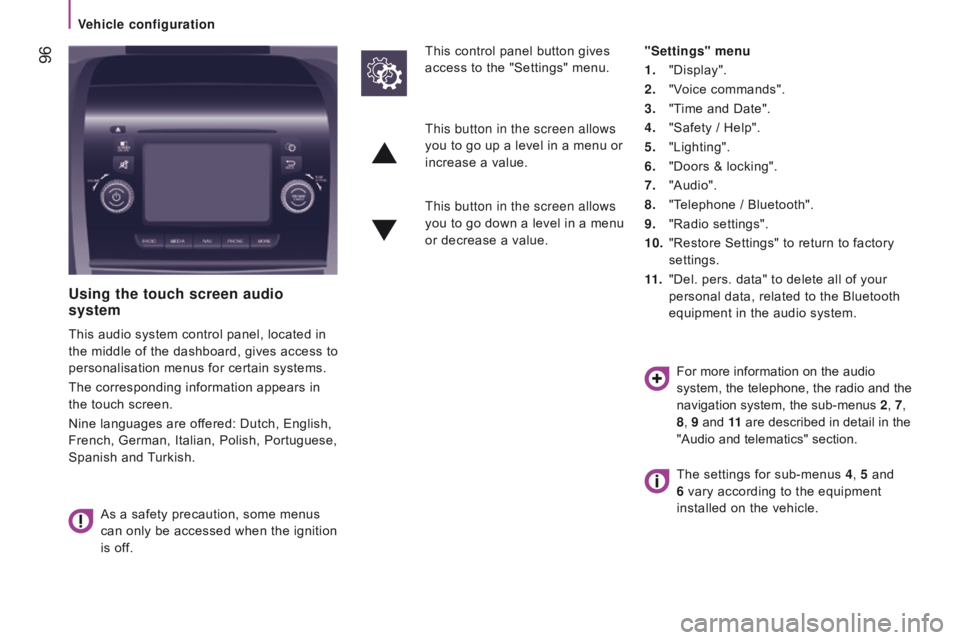
using the touch screen audio
system
This audio system control panel, located in
the middle of the dashboard, gives access to
personalisation menus for certain systems.
The corresponding information appears in
the touch screen.
Nine languages are offered: Dutch, English,
French, German, Italian, Polish, Portuguese,
Spanish and Turkish.
As a safety precaution, some menus
can only be accessed when the ignition
is off. This control panel button gives
access to the "Settings" menu.
"Settings" menu
1.
"Display".
2.
"V
oice commands".
3.
"T
ime and Date".
4.
"Safety / Help".
5.
"Lighting".
6.
"Doors & locking".
7.
"Audio".
8.
"T
elephone / Bluetooth".
9.
"Radio settings".
10.
"Restore Settings" to return to factory
settings.
11 .
"Del. pers. data" to delete all of your
personal data, related to the Bluetooth
equipment in the audio system.
This button in the screen allows
you to go up a level in a menu or
increase a value.
This button in the screen allows
you to go down a level in a menu
or decrease a value.
For more information on the audio
system, the telephone, the radio and the
navigation system, the sub-menus 2, 7,
8 , 9 and 11 are described in detail in the
"Audio and telematics" section.
The settings for sub-menus 4 , 5 and
6 vary according to the equipment
installed on the vehicle.
Vehicle configuration
Page 100 of 292

98
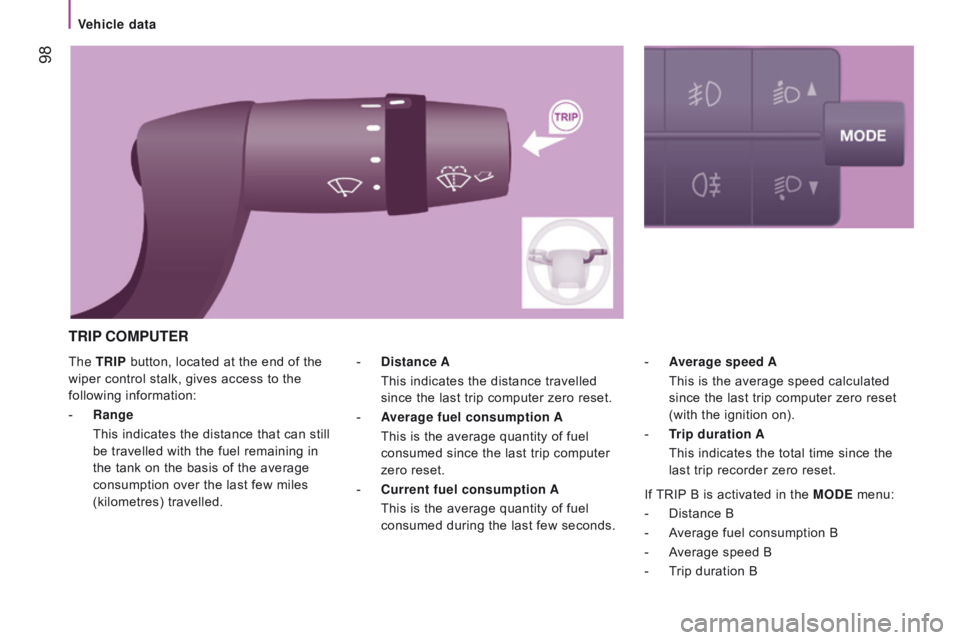
The trIP button, located at the end of the
wiper control stalk, gives access to the
following information:
-
r
ange
This indicates the distance that can still
be travelled with the fuel remaining in
the tank on the basis of the average
consumption over the last few miles
(kilometres) travelled. -
A verage speed A
This is the average speed calculated
since the last trip computer zero reset
(with the ignition on).
-
t
rip
duration A
This indicates the total time since the
last trip recorder zero reset.
-
d istance A
This indicates the distance travelled
since the last trip computer zero reset.
-
A
verage fuel consumption A
This is the average quantity of fuel
consumed since the last trip computer
zero reset.
-
c
urrent fuel consumption A
This is the average quantity of fuel
consumed during the last few seconds.
trIP c OMP ut E r
If TRIP B is activated in the MOdE menu:
-
Distance B
-
A
verage fuel consumption B
-
A
verage speed B
-
T
rip duration B
Vehicle data