ECO mode CITROEN RELAY 2019 Handbook (in English)
[x] Cancel search | Manufacturer: CITROEN, Model Year: 2019, Model line: RELAY, Model: CITROEN RELAY 2019Pages: 232, PDF Size: 8.21 MB
Page 3 of 232
Welcome
Thank you for choosing a Citroën Jumper – Relay.
T his document presents the information and recommendations required
for you to be able to explore your vehicle in complete safety.
Your vehicle will be fitted with only some of the equipment described in
this document, depending on its trim level, model and the specification
for the country in which it was sold.
The descriptions and illustrations are given without any obligation.
Automobiles CITROËN reser ves the right to modify the technical
specifications, equipment and accessories without having to update this
edition of the guide.
If ownership of your vehicle is transferred, please ensure this Complete
Handbook is passed on to the new owner.
In this document, you will find all of the instructions and
recommendations on use that will allow you to enjoy your vehicle to the
fullest. It is strongly recommended that you familiarise yourself with it,
as well as the Maintenance and Warranty Guide which will provide you
with information about warranties, servicing and roadside assistance
associated with your vehicle. Key
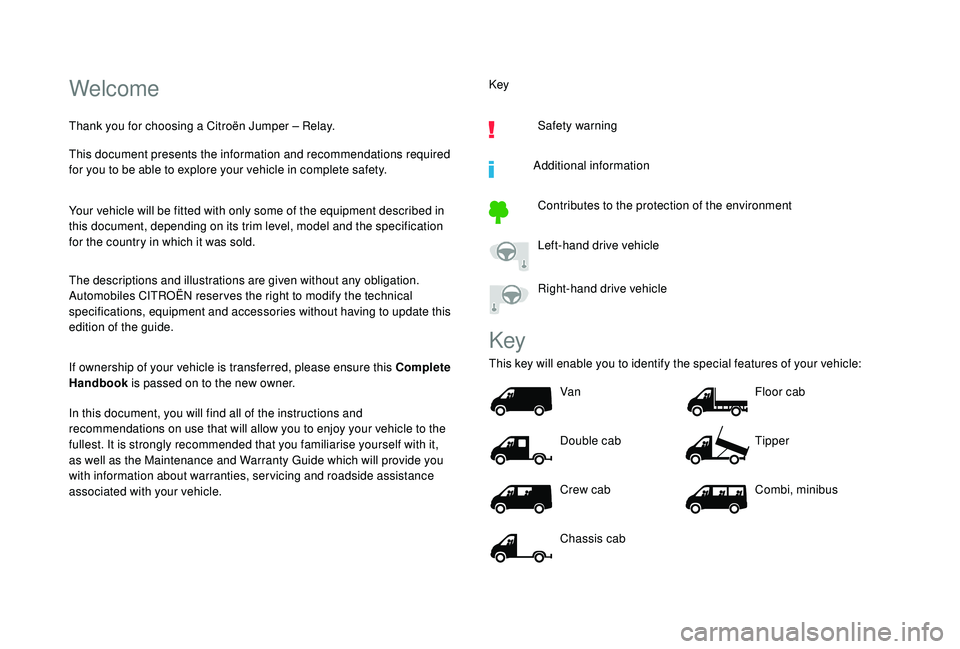
Safety warning
Additional information Contributes to the protection of the environment
Left-hand drive vehicle
Right-hand drive vehicle
Key
This key will enable you to identify the special features of your vehicle: Van
Double cab
Crew cab
Chassis cab Floor cab
Tipper
Combi, minibus
Page 7 of 232
5
As a passenger, if you avoid connecting your
m ultimedia devices (film, music, video game,
etc.), you will contribute towards limiting the
consumption of electrical energy, and so of
fuel.
Disconnect your portable devices before
leaving the vehicle.
Eco- driving
Eco-driving is a range of everyday practices that allow the motorist to optimise their fuel consumption and CO2 emissions.
Optimise the use of your
gearbox
With a manual gearbox, move off gently
an d change up without waiting. During
acceleration, change up early.
With an automatic gearbox, give preference
to automatic mode and avoid pressing the
accelerator pedal heavily or suddenly.
The gear efficiency indicator invites you to
engage the most suitable gear: as soon as the
indication is displayed in the instrument panel,
follow it straight away.
For vehicles fitted with an automatic gearbox,
this indicator appears only in manual mode.
Drive smoothly
Maintain a safe distance between vehicles,
u se engine braking rather than the
brake pedal, and press the accelerator
progressively. These practices contribute
towards a
reduction in fuel consumption and
CO
2 emissions and also help reduce the
background traffic noise
.
If your vehicle has cruise control, make use of
the system at speeds above 25 mph (40 km/h)
when the traffic is flowing well.
Control the use of your electrical
equipment
Before moving off, if the passenger
compartment is too warm, ventilate it by
opening the windows and air vents before
using the air conditioning.
Above 30
mph (50 km/h), close the windows
and leave the air vents open.
Consider using equipment that can help
keep the temperature in the passenger
compartment down (sunroof blind and window
blinds, etc.). Switch off the headlamps and front foglamps
when the ambient light level does not require
their use.
Avoid running the engine before moving off,
particularly in winter; your vehicle will warm up
much faster while driving. Unless it has automatic regulation, switch off
the air conditioning as soon as the desired
temperature has been reached.
Switch off the demisting and defrosting
controls, if these are not automatically
managed.
Switch off the heated seat as soon as
possible.
.
.
Eco-drivingsommaire
Page 10 of 232
8
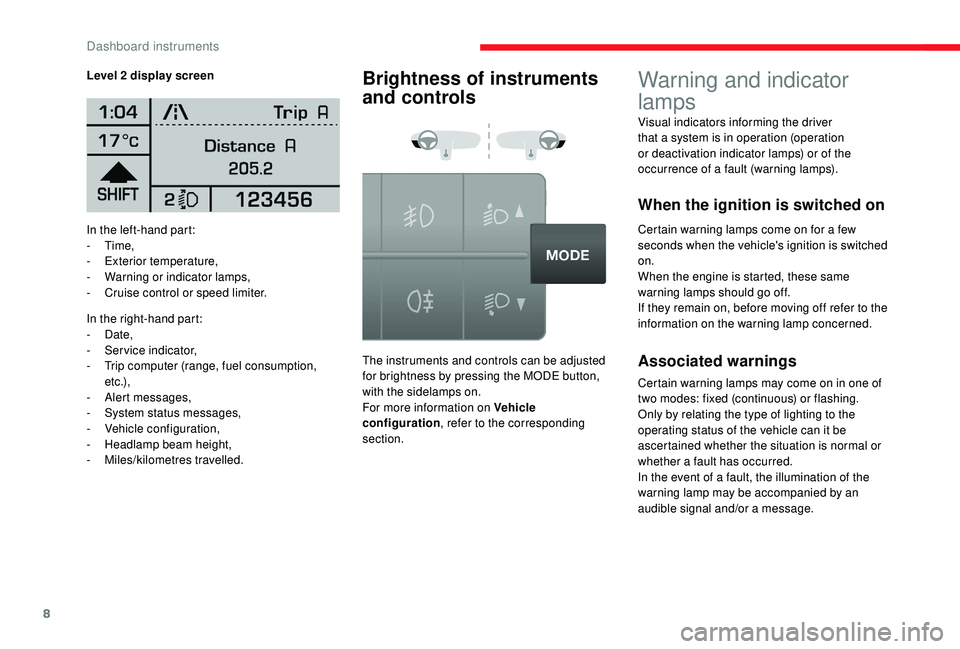
In the left-hand part:
- Time,
-
E
xterior temperature,
-
W
arning or indicator lamps,
-
C
ruise control or speed limiter.
In the right-hand part:
-
Date,
-
S
ervice indicator,
-
T
rip computer (range, fuel consumption,
e t c .),
-
A
lert messages,
-
S
ystem status messages,
-
V
ehicle configuration,
-
H
eadlamp beam height,
-
M
iles/kilometres travelled.
Warning and indicator
lamps
When the ignition is switched on
Certain warning lamps come on for a few
s econds when the vehicle's ignition is switched
on.
When the engine is started, these same
warning lamps should go off.
If they remain on, before moving off refer to the
information on the warning lamp concerned.
Level 2
display screen
Brightness of instruments
and controls
The instruments and controls can be adjusted
for brightness by pressing the MODE button,
with the sidelamps on.
For more information on Vehicle
configuration
, refer to the corresponding
section.Associated warnings
Certain warning lamps may come on in one of
two modes: fixed (continuous) or flashing.
Only by relating the type of lighting to the
operating status of the vehicle can it be
ascertained whether the situation is normal or
whether a
fault has occurred.
In the event of a
fault, the illumination of the
warning lamp may be accompanied by an
audible signal and/or a
message.
Visual indicators informing the driver
that a
system is in operation (operation
or deactivation indicator lamps) or of the
occurrence of a fault (warning lamps).
Dashboard instruments
Page 18 of 232

16
Warning/indicator lampStateCause Actions/Comments
Cruise control Fixed. Cruise control is selected. Manual selection.
Dipped beam
headlamps Fixed.
A manual selection. Turn the lighting control stalk ring to the second
position.
Blue warning/indicator lamps Main beam
headlamps Fixed.
The lighting control stalk has
been pulled towards you. Pull the lever to return to dipped beam headlamps.
Automatic
headlamps Fixed.
This function is activated in the
"MODE" menu. Switching on and off of the main beam headlamps
is managed automatically depending on the driving
conditions and the traffic.
For more information on Vehicle configuration
, refer
to the corresponding section.
Temperature/Ice The ice warning
lamp, the temperature
flashing, accompanied
by a
message on
screen. Weather conditions which could
result in ice on the road.
Be particularly vigilant and do not brake sharply.
Date/Time Setting: the date, the
time. A configuration via the "MODE"
menu. For more information on Vehicle configuration
, refer
to the corresponding section.
Warning/indicator lamp in
the display screen
Displays
Indicates Actions/Comments
Dashboard instruments
Page 19 of 232
17
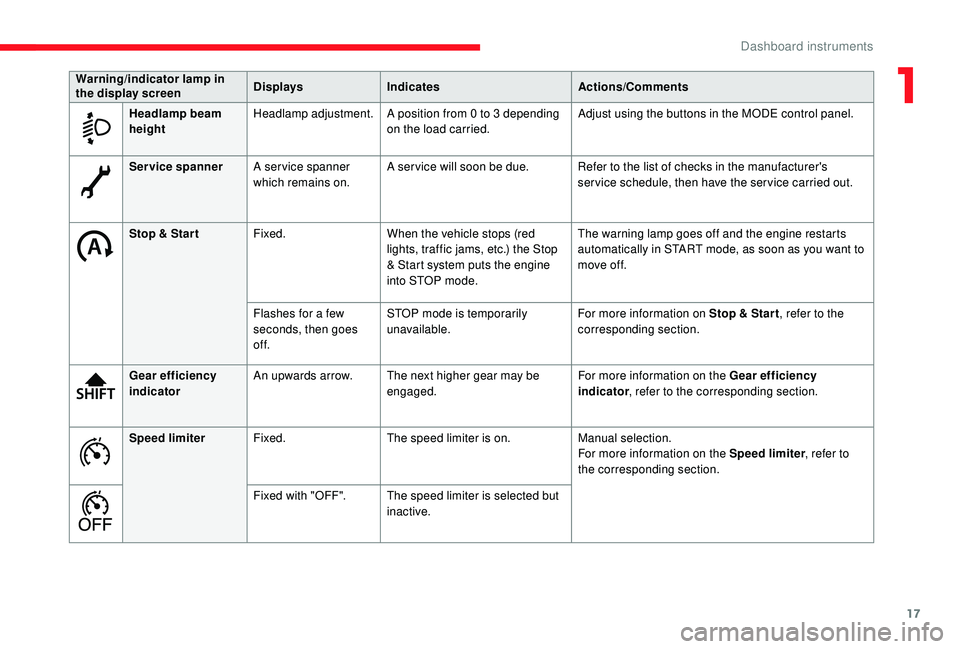
Service spannerA ser vice spanner
which remains on. A ser vice will soon be due. Refer to the list of checks in the manufacturer's
service schedule, then have the service carried out.
Stop & Star t Fixed. When the vehicle stops (red
lights, traffic jams, etc.) the Stop
& Start system puts the engine
into STOP mode. The warning lamp goes off and the engine restarts
automatically in START mode, as soon as you want to
move off.
Flashes for a
few
seconds, then goes
of f. STOP mode is temporarily
unavailable.
For more information on Stop & Star t
, refer to the
corresponding section.
Gear efficiency
indicator An upwards arrow. The next higher gear may be
engaged. For more information on the Gear efficiency
indicator
, refer to the corresponding section.
Speed limiter Fixed. The speed limiter is on. Manual selection.
For more information on the Speed limiter , refer to
the corresponding section.
Fixed with "OFF". The speed limiter is selected but inactive.
Warning/indicator lamp in
the display screen
Displays
Indicates Actions/Comments
Headlamp beam
height Headlamp adjustment.
A position from 0 to 3 depending
on the load carried. Adjust using the buttons in the MODE control panel.
1
Dashboard instruments
Page 24 of 232
22
For more information on AdBlue®
(BlueHDi engines) and, in particular
topping up, refer to the corresponding
section.
In the event of a fault with the
S CR emissions control system
Detection
The engine diagnostic warning lamp
comes on.
Every time the ignition is switched
on, the emissions fault is confirmed
by an audible signal and a
message.
If it is a
temporary fault, the alert disappears
as soon as the exhaust emissions return to the
levels required by the standard.
However, if the warning lamp is still on
after 30
miles (50 km) of driving, the fault
is confirmed.
An engine start prevention system
will be activated automatically after
250
miles (400 km) travelled following this
confirmation.
See a
CITROËN dealer or a qualified
workshop as soon as possible.
Fault confirmed
In addition to the previous signals, the
remaining range allowed will be displayed in
miles or kilometres in the instrument panel.
The alert will be repeated every 30
seconds
with an update of the driving range.
See a
CITROËN dealer or a qualified workshop
as soon as possible.
You risk not being able to start the engine.
Starting prevented after 250 miles
( 400 km)
At each starting attempt, the alert is
activated and the starting prevention
message is displayed.
To be able to restart the engine, you must see
a
CITROËN dealer or a qualified workshop.
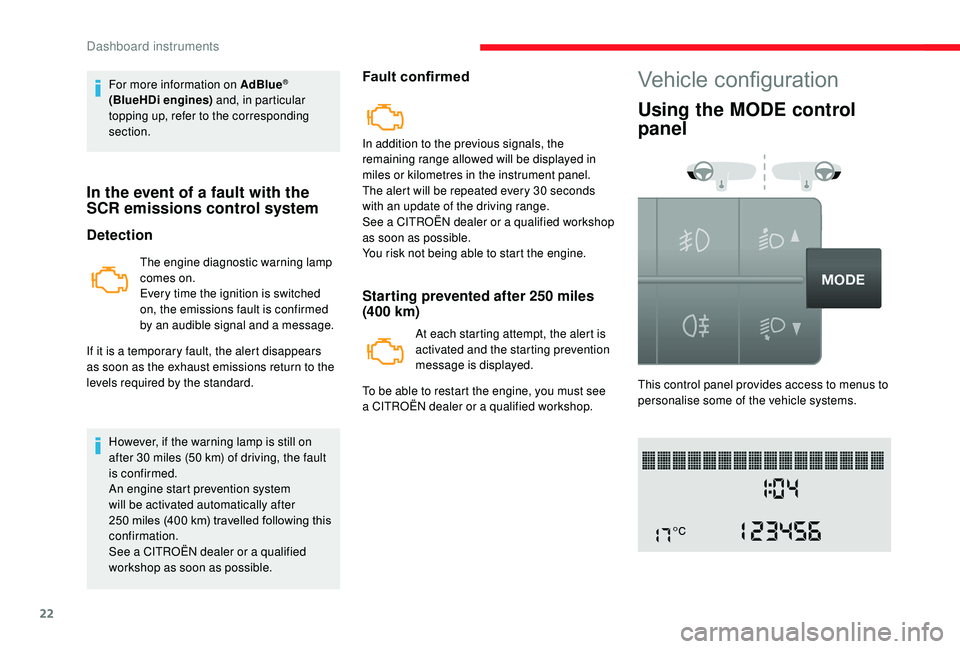
Vehicle configuration
Using the MODE control
panel
This control panel provides access to menus to
personalise some of the vehicle systems.
Dashboard instruments
Page 26 of 232
24
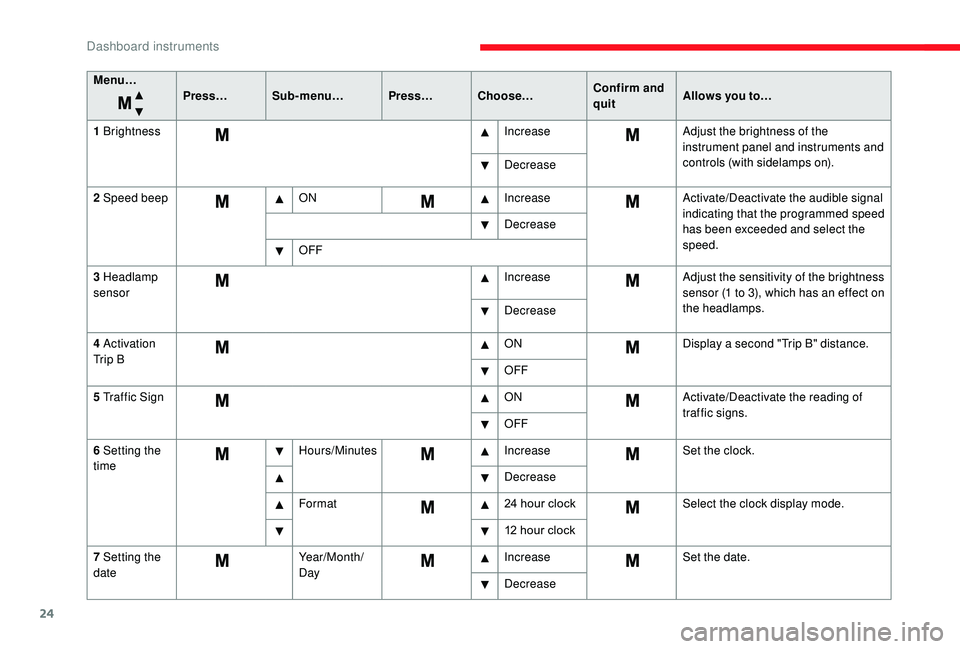
Menu…Press…Sub-menu… Press…Choose… Confirm and
quitAllows you to…
1
Brightness IncreaseAdjust the brightness of the
instrument panel and instruments and
controls (with sidelamps on).
Decrease
2
Speed beep ON IncreaseActivate/Deactivate the audible signal
indicating that the programmed speed
has been exceeded and select the
speed.
Decrease
OFF
3
Headlamp
sensor Increase
Adjust the sensitivity of the brightness
sensor (1
to 3), which has an effect on
the headlamps.
Decrease
4
Activation
Tr i p B ON
Display a
second "Trip B" distance.
OFF
5
Traffic Sign ONActivate/Deactivate the reading of
traffic signs.
OFF
6
Setting the
time Hours/Minutes
IncreaseSet the clock.
Decrease
Format 24
hour clockSelect the clock display mode.
12
hour clock
7
Setting the
date Year/Month/
DayIncrease
Set the date.
Decrease
Dashboard instruments
Page 30 of 232
28
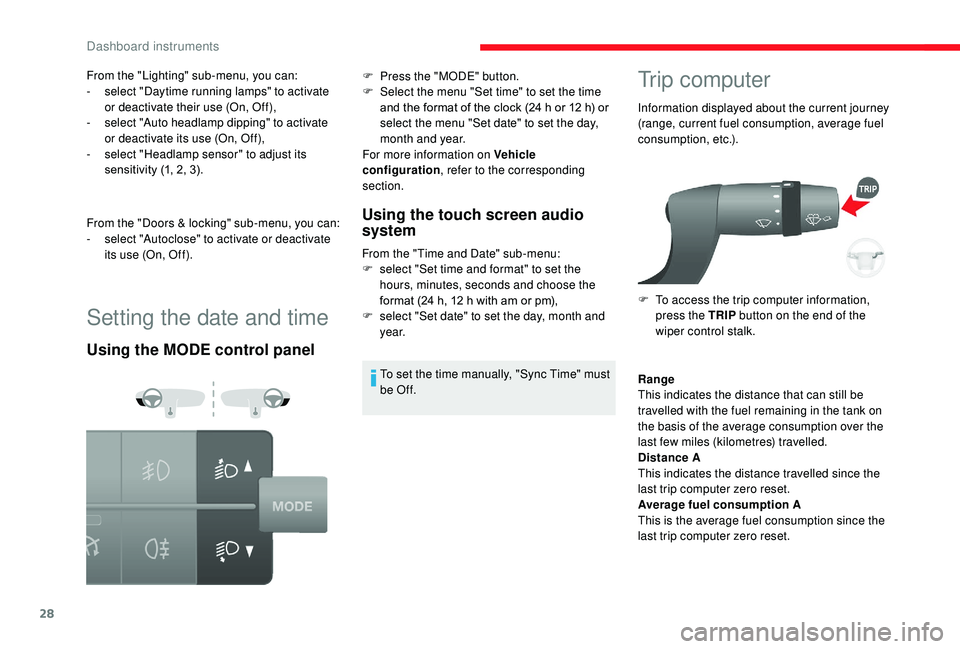
Setting the date and time
Using the MODE control panelUsing the touch screen audio
system
From the "Time and Date" sub-menu:
F
s elect "Set time and format" to set the
hours, minutes, seconds and choose the
format (24
h, 12 h with am or pm),
F
s
elect "Set date" to set the day, month and
ye a r.
To set the time manually, "Sync Time" must
be Of f.
Trip computer
Information displayed about the current journey
(range, current fuel consumption, average fuel
consumption, etc.).
F
T
o access the trip computer information,
press the TRIP button on the end of the
wiper control stalk.
From the "Lighting" sub-menu, you can:
-
s
elect "Daytime running lamps" to activate
or deactivate their use (On, Off),
-
s
elect "Auto headlamp dipping" to activate
or deactivate its use (On, Off),
-
s
elect "Headlamp sensor" to adjust its
sensitivity (1, 2, 3).
From the "Doors & locking" sub-menu, you can:
-
s
elect "Autoclose" to activate or deactivate
its use (On, Off). F
P
ress the "MODE" button.
F
S
elect the menu "Set time" to set the time
and the format of the clock (24
h or 12
h) or
select the menu "Set date" to set the day,
month and year.
For more information on Vehicle
configuration , refer to the corresponding
section.
Range
This indicates the distance that can still be
travelled with the fuel remaining in the tank on
the basis of the average consumption over the
last few miles (kilometres) travelled.
Distance A
This indicates the distance travelled since the
last trip computer zero reset.
Average fuel consumption A
This is the average fuel consumption since the
last trip computer zero reset.
Dashboard instruments
Page 31 of 232

29
Current fuel consumption A
This is the average fuel consumption during the
last few seconds.
Average speed A
This is the average speed calculated since the
last trip computer zero reset (with the ignition
o n).
Trip duration A
This indicates the total time since the last trip
computer zero reset.
If TRIP B is activated in the MODE menu:
-
D
istance B
-
A
verage fuel consumption B
-
A
verage speed B
-
T
rip duration B
Tachograph
When the card is inserted, all of the data can
be:
-
d
isplayed on the tachograph screen,
-
printed,
-
t
ransferred to external storage media via an
inter face.
For further information, refer to the documents
supplied by the manufacturer of the
tachograph.
If your vehicle is fitted with a
tachograph,
disconnection of the negative (-) terminal
of the battery (located under the floor
on the left-hand side, in the cab) is
recommended if the vehicle is not to be
used for a
period of more than 5 days.
If your vehicle is fitted with a
tachograph, this
permits storing of all of the data relating to the
vehicle in the unit and on a
card inserted in it.
Example: at the beginning of each journey or
change of team.
1
Dashboard instruments
Page 37 of 232

35
Opening to 180°
If your vehicle is fitted with this equipment,
a retractable check strap system permits
extending of the opening from 96° to 180°.
Closing
F To close, start with the left-hand door then close the right-hand door.
Alarm
System which protects and provides a deterrent
a gainst theft and break-ins. If your vehicle is
so equipped, it provides the following types of
monitoring:
- Perimeter monitoring
The system ensures exterior perimeter
protection by detectors on the openings (doors,
bonnet) and in the electrical power supply.
- Anti-tilt monitoring
The system checks for any change in the
attitude of the vehicle.
Activation
F Press this button on the remote control.
The protection provided by the alarm
system becomes active after a
few
seconds.
Triggering of the alarm
The alarm then returns to monitoring
mode but the triggering event is
stored and is indicated by illumination
of the electronic immobiliser warning
lamp for about 10
seconds when the
ignition is switched on.
The alarm is also triggered after interruption
of the electrical supply and when it is
reconnected.
From inside
F Pull the handle on the door panel towards you, then push to open the right-hand door.
F
P
ush the lever to open the left-hand door.
Do not drive with a
rear door open. F
P
ress the button, located on the door trim
pad, to widen the angle of the door.
The check strap will engage again
automatically on closing. F
T
urn the ignition off and exit the vehicle.
This is signalled by the siren sounding and flashing
of the direction indicators for thirty seconds.
2
Access