lights DODGE AVENGER 2008 Owner's Manual
[x] Cancel search | Manufacturer: DODGE, Model Year: 2008, Model line: AVENGER, Model: DODGE AVENGER 2008Pages: 467, PDF Size: 7.16 MB
Page 173 of 467
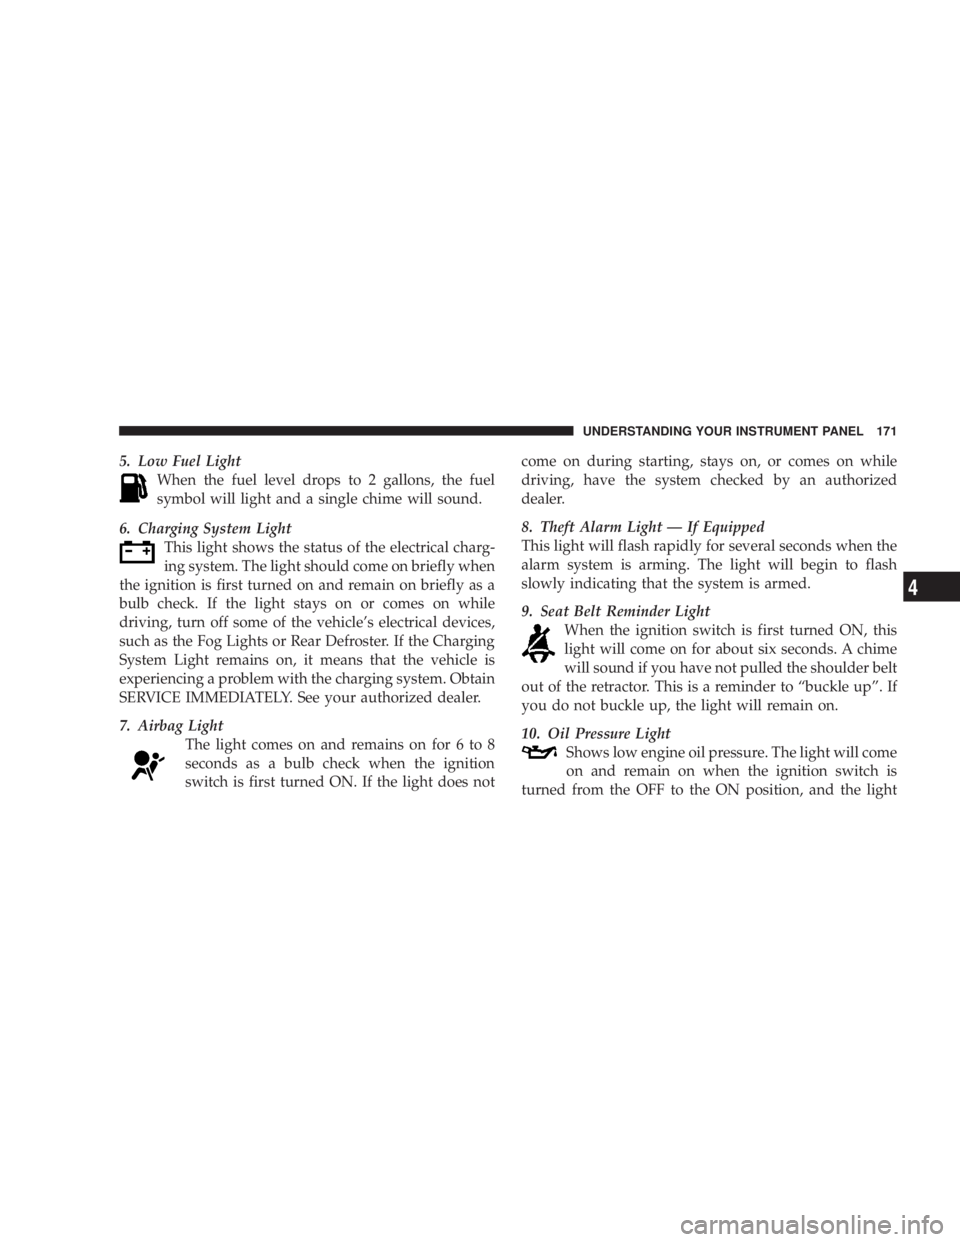
5. Low Fuel Light
When the fuel level drops to 2 gallons, the fuel
symbol will light and a single chime will sound.
6. Charging System Light
This light shows the status of the electrical charg-
ing system. The light should come on briefly when
the ignition is first turned on and remain on briefly as a
bulb check. If the light stays on or comes on while
driving, turn off some of the vehicle's electrical devices,
such as the Fog Lights or Rear Defroster. If the Charging
System Light remains on, it means that the vehicle is
experiencing a problem with the charging system. Obtain
SERVICE IMMEDIATELY. See your authorized dealer.
7. Airbag Light
The light comes on and remains on for 6 to 8
seconds as a bulb check when the ignition
switch is first turned ON. If the light does not come on during starting, stays on, or comes on while
driving, have the system checked by an authorized
dealer.
8. Theft Alarm Light Ð If Equipped
This light will flash rapidly for several seconds when the
alarm system is arming. The light will begin to flash
slowly indicating that the system is armed.
9. Seat Belt Reminder Light
When the ignition switch is first turned ON, this
light will come on for about six seconds. A chime
will sound if you have not pulled the shoulder belt
out of the retractor. This is a reminder to ªbuckle upº. If
you do not buckle up, the light will remain on.
10. Oil Pressure Light
Shows low engine oil pressure. The light will come
on and remain on when the ignition switch is
turned from the OFF to the ON position, and the light UNDERSTANDING YOUR INSTRUMENT PANEL 171
4
Page 178 of 467
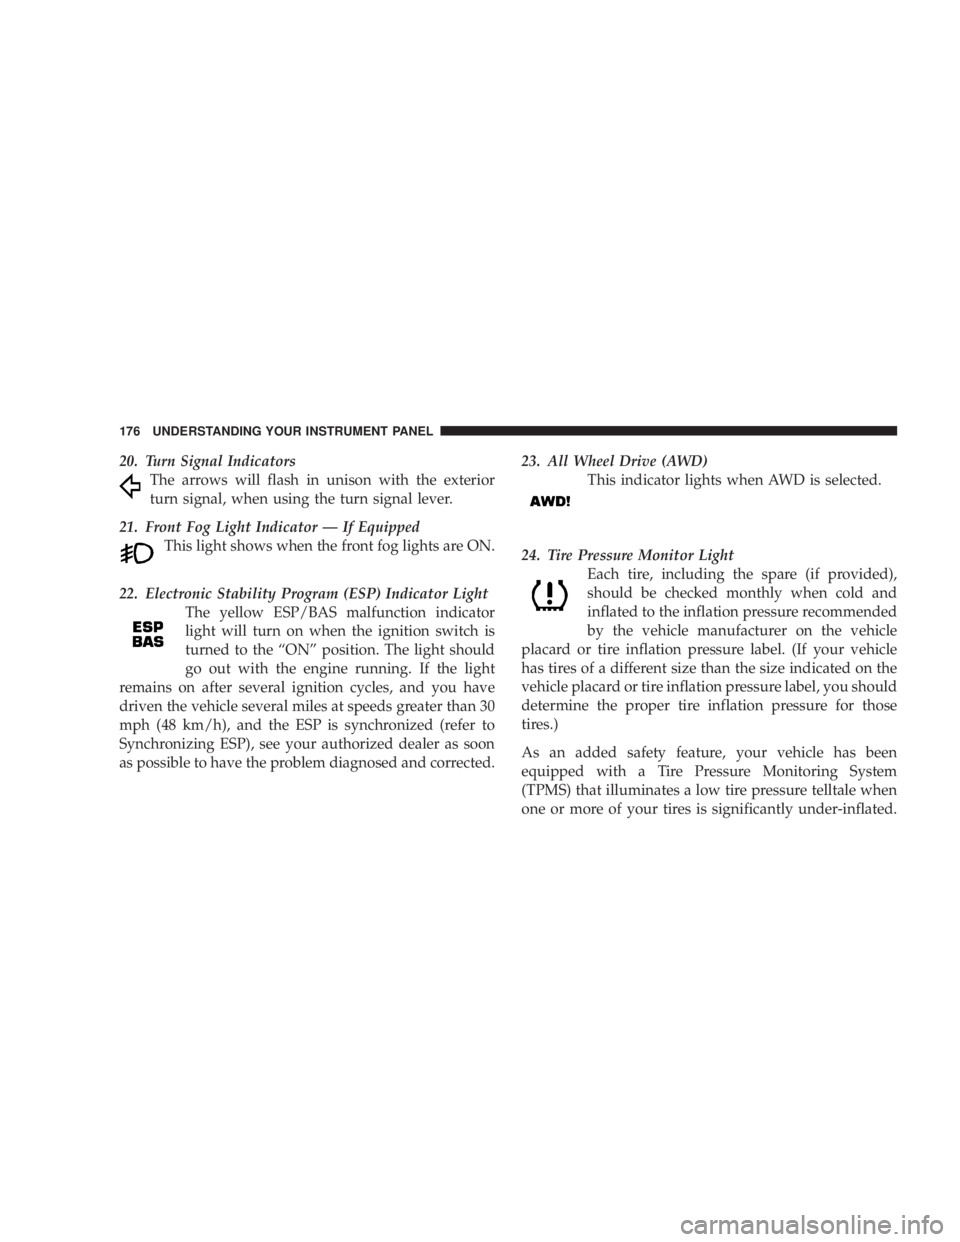
20. Turn Signal Indicators
The arrows will flash in unison with the exterior
turn signal, when using the turn signal lever.
21. Front Fog Light Indicator Ð If Equipped
This light shows when the front fog lights are ON.
22. Electronic Stability Program (ESP) Indicator Light
The yellow ESP/BAS malfunction indicator
light will turn on when the ignition switch is
turned to the ªONº position. The light should
go out with the engine running. If the light
remains on after several ignition cycles, and you have
driven the vehicle several miles at speeds greater than 30
mph (48 km/h), and the ESP is synchronized (refer to
Synchronizing ESP), see your authorized dealer as soon
as possible to have the problem diagnosed and corrected. 23. All Wheel Drive (AWD)
This indicator lights when AWD is selected.
24. Tire Pressure Monitor Light
Each tire, including the spare (if provided),
should be checked monthly when cold and
inflated to the inflation pressure recommended
by the vehicle manufacturer on the vehicle
placard or tire inflation pressure label. (If your vehicle
has tires of a different size than the size indicated on the
vehicle placard or tire inflation pressure label, you should
determine the proper tire inflation pressure for those
tires.)
As an added safety feature, your vehicle has been
equipped with a Tire Pressure Monitoring System
(TPMS) that illuminates a low tire pressure telltale when
one or more of your tires is significantly under-inflated.176 UNDERSTANDING YOUR INSTRUMENT PANEL
Page 181 of 467
could lead to immediate loss of power or severe catalytic
converter damage. The vehicle should be serviced as
soon as possible if this occurs.
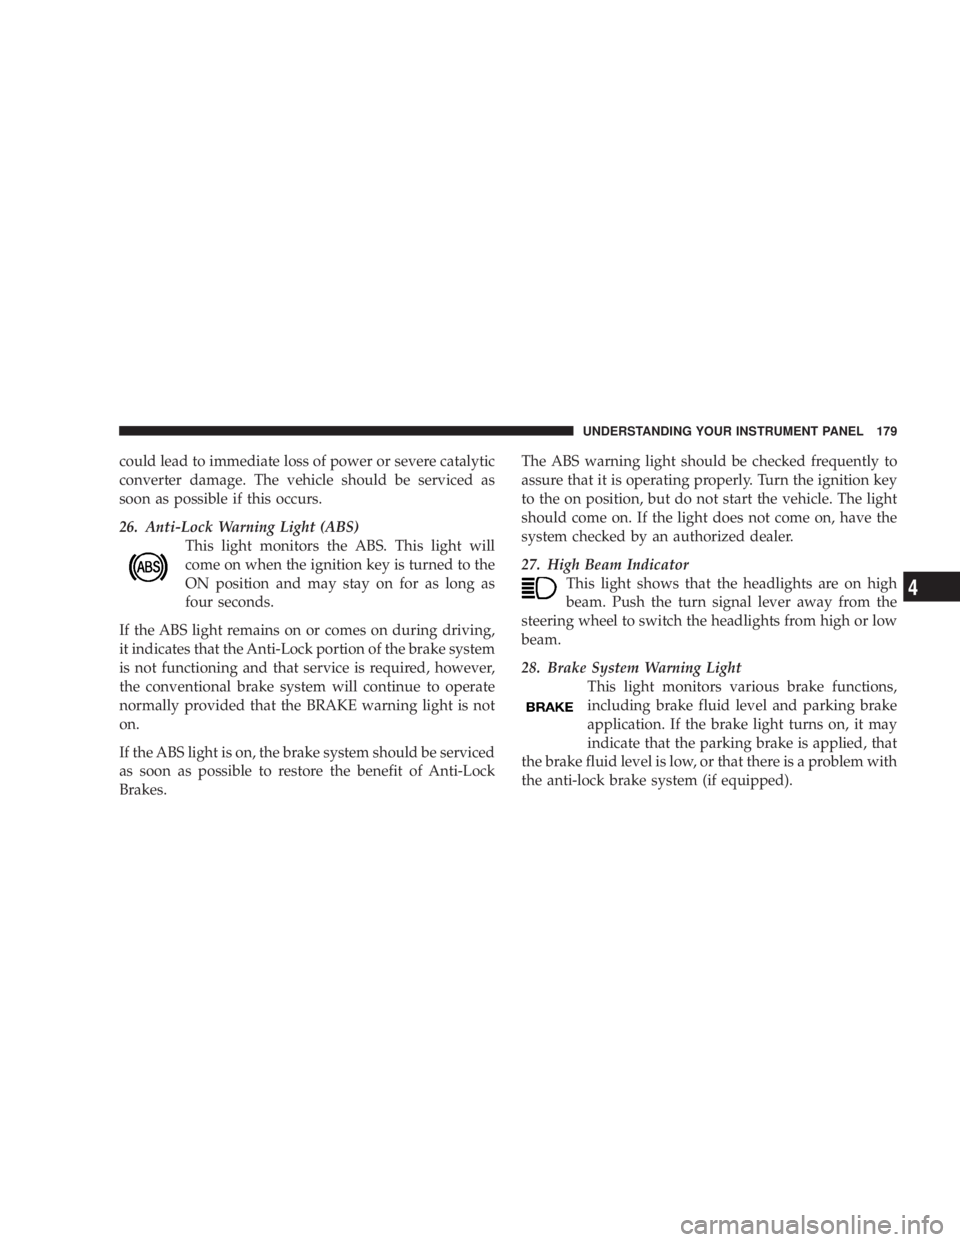
26. Anti-Lock Warning Light (ABS)
This light monitors the ABS. This light will
come on when the ignition key is turned to the
ON position and may stay on for as long as
four seconds.
If the ABS light remains on or comes on during driving,
it indicates that the Anti-Lock portion of the brake system
is not functioning and that service is required, however,
the conventional brake system will continue to operate
normally provided that the BRAKE warning light is not
on.
If the ABS light is on, the brake system should be serviced
as soon as possible to restore the benefit of Anti-Lock
Brakes. The ABS warning light should be checked frequently to
assure that it is operating properly. Turn the ignition key
to the on position, but do not start the vehicle. The light
should come on. If the light does not come on, have the
system checked by an authorized dealer.
27. High Beam Indicator
This light shows that the headlights are on high
beam. Push the turn signal lever away from the
steering wheel to switch the headlights from high or low
beam.
28. Brake System Warning Light
This light monitors various brake functions,
including brake fluid level and parking brake
application. If the brake light turns on, it may
indicate that the parking brake is applied, that
the brake fluid level is low, or that there is a problem with
the anti-lock brake system (if equipped). UNDERSTANDING YOUR INSTRUMENT PANEL 179
4
Page 185 of 467
Press and release the RESET button to accept a
selection. The RESET button also resets various
Trip Functions.
EVIC DISPLAYS
When the appropriate conditions exist, the Electronic
Vehicle Information Center (EVIC) displays the following
messages.
² Turn Signal On (with a continuous warning chime)
² Left Front Turn Signal Light Out (with a single chime)
² Left Rear Turn Signal Light Out (with a single chime)
² Right Front Turn Signal Light Out (with a single
chime)
² Right Rear Turn Signal Light Out (with a single chime) ² RKE (Remote Keyless Entry) Battery Low (with a
single chime)
² Personal Settings Not Available ± Vehicle Not In
PARK.
² Left/Right Door Ajar (one or more, with a single
chime if speed is above 1 mp h/1kmh)
² Door(s) Ajar (with a single chime if vehicle is in
motion)
² Trunk Ajar (with a single chime)
² Headlights On
² Key In Ignition
² Speed Too High (with a single chime)
² Oil Change Required (with a single chime)RESET
Button UNDERSTANDING YOUR INSTRUMENT PANEL 183
4
Page 191 of 467
Auto Unlock on Exit
When ON is selected and the transaxle is in the PARK or
NEUTRAL position, all doors will unlock when the
driver's door is opened. To make your selection, press
and hold the RESET button until ON or OFF appears.
Remote Key Unlock
When ªDriver Door 1st Pressº is selected, only the
driver's door will unlock on the first press of the remote
keyless entry unlock button. When Driver Door 1st Press
is selected, you must press of the remote keyless entry
unlock button twice to unlock the passenger's doors.
When ªAll Doors 1st Pressº is selected, all of the doors
will unlock on the first press of the remote keyless entry
unlock button. To make your selection, press and release
the RESET button until ªDriver Door 1st Pressº or ªAll
Doors 1st Pressº appears. Sound Horn with Lock
When ON is selected, a short horn sound will occur when
the remote keyless entry LOCK button is pressed. This
feature may be selected with or without the flash lights
ON, LOCK/UNLOCK feature. To make your selection,
press and release the RESET button until ON or OFF
appears.
Flash Lights with Lock
When ON is selected, the front and rear turn signals will
flash when the doors are locked or unlocked with the
remote keyless entry transmitter. This feature may be
selected with or without the Sound Horn on LOCK
feature selected. To make your selection, press and re-
lease the RESET button until ON or OFF appears.
Headlights Off Delay
When this feature is selected, the driver can choose to
have the headlights remain on for 0, 30, 60, or 90 seconds UNDERSTANDING YOUR INSTRUMENT PANEL 189
4
Page 192 of 467
when exiting the vehicle. To make your selection, press
and hold the RESET button until 0, 30, 60, or 90 seconds
appears.
Headlights With Wipers (Available with Auto
Headlights Only)
When ON is selected, and the headlight switch is in the
AUTO position, the headlights will turn on approxi-
mately 10 seconds after the wipers are turned on. The
headlights will also turn off when the wipers are turned
off if they were turned on by this feature. To make your
selection, press and hold the RESET button until ON or
OFF appears.
NOTE: Turning the headlights on during the daytime
causes the instrument panel lights to dim. To increase the
brightness, refer to ªLightsº in Section 3 of this manual.
Key-Off Power Delay
When this feature is selected, the power window
switches, radio, hands±free system (if equipped), and power outlets will remain active for up to 10 minutes
after the ignition switch is turned to the LOCK position.
Opening a vehicle door will cancel this feature. To make
your selection, press and hold the RESET button until
Off, 45 sec., 5 min., or 10 min. appears.
Illumination Approach
When this feature is selected, the headlights will activate
and remain on for up to 90 seconds when the doors are
unlocked with the remote keyless entry transmitter. To
make your selection, press and hold the RESET button
until OFF, 30, 60, or 90 seconds appears.
Display Units in English or Metric
The EVIC and odometer can be changed between English
and Metric units of measure. To make your selection,
press and release the RESET button until U.S. or METRIC
appears.190 UNDERSTANDING YOUR INSTRUMENT PANEL
Page 344 of 467
² Trailer brakes are recommended for trailers over 1,000
lbs (450 kg) and required for trailers in excess of 2,000
lbs (907 kg).
CAUTION!If the trailer weighs more than 1,000 lbs (450 kg)
loaded, it should have its own brakes with adequate
braking capacity. Failure to do this could lead to
accelerated brake lining wear, higher brake pedal
effort, and longer stopping distances. WARNING!Do not connect trailer brakes to your vehicle's hy-
draulic brake lines. It can overload your brake sys-
tem and cause it to fail. You might not have brakes
when you need them and could have an accident.
Towing any trailer will increase your stopping dis-
tance. When towing, you should allow for additional
space between your vehicle and the vehicle in front
of you. Failure to do so could result in an accident.
Towing Requirements Ð Trailer Lights and Wiring
Whenever you pull a trailer, regardless of the trailer size,
stoplights and turn signals on the trailer are required for
motoring safety.
Use a factory approved trailer harness and connector.342 STARTING AND OPERATING
Page 345 of 467
NOTE: Do not cut or splice wiring into the vehicles
wiring harness.
The electrical connections are all complete to the vehicle,
but you must mate the harness to a trailer connector.
Towing Tips
Before setting out on a trip, practice turning, stopping,
and backing the trailer in an area located away from
heavy traffic.
Make sure all trailer and vehicle lights are working
properly Ð including hazard flashers.4-Pin Connector 7-Pin Connector STARTING AND OPERATING 343
5
Page 368 of 467
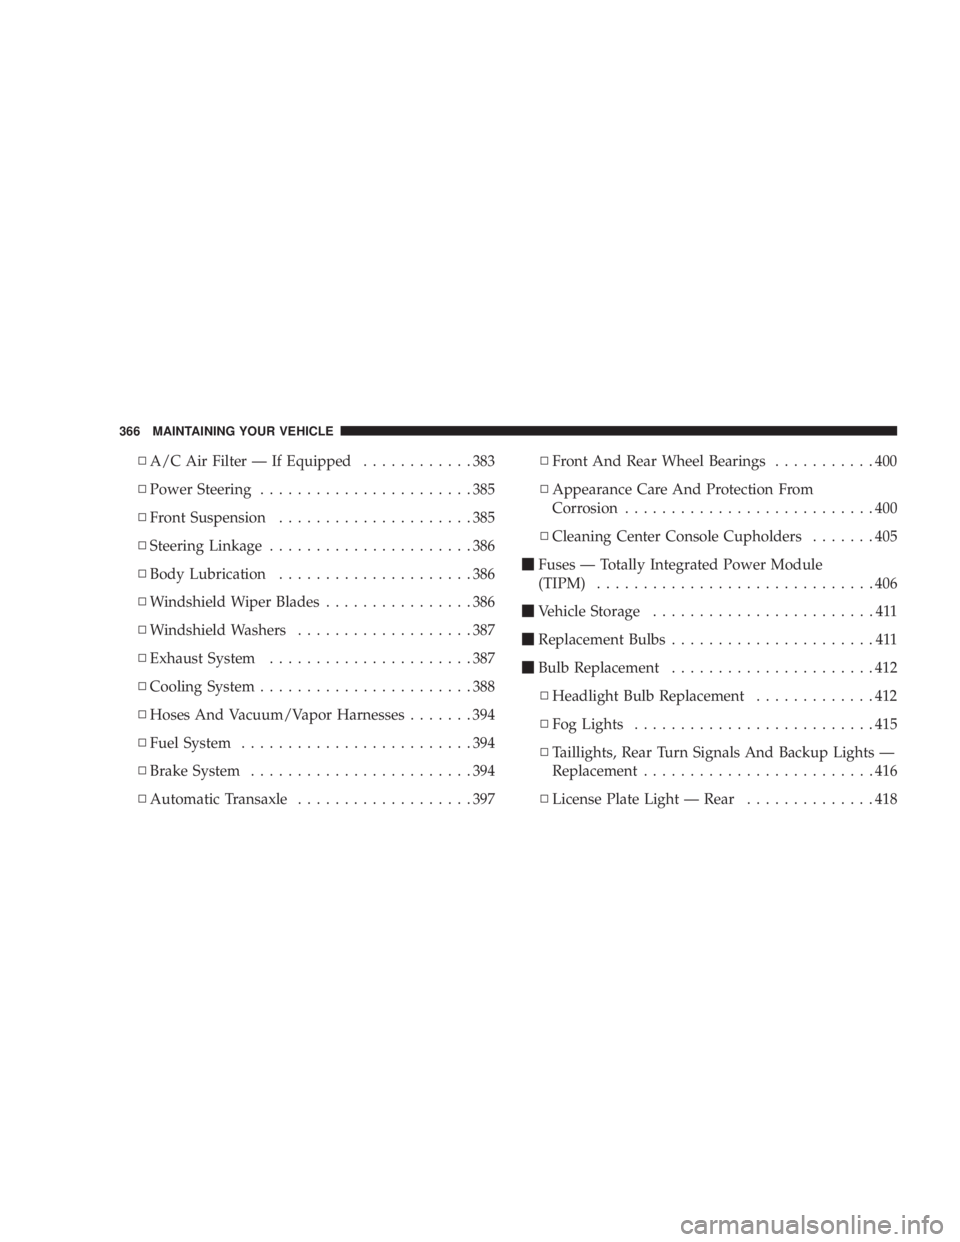
N A/C Air Filter Ð If Equipped ............383
N Power Steering .......................385
N Front Suspension .....................385
N Steering Linkage ......................386
N Body Lubrication .....................386
N Windshield Wiper Blades ................386
N Windshield Washers ...................387
N Exhaust System ......................387
N Cooling System .......................388
N Hoses And Vacuum/Vapor Harnesses .......394
N Fuel System .........................394
N Brake System ........................394
N Automatic Transaxle ...................397 N Front And Rear Wheel Bearings ...........400
N Appearance Care And Protection From
Corrosion ...........................400
N Cleaning Center Console Cupholders .......405
m Fuses Ð Totally Integrated Power Module
(TIPM) ..............................406
m Vehicle Storage ........................411
m Replacement Bulbs ......................411
m Bulb Replacement ......................412
N Headlight Bulb Replacement .............412
N Fog Lights ..........................415
N Taillights, Rear Turn Signals And Backup Lights Ð
Replacement .........................416
N License Plate Light Ð Rear ..............418366 MAINTAINING YOUR VEHICLE
Page 404 of 467
² If your vehicle is damaged due to an accident or
similar cause which destroys the paint and protective
coating, have your vehicle repaired as soon as pos-
sible. The cost of such repairs is considered the respon-
sibility of the owner.
² If you carry special cargo such as chemicals, fertilizers,
de-icer salt, etc., be sure that such materials are well
packaged and sealed.
² If a lot of driving is done on gravel roads, consider
mud or stone shields behind each wheel.
² Use Mopar t touch up paint on scratches as soon as
possible. Your authorized dealer has touch up paint to
match the color of your vehicle.
Wheel and Wheel Trim Care
All wheels and wheel trim, especially aluminum and
chrome plated wheels, should be cleaned regularly with
a mild soap and water to prevent corrosion. To remove heavy soil and/or excessive brake dust, use Mopar t
Wheel Cleaner (05066247AB) or equivalent or select a
nonabrasive, non-acidic cleaner. Do not use scouring
pads, steel wool, a bristle brush, or metal polishes. Only
Mopar t or equivalent is recommended. Do not use oven
cleaner. Avoid automatic car washes that use acidic
solutions or harsh brushes that may damage the wheels'
protective finish.
Cleaning Headlights
Your vehicle has plastic headlights that are lighter and
less susceptible to stone breakage than glass headlights.
Plastic is not as scratch resistant as glass and therefore
different lens cleaning procedures must be followed.
To minimize the possibility of scratching the lenses and
reducing light output, avoid wiping with a dry cloth. To
remove road dirt, wash with a mild soap solution fol-
lowed by rinsing.402 MAINTAINING YOUR VEHICLE