DODGE CALIBER SRT 2008 1.G Owners Manual
Manufacturer: DODGE, Model Year: 2008, Model line: CALIBER SRT, Model: DODGE CALIBER SRT 2008 1.GPages: 373, PDF Size: 3 MB
Page 151 of 373
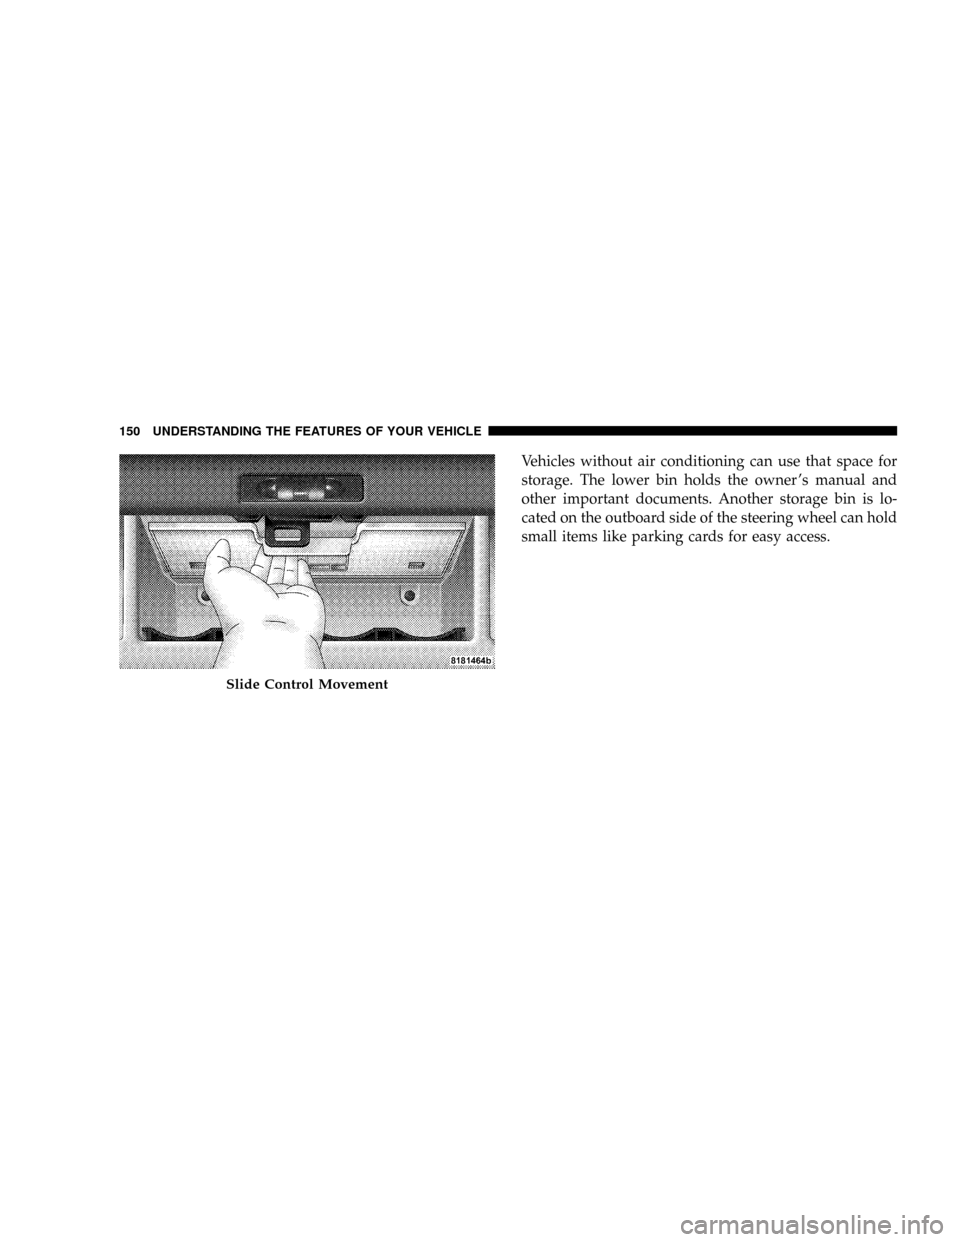
Vehicles without air conditioning can use that space for
storage. The lower bin holds the owner 's manual and
other important documents. Another storage bin is lo-
cated on the outboard side of the steering wheel can hold
small items like parking cards for easy access.
Slide Control Movement
150 UNDERSTANDING THE FEATURES OF YOUR VEHICLE
Page 152 of 373
UNDERSTANDING YOUR INSTRUMENT PANEL
CONTENTS
mInstrument Panel Features.................155
mInstrument ClusterÐBase.................156
mInstrument Cluster Descriptions............157
mElectronic Vehicle Information Center (EVIC) . . . 166
NEVIC Functions.......................168
NPerformance Pages Ð If Equipped.........169
NCompass/Temperature/Audio Ð
If Equipped.........................171
NAverage Fuel Economy.................172NDistance To Empty (DTE)...............172
NElapsed Time........................172
NTire Pressure Monitor (TPM) Ð
If Equipped.........................172
NPersonal Settings (Customer Programmable
Features)...........................173
mSetting The Compass Variance And Compass
Calibration...........................176
NCompass Variance.....................176
NCompass Calibration...................1784
Page 153 of 373
mRadio General Information................179
NRadio Broadcast Signals.................179
NTwo Types Of Signals..................179
NElectrical Disturbances..................179
NAM Reception.......................179
NFM Reception........................179
mElectronic Digital Clock..................180
NClock Setting Procedure.................180
mSales Code REF Ð AM/FM/CD (Single Disc)
Radio With Optional Satellite Radio And Hands
Free Phone Capability...................181
NOperating Instructions - Radio Mode.......181
NOperation Instructions - CD Mode.........185
NOperation Instructions - Auxiliary Mode.....187NOperating Instructions - Hands Free Phone Ð
If Equipped.........................188
NOperating Instructions - Satellite Radio Ð
If Equipped.........................188
mSales Code RAK ± AM/FM/Cassette/CD (6-Disc)
Radio With Optional Satellite Radio, Hands Free
Phone, Video, MP3, And WMA Capabilities....188
NOperating Instructions - Radio Mode.......189
NOperating Instructions Ð Tape Player.......193
NSeek Button.........................193
NFast Forward (FF).....................193
NRewind (RW)........................193
NTape Eject...........................193
NScan Button.........................194
152 UNDERSTANDING YOUR INSTRUMENT PANEL
Page 154 of 373
NChanging Tape Direction................194
NMetal Tape Selection...................194
NPinch Roller Release...................194
NNoise Reduction......................194
NOperation Instructions - (CD Mode For CD
Audio Play).........................194
NLoad/Eject Button (CD Mode For CD Audio
Play)..............................195
NNotes On Playing MP3 Files.............197
NOperation Instructions - (CD Mode For MP3
And WMA Audio Play).................200
NLoad/Eject Button (CD Mode For MP3 And
WMA Play).........................200
mSales Code REC Ð AM/FM/CD (6±Disc) Radio
With Navigation System..................202NOperating Instructions Ð Satellite Radio
(If Equipped)........................203
NREC Setting The Clock.................203
mSatellite Radio Ð If Equipped..............205
NSystem Activation.....................205
NElectronic Serial Number/Sirius Identification
Number (ESN/SID)....................206
NSelecting Satellite Mode In REF, And RAQ,
Radios.............................206
NSelecting a Channel....................207
NStoring And Selecting Pre-Set Channels......207
NUsing The PTY (Program Type) Button
(If Equipped)........................208
NPTY Button9Scan9.....................208
UNDERSTANDING YOUR INSTRUMENT PANEL 153
4
Page 155 of 373
NPTY Button9Seek9.....................208
NSatellite Antenna......................208
NReception Quality.....................209
mRemote Sound System Controls Ð If Equipped . . 209
NRadio Operation......................210
NCD Player..........................210mCD/DVD Disc Maintenance...............211
mRadio Operation And Cellular Phones........211
mTurbo Boost Gauge.....................212
mClimate Controls.......................213
NClimate Controls......................213
NAir Filtration System ± If Equipped........217
NOperating Tips.......................218
154 UNDERSTANDING YOUR INSTRUMENT PANEL
Page 156 of 373
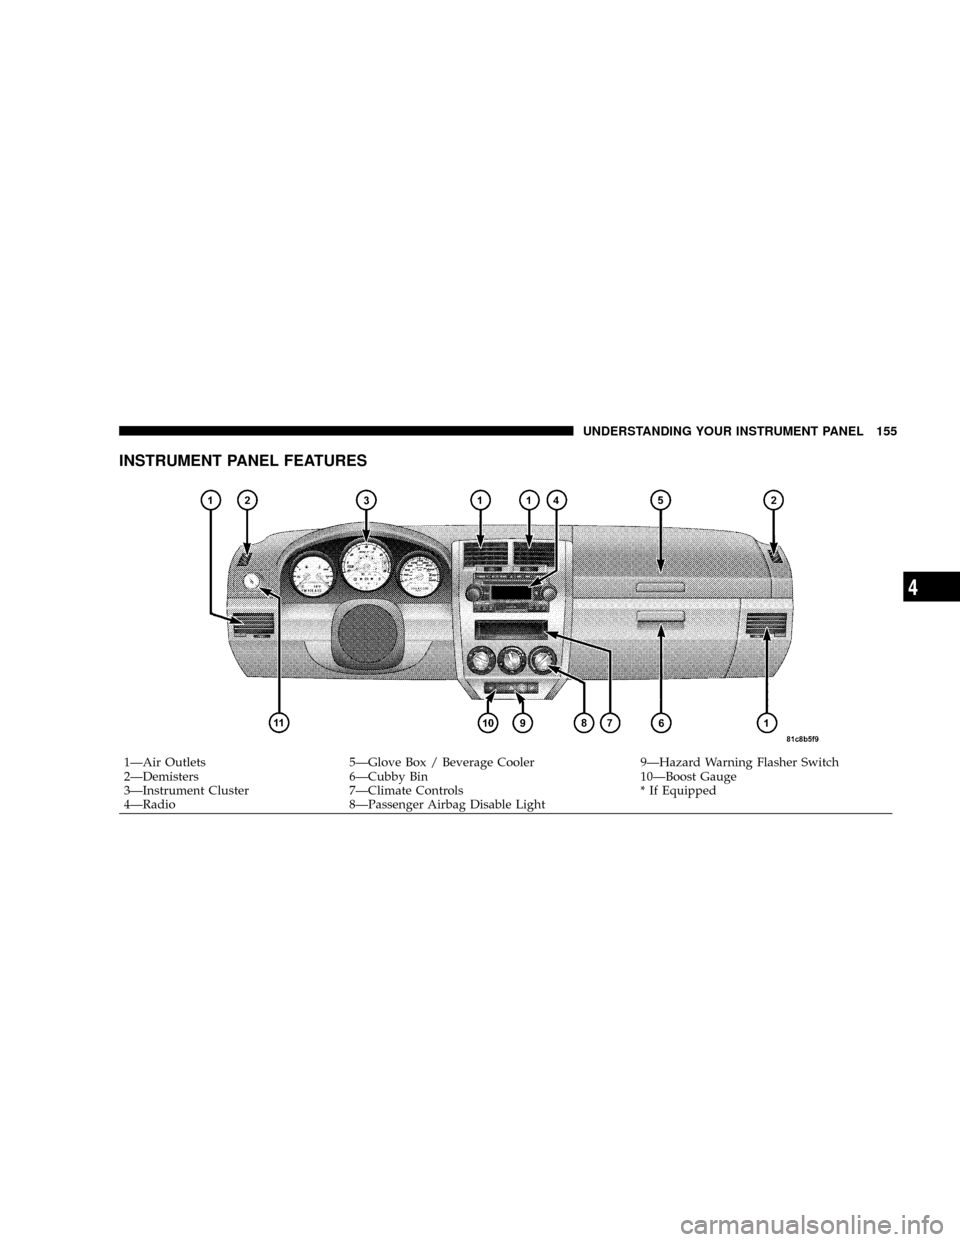
INSTRUMENT PANEL FEATURES
1ÐAir Outlets 5ÐGlove Box / Beverage Cooler 9ÐHazard Warning Flasher Switch
2ÐDemisters 6ÐCubby Bin 10ÐBoost Gauge
3ÐInstrument Cluster 7ÐClimate Controls * If Equipped
4ÐRadio 8ÐPassenger Airbag Disable LightUNDERSTANDING YOUR INSTRUMENT PANEL 155
4
Page 157 of 373
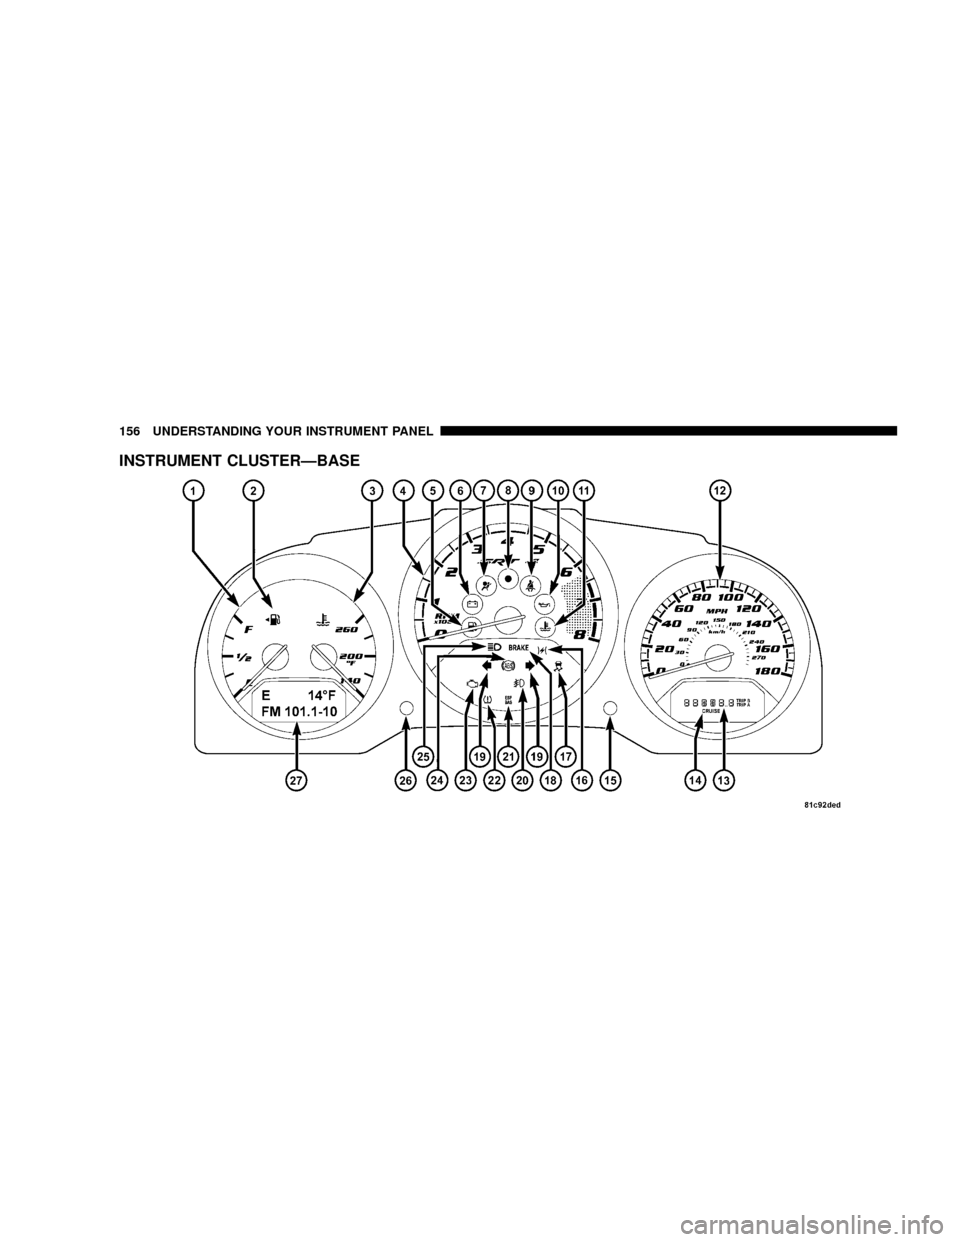
INSTRUMENT CLUSTERÐBASE
156 UNDERSTANDING YOUR INSTRUMENT PANEL
Page 158 of 373
INSTRUMENT CLUSTER DESCRIPTIONS
1. Fuel Gauge
When the ignition switch is in the ON position, the
pointer will show the level of fuel remaining in the
fuel tank.
2. Fuel Door Indicator
This indicates that the Fuel Filler Door is located on the
left side of the vehicle.
3. Temperature Gauge
The temperature gauge shows engine coolant tem-
perature. Any reading below thered(260É) area of
the gauge shows that the engine cooling system is
operating properly. The gauge pointer may show a
higher than normal temperature when driving in hot
weather, up mountain grades, or in heavy stop and go
traffic.If the pointer rises to theredmark (260É), the instrument
cluster will sound a chime. Pull over and stop the vehicle.
Idle the vehicle with the air conditioner turned off until
the pointer drops back into the normal range. If the
pointer remains on theredmark (260É), turn the engine
off immediately and call for service.
There are steps that you can take to slow down an
impending overheat condition. If your air conditioning is
on, turn it off. The air conditioning system adds heat to
the engine cooling system and turning off the A/C
removes this heat. You can also turn the Temperature
control to maximum heat, the Mode control to Floor and
the Fan control to High. This allows the heater core to act
as a supplement to the radiator and aids in removing heat
from the engine cooling system.
UNDERSTANDING YOUR INSTRUMENT PANEL 157
4
Page 159 of 373
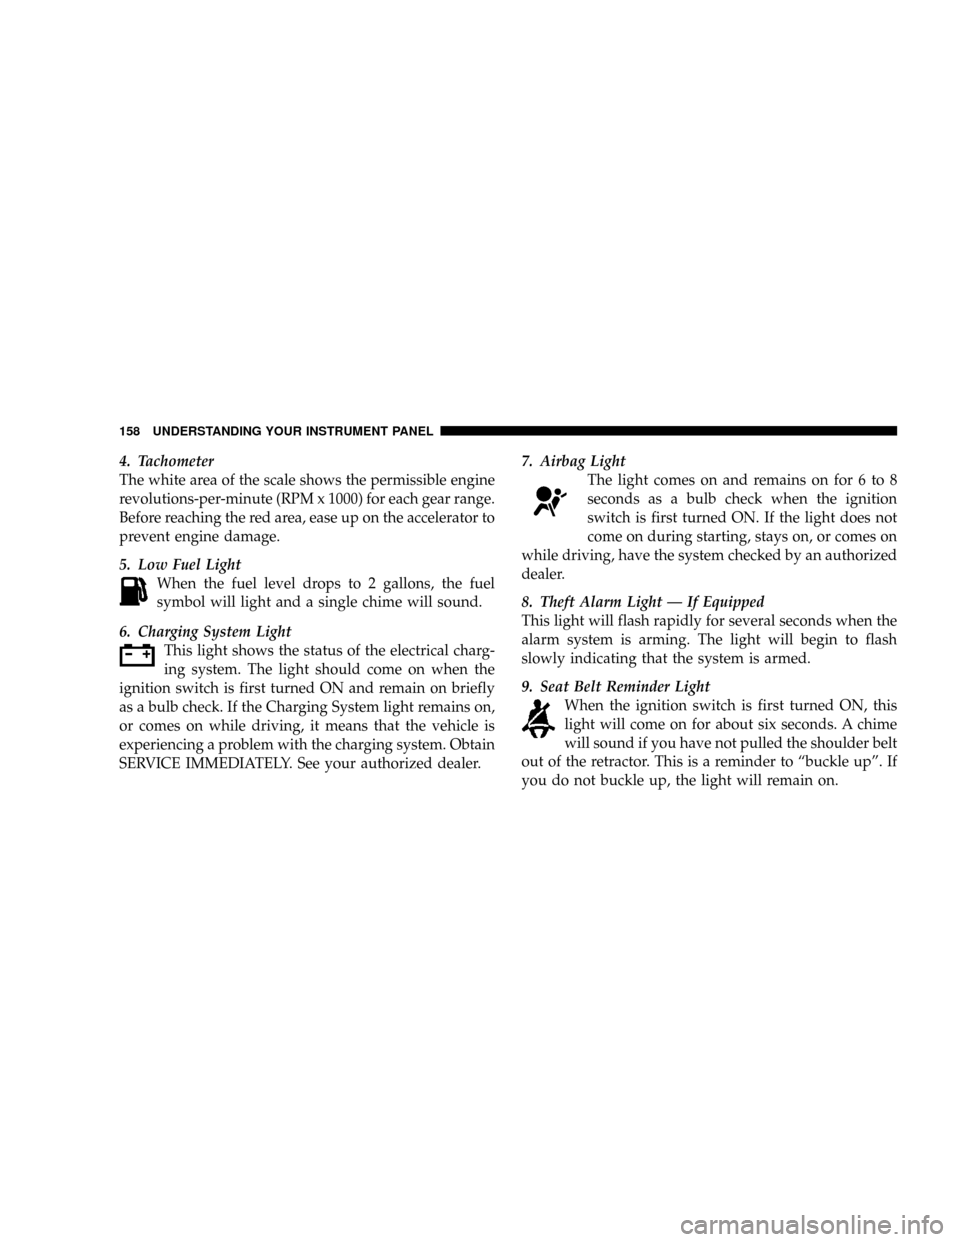
4. Tachometer
The white area of the scale shows the permissible engine
revolutions-per-minute (RPM x 1000) for each gear range.
Before reaching the red area, ease up on the accelerator to
prevent engine damage.
5. Low Fuel Light
When the fuel level drops to 2 gallons, the fuel
symbol will light and a single chime will sound.
6. Charging System Light
This light shows the status of the electrical charg-
ing system. The light should come on when the
ignition switch is first turned ON and remain on briefly
as a bulb check. If the Charging System light remains on,
or comes on while driving, it means that the vehicle is
experiencing a problem with the charging system. Obtain
SERVICE IMMEDIATELY. See your authorized dealer.7. Airbag Light
The light comes on and remains on for 6 to 8
seconds as a bulb check when the ignition
switch is first turned ON. If the light does not
come on during starting, stays on, or comes on
while driving, have the system checked by an authorized
dealer.
8. Theft Alarm Light Ð If Equipped
This light will flash rapidly for several seconds when the
alarm system is arming. The light will begin to flash
slowly indicating that the system is armed.
9. Seat Belt Reminder Light
When the ignition switch is first turned ON, this
light will come on for about six seconds. A chime
will sound if you have not pulled the shoulder belt
out of the retractor. This is a reminder to ªbuckle upº. If
you do not buckle up, the light will remain on.
158 UNDERSTANDING YOUR INSTRUMENT PANEL
Page 160 of 373
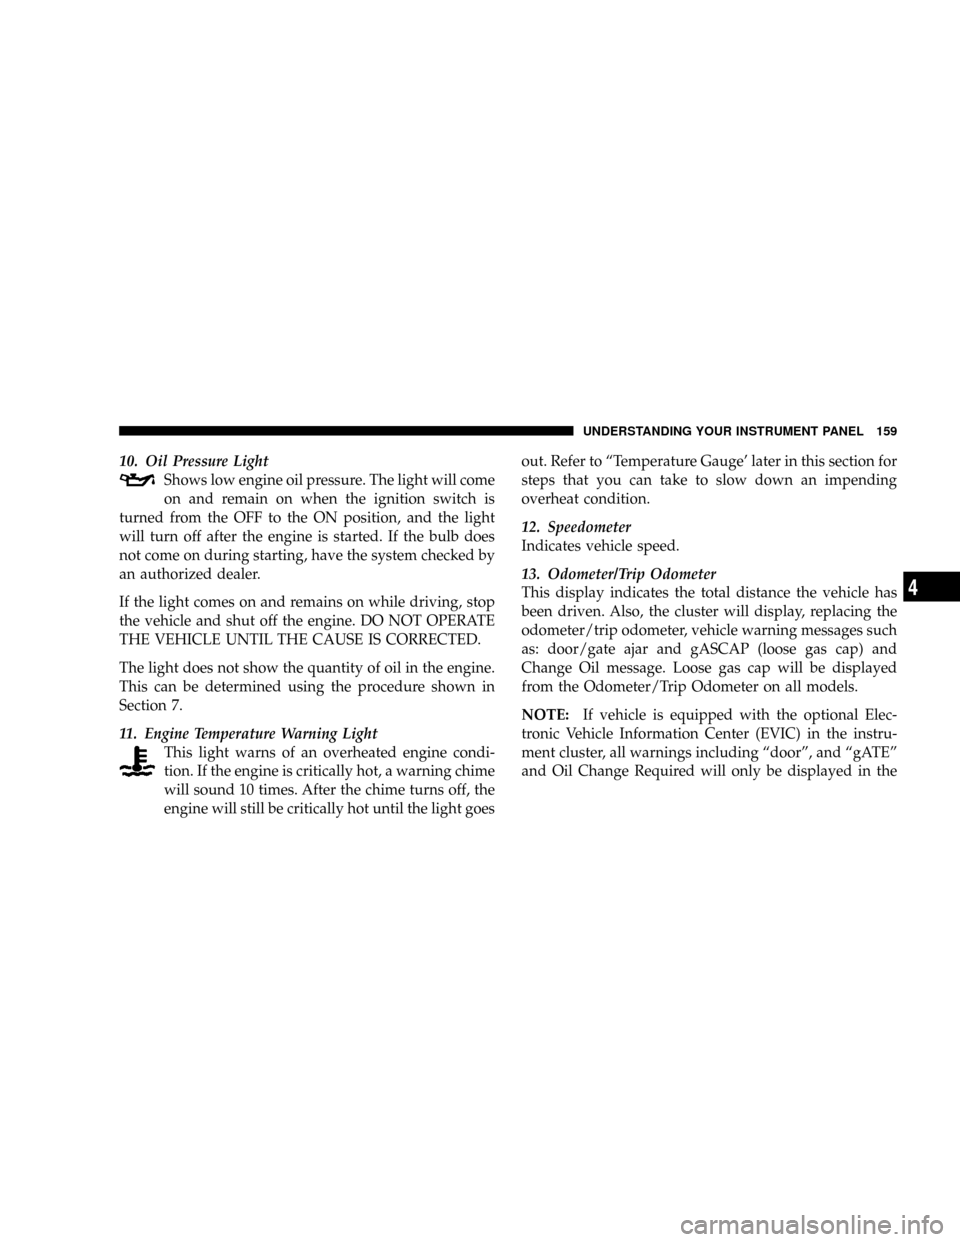
10. Oil Pressure Light
Shows low engine oil pressure. The light will come
on and remain on when the ignition switch is
turned from the OFF to the ON position, and the light
will turn off after the engine is started. If the bulb does
not come on during starting, have the system checked by
an authorized dealer.
If the light comes on and remains on while driving, stop
the vehicle and shut off the engine. DO NOT OPERATE
THE VEHICLE UNTIL THE CAUSE IS CORRECTED.
The light does not show the quantity of oil in the engine.
This can be determined using the procedure shown in
Section 7.
11. Engine Temperature Warning Light
This light warns of an overheated engine condi-
tion. If the engine is critically hot, a warning chime
will sound 10 times. After the chime turns off, the
engine will still be critically hot until the light goesout. Refer to ªTemperature Gauge' later in this section for
steps that you can take to slow down an impending
overheat condition.
12. Speedometer
Indicates vehicle speed.
13. Odometer/Trip Odometer
This display indicates the total distance the vehicle has
been driven. Also, the cluster will display, replacing the
odometer/trip odometer, vehicle warning messages such
as: door/gate ajar and gASCAP (loose gas cap) and
Change Oil message. Loose gas cap will be displayed
from the Odometer/Trip Odometer on all models.
NOTE:If vehicle is equipped with the optional Elec-
tronic Vehicle Information Center (EVIC) in the instru-
ment cluster, all warnings including ªdoorº, and ªgATEº
and Oil Change Required will only be displayed in the
UNDERSTANDING YOUR INSTRUMENT PANEL 159
4