remote start DODGE CHALLENGER 2013 3.G Owner's Manual
[x] Cancel search | Manufacturer: DODGE, Model Year: 2013, Model line: CHALLENGER, Model: DODGE CHALLENGER 2013 3.GPages: 543, PDF Size: 3.04 MB
Page 241 of 543
off if they were turned on by this feature. To make your
selection, press and release the SELECT button until
“ON” or “OFF” appears.
NOTE:Turning the headlights on during the daytime
causes the instrument panel lights to dim. To increase the
brightness, refer to “Lights” in “Understanding The
Features Of Your Vehicle.”
Delay Turning Headlights Off
When this feature is selected, the driver can choose to
have the headlights remain on for 0, 30, 60, or 90 seconds
when exiting the vehicle. To make your selection, press
and release the SELECT button until “0,” “30,” “60,” or
“90” appears.
Hill Start Assist (HSA) — If Equipped
When on is selected, the HSA system is active. Refer to
“Electronic Brake Control System” in “Starting And Operating” for system function and operating informa-
tion. To make your selection, press and release the
SELECT button until “ON” or “OFF” appears.
Turn Headlights On with Remote Key Unlock
When this feature is selected, the headlights will activate
and remain on for up to 90 seconds when the doors are
unlocked with the RKE transmitter. To make your selec-
tion, press and release the SELECT button until “OFF,”
“30 sec.,” “60 sec.,” or “90 sec.” appears.
Delay Power Off to Accessories Until Exit
When this feature is selected, the power window
switches, radio, Uconnect® phone (if equipped), power
sunroof (if equipped), and ignition-powered power out-
lets will remain active for up to 60 minutes after the
ignition switch is turned OFF. Opening either front
vehicle door will cancel this feature. To make your
4
UNDERSTANDING YOUR INSTRUMENT PANEL 239
Page 298 of 543
Using Fob With Integrated Key (Tip Start)
NOTE:Normal starting of either a cold or a warm
engine is obtained without pumping or pressing the
accelerator pedal.
Do not press the accelerator. Use the Fob with Integrated
Key to briefly turn the ignition switch to the START
position and release it as soon as the starter engages. The
starter motor will continue to run, and it will disengage
automatically when the engine is running. If the engine
fails to start, the starter will disengage automatically in
10 seconds. If this occurs, turn the ignition switch to the
LOCK position, wait 10 to 15 seconds, then repeat the
“Normal Starting” procedure.
Keyless Enter-N-Go™ – If Equipped
This feature allows the driver to oper-
ate the ignition switch with the push
of a button, as long as the ENGINE
START/STOP button is installed and
the Remote Start/Keyless Enter-N-
Go™ FOBIK is in the passenger com-
partment.
Installing And Removing The ENGINE
START/STOP Button
Installing The Button
1. Remove the key fob from the ignition switch.
2. Insert
the ENGINE START/STOP button into the igni-
tion switch with the lettering facing up and readable.
3. Press firmly on the center of the button to secure it into position.
296 STARTING AND OPERATING
Page 430 of 543
NOTE:When using a portable battery booster pack
follow the manufacturer ’s operating instructions and
precautions.
CAUTION!
Do not use a portable battery booster pack or any
other booster source with a system voltage greater
than 12 Volts or damage to the battery, starter motor,
alternator or electrical system may occur.
WARNING!
Do not attempt jump-starting if the battery is frozen.
It could rupture or explode and cause personal injury.
Preparations For Jump-Start
The battery is stored under an access cover in the trunk.
Remote battery posts are located on the right side of the
engine compartment for jump-starting.
Remote Battery Posts
1 — Remote Positive (+)Post
2 — Remote Negative (-)Post
428 WHAT TO DO IN EMERGENCIES
Page 432 of 543
Jump-Starting Procedure
WARNING!
Failure to follow this procedure could result in per-
sonal injury or property damage due to battery ex-
plosion.
CAUTION!
Failure to follow these procedures could result in
damage to the charging system of the booster vehicle
or the discharged vehicle.
1. Connect the positive (+)end of the jumper cable to the
remote positive (+)post of the discharged vehicle.
2. Connect the opposite end of the positive (+)jumper
cable to the positive (+)post of the booster battery. 3. Connect the negative end
(-)of the jumper cable to the
negative (-)post of the booster battery.
4. Connect the opposite end of the negative (-)jumper
cable to the remote negative (-)post of the vehicle with
the discharged battery.
WARNING!
Do not connect the cable to the negative post (-) of the
discharged battery. The resulting electrical spark
could cause the battery to explode and could result in
personal injury.
5. Start the engine in the vehicle that has the booster battery, let the engine idle a few minutes, and then
start the engine in the vehicle with the discharged
battery.
430 WHAT TO DO IN EMERGENCIES
Page 433 of 543
Once the engine is started, remove the jumper cables in
the reverse sequence:
6. Disconnect the negative(-)jumper cable from the
remote negative (-)post of the vehicle with the dis-
charged battery.
7. Disconnect the negative end (-)of the jumper cable
from the negative (-)post of the booster battery.
8. Disconnect the opposite end of the positive (+)jumper
cable from the positive (+)post of the booster battery.
9. Disconnect the positive (+)end of the jumper cable
from the remote positive (+)post of the discharged
vehicle. If frequent jump-starting is required to start your vehicle
you should have the battery and charging system in-
spected at your authorized dealer.
CAUTION!
Accessories plugged into the vehicle power outlets
draw power from the vehicle’s battery, even when not
in use (i.e., cellular phones, etc.). Eventually, if
plugged in long enough without engine operation,
the vehicle’s battery will discharge sufficiently to
degrade battery life and/or prevent the engine from
starting.
6
WHAT TO DO IN EMERGENCIES 431
Page 444 of 543
ENGINE COMPARTMENT — 3.6L
1 — Integrated Power Module (Fuses)5 — Air Cleaner Filter
2 — Engine Oil Dipstick 6 — Engine Oil Fill
3 — Brake Fluid Reservoir Access Cover 7 — Remote Jump Start (Positive Battery Post)
4 — Engine Coolant Reservoir 8 — Washer Fluid Reservoir
442 MAINTAINING YOUR VEHICLE
Page 445 of 543
ENGINE COMPARTMENT — 5.7L
1 — Integrated Power Module (Fuses)5 — Engine Oil Fill
2 — Brake Fluid Reservoir Access Cover 6 — Engine Oil Dipstick
3 — Engine Coolant Reservoir 7 — Remote Jump Start (Positive Battery Post)
4 — Air Cleaner Filter 8 — Washer Fluid Reservoir
7
MAINTAINING YOUR VEHICLE 443
Page 455 of 543
Engine Air Cleaner Filter
Refer to the “Maintenance Schedule” for the proper
maintenance intervals.
WARNING!
The air induction system (air cleaner, hoses, etc.) can
provide a measure of protection in the case of engine
backfire. Do not remove the air induction system (air
cleaner, hoses, etc.) unless such removal is necessary
for repair or maintenance. Make sure that no one is
near the engine compartment before starting the
vehicle with the air induction system (air cleaner,
hoses, etc.) removed. Failure to do so can result in
serious personal injury.
Engine Air Cleaner Filter Selection
The quality of replacement engine air cleaner filters
varies considerably. Only high quality filters should be
used to assure most efficient service. MOPAR® engine air
cleaner filters are a high quality filter and are recom-
mended.
Maintenance-Free Battery
Your vehicle is equipped with a maintenance-free battery.
You will never have to add water, nor is periodic main-
tenance required.
NOTE:The battery is stored under an access cover in the
trunk. Remote battery terminals are located in the engine
compartment for jump-starting. Refer to “Jump-Starting
Procedures” in “What To Do In Emergencies” for further
information.
7
MAINTAINING YOUR VEHICLE 453
Page 526 of 543
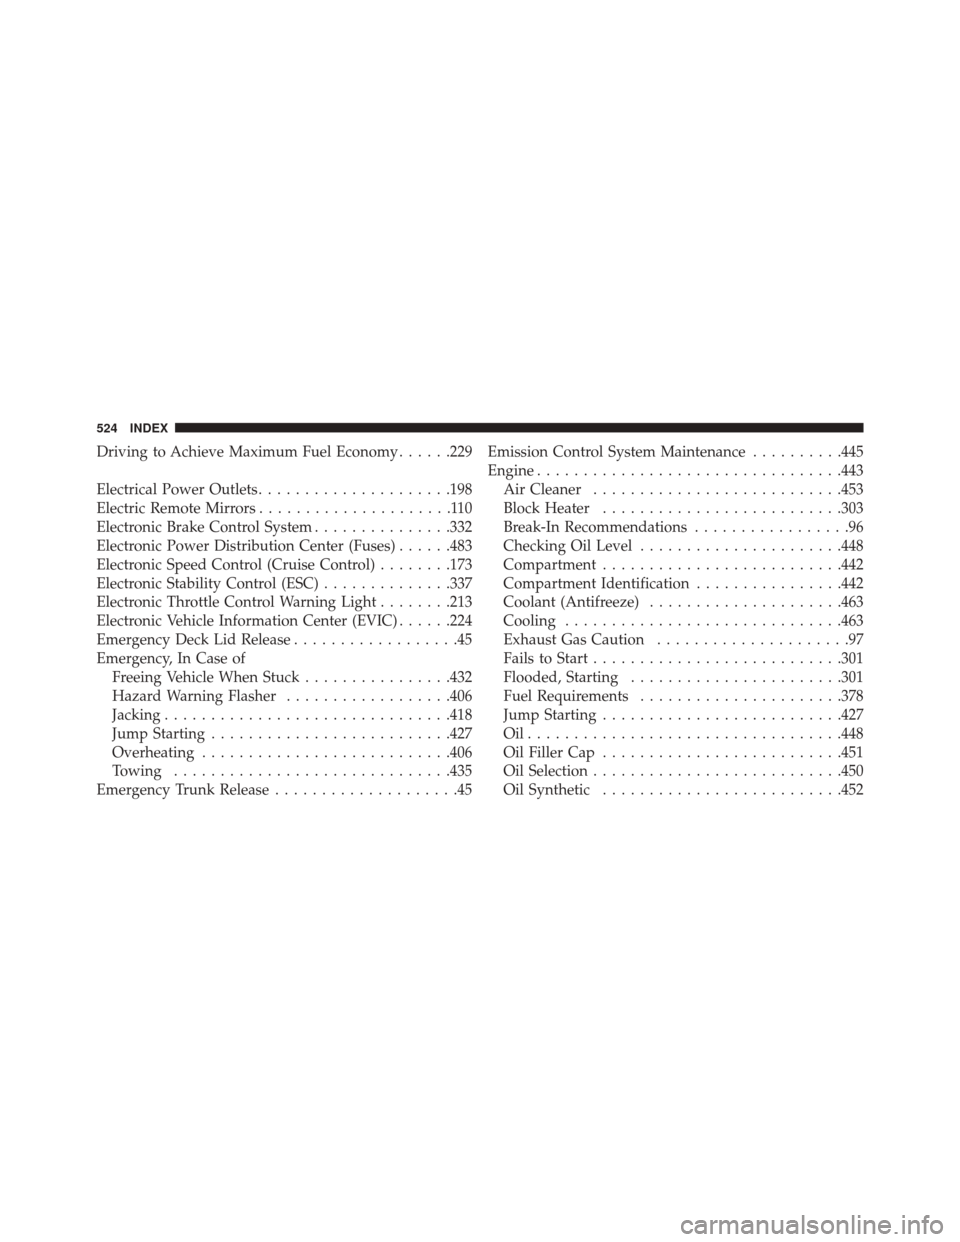
Driving to Achieve Maximum Fuel Economy......229
Electrical Power Outlets .....................198
Electric Remote Mirrors .....................110
Electronic Brake Control System ...............332
Electronic Power Distribution Center (Fuses) ......483
Electronic Speed Control (Cruise Control) ........173
Electronic Stability Control (ESC) ..............337
Electronic Throttle Control Warning Light ........213
Electronic Vehicle Information Center (EVIC) ......224
Emergency Deck Lid Release ..................45
Emergency, In Case of Freeing Vehicle When Stuck ................432
Hazard Warning Flasher ..................406
Jacking .............................. .418
Jump Starting ......................... .427
Overheating .......................... .406
Towing ............................. .435
Emergency Trunk Release ....................45 Emission Control System Maintenance
..........445
Engine ................................ .443
Air Cleaner .......................... .453
Block Heater ......................... .303
Break-In Recommendations .................96
Checking Oil Level ..................... .448
Compartment ......................... .442
Compartment Identification ................442
Coolant (Antifreeze) .....................463
Cooling ............................. .463
Exhaust Gas Caution .....................97
Fails to Start .......................... .301
Flooded, Starting ...................... .301
Fuel Requirements ..................... .378
Jump Starting ......................... .427
Oil................................. .448
Oil Filler Cap ......................... .451
Oil Selection .......................... .450
Oil Synthetic ......................... .452
524 INDEX
Page 535 of 543
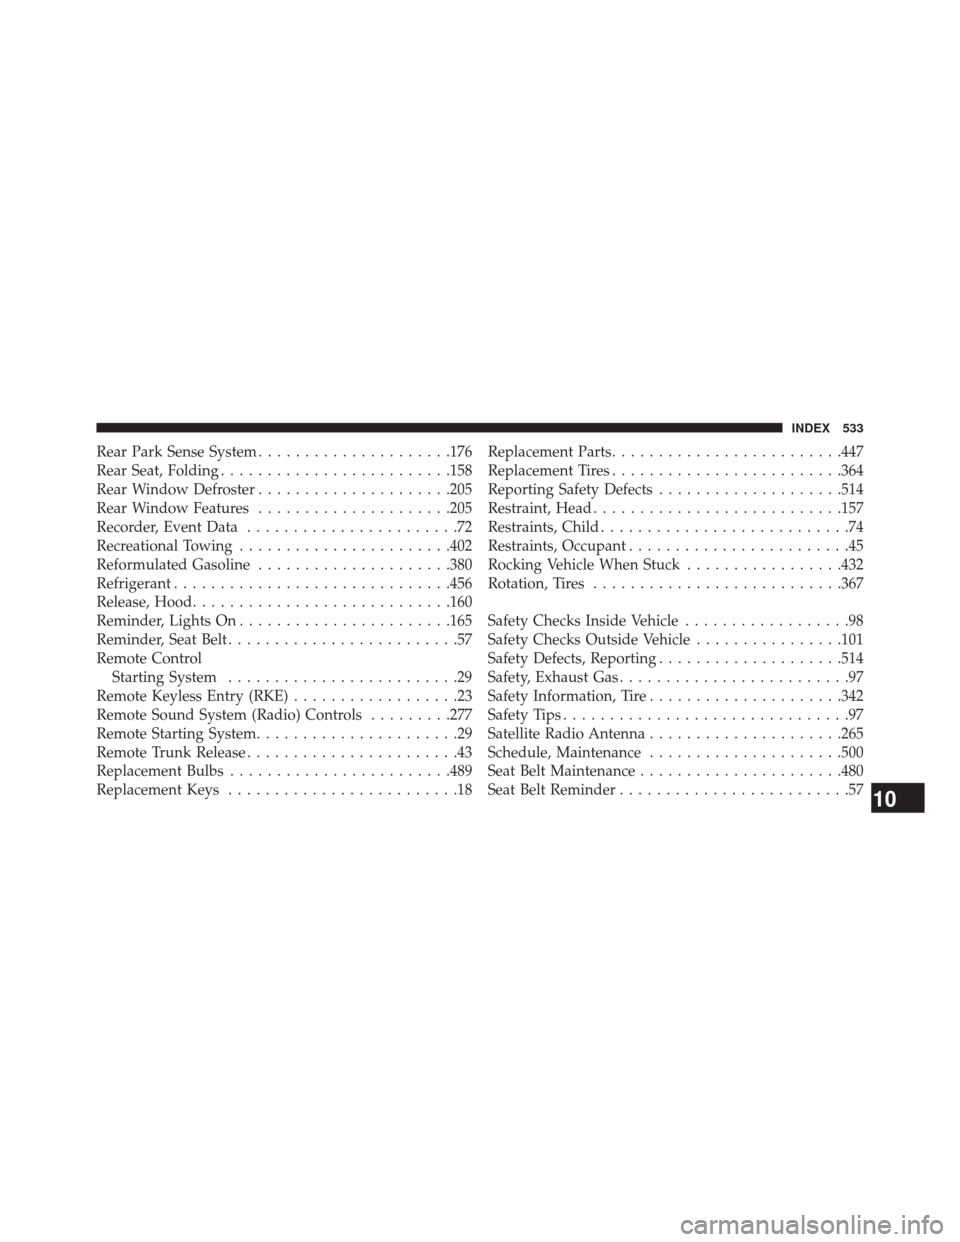
Rear Park Sense System.....................176
Rear Seat, Folding ........................ .158
Rear Window Defroster .....................205
Rear Window Features .....................205
Recorder, Event Data .......................72
Recreational Towing ...................... .402
Reformulated Gasoline .....................380
Refrigerant ............................. .456
Release, Hood ........................... .160
Reminder, Lights On ...................... .165
Reminder, Seat Belt .........................57
Remote Control Starting System .........................29
Remote Keyless Entry (RKE) ..................23
Remote Sound System (Radio) Controls .........277
Remote Starting System ......................29
Remote Trunk Release .......................43
Replacement Bulbs ....................... .489
Replacement Keys .........................18 Replacement Parts
........................ .447
Replacement Tires ........................ .364
Reporting Safety Defects ....................514
Restraint, Head .......................... .157
Restraints, Child ...........................74
Restraints, Occupant ........................45
Rocking Vehicle When Stuck .................432
Rotation, Tires .......................... .367
Safety Checks Inside Vehicle ..................98
Safety Checks Outside Vehicle ................101
Safety Defects, Reporting ....................514
Safety, Exhaust Gas .........................97
Safety Information, Tire .....................342
Safety Tips ...............................97
Satellite Radio Antenna .....................265
Schedule, Maintenance .....................500
Seat Belt Maintenance ..................... .480
Seat Belt Reminder .........................57
10
INDEX 533