park assist DODGE CHALLENGER 2015 3.G Owners Manual
[x] Cancel search | Manufacturer: DODGE, Model Year: 2015, Model line: CHALLENGER, Model: DODGE CHALLENGER 2015 3.GPages: 603, PDF Size: 14.97 MB
Page 104 of 603
▫To Vary The Speed Setting...............165
▫Setting The Following Distance In ACC......167
▫Overtake Aid........................171
▫Adaptive Cruise Control (ACC) Menu.......172
▫Display Warnings And Maintenance........173
▫Precautions While Driving With ACC.......175
▫General Information....................179
▫Normal (Fixed Speed) Electronic Speed Control
Mode..............................179
!FORWARD COLLISION WARNING (FCW) — IF
EQUIPPED...........................183
▫Forward Collision Warning (FCW) Operation . .183
▫Turning FCW ON Or OFF...............184
▫Changing FCW Status..................185
▫Service FCW Warning..................186
!PARKSENSE® REAR PARK ASSIST — IF
EQUIPPED...........................186
▫ParkSense® Sensors....................186
▫ParkSense® Warning Display.............187
▫ParkSense® Display....................187
▫Enabling And Disabling ParkSense®........192
▫Service The ParkSense® Rear Park Assist
System.............................192
▫Cleaning The ParkSense® System..........193
▫ParkSense® System Usage Precautions.......193
!PARKVIEW® REAR BACK UP CAMERA — IF
EQUIPPED...........................195
!OVERHEAD CONSOLE..................198
102 UNDERSTANDING THE FEATURES OF YOUR VEHICLE
Page 188 of 603
Service FCW Warning
If the system turns off, and the DID displays:
•ACC/FCW Unavailable Service Required
•Cruise/FCW Unavailable Service Required
This indicates there is an internal system fault. Although
the vehicle is still drivable under normal conditions, have
the system checked by an authorized dealer.
PARKSENSE® REAR PARK ASSIST — IF
EQUIPPED
The ParkSense® Rear Park Assist system provides visual
and audible indications of the distance between the rear
fascia and a detected obstacle when backing up, e.g.
during a parking maneuver. Refer to “ParkSense® Sys-
tem Usage Precautions” in this section for limitations of
this system and recommendations.
ParkSense® will retain the last system state (enabled or
disabled) from the last ignition cycle when the ignition is
changed to the ON/RUN position.
ParkSense® can be active only when the shift lever is in
REVERSE. If ParkSense® is enabled at this shift lever
position, the system will remain active until the vehicle
speed is increased to approximately 7 mph (11 km/h) or
above. The system will become active again if the vehicle
speed is decreased to speeds less than approximately
6 mph (9 km/h).
ParkSense® Sensors
The four ParkSense® sensors, located in the rear fascia/
bumper, monitor the area behind the vehicle that is
within the sensors’ field of view. The sensors can detect
obstacles from approximately 12 in (30 cm) up to 79 in
(200 cm) from the rear fascia/bumper in the horizontal
direction, depending on the location, type and orienta-
tion of the obstacle.
186 UNDERSTANDING THE FEATURES OF YOUR VEHICLE
Page 194 of 603
Enabling And Disabling ParkSense®
ParkSense® can be enabled and disabled with the
ParkSense® switch, located on the switch panel below
the Uconnect® display.
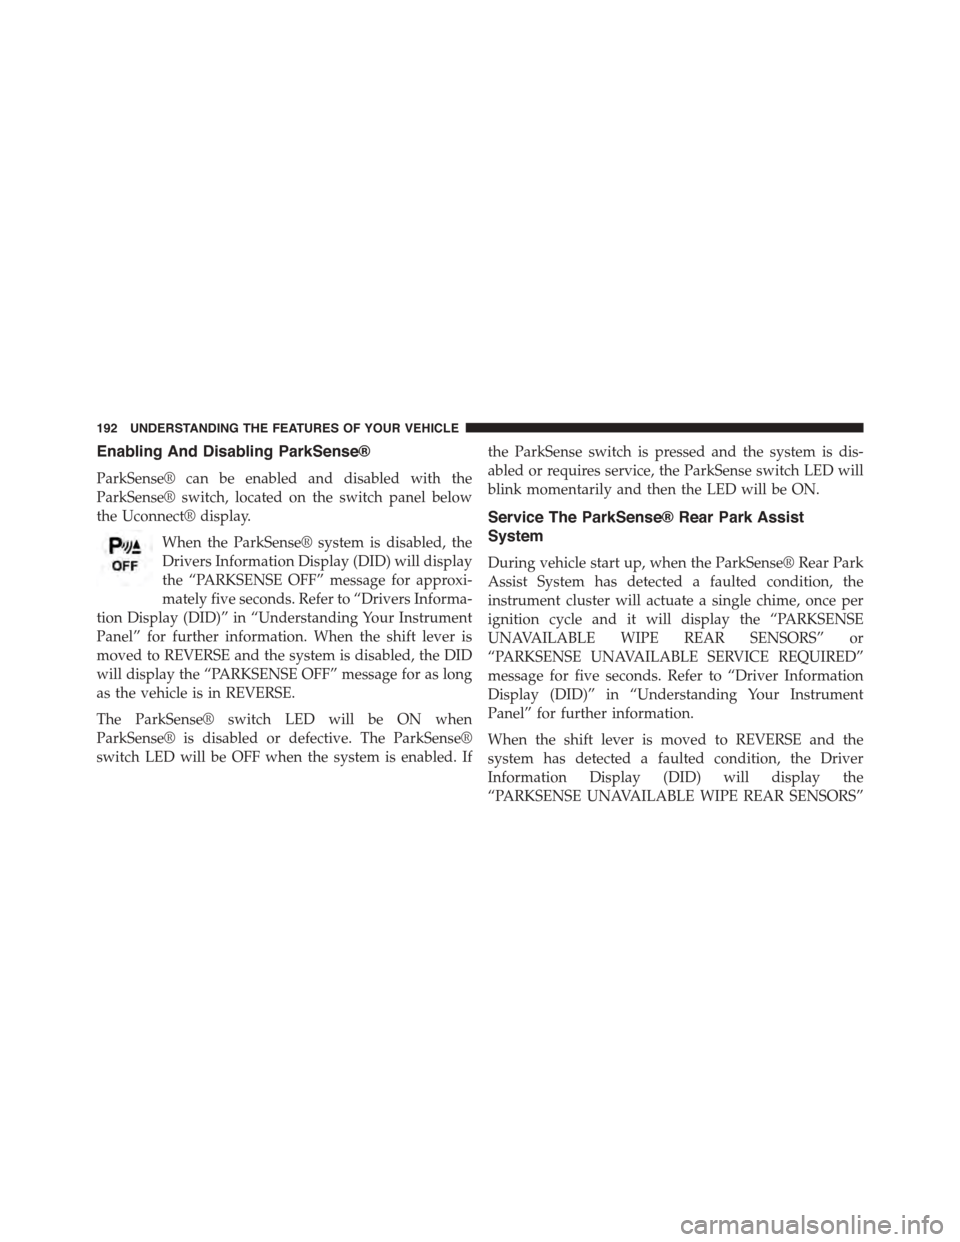
When the ParkSense® system is disabled, the
Drivers Information Display (DID) will display
the “PARKSENSE OFF” message for approxi-
mately five seconds. Refer to “Drivers Informa-
tion Display (DID)” in “Understanding Your Instrument
Panel” for further information. When the shift lever is
moved to REVERSE and the system is disabled, the DID
will display the “PARKSENSE OFF” message for as long
as the vehicle is in REVERSE.
The ParkSense® switch LED will be ON when
ParkSense® is disabled or defective. The ParkSense®
switch LED will be OFF when the system is enabled. If
the ParkSense switch is pressed and the system is dis-
abled or requires service, the ParkSense switch LED will
blink momentarily and then the LED will be ON.
Service The ParkSense® Rear Park Assist
System
During vehicle start up, when the ParkSense® Rear Park
Assist System has detected a faulted condition, the
instrument cluster will actuate a single chime, once per
ignition cycle and it will display the “PARKSENSE
UNAVAILABLE WIPE REAR SENSORS” or
“PARKSENSE UNAVAILABLE SERVICE REQUIRED”
message for five seconds. Refer to “Driver Information
Display (DID)” in “Understanding Your Instrument
Panel” for further information.
When the shift lever is moved to REVERSE and the
system has detected a faulted condition, the Driver
Information Display (DID) will display the
“PARKSENSE UNAVAILABLE WIPE REAR SENSORS”
192 UNDERSTANDING THE FEATURES OF YOUR VEHICLE
Page 197 of 603
WARNING!
Drivers must be careful when backing up even when
using the Rear Park Assist system. Always check
carefully behind your vehicle, and be sure to check
for pedestrians, animals, other vehicles, obstructions,
or blind spots before backing up. You are responsible
for the safety of your surroundings and must con-
tinue to pay attention while backing up. Failure to do
so can result in serious injury or death.
PARKVIEW® REAR BACK UP CAMERA — IF
EQUIPPED
Your vehicle may be equipped with the ParkView® Rear
Back Up Camera that allows you to see an on-screen
image of the rear surroundings of your vehicle whenever
the shift lever is put into REVERSE. The ParkView®
camera is located on the rear of the vehicle above the rear
License plate. The image will be displayed in the touch-
screen display along with a caution note to “check entire
surroundings” across the top of the screen. After five
seconds this note will disappear.
When the vehicle is shifted out of REVERSE, the rear
camera mode is exited and the last selected touchscreen
appears again.
If your vehicle is equipped with the Camera Delay
feature and it is turned ON, the rear camera image will be
displayed for up to 10 seconds when the vehicle is shifted
out of REVERSE unless the forward vehicle speed ex-
ceeds 8 mph (13 km/h), the transmission is shifted into
#PARK#or the vehicle’s ignition is cycled to the OFF
position.
3
UNDERSTANDING THE FEATURES OF YOUR VEHICLE 195
Page 202 of 603
Before You Begin Programming HomeLink®
Be sure that your vehicle is parked outside of the garage
before you begin programming.
For more efficient programming and accurate transmis-
sion of the radio-frequency signal it is recommended that
a new battery be placed in the hand-held transmitter of
the device that is being programmed to the HomeLink®
system.
To erase the channels place the ignition in the ON/RUN
position and push and hold the two outside HomeLink®
buttons (I and III) for up 20 seconds or until the red
indicator flashes.
NOTE:
•Erasing all channels should only be performed when
programming HomeLink® for the first time. Do not
erase channels when programming additional buttons.
•If you have any problems, or require assistance, please
call toll-free 1-800-355-3515 or, on the Internet at
HomeLink.comfor information or assistance.
Programming A Rolling Code
For programming garage door openers that were manu-
factured after 1995. These garage door openers can be
identified by the “LEARN” or “TRAIN” button located
where the hanging antenna is attached to the garage door
opener. It is NOT the button that is normally used to
open and close the door. The name and color of the
button may vary by manufacturer.
200 UNDERSTANDING THE FEATURES OF YOUR VEHICLE
Page 260 of 603

status, press the “Off,” “Lights,” or “Lights & Chime”
button on the touchscreen. Then press the back arrow/
Done button on the touchscreen.
NOTE:If your vehicle has experienced any damage in
the area where the sensor is located, even if the fascia is
not damaged, the sensor may have become misaligned.
Take your vehicle to an authorized dealer to verify sensor
alignment. Having a sensor that is misaligned will result
in the BSM not operating to specification.
•ParkView® Backup Camera Active Guidelines
Your vehicle may be equipped with the ParkView® Rear
Back Up Camera Active Guidelines that allows you to see
active guidelines over the ParkView Back up camera
display whenever the shift lever/gear selector is put into
REVERSE. The image will be displayed on the radio
touchscreen display along with a caution note to “check
entire surroundings” across the top of the screen. After
five seconds, this note will disappear. To enable or
disable, press the “ParkView® Backup Camera Active
Guidelines” button on the touchscreen, and select “On”
or “Off.” Press the back arrow/Done button on the
touchscreen to return to the previous menu.
•ParkView® Backup Camera Delay
When the vehicle is shifted out of REVERSE (with camera
delay turned OFF), the rear camera mode is exited and
the navigation or audio screen appears again. When the
vehicle is shifted out of REVERSE (with camera delay
turned ON), the rear view image with dynamic grid lines
will be displayed for up to 10 seconds after shifting out of
“REVERSE” unless the forward vehicle speed exceeds
8 mph (12 km/h), the transmission is shifted into PARK
or the ignition is switched to the OFF position. To set the
ParkView® Backup Camera Delay press the “Controls”
button on the touchscreen, the “settings” button on the
touchscreen, then the “Safety & Assistance” button on the
258 UNDERSTANDING YOUR INSTRUMENT PANEL
Page 261 of 603
touchscreen. Press the “Parkview Backup camera Delay”
button on the touchscreen and select from “ON” or
“OFF.”
•Rain Sensing Auto Wipers
When this feature is selected, the system will automati-
cally activate the windshield wipers if it senses moisture
on the windshield. To enable or disable, press the “Rain
Sensing” button on the touchscreen, and select “On” or
“Off.” Press the back arrow/Done button on the touch-
screen to return to the previous menu.
•Hill Start Assist — If Equipped
When this feature is selected, the Hill Start Assist (HSA)
system is active. Refer to “Electronic Brake Control
System” in “Starting And Operating” for system function
and operating information. To enable or disable, press the
“Hill Start Assist” button on the touchscreen, and select
“On” or “Off.” Press the back arrow/Done button on the
touchscreen to return to the previous menu.
Lights
After pressing the “Lights” button on the touchscreen,
the following settings will be available:
•Headlight Off Delay
When this feature is selected, it allows the adjustment of
the amount of time the headlights remain on after the
engine is shut off. To change the Headlight Off Delay
setting, press the “Headlight Off Delay” button on the
touchscreen and choose either “0,” “30,” “60,” or “90”
buttons on the touchscreen to select your desired time
interval. Press the back arrow/Done button on the touch-
screen to return to the previous menu.
•Headlight Illumination On Approach
When this feature is selected, it allows the adjustment of
the amount of time the headlights remain on when the
doors are unlocked with the Remote Keyless Entry (RKE)
transmitter. To change the Illuminated Approach status,
4
UNDERSTANDING YOUR INSTRUMENT PANEL 259
Page 279 of 603
Assistance” button on the touchscreen. Press the
“Parkview Backup camera Delay” button on the touch-
screen to turn the ParkView® Delay ON or OFF.
•Rain Sensing Auto Wipers
When this feature is selected, the system will automati-
cally activate the windshield wipers if it senses moisture
on the windshield. To make your selection, press the
“Rain Sensing” button on the touchscreen, until a check-
mark appears next to setting, indicating that the setting
had been selected. Press the back arrow button on the
touchscreen to return to the previous menu.
•Hill Start Assist — If Equipped
When this feature is selected, the Hill Start Assist (HSA)
system is active. Refer to “Electronic Brake Control
System” in “Starting And Operating” for system function
and operating information. To make your selection, press
the “Hill Start Assist” button on the touchscreen, until a
check-mark appears next to setting, indicating that the
setting had been selected. Press the back arrow button on
the touchscreen to return to the previous menu.
Lights
After pressing the “Lights” button on the touchscreen the
following settings will be available.
•Headlight Off Delay
When this feature is selected, it allows adjustment of the
amount of time the headlights remain on after the engine
is shut off. To change the Headlights Off Delay setting,
press the “+” or “-” button on the touchscreen to select
your desired time interval, and choose either 0 sec, 30 sec,
60 sec or 90 seconds. Press the back arrow button on the
touchscreen to return to the previous menu, or push the
back button on the faceplate.
•Headlight Illumination On Approach
When this feature is selected, the headlights will activate
and remain on for 0, 30, 60, or 90 seconds when the doors
4
UNDERSTANDING YOUR INSTRUMENT PANEL 277
Page 346 of 603
▫Eight-Speed Automatic Transmission — If
Equipped...........................362
!AUTOSTICK®.........................369
▫Operation...........................369
!SPORT MODE — WITHOUT PERFORMANCE
CONTROL............................372
!DRIVING ON SLIPPERY SURFACES.........372
▫Acceleration.........................372
▫Traction............................373
!DRIVING THROUGH WATER.............373
▫Flowing/Rising Water..................374
▫Shallow Standing Water.................374
!ELECTRIC POWER STEERING.............376
!FUEL SAVER TECHNOLOGY 5.7L/6.4L ENGINES
ONLY — IF EQUIPPED..................377
!PARKING BRAKE......................377
▫Manual Transmission — If Equipped........378
▫Automatic Transmission — If Equipped......379
!BRAKE SYSTEM.......................381
!ELECTRONIC BRAKE CONTROL SYSTEM . . . .381
▫Anti-Lock Brake System (ABS)............382
▫Traction Control System (TCS)............384
▫Brake Assist System (BAS)...............385
▫Hill Start Assist (HSA).................385
▫Electronic Stability Control (ESC)..........386
▫ESC Activation/Malfunction Indicator Light And
ESC OFF Indicator Light................390
344 STARTING AND OPERATING
Page 357 of 603
MANUAL TRANSMISSION — IF EQUIPPED
Six-Speed Manual Transmission
WARNING!
You or others could be injured if you leave the
vehicle unattended without having the parking
brake fully applied. The parking brake should al-
ways be applied when the driver is not in the vehicle,
especially on an incline.
CAUTION!
•Never drive with your foot resting on the clutch
pedal, or try to hold the vehicle on a hill with the
clutch pedal partially engaged, as this will cause
abnormal wear on the clutch. Refer to “Electronic
Brake Control System/Hill Start Assist” in “Start-
ing And Operating” for further information.
•Failure to press the clutch pedal fully to the floor
may cause increased shift efforts, and may result in
damage to the clutch and transmission.
•Do not rest your hand on the shift lever while
driving, as this may result in transmission synchro-
nizer damage.
•Do not attempt to shift the transmission if the rear
wheels are spinning due to loss of traction. Dam-
age to the transmission may occur.
5
STARTING AND OPERATING 355