alternator DODGE CHARGER 2023 Owners Manual
[x] Cancel search | Manufacturer: DODGE, Model Year: 2023, Model line: CHARGER, Model: DODGE CHARGER 2023Pages: 292, PDF Size: 13.05 MB
Page 58 of 292

56GETTING TO KNOW YOUR VEHICLE
(Continued)
WINDOWS
POWER WINDOW CONTROLS
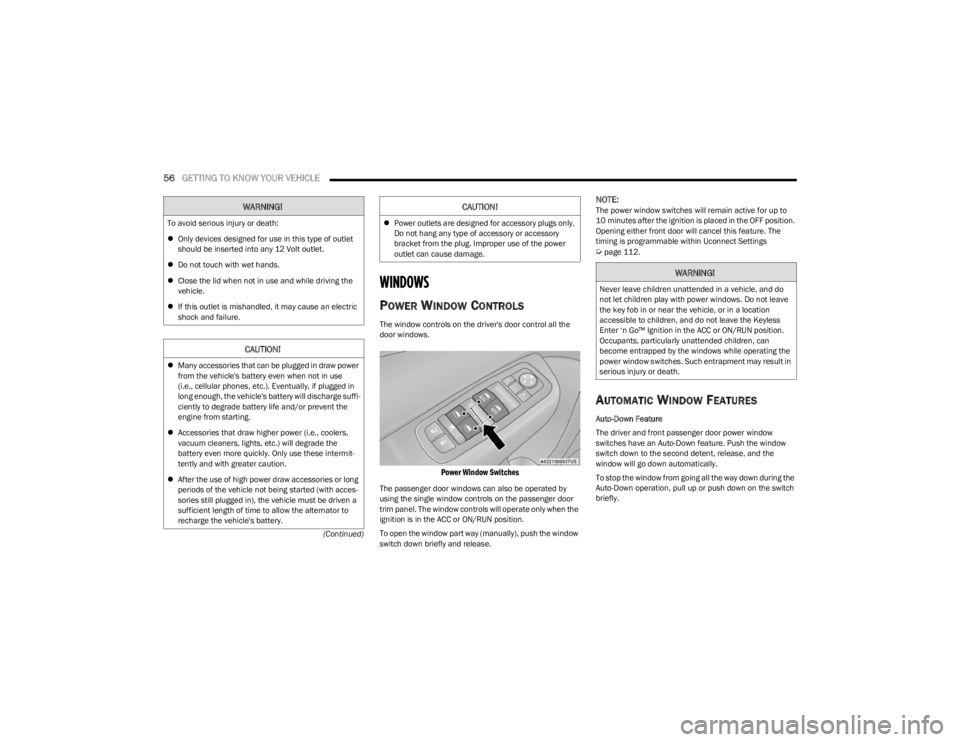
The window controls on the driver's door control all the
door windows.
Power Window Switches
The passenger door windows can also be operated by
using the single window controls on the passenger door
trim panel. The window controls will operate only when the
ignition is in the ACC or ON/RUN position.
To open the window part way (manually), push the window
switch down briefly and release.
NOTE:The power window switches will remain active for up to
10 minutes after the ignition is placed in the OFF position.
Opening either front door will cancel this feature. The
timing is programmable within Uconnect Settings
Úpage 112.
AUTOMATIC WINDOW FEATURES
Auto-Down Feature
The driver and front passenger door power window
switches have an Auto-Down feature. Push the window
switch down to the second detent, release, and the
window will go down automatically.
To stop the window from going all the way down during the
Auto-Down operation, pull up or push down on the switch
briefly.
WARNING!
To avoid serious injury or death:
Only devices designed for use in this type of outlet
should be inserted into any 12 Volt outlet.
Do not touch with wet hands.
Close the lid when not in use and while driving the
vehicle.
If this outlet is mishandled, it may cause an electric
shock and failure.
CAUTION!
Many accessories that can be plugged in draw power
from the vehicle's battery even when not in use
(i.e., cellular phones, etc.). Eventually, if plugged in
long enough, the vehicle's battery will discharge suffi -
ciently to degrade battery life and/or prevent the
engine from starting.
Accessories that draw higher power (i.e., coolers,
vacuum cleaners, lights, etc.) will degrade the
battery even more quickly. Only use these intermit -
tently and with greater caution.
After the use of high power draw accessories or long
periods of the vehicle not being started (with acces -
sories still plugged in), the vehicle must be driven a
sufficient length of time to allow the alternator to
recharge the vehicle's battery.
Power outlets are designed for accessory plugs only.
Do not hang any type of accessory or accessory
bracket from the plug. Improper use of the power
outlet can cause damage.
CAUTION!
WARNING!
Never leave children unattended in a vehicle, and do
not let children play with power windows. Do not leave
the key fob in or near the vehicle, or in a location
accessible to children, and do not leave the Keyless
Enter ‘n Go™ Ignition in the ACC or ON/RUN position.
Occupants, particularly unattended children, can
become entrapped by the windows while operating the
power window switches. Such entrapment may result in
serious injury or death.
23_LD_OM_EN_USC_t.book Page 56
Page 215 of 292

IN CASE OF EMERGENCY213
If the tire pressure is 19 psi (1.3 Bar) or higher:
1. Push the Power Button to turn on Tire Service Kit
and inflate the tire to the pressure indicated on the
tire and loading information label on the driver-side
door opening.
NOTE:If the tire becomes overinflated, push the Deflation Button
to reduce the tire pressure to the recommended inflation
pressure before continuing.
2. Disconnect the Tire Service Kit from the valve stem, reinstall the cap on the valve stem and unplug from
12 Volt outlet.
3. Place the Tire Service Kit in its proper storage area in the vehicle.
4. Have the tire inspected and repaired or replaced at the earliest opportunity at an authorized dealer or tire
service center.
5. Remove the Speed Limit sticker from the instrument panel after the tire has been repaired.
6. Replace the Sealant Bottle and Sealant Hose assembly at an authorized dealer as soon as
possible.
NOTE:When having the tire serviced, advise the authorized
dealer or service center that the tire has been sealed
using the Tire Service Kit.
(F) Sealant Bottle And Hose Replacement:
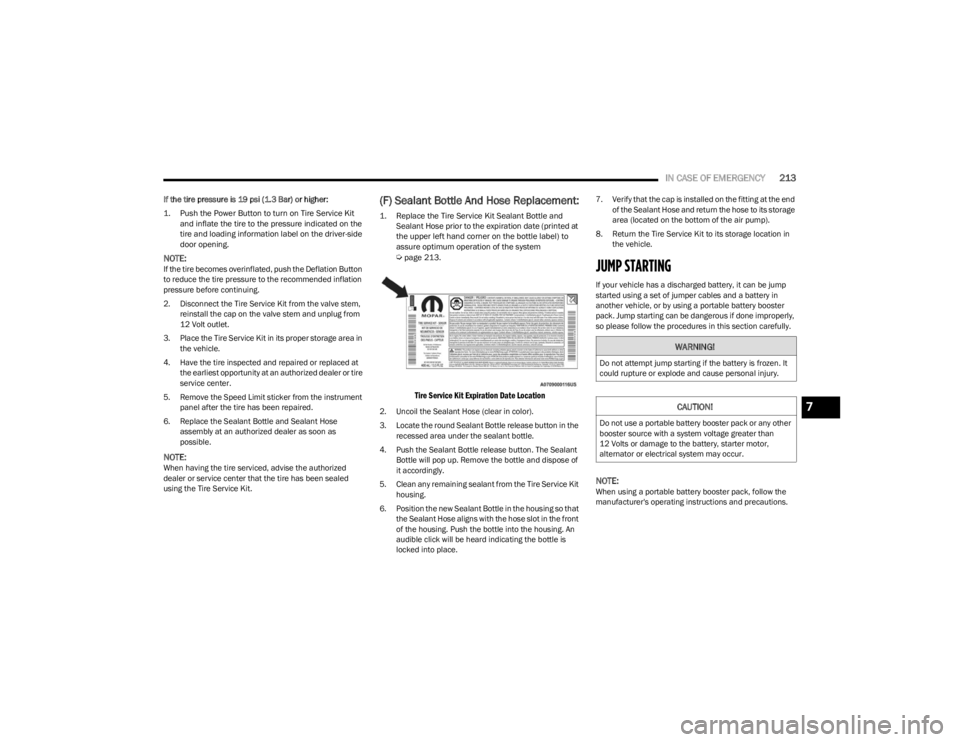
1. Replace the Tire Service Kit Sealant Bottle and Sealant Hose prior to the expiration date (printed at
the upper left hand corner on the bottle label) to
assure optimum operation of the system
Ú
page 213.
Tire Service Kit Expiration Date Location
2. Uncoil the Sealant Hose (clear in color).
3. Locate the round Sealant Bottle release button in the
recessed area under the sealant bottle.
4. Push the Sealant Bottle release button. The Sealant Bottle will pop up. Remove the bottle and dispose of
it accordingly.
5. Clean any remaining sealant from the Tire Service Kit housing.
6. Position the new Sealant Bottle in the housing so that the Sealant Hose aligns with the hose slot in the front
of the housing. Push the bottle into the housing. An
audible click will be heard indicating the bottle is
locked into place. 7. Verify that the cap is installed on the fitting at the end
of the Sealant Hose and return the hose to its storage
area (located on the bottom of the air pump).
8. Return the Tire Service Kit to its storage location in the vehicle.
JUMP STARTING
If your vehicle has a discharged battery, it can be jump
started using a set of jumper cables and a battery in
another vehicle, or by using a portable battery booster
pack. Jump starting can be dangerous if done improperly,
so please follow the procedures in this section carefully.
NOTE:When using a portable battery booster pack, follow the
manufacturer's operating instructions and precautions.
WARNING!
Do not attempt jump starting if the battery is frozen. It
could rupture or explode and cause personal injury.
CAUTION!
Do not use a portable battery booster pack or any other
booster source with a system voltage greater than
12 Volts or damage to the battery, starter motor,
alternator or electrical system may occur.
7
23_LD_OM_EN_USC_t.book Page 213