flat tire DODGE CHARGER SRT 2015 7.G Owners Manual
[x] Cancel search | Manufacturer: DODGE, Model Year: 2015, Model line: CHARGER SRT, Model: DODGE CHARGER SRT 2015 7.GPages: 595, PDF Size: 16.43 MB
Page 102 of 595
Periodic Safety Checks You Should Make Outside
The Vehicle
Tires
Examine tires for excessive tread wear and uneven wear
patterns. Check for stones, nails, glass, or other objects
lodged in the tread or sidewall. Inspect the tread for cuts
and cracks. Inspect sidewalls for cuts, cracks, and bulges.
Check the wheel nuts for tightness. Check the tires
(including spare) for proper cold inflation pressure.
Lights
Have someone observe the operation of brake lights and
exterior lights while you work the controls. Check turn
signal and high beam indicator lights on the instrument
panel.
Door Latches
Check for proper closing, latching, and locking.
Fluid Leaks
Check area under vehicle after overnight parking for fuel,
engine coolant, oil, or other fluid leaks. Also, if gasoline
fumes are detected or if fuel, power steering fluid (if
equipped), or brake fluid leaks are suspected, the cause
should be located and corrected immediately.
100 THINGS TO KNOW BEFORE STARTING YOUR VEHICLE
Page 112 of 595
NOTE:The ASSIST and 9–1–1 features operate through
the Uconnect® Access service. These buttons will only
operate as long as your Uconnect® Access service is
active. Refer to your “Uconnect® System supplement
manual” for further information.
ASSIST Call
The ASSIST Button is used to automatically connect you
to any one of the following support centers:
•Roadside Assistance – If you get a flat tire, or need a
tow, just push the Assist button and you’ll be con-
nected to someone who can help. Roadside Assistance
will know what vehicle you’re driving and its location.
Additional fees may apply for roadside Assistance.
•Uconnect® Access Customer Care – In-vehicle support
for Uconnect® Access and Uconnect® Access Via
Mobile features.
•Vehicle Customer Care – Total support for all other
vehicle issues.
9-1-1 Call
1. Push the 9-1-1 Call button on the Rearview Mirror.
NOTE:In case the 9-1-1 Call button is pushed in error,
there will be a 10 second delay before the 9-1-1 Call
system initiates a call to a 9-1-1 operator. To cancel the
9-1-1 Call connection, push the 9-1-1 Call button on the
Rearview Mirror or push the cancellation button on the
Phone Screen. Termination of the 9-1-1 Call will turn the
green LED light on the Rearview Mirror off.
2. The LED light located between the Assist and 9-1-1
buttons on the Rearview Mirror will turn green once a
connection to a 9-1-1 operator has been made.
11 0 U N D E R S TA N D I N G T H E F E AT U R E S O F Y O U R V E H I C L E
Page 256 of 595
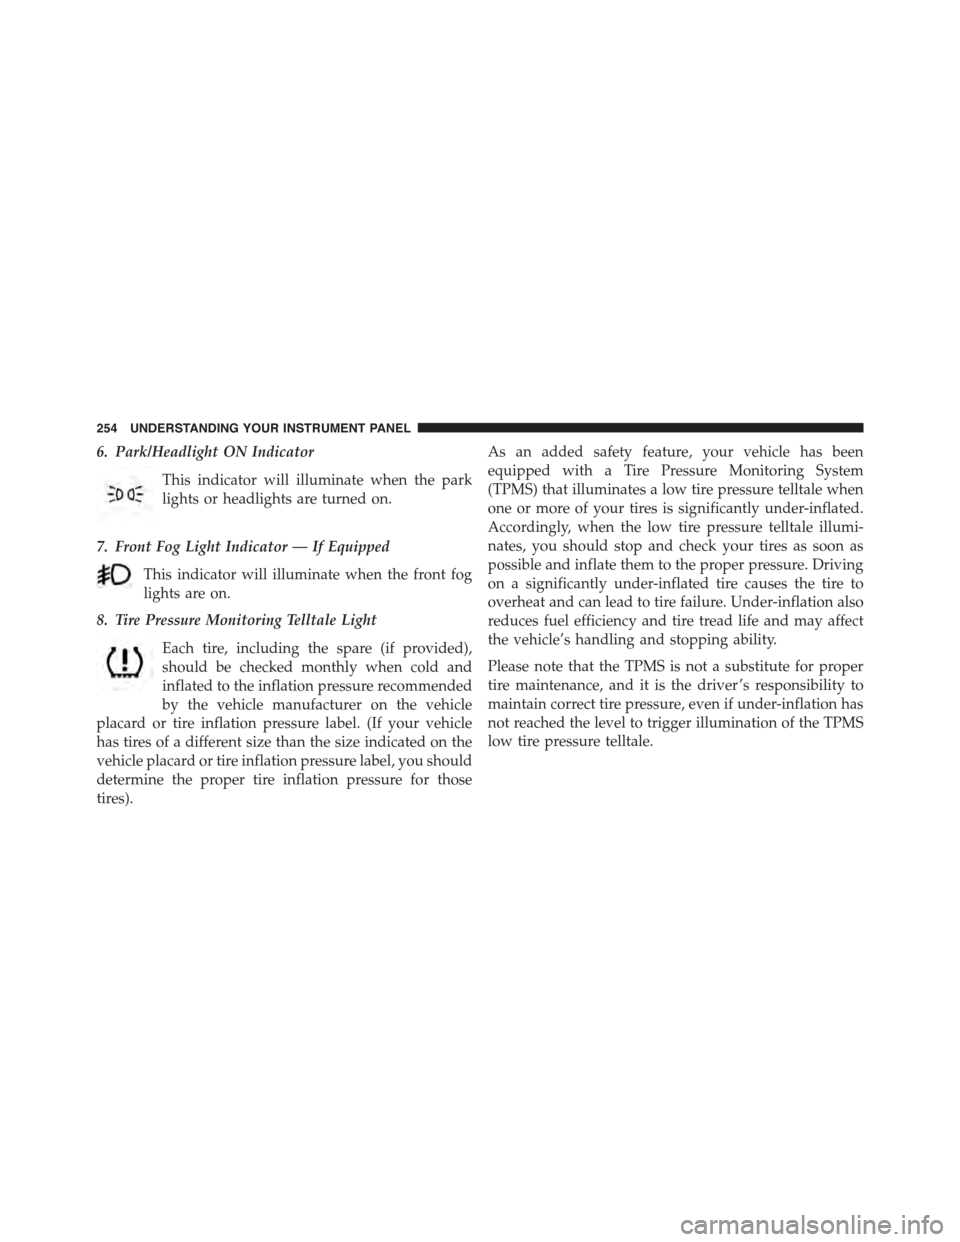
6. Park/Headlight ON Indicator
This indicator will illuminate when the park
lights or headlights are turned on.
7. Front Fog Light Indicator — If Equipped
This indicator will illuminate when the front fog
lights are on.
8. Tire Pressure Monitoring Telltale Light
Each tire, including the spare (if provided),
should be checked monthly when cold and
inflated to the inflation pressure recommended
by the vehicle manufacturer on the vehicle
placard or tire inflation pressure label. (If your vehicle
has tires of a different size than the size indicated on the
vehicle placard or tire inflation pressure label, you should
determine the proper tire inflation pressure for those
tires).
As an added safety feature, your vehicle has been
equipped with a Tire Pressure Monitoring System
(TPMS) that illuminates a low tire pressure telltale when
one or more of your tires is significantly under-inflated.
Accordingly, when the low tire pressure telltale illumi-
nates, you should stop and check your tires as soon as
possible and inflate them to the proper pressure. Driving
on a significantly under-inflated tire causes the tire to
overheat and can lead to tire failure. Under-inflation also
reduces fuel efficiency and tire tread life and may affect
the vehicle’s handling and stopping ability.
Please note that the TPMS is not a substitute for proper
tire maintenance, and it is the driver ’s responsibility to
maintain correct tire pressure, even if under-inflation has
not reached the level to trigger illumination of the TPMS
low tire pressure telltale.
254 UNDERSTANDING YOUR INSTRUMENT PANEL
Page 369 of 595
▫Tire Identification Number (TIN)...........421
▫Tire Terminology And Definitions..........423
▫Tire Loading And Tire Pressure...........424
!TIRES — GENERAL INFORMATION........429
▫Tire Pressure........................429
▫Tire Inflation Pressures.................430
▫Tire Pressures For High Speed Operation . . . .432
▫Radial Ply Tires......................432
▫Tire Types...........................433
▫Run Flat Tires — If Equipped.............435
▫Spare Tires — If Equipped...............435
▫Tire Spinning........................438
▫Tread Wear Indicators..................438
▫Life Of Tire.........................439
▫Replacement Tires.....................439
!TIRE CHAINS (TRACTION DEVICES).......441
!TIRE ROTATION RECOMMENDATIONS.....442
▫Tire Rotation.........................443
!TIRE PRESSURE MONITOR SYSTEM (TPMS) . .443
▫Premium System......................446
▫General Information...................450
!FUEL REQUIREMENTS..................450
▫6.2L Supercharged And 6.4L Engine........450
▫Reformulated Gasoline.................451
▫Gasoline/Oxygenate Blends..............451
▫E-85 Usage In Non-Flex Fuel Vehicles.......452
5
STARTING AND OPERATING 367
Page 400 of 595
Traction
When driving on wet or slushy roads, it is possible for a
wedge of water to build up between the tire and road
surface. This is known as hydroplaning and may cause
partial or complete loss of vehicle control and stopping
ability. To reduce this possibility, the following precau-
tions should be observed:
•Slow down during rainstorms or when the roads are
slushy.
•Slow down if the road has standing water or puddles.
•Replace tires when tread wear indicators first become
visible.
•Keep tires properly inflated.
•Maintain sufficient distance between your vehicle and
the vehicle in front of you to avoid a collision in a
sudden stop.
Your vehicle may be equipped with a Limited Slip
Differential (LSD) that reduces, but does not eliminate,
the amount of wheel slip across a given axle for im-
proved handling.
DRIVING THROUGH WATER
Driving through water more than a few inches/
centimeters deep will require extra caution to ensure
safety and prevent damage to your vehicle.
Flowing/Rising Water
WARNING!
Do not drive on or across a road or path where water
is flowing and/or rising (as in storm run-off). Flow-
ing water can wear away the road or path’s surface
and cause your vehicle to sink into deeper water.
Furthermore, flowing and/or rising water can carry
(Continued)
398 STARTING AND OPERATING
Page 410 of 595
WARNING!(Continued)
•The ABS cannot prevent the natural laws of phys-
ics from acting on the vehicle, nor can it increase
braking or steering efficiency beyond that afforded
by the condition of the vehicle brakes and tires or
the traction afforded.
•The ABS cannot prevent collisions, including those
resulting from excessive speed in turns, following
another vehicle too closely, or hydroplaning.
•The capabilities of an ABS equipped vehicle must
never be exploited in a reckless or dangerous
manner that could jeopardize the user’s safety or
the safety of others.
All vehicle wheels and tires must be the same size and
type and tires must be properly inflated to produce
accurate signals for the computer.
Anti-Lock Brake Warning Light
The “Anti-Lock Brake Warning Light” moni-
tors the anti-lock brake system. The light will
come on when the ignition switch is turned to
the ON position and may stay on for as long as
four seconds.
If the “Anti-Lock Brake Warning Light” remains on or
comes on while driving, it indicates that the anti-lock
portion of the brake system is not functioning and that
service is required. However, the conventional brake
system will continue to operate normally if the “Brake
Warning Light” is not on.
If the “Anti-Lock Brake Warning Light” is on, the brake
system should be serviced as soon as possible to restore
the benefits of anti-lock brakes. If the “Anti-Lock Brake
408 STARTING AND OPERATING
Page 423 of 595
EXAMPLE:
Load Identification:
Absence of the following load identification symbols on the sidewall of the tire indicates a Standard Load (SL)
tire:
•XL= Extra load (or reinforced) tire, or
•LL= Light load tire or
•C, D, E, F, G= Load range associated with the maximum load a tire can carry at a specified pressure
Maximum Load– Maximum load indicates the maximum load this tire is designed to carry
Maximum Pressure– Maximum pressure indicates the maximum permissible cold tire inflation pressure for this
tire
Tire Identification Number (TIN)
The TIN may be found on one or both sides of the tire,
however, the date code may only be on one side. Tires
with white sidewalls will have the full TIN, including the
date code, located on the white sidewall side of the tire.
Look for the TIN on the outboard side of black sidewall
tires as mounted on the vehicle. If the TIN is not found on
the outboard side, then you will find it on the inboard
side of the tire.
5
STARTING AND OPERATING 421
Page 425 of 595
Tire Terminology And Definitions
TermDefinition
B-PillarThe vehicle B-Pillar is the structural member of the body located
behind the front door.
Cold Tire Inflation PressureCold tire inflation pressure is defined as the tire pressure after
the vehicle has not been driven for at least three hours, or driven
less than 1 mile (1.6 km) after sitting for a minimum of three
hours. Inflation pressure is measured in units of PSI (pounds per
square inch) or kPa (kilopascals).
Maximum Inflation PressureThe maximum inflation pressure is the maximum permissible
cold tire inflation pressure for this tire. The maximum inflation
pressure is molded into the sidewall.
Recommended Cold Tire Inflation Pres-
sure
Vehicle manufacturer’s recommended cold tire inflation pressure
as shown on the tire placard.
Tire PlacardA label permanently attached to the vehicle describing the vehi-
cle’s loading capacity, the original equipment tire sizes and the
recommended cold tire inflation pressures.
5
STARTING AND OPERATING 423
Page 426 of 595
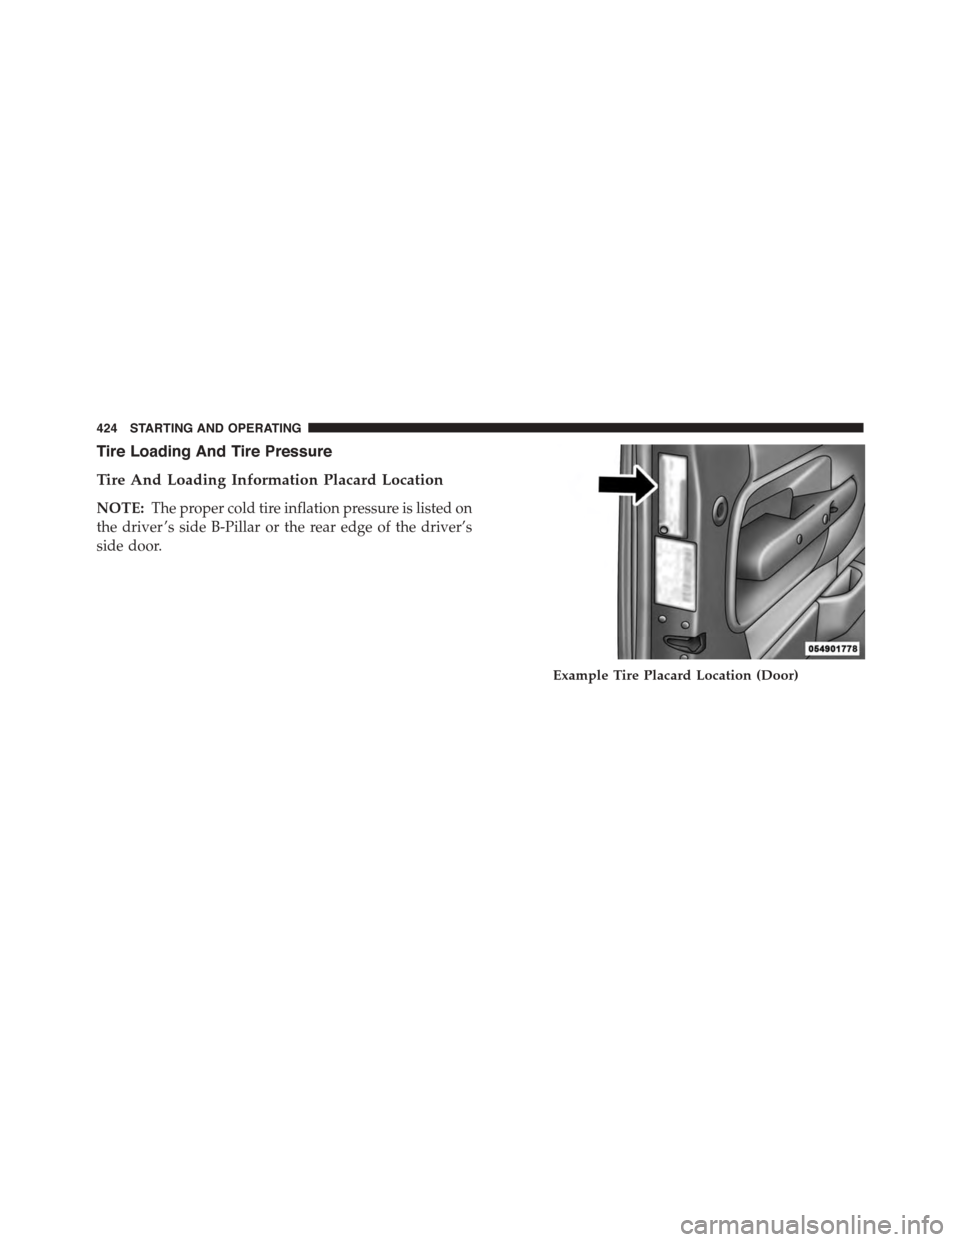
Tire Loading And Tire Pressure
Tire And Loading Information Placard Location
NOTE:The proper cold tire inflation pressure is listed on
the driver ’s side B-Pillar or the rear edge of the driver’s
side door.
Example Tire Placard Location (Door)
424 STARTING AND OPERATING
Page 428 of 595
4. Cold tire inflation pressures for the front, rear, and
spare tires.
Loading
The vehicle maximum load on the tire must not exceed
the load carrying capacity of the tire on your vehicle. You
will not exceed the tire’s load carrying capacity if you
adhere to the loading conditions, tire size, and cold tire
inflation pressures specified on the Tire and Loading
Information placard and in the “Vehicle Loading” section
of this manual.
NOTE:Under a maximum loaded vehicle condition,
gross axle weight ratings (GAWRs) for the front and rear
axles must not be exceeded. For further information on
GAWRs, vehicle loading, and trailer towing, refer to
“Vehicle Loading” in this section.
To determine the maximum loading conditions of your
vehicle, locate the statement “The combined weight of
occupants and cargo should never exceed XXX lbs or
XXX kg” on the Tire and Loading Information placard.
The combined weight of occupants, cargo/luggage and
trailer tongue weight (if applicable) should never exceed
the weight referenced here.
Steps For Determining Correct Load Limit
1. Locate the statement “The combined weight of occu-
pants and cargo should never exceed XXX lbs or
XXX kg” on your vehicle’s placard.
2. Determine the combined weight of the driver and
passengers that will be riding in your vehicle.
3. Subtract the combined weight of the driver and pas-
sengers from XXX lbs or XXX kg.
426 STARTING AND OPERATING