DODGE DART 2014 PF / 1.G Repair Manual
Manufacturer: DODGE, Model Year: 2014, Model line: DART, Model: DODGE DART 2014 PF / 1.GPages: 140, PDF Size: 4.57 MB
Page 61 of 140
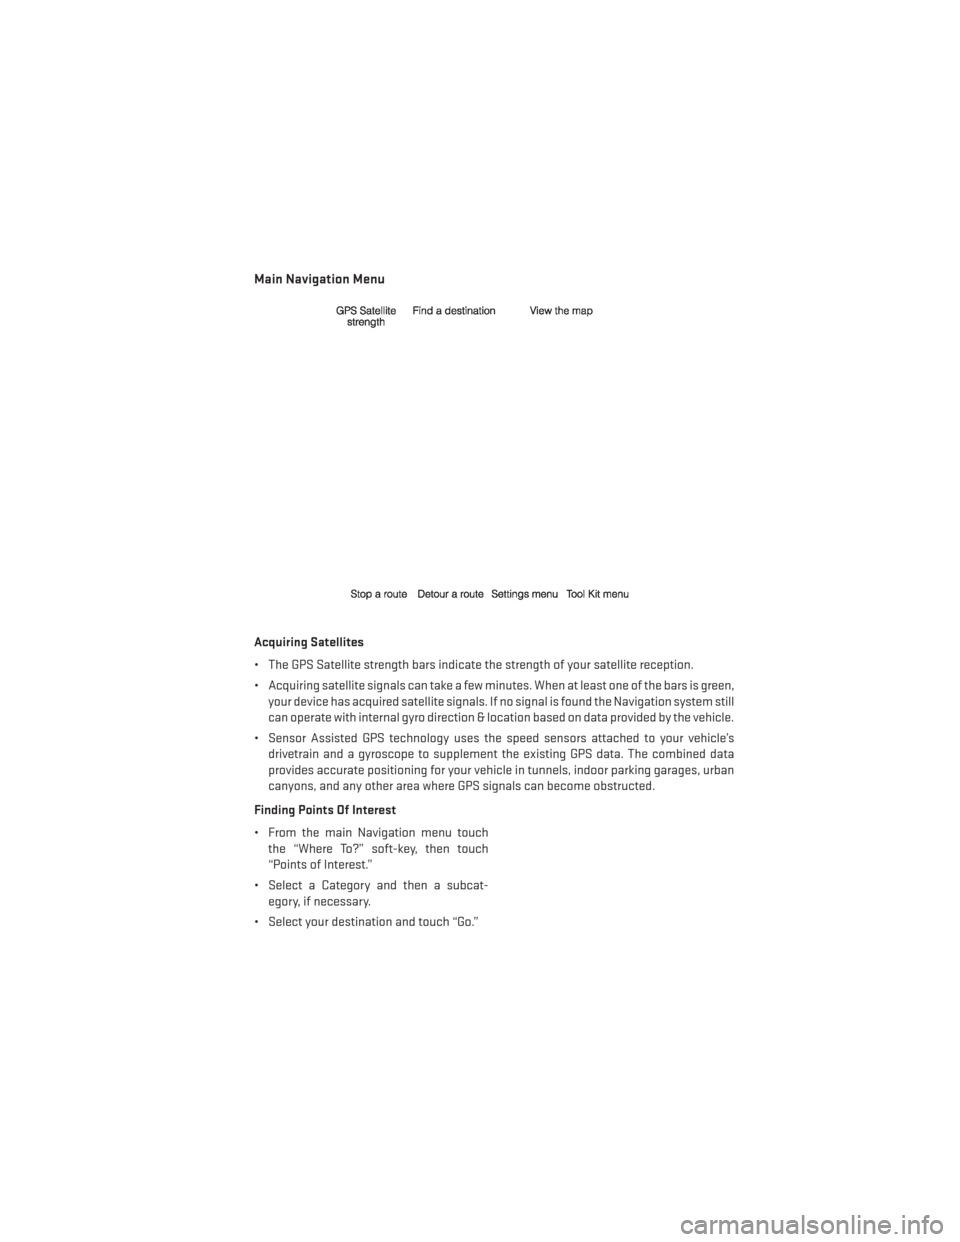
Main Navigation Menu
Acquiring Satellites
• The GPS Satellite strength bars indicate the strength of your satellite reception.
• Acquiring satellite signals can take a few minutes. When at least one of the bars is green,your device has acquired satellite signals. If no signal is found the Navigation system still
can operate with internal gyro direction & location based on data provided by the vehicle.
• Sensor Assisted GPS technology uses the speed sensors attached to your vehicle’s drivetrain and a gyroscope to supplement the existing GPS data. The combined data
provides accurate positioning for your vehicle in tunnels, indoor parking garages, urban
canyons, and any other area where GPS signals can become obstructed.
Finding Points Of Interest
• From the main Navigation menu touch the “Where To?” soft-key, then touch
“Points of Interest.”
• Select a Category and then a subcat- egory, if necessary.
• Select your destination and touch “Go.”
ELECTRONICS
59
Page 62 of 140
Finding A Place By Spelling The Name
•
From the Main Navigation Menu touch the “Where To?” soft-key, touch “Points of Interest”,
then touch “Spell Name.”
• Enter the name of your destination.
• Touch “Done.”
• Select your destination and touch “Go.”
Entering A Destination Address
• From the main Navigation menu touch the “Where To?” soft-key, then touch “Address.”
• Follow the on-screen prompts to enter the address and touch “Go.”
Searching Near Another Location
• From the main Navigation menu touch the “Where To?” soft-key, touch a destination, then touch “Near.”
• Select an option from the available choices.
Setting Or Changing Your Home Location
• Touch the “NAV” soft-key in the menu bar to access the Navigation system and the Main Navigation menu.
• Touch the “Where To?” soft-key, then touch “Go Home.”
• You may enter your address directly, use your current location as your home address, or choose from recently found locations.
• To edit your Home location (or other saved locations), touch the “Where To?” soft-key from the Main Navigation menu, touch “Favorites,” then touch the location you want to
edit. After selecting a location to edit, touch “Press for More,” then “Edit.”
Go Home
• A Home location must be saved in the system. From the Main Navigation menu touch the “Where To?” soft-key, then touch “Go Home.”
Searching By Phone Number
• From the main Navigation menu touch the “Where To?” soft-key, touch the
“down” arrow to display the secondary
selections, then touch “Phone Number.”
• Enter the desired Phone Number and fol- low the prompts.
ELECTRONICS
60
Page 63 of 140
Secondary Search Selections
• From the main Navigation menu touch the “Where To?” soft-key, then touch the “down”arrow to display the secondary search selections.
Selection Selection Description
Extras Visit www.garmin.com/extras to add more
content to your device with purchasable and
free downloads.
Cities Select a City within the current state to route
to that specific City Center.
Routes Let’s you create your own route with your own
destinations or points of interests.
Browse Maps Let’s you browse the Map.
Browse Maps Enter destination using its Geographical coor-
dinates instead of an address.
Following Your Route
•Your route is marked with a magenta line on the map. If you depart from the original route,
your route is recalculated. A speed limit icon could appear as you travel on major roadways.
• Lane Assist helps you decide which lane to be in at upcoming junctions.
• Junction View gives you an expanded view as junctions approach.
ELECTRONICS
61
Page 64 of 140
Adding A Via Point
• To add a via point you must be navigating a route.
• Touch the “back” arrow to return to the Main Navigation menu.
• Touch the “Where To?” soft-key, then search for the via point. Select the via point to addfrom the search results.
• Touch “Go,” then touch “Add as a Via Point.”
Taking A Detour
• To take a detour you must be navigating a route.
• Touch “Detour.”
NOTE:
If the route you are currently taking is the only reasonable option, the device might not
calculate a detour.
Traffic
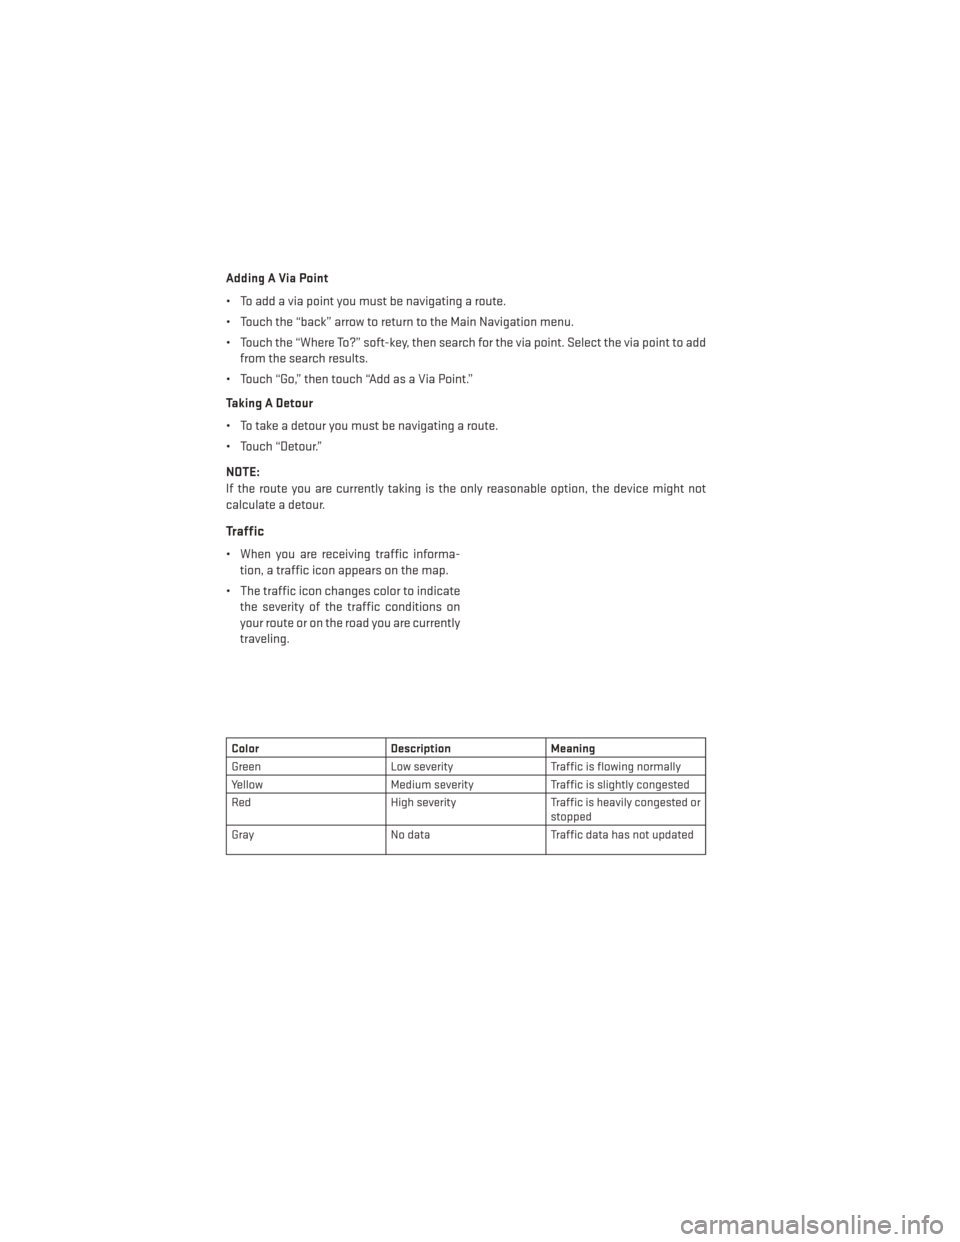
• When you are receiving traffic informa- tion, a traffic icon appears on the map.
• The traffic icon changes color to indicate the severity of the traffic conditions on
your route or on the road you are currently
traveling.
Color Description Meaning
Green Low severity Traffic is flowing normally
Yellow Medium severity Traffic is slightly congested
Red High severity Traffic is heavily congested or
stopped
Gray No data Traffic data has not updated
ELECTRONICS
62
Page 65 of 140
Manually Avoid Traffic On Your Route
• While navigating a route, touch the trafficicon.
• Touch “Traffic On Route.”
• If necessary, touch the arrows to view other traffic delays on your route.
• Touch the desired delay and touch “Avoid.”
View The Traffic Map
• The traffic map shows color-coded traffic flow and delays on nearby roads.
• From the map, touch the “traffic icon.”
• Touch “Traffic Map” to view the traffic incidents on a map.
Search For Traffic Delays
• From the map, touch the “traffic icon.”
• Touch “Traffic Search” to view a list of traffic delays.
• Touch an item in the list to view delays on the road.
• If there is more than one delay, touch the “arrows” to view additional delays.
ELECTRONICS
63
Page 66 of 140
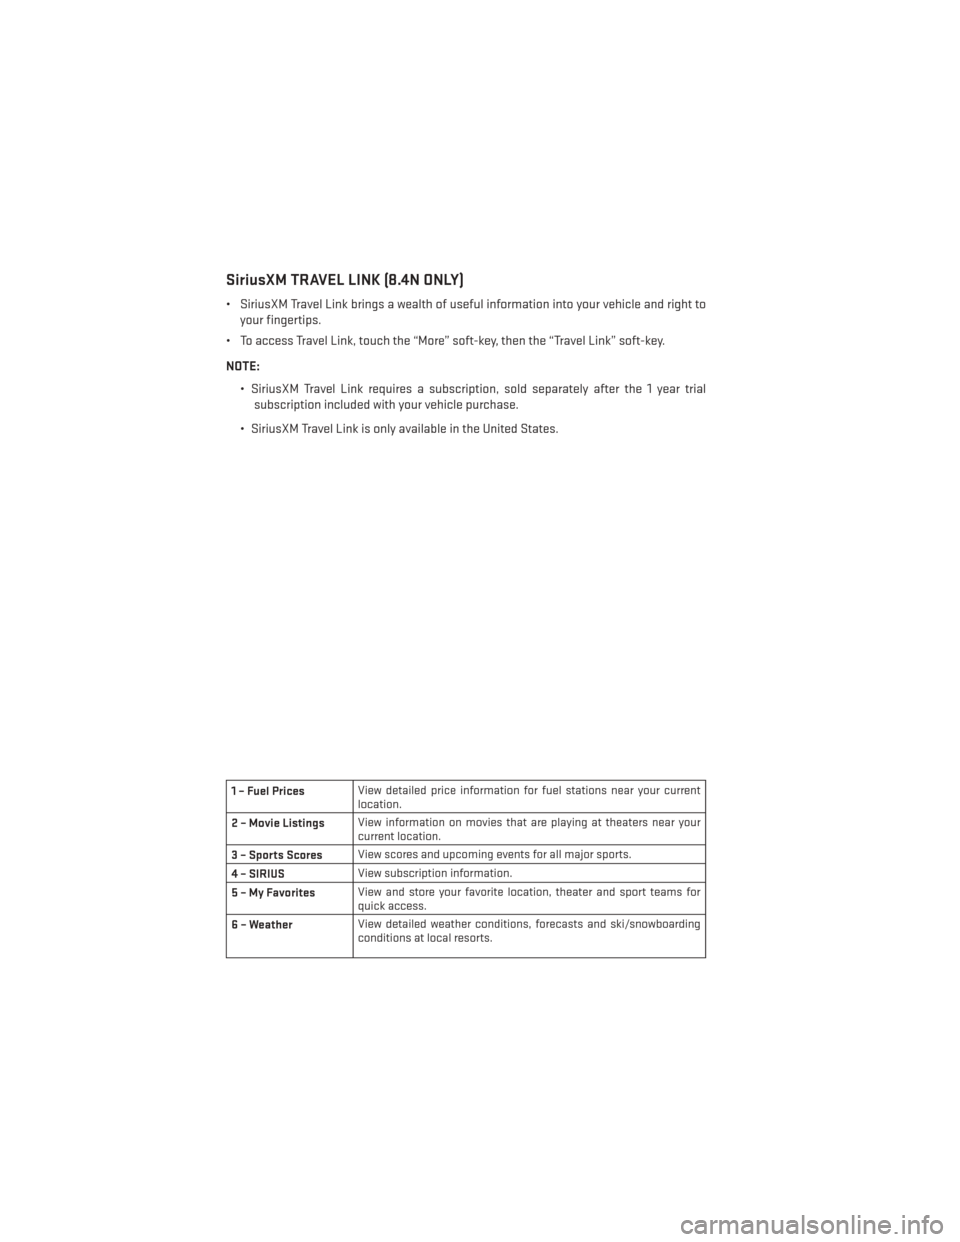
SiriusXM TRAVEL LINK (8.4N ONLY)
• SiriusXM Travel Link brings a wealth of useful information into your vehicle and right toyour fingertips.
• To access Travel Link, touch the “More” soft-key, then the “Travel Link” soft-key.
NOTE:
• SiriusXM Travel Link requires a subscription, sold separately after the 1 year trialsubscription included with your vehicle purchase.
• SiriusXM Travel Link is only available in the United States.
1 – Fuel Prices View detailed price information for fuel stations near your current
location.
2 – Movie Listings View information on movies that are playing at theaters near your
current location.
3 – Sports Scores View scores and upcoming events for all major sports.
4 – SIRIUS View subscription information.
5–MyFavorites View and store your favorite location, theater and sport teams for
quick access.
6 – Weather View detailed weather conditions, forecasts and ski/snowboarding
conditions at local resorts.
ELECTRONICS
64
Page 67 of 140
Uconnect® Phone (Bluetooth® HANDS FREE CALLING)
• If the Uconnect® PhoneButton exists on your steering wheel, then you have the
Uconnect® Phone features.
• The Uconnect® Phone is a voice-activated, hands-free, in-vehicle communications system with Voice Command Capability (see Voice Command section).
• The Uconnect® Phone allows you to dial a phone number stored in your mobile phone by using simple voice commands or using screen soft-keys.
• Refer to the “Understand The Features Of Your Vehicle” section of your vehicle's Owner's Manual on the DVD for further details.
NOTE:
The Uconnect® Phone requires a mobile phone equipped with the Bluetooth® Hands-Free
Profile, Version 1.0 or higher. For Uconnect® customer support, call 1–877–855–8400 or
visit www.UconnectPhone.com. Canadian Residents: call 1-800-465–2001 (English) or
1-800-387-9983 (French) or visit www.UconnectPhone.com.
Pairing A Phone
• To use the Uconnect® Phone feature, you must first pair your Bluetooth® phone with the Uconnect® system.
NOTE:
For Voice Command enabled phone pairing, refer to your vehicles Owner's Manual for
details.
Start Pairing Procedure On The Radio
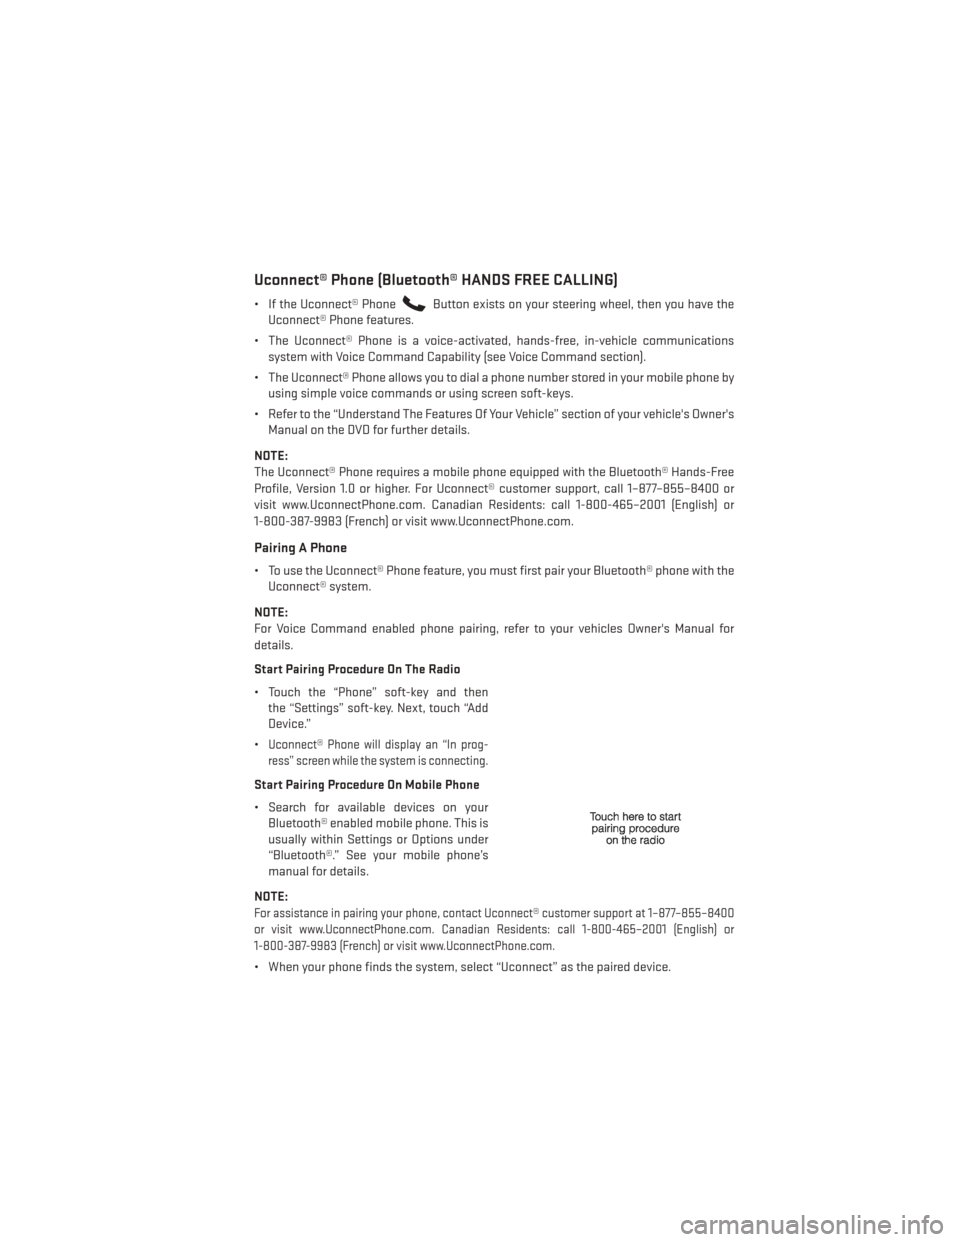
• Touch the “Phone” soft-key and then the “Settings” soft-key. Next, touch “Add
Device.”
•
Uconnect® Phone will display an “In prog-
ress” screen while the system is connecting.
Start Pairing Procedure On Mobile Phone
• Search for available devices on your Bluetooth® enabled mobile phone. This is
usually within Settings or Options under
“Bluetooth®.” See your mobile phone’s
manual for details.
NOTE:
For assistance in pairing your phone, contact Uconnect® customer support at 1–877–855–8400
or visit www.UconnectPhone.com. Canadian Residents: call 1-800-465–2001 (English) or
1-800-387-9983 (French) or visit www.UconnectPhone.com.
• When your phone finds the system, select “Uconnect” as the paired device.
ELECTRONICS
65
Page 68 of 140
Complete The Pairing Procedure
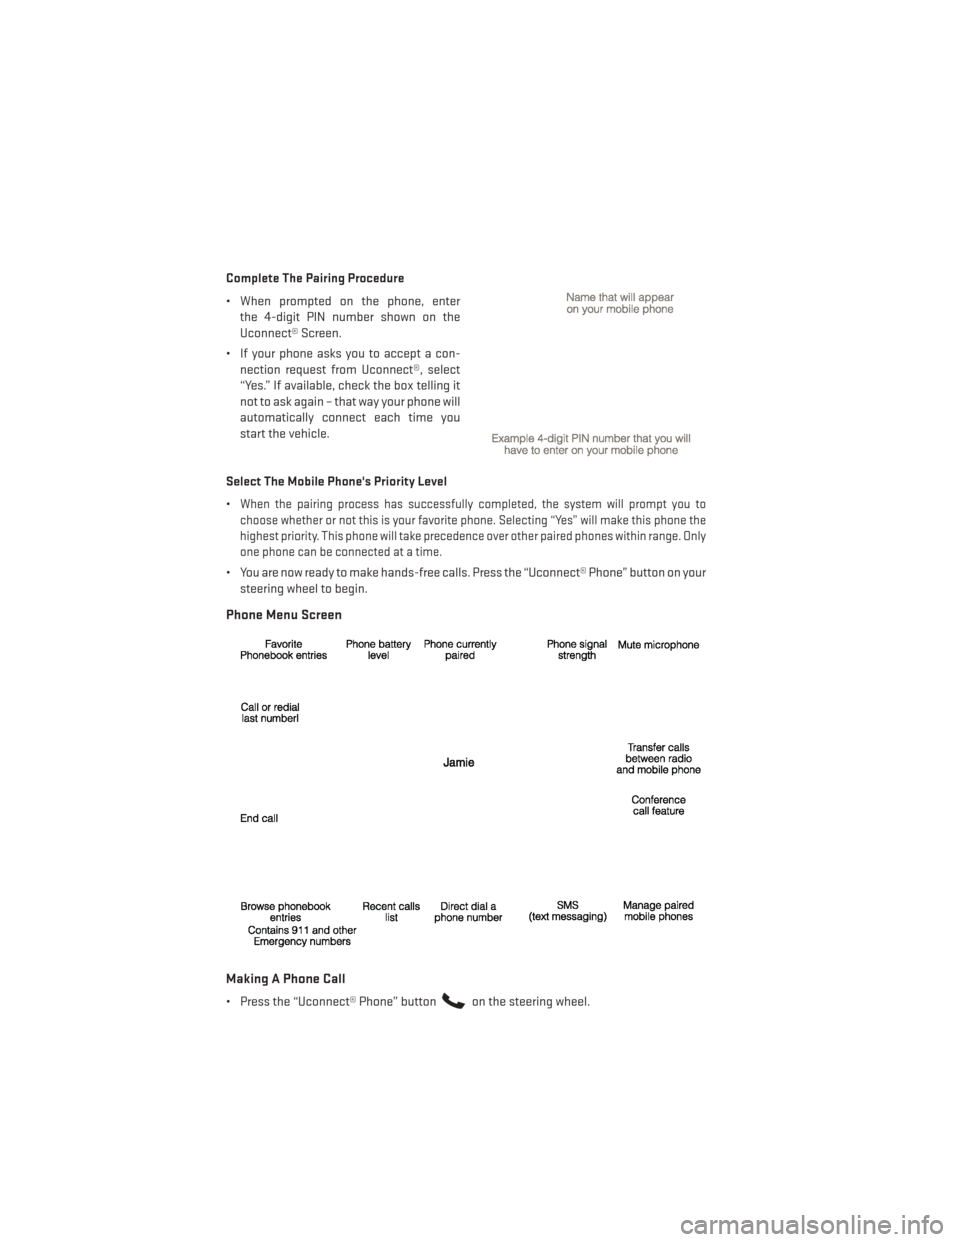
• When prompted on the phone, enterthe 4-digit PIN number shown on the
Uconnect® Screen.
• If your phone asks you to accept a con- nection request from Uconnect®, select
“Yes.” If available, check the box telling it
not to ask again – that way your phone will
automatically connect each time you
start the vehicle.
Select The Mobile Phone's Priority Level
•
When the pairing process has successfully completed, the system will prompt you to
choose whether or not this is your favorite phone. Selecting “Yes” will make this phone the
highest priority. This phone will take precedence over other paired phones within range. Only
one phone can be connected at a time.
• You are now ready to make hands-free calls. Press the “Uconnect® Phone” button on your steering wheel to begin.
Phone Menu Screen
Making A Phone Call
• Press the “Uconnect® Phone” buttonon the steering wheel.
ELECTRONICS
66
Page 69 of 140
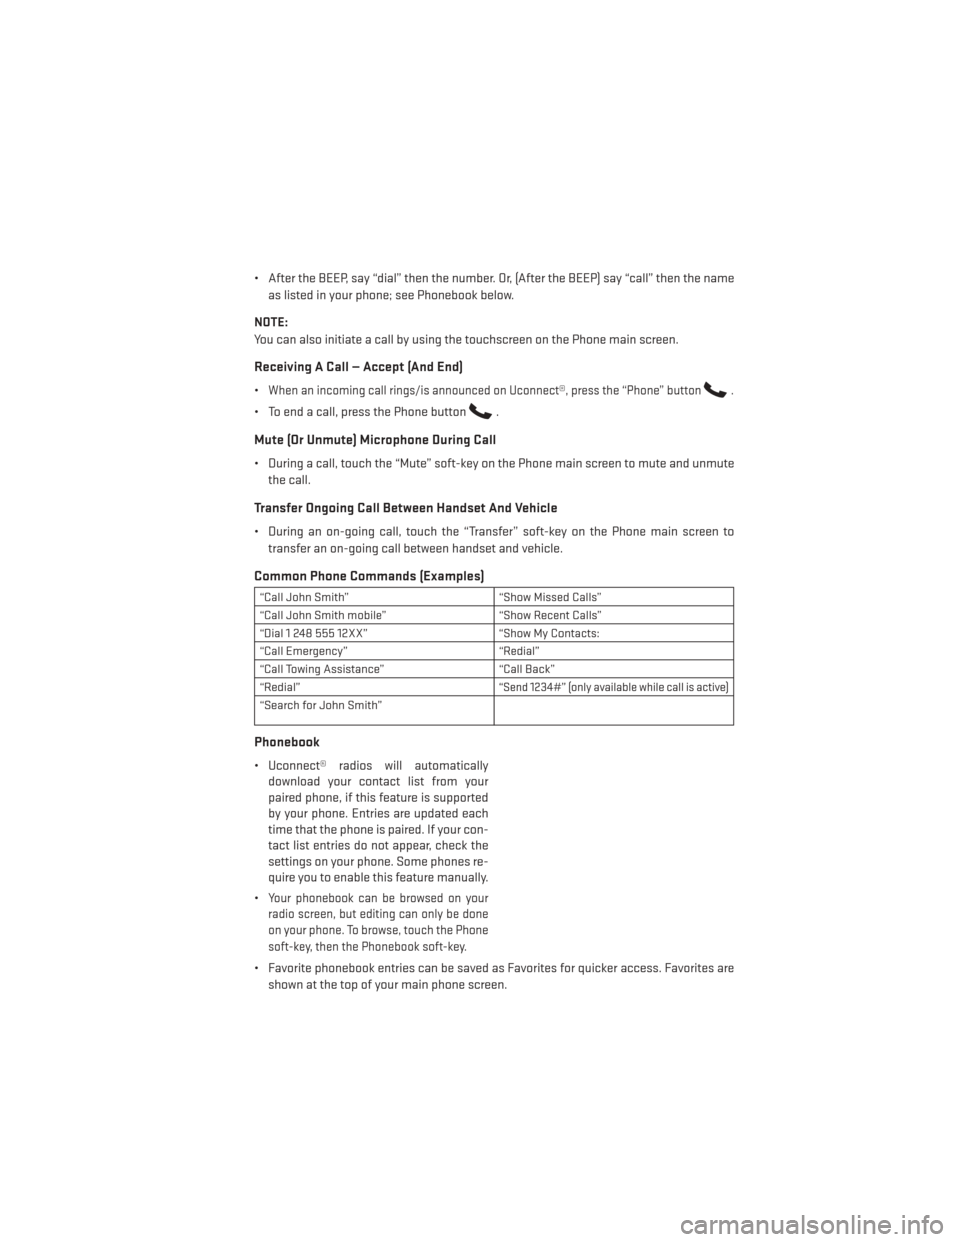
• After the BEEP, say “dial” then the number. Or, (After the BEEP) say “call” then the nameas listed in your phone; see Phonebook below.
NOTE:
You can also initiate a call by using the touchscreen on the Phone main screen.
Receiving A Call — Accept (And End)
•When an incoming call rings/is announced on Uconnect®, press the “Phone” button.
• To end a call, press the Phone button.
Mute (Or Unmute) Microphone During Call
• During a call, touch the “Mute” soft-key on the Phone main screen to mute and unmute the call.
Transfer Ongoing Call Between Handset And Vehicle
• During an on-going call, touch the “Transfer” soft-key on the Phone main screen totransfer an on-going call between handset and vehicle.
Common Phone Commands (Examples)
“Call John Smith” “Show Missed Calls”
“Call John Smith mobile” “Show Recent Calls”
“Dial 1 248 555 12XX” “Show My Contacts:
“Call Emergency” “Redial”
“Call Towing Assistance” “Call Back”
“Redial”
“Send 1234#” (only available while call is active)
“Search for John Smith”
Phonebook
• Uconnect® radios will automatically download your contact list from your
paired phone, if this feature is supported
by your phone. Entries are updated each
time that the phone is paired. If your con-
tact list entries do not appear, check the
settings on your phone. Some phones re-
quire you to enable this feature manually.
•
Your phonebook can be browsed on your
radio screen, but editing can only be done
on your phone. To browse, touch the Phone
soft-key, then the Phonebook soft-key.
• Favorite phonebook entries can be saved as Favorites for quicker access. Favorites are
shown at the top of your main phone screen.
ELECTRONICS
67
Page 70 of 140
Voice Command Tips
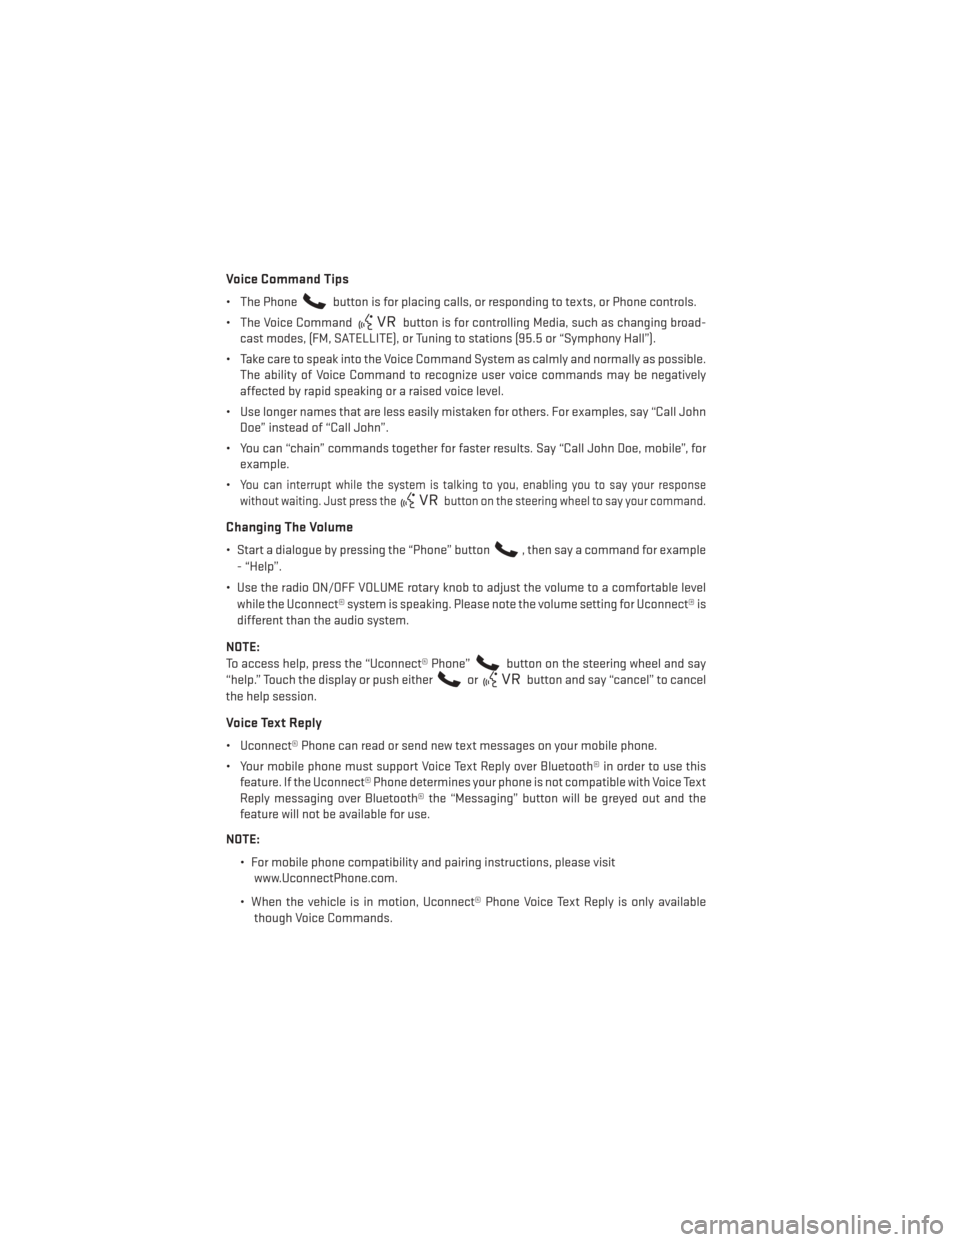
• The Phonebutton is for placing calls, or responding to texts, or Phone controls.
• The Voice Command
button is for controlling Media, such as changing broad-
cast modes, (FM, SATELLITE), or Tuning to stations (95.5 or “Symphony Hall”).
• Take care to speak into the Voice Command System as calmly and normally as possible. The ability of Voice Command to recognize user voice commands may be negatively
affected by rapid speaking or a raised voice level.
• Use longer names that are less easily mistaken for others. For examples, say “Call John Doe” instead of “Call John”.
• You can “chain” commands together for faster results. Say “Call John Doe, mobile”, for example.
•
You can interrupt while the system is talking to you, enabling you to say your response
without waiting. Just press the
button on the steering wheel to say your command.
Changing The Volume
• Start a dialogue by pressing the “Phone” button, then say a command for example
- “Help”.
• Use the radio ON/OFF VOLUME rotary knob to adjust the volume to a comfortable level while the Uconnect® system is speaking. Please note the volume setting for Uconnect® is
different than the audio system.
NOTE:
To access help, press the “Uconnect® Phone”
button on the steering wheel and say
“help.” Touch the display or push either
orbutton and say “cancel” to cancel
the help session.
Voice Text Reply
• Uconnect® Phone can read or send new text messages on your mobile phone.
• Your mobile phone must support Voice Text Reply over Bluetooth® in order to use this feature. If the Uconnect® Phone determines your phone is not compatible with Voice Text
Reply messaging over Bluetooth® the “Messaging” button will be greyed out and the
feature will not be available for use.
NOTE: • For mobile phone compatibility and pairing instructions, please visitwww.UconnectPhone.com.
• When the vehicle is in motion, Uconnect® Phone Voice Text Reply is only available though Voice Commands.
ELECTRONICS
68