check engine DODGE DART 2015 PF / 1.G User Guide
[x] Cancel search | Manufacturer: DODGE, Model Year: 2015, Model line: DART, Model: DODGE DART 2015 PF / 1.GPages: 664, PDF Size: 16.96 MB
Page 342 of 664
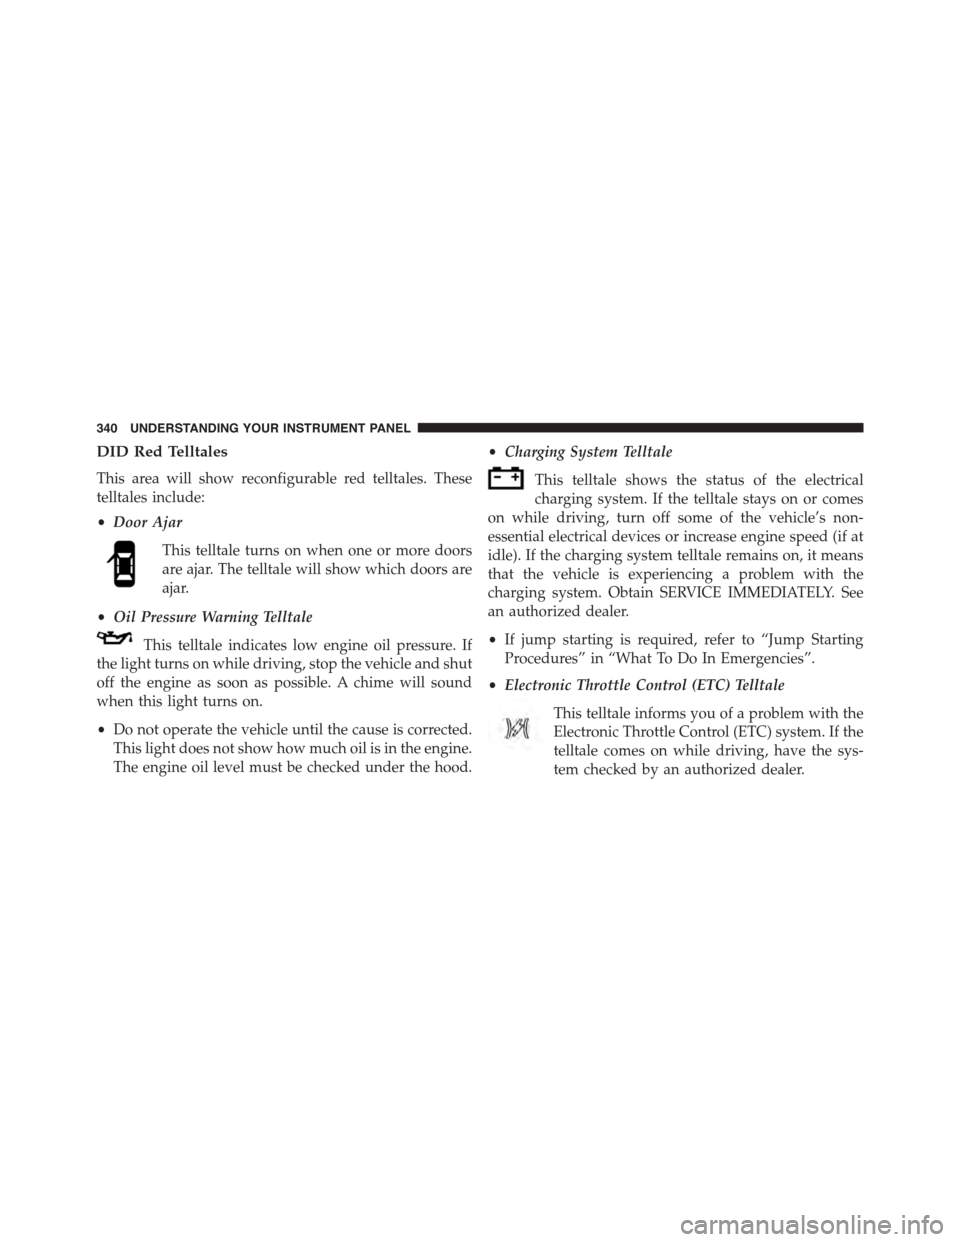
DID Red Telltales
This area will show reconfigurable red telltales. These
telltales include:
•Door Ajar
This telltale turns on when one or more doors
are ajar. The telltale will show which doors are
ajar.
•Oil Pressure Warning Telltale
This telltale indicates low engine oil pressure. If
the light turns on while driving, stop the vehicle and shut
off the engine as soon as possible. A chime will sound
when this light turns on.
•Do not operate the vehicle until the cause is corrected.
This light does not show how much oil is in the engine.
The engine oil level must be checked under the hood.
•Charging System Telltale
This telltale shows the status of the electrical
charging system. If the telltale stays on or comes
on while driving, turn off some of the vehicle’s non-
essential electrical devices or increase engine speed (if at
idle). If the charging system telltale remains on, it means
that the vehicle is experiencing a problem with the
charging system. Obtain SERVICE IMMEDIATELY. See
an authorized dealer.
•If jump starting is required, refer to “Jump Starting
Procedures” in “What To Do In Emergencies”.
•Electronic Throttle Control (ETC) Telltale
This telltale informs you of a problem with the
Electronic Throttle Control (ETC) system. If the
telltale comes on while driving, have the sys-
tem checked by an authorized dealer.
340 UNDERSTANDING YOUR INSTRUMENT PANEL
Page 354 of 664
there is a Scroll/Enter control knob located on the right
side of the Climate Controls in the center of the instru-
ment panel. Turn the control knob to scroll through
menus and change settings (i.e., 30, 60, 90), press the
center of the control knob one or more times to select or
change a setting (i.e., ON, OFF).
Buttons On The Touchscreen
Buttons on the touchscreen are accessible on the
Uconnect® Touchscreen.
Customer Programmable Features — Uconnect®
System 8.4 Settings
Press the More button on the touchscreen, then press the
Settings button on the touchscreen to display the menu
setting screen. In this mode the Uconnect® system allows
you to access programmable features that may be
equipped such as Display, Clock, Safety & Driving Assis-
tance, Lights, Doors & Locks, Auto-On Comfort & Re-
mote Start, Engine Off Operation, Compass Settings,
Audio, Phone/Bluetooth and SIRIUS Setup.
NOTE:Only one touchscreen area may be selected at a
time.
When making a selection, press the button on the touch-
screen to enter the desired mode. Once in the desired
mode press and release the preferred setting until a
check-mark appears next to the setting, showing that
setting has been selected.
Once the setting is complete press the Back Arrow button
on the touchscreen to return to the previous menu or
press the X button on the touchscreen to close out of the
settings screen. Pressing the Up or Down Arrow buttons
on the touchscreens on the right side of the screen will
allow you to toggle up or down through the available
settings.
352 UNDERSTANDING YOUR INSTRUMENT PANEL
Page 361 of 664
•Daytime Running Lights
When this feature is selected, the headlights will turn on
whenever the engine is running. To make your selection,
press the Daytime Running Lights button on the touch-
screen, until a check-mark appears next to setting, show-
ing that setting has been selected. Press the back arrow
button on the touchscreen to return to the previous
menu.
•Flash Lights With Lock
When this feature is selected, the exterior lights will flash
when the doors are locked or unlocked with the Remote
Keyless Entry (RKE) transmitter. This feature may be
selected with or without the sound horn on lock feature
selected. To make your selection, press the Flash Lamps
with Lock button on the touchscreen, until a check-mark
appears next to setting, showing that setting has been
selected. Press the back arrow button on the touchscreen
to return to the previous menu.
Doors & Locks
After pressing the Doors & Locks button on the touch-
screen the following settings will be available.
•Auto Unlock On Exit
When this feature is selected, all doors will unlock when
the vehicle is stopped and the transmission is in the
PARK or NEUTRAL position and the driver’s door is
opened. To make your selection, press the Auto Unlock
On Exit button on the touchscreen, until a check-mark
appears next to setting, indicating that the setting has
been selected. Press the back arrow button on the touch-
screen to return to the previous menu.
•Flash Lights With Lock
When this feature is selected, the exterior lights will flash
when the doors are locked or unlocked with the Remote
Keyless Entry (RKE) transmitter. To make your selection,
4
UNDERSTANDING YOUR INSTRUMENT PANEL 359
Page 364 of 664
Auto-On Comfort & Remote Start
After pressing the Auto-On Comfort & Remote Start
button on the touchscreen the following settings will be
available.
•Horn With Remote Start
When this feature is selected, the horn will sound when
the remote start is activated. To make your selection,
press the Sound Horn With Remote Start button on the
touchscreen, until a check-mark appears next to setting,
showing that setting has been selected. Press the back
arrow button on the touchscreen to return to the previous
menu.
•Auto-On Driver Heated Seat & Steering Wheel With
Vehicle Start — If Equipped
When this feature is selected the driver’s heated seat and
heated steering wheel will automatically turn on when
temperatures are below 40° F (4.4° C). To make your
selection, press the Auto Heated Seats button on the
touchscreen, until a check-mark appears next to setting,
showing that setting has been selected. Press the back
arrow button on the touchscreen to return to the previous
menu.
Engine Off Options
After pressing the “Engine Off Options” button on the
touchscreen the following settings will be available.
•Engine Off Power Delay
When this feature is selected, the power window
switches, radio, Uconnect® system (if equipped), DVD
video system (if equipped), power sunroof (if equipped),
and power outlets will remain active for up to 10 minutes
after the ignition is cycled to OFF. Opening either front
door will cancel this feature. To change the Engine Off
Power Delay status press the “0 seconds,” “45 seconds,#
“5 minutes” or “10 minutes” button on the touchscreen.
Then press the back arrow button on the touchscreen.
362 UNDERSTANDING YOUR INSTRUMENT PANEL
Page 394 of 664
NOTE:If your air conditioning performance seems lower
than expected, check the front of the A/C condenser
located in front of the radiator for an accumulation of dirt
or insects. Clean with a gentle water spray from behind
the radiator and through the condenser. Fabric front
fascia protectors may reduce airflow to the condenser,
reducing air conditioning performance.
4. Air Conditioning Control
Press this button to engage the Air Conditioning. A light
will illuminate when the Air Conditioning system is
engaged. Rotating the dial left into the blue area of the
scale indicates cooler temperatures, while rotating right
into the red area indicates warmer temperatures.
NOTE:The air conditioning compressor will not engage
until the engine has been running for about 10 seconds.
•MAX A/C
For maximum cooling use the A/C and recirculation
buttons at the same time.
•ECONOMY MODE
If economy mode is desired, press the A/C button to
turn OFF the indicator light and the A/C compressor.
Then, move the temperature control to the desired
temperature and select only Panel, Bi-Level or Floor
modes.
5. Mode Control (Air Direction)
Rotate this control to choose from several patterns of air
distribution. You can select either a primary mode as
identified by the symbols on the control, or a blend of
two of these modes. The closer the setting is to a
particular symbol, the more air distribution you receive
from that mode.
•Panel
Air is directed through the outlets in the
instrument panel. These outlets can be ad-
justed to direct airflow.
392 UNDERSTANDING YOUR INSTRUMENT PANEL
Page 428 of 664
Gear Ranges
DO NOT race the engine when shifting from PARK or
NEUTRAL into another gear range.
NOTE:After selecting any gear range, wait a moment to
allow the selected gear to engage before accelerating.
This is especially important when the engine is cold.
PARK (P)
This range supplements the parking brake by locking the
transmission. The engine can be started in this range.
Never attempt to use PARK while the vehicle is in
motion. Apply the parking brake when leaving the
vehicle in this range.
When parking on a level surface, you may shift the
transmission into PARK first, and then apply the parking
brake.
When parking on a hill, apply the parking brake before
shifting the transmission to PARK, otherwise the load on
the transmission locking mechanism may make it diffi-
cult to move the shift lever out of PARK. As an added
precaution, turn the front wheels toward the curb on a
downhill grade and away from the curb on an uphill
grade.
WARNING!
•Never use the PARK position as a substitute for the
parking brake. Always apply the parking brake
fully when parked to guard against vehicle move-
ment and possible injury or damage.
•Your vehicle could move and injure you and others
if it is not completely in PARK. Check by trying to
move the shift lever out of PARK with the brake
pedal released. Make sure the transmission is in
PARK before leaving the vehicle.
(Continued)
426 STARTING AND OPERATING
Page 439 of 664
the transmission locking mechanism may make it diffi-
cult to move the shift lever out of PARK. As an added
precaution, turn the front wheels toward the curb on a
downhill grade and away from the curb on an uphill
grade.
WARNING!
•Never use the PARK position as a substitute for the
parking brake. Always apply the parking brake
fully when parked to guard against vehicle move-
ment and possible injury or damage.
•Your vehicle could move and injure you and others
if it is not completely in PARK. Check by trying to
move the shift lever out of PARK with the brake
pedal released. Make sure the transmission is in
PARK before leaving the vehicle.
(Continued)
WARNING!(Continued)
•It is dangerous to shift out of PARK or NEUTRAL
if the engine speed is higher than idle speed. If
your foot is not firmly pressing the brake pedal, the
vehicle could accelerate quickly forward or in re-
verse. You could lose control of the vehicle and hit
someone or something. Only shift into gear when
the engine is idling normally and your foot is
firmly pressing the brake pedal.
(Continued)
5
STARTING AND OPERATING 437
Page 449 of 664
CAUTION!
•Always check the depth of the standing water
before driving through it. Never drive through
standing water that is deeper than the bottom of
the tire rims mounted on the vehicle.
•Determine the condition of the road or the path
that is under water and if there are any obstacles in
the way before driving through the standing water.
•Do not exceed 5 mph (8 km/h) when driving
through standing water. This will minimize wave
effects.
(Continued)
CAUTION!(Continued)
•Driving through standing water may cause damage
to your vehicle’s drivetrain components. Always
inspect your vehicle’s fluids (i.e., engine oil, trans-
mission, axle, etc.) for signs of contamination (i.e.,
fluid that is milky or foamy in appearance) after
driving through standing water. Do not continue to
operate the vehicle if any fluid appears contami-
nated, as this may result in further damage. Such
damage is not covered by the New Vehicle Limited
Warranty.
•Getting water inside your vehicle’s engine can
cause it to lock up and stall out, and cause serious
internal damage to the engine. Such damage is not
covered by the New Vehicle Limited Warranty.
5
STARTING AND OPERATING 447
Page 537 of 664
4. Remove the cap from the valve stem and then screw
the fitting at the end of the Sealant Hose (6) onto the
valve stem.
5. Uncoil the Power Plug (8) and insert the plug into the
vehicle’s 12 Volt power outlet.
NOTE:Do not remove foreign objects (e.g., screws or
nails) from the tire.
(C) Injecting Tire Service Kit Sealant Into The
Deflated Tire:
•Always start the engine before turning ON the Tire
Service Kit.
NOTE:Manual transmission vehicles must have the
parking brake engaged and the shift lever in NEUTRAL.
•After pressing the Power Button (4), the sealant (white
fluid) will flow from the Sealant Bottle (1) through the
Sealant Hose (6) and into the tire.
NOTE:Sealant may leak out through the puncture in the
tire.
If the sealant (white fluid) does not flow within0–10
seconds through the Sealant Hose (6):
1. Press the Power Button (4) to turn Off the Tire Service
Kit. Disconnect the Sealant Hose (6) from the valve
stem. Make sure the valve stem is free of debris.
Reconnect the Sealant Hose (6) to the valve stem.
Check that the Mode Select Knob (5) is in the Sealant
Mode position and not Air Mode. Press the Power
Button (4) to turn On the Tire Service Kit.
2. Connect the Power Plug (8) to a different 12 Volt
power outlet in your vehicle or another vehicle, if
available. Make sure the engine is running before
turning ON the Tire Service Kit.
3. The Sealant Bottle (1) may be empty due to previous
use. Call for assistance.
6
WHAT TO DO IN EMERGENCIES 535
Page 553 of 664
5. Lower the jack until it is free. Remove the wheel
blocks. Reassemble the lug wrench to the jack assem-
bly and stow it in the spare tire area. Secure the
assembly using the means provided. Release the park-
ing brake before driving the vehicle.
6. After 25 miles (40 km) check the wheel bolt torque
with a torque wrench to ensure that all wheel bolts are
properly seated against the wheel.
JUMP-STARTING PROCEDURES
If your vehicle has a discharged battery it can be jump-
started using a set of jumper cables and a battery in
another vehicle or by using a portable battery booster
pack. Jump-starting can be dangerous if done improperly
so please follow the procedures in this section carefully.
NOTE:When using a portable battery booster pack
follow the manufacturer ’s operating instructions and
precautions.
CAUTION!
Do not use a portable battery booster pack or any
other booster source with a system voltage greater
than 12 Volts or damage to the battery, starter motor,
alternator or electrical system may occur.
WARNING!
Do not attempt jump-starting if the battery is frozen.
It could rupture or explode and cause personal injury.
Preparations For Jump-Start
The battery in your vehicle is located in the front of the
engine compartment, behind the left headlight assembly.
NOTE:The positive battery post is covered with a
protective cap. Lift up on the cap to gain access to the
positive battery post.
6
WHAT TO DO IN EMERGENCIES 551