fuel pressure DODGE DART 2015 PF / 1.G User Guide
[x] Cancel search | Manufacturer: DODGE, Model Year: 2015, Model line: DART, Model: DODGE DART 2015 PF / 1.GPages: 164, PDF Size: 25.19 MB
Page 91 of 164
•Pushthebuttoninthecentertoselectthenextpresetstation(radio)ortochangeCDs
if equipped with a CD Changer.
ELECTRONIC VEHICLE INFORMATION CENTER (EVIC) —
STANDARD (2 BUTTON)
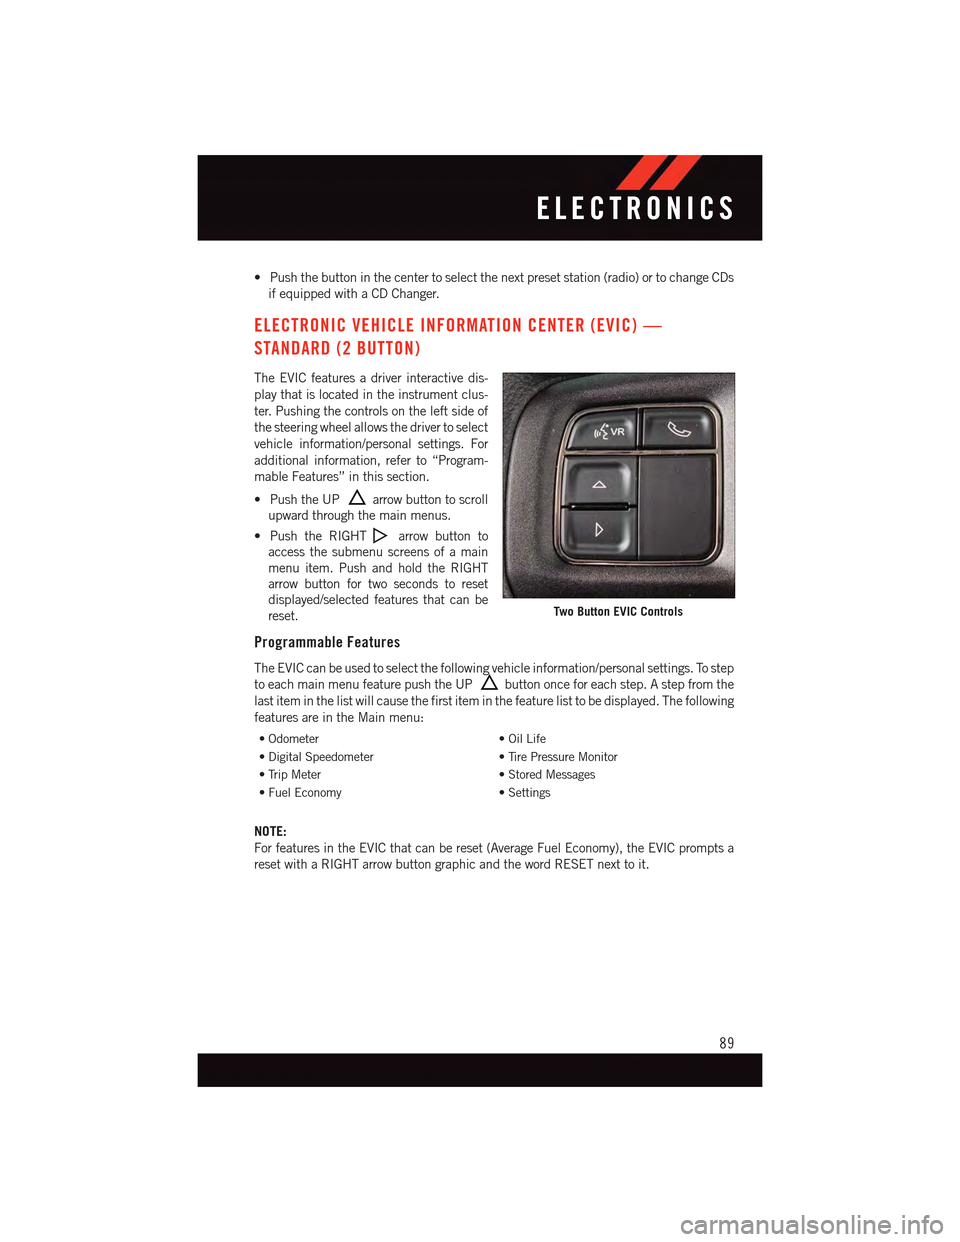
The EVIC features a driver interactive dis-
play that is located in the instrument clus-
ter. Pushing the controls on the left side of
the steering wheel allows the driver to select
vehicle information/personal settings. For
additional information, refer to “Program-
mable Features” in this section.
•PushtheUParrow button to scroll
upward through the main menus.
•PushtheRIGHTarrow button to
access the submenu screens of a main
menu item. Push and hold the RIGHT
arrow button for two seconds to reset
displayed/selected features that can be
reset.
Programmable Features
The EVIC can be used to select the following vehicle information/personal settings. To step
to each main menu feature push the UPbutton once for each step. A step from the
last item in the list will cause the first item in the feature list to be displayed. The following
features are in the Main menu:
•Odometer•OilLife
•DigitalSpeedometer•TirePressureMonitor
•TripMeter•StoredMessages
•FuelEconomy•Settings
NOTE:
For features in the EVIC that can be reset (Average Fuel Economy), the EVIC prompts a
reset with a RIGHT arrow button graphic and the word RESET next to it.
Two Button EVIC Controls
ELECTRONICS
89
Page 92 of 164
DRIVER INFORMATION DISPLAY (DID) — PREMIUM (4 BUTTON)
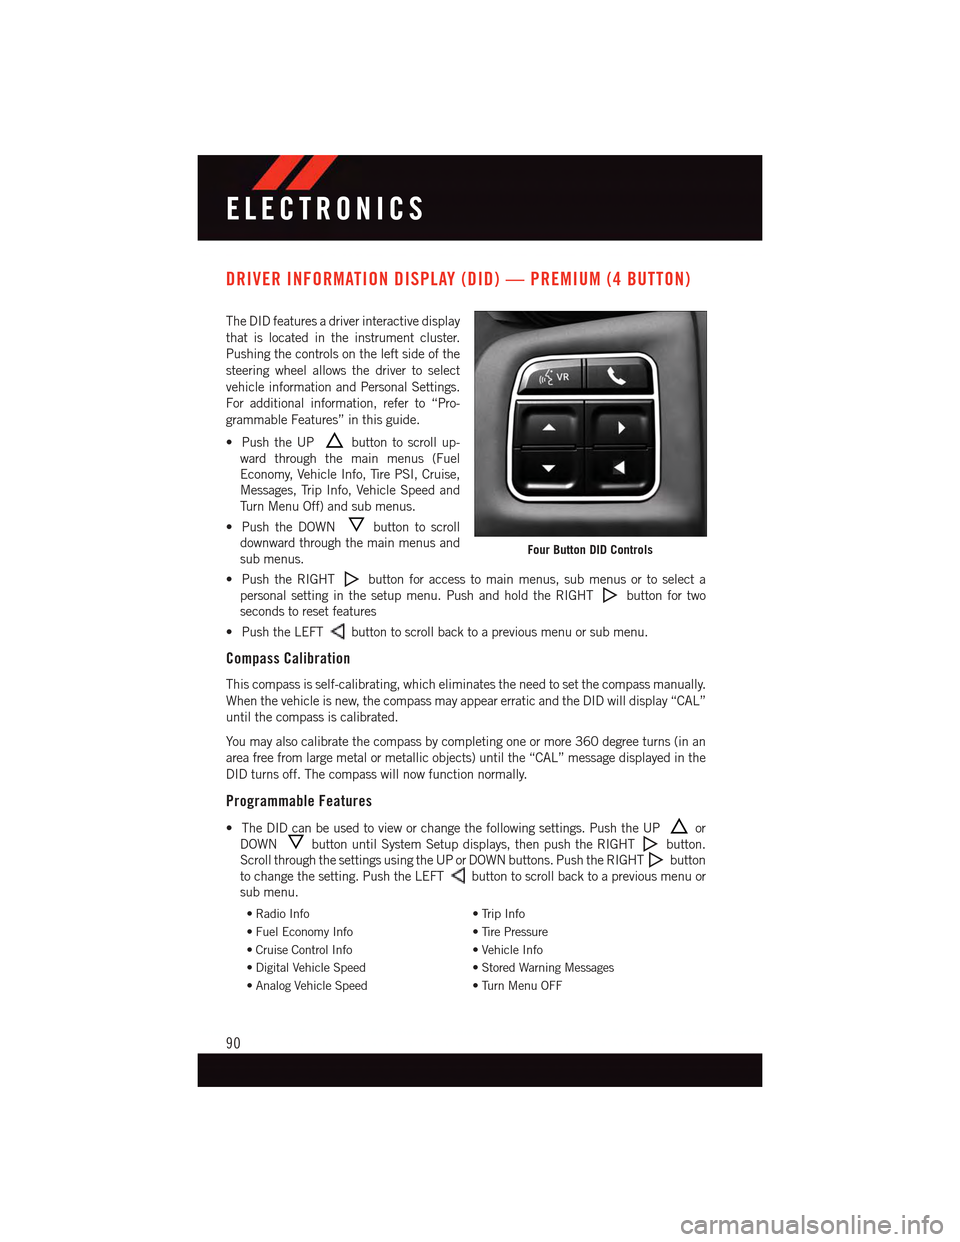
The DID features a driver interactive display
that is located in the instrument cluster.
Pushing the controls on the left side of the
steering wheel allows the driver to select
vehicle information and Personal Settings.
For additional information, refer to “Pro-
grammable Features” in this guide.
•PushtheUPbutton to scroll up-
ward through the main menus (Fuel
Economy, Vehicle Info, Tire PSI, Cruise,
Messages, Trip Info, Vehicle Speed and
Tu r n M e n u O f f ) a n d s u b m e n u s .
•PushtheDOWNbutton to scroll
downward through the main menus and
sub menus.
•PushtheRIGHTbutton for access to main menus, sub menus or to select a
personal setting in the setup menu. Push and hold the RIGHTbutton for two
seconds to reset features
•PushtheLEFTbutton to scroll back to a previous menu or sub menu.
Compass Calibration
This compass is self-calibrating, which eliminates the need to set the compass manually.
When the vehicle is new, the compass may appear erratic and the DID will display “CAL”
until the compass is calibrated.
Yo u m a y a l s o c a l i b r a t e t h e c o m p a s s b y c o m p l e t i n g o n e o r m o r e 3 6 0 d e g r e e t u r n s ( i n a n
area free from large metal or metallic objects) until the “CAL” message displayed in the
DID turns off. The compass will now function normally.
Programmable Features
•TheDIDcanbeusedtovieworchangethefollowingsettings.PushtheUPor
DOWNbutton until System Setup displays, then push the RIGHTbutton.
Scroll through the settings using the UP or DOWN buttons. Push the RIGHTbutton
to change the setting. Push the LEFTbutton to scroll back to a previous menu or
sub menu.
•RadioInfo•TripInfo
•FuelEconomyInfo•TirePressure
•CruiseControlInfo•VehicleInfo
•DigitalVehicleSpeed•StoredWarningMessages
•AnalogVehicleSpeed•TurnMenuOFF
Four Button DID Controls
ELECTRONICS
90
Page 93 of 164
DID Selectable Menu Items
The following items can be selected in the DID menu.
Full Speedometer Analog Or Digital Display
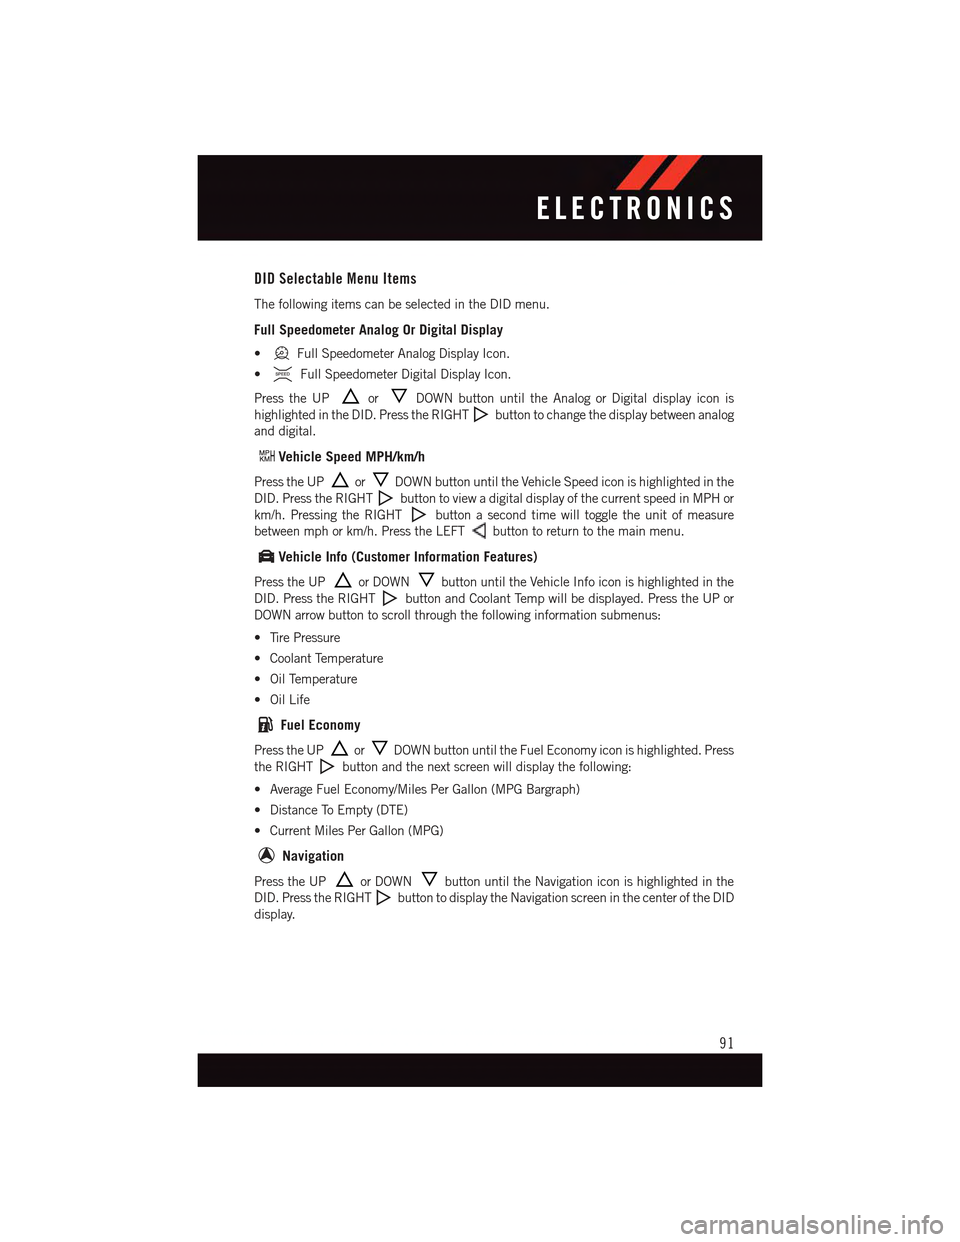
•Full Speedometer Analog Display Icon.
•Full Speedometer Digital Display Icon.
Press the UPorDOWN button until the Analog or Digital display icon is
highlighted in the DID. Press the RIGHTbutton to change the display between analog
and digital.
Vehicle Speed MPH/km/h
Press the UPorDOWN button until the Vehicle Speed icon is highlighted in the
DID. Press the RIGHTbutton to view a digital display of the current speed in MPH or
km/h. Pressing the RIGHTbutton a second time will toggle the unit of measure
between mph or km/h. Press the LEFTbutton to return to the main menu.
Vehicle Info (Customer Information Features)
Press the UPor DOWNbutton until the Vehicle Info icon is highlighted in the
DID. Press the RIGHTbutton and Coolant Temp will be displayed. Press the UP or
DOWN arrow button to scroll through the following information submenus:
•TirePressure
•CoolantTemperature
•OilTemperature
•OilLife
Fuel Economy
Press the UPorDOWN button until the Fuel Economy icon is highlighted. Press
the RIGHTbutton and the next screen will display the following:
•AverageFuelEconomy/MilesPerGallon(MPGBargraph)
•DistanceToEmpty(DTE)
•CurrentMilesPerGallon(MPG)
Navigation
Press the UPor DOWNbutton until the Navigation icon is highlighted in the
DID. Press the RIGHTbutton to display the Navigation screen in the center of the DID
display.
ELECTRONICS
91
Page 102 of 164
ROADSIDE ASSISTANCE
Dial toll-free 1-800-521-2779 for U.S. Residents or 1-800-363-4869 for Canadian
Residents.
•Provideyourname,vehicleidentificationnumber,licenseplatenumber,andyour
location, including the telephone number from which you are calling.
•Brieflydescribethenatureoftheproblemandanswerafewsimplequestions.
•Youwillbegiventhenameoftheserviceproviderandanestimatedtimeofarrival.If
you feel you are in an “unsafe situation”, please let us know. With your consent, we will
contact local police or safety authorities.
INSTRUMENT CLUSTER WARNING LIGHTS
-ElectronicStabilityControl(ESC)Activation/MalfunctionIndicatorLight
The “ESC Activation/Malfunction Indicator Light” in the instrument cluster will come on
when the ignition switch is turned to the ON/RUN position. It should go out with the
engine running. If the “ESC Activation/Malfunction Indicator Light” comes on continu-
ously with the engine running, a malfunction has been detected in the ESC system.
If this light remains on after several ignition cycles, and the vehicle has been driven
several miles (kilometers) at speeds greater than 30 mph (48 km/h), we recommend you
drive to the nearest service center and have the vehicle serviced immediately.
-TirePressureMonitoringSystem(TPMS)Light
Each tire, including the spare (if provided), should be checked monthly when cold and
inflated to the inflation pressure recommended by the vehicle manufacturer on the
vehicle placard or tire inflation pressure label. (If your vehicle has tires of a different size
than the size indicated on the vehicle placard or tire inflation pressure label, you should
determine the proper tire inflation pressure for those tires.)
As an added safety feature, your vehicle has been equipped with a tire pressure
monitoring system (TPMS) that illuminates a low tire pressure telltale when one or more
of your tires is significantly under-inflated. Accordingly, when the low tire pressure telltale
illuminates, you should stop and check your tires as soon as possible, and inflate them to
the proper pressure. Driving on a significantly under-inflated tire causes the tire to
overheat and can lead to tire failure. Under-inflation also reduces fuel efficiency and tire
tread life, and may affect the vehicle’s handling and stopping ability.
IF THE LIGHT STARTS FLASHING INDICATING A LOW TIRE PRESSURE, ADJUST THE AIR
PRESSURE IN THE LOW TIRE TO THE AIR PRESSURE SHOWN ON THE VEHICLE PLACARD OR
TIRE INFLATION PRESSURE LABEL LOCATED ON THE DRIVER'S DOOR.
WHAT TO DO IN EMERGENCIES
100
Page 105 of 164
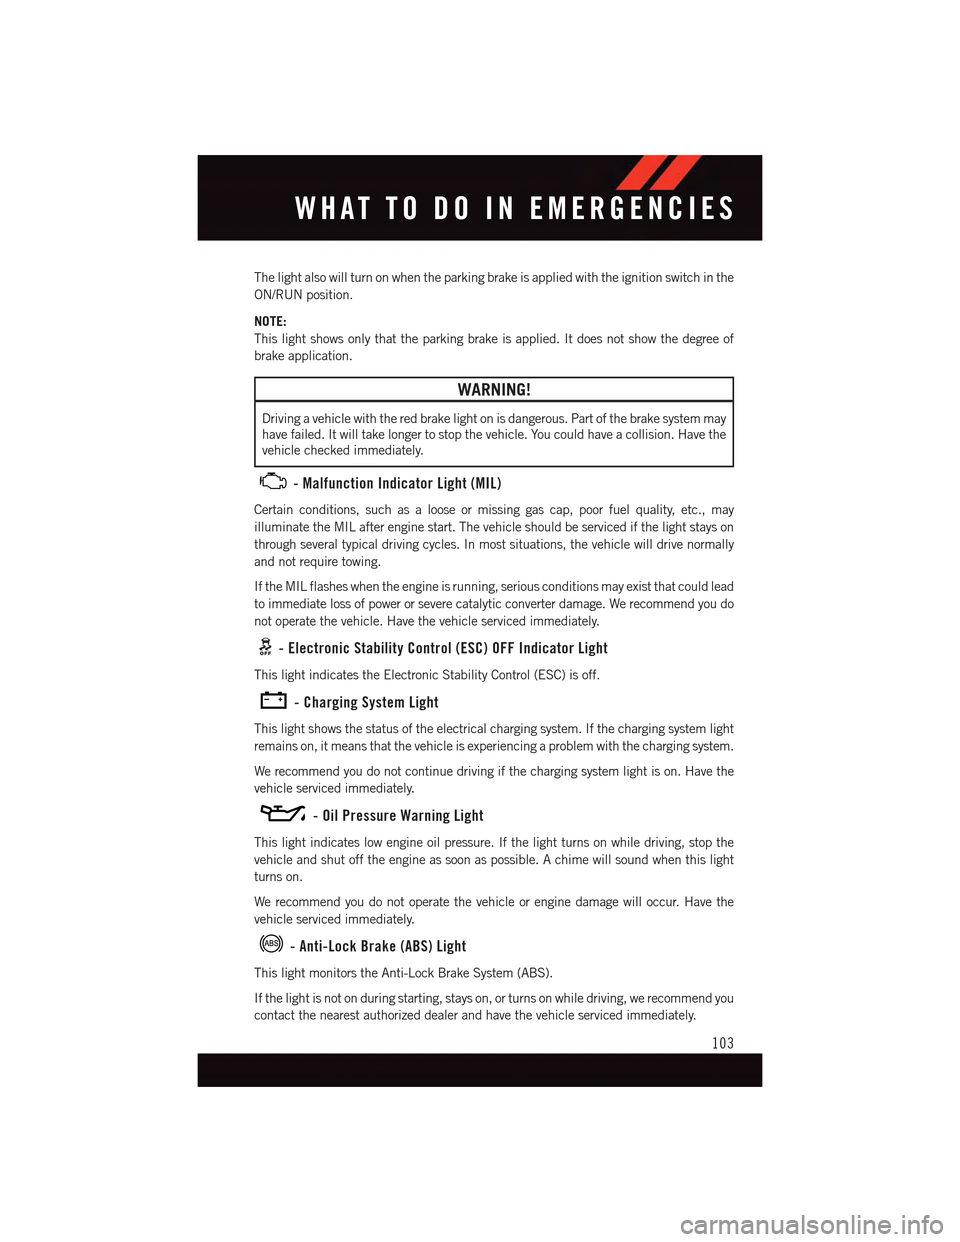
The light also will turn on when the parking brake is applied with the ignition switch in the
ON/RUN position.
NOTE:
This light shows only that the parking brake is applied. It does not show the degree of
brake application.
WARNING!
Driving a vehicle with the red brake light on is dangerous. Part of the brake system may
have failed. It will take longer to stop the vehicle. You could have a collision. Have the
vehicle checked immediately.
-MalfunctionIndicatorLight(MIL)
Certain conditions, such as a loose or missing gas cap, poor fuel quality, etc., may
illuminate the MIL after engine start. The vehicle should be serviced if the light stays on
through several typical driving cycles. In most situations, the vehicle will drive normally
and not require towing.
If the MIL flashes when the engine is running, serious conditions may exist that could lead
to immediate loss of power or severe catalytic converter damage. We recommend you do
not operate the vehicle. Have the vehicle serviced immediately.
-ElectronicStabilityControl(ESC)OFFIndicatorLight
This light indicates the Electronic Stability Control (ESC) is off.
-ChargingSystemLight
This light shows the status of the electrical charging system. If the charging system light
remains on, it means that the vehicle is experiencing a problem with the charging system.
We recommend you do not continue driving if the charging system light is on. Have the
vehicle serviced immediately.
-OilPressureWarningLight
This light indicates low engine oil pressure. If the light turns on while driving, stop the
vehicle and shut off the engine as soon as possible. A chime will sound when this light
turns on.
We recommend you do not operate the vehicle or engine damage will occur. Have the
vehicle serviced immediately.
-Anti-LockBrake(ABS)Light
This light monitors the Anti-Lock Brake System (ABS).
If the light is not on during starting, stays on, or turns on while driving, we recommend you
contact the nearest authorized dealer and have the vehicle serviced immediately.
WHAT TO DO IN EMERGENCIES
103
Page 136 of 164
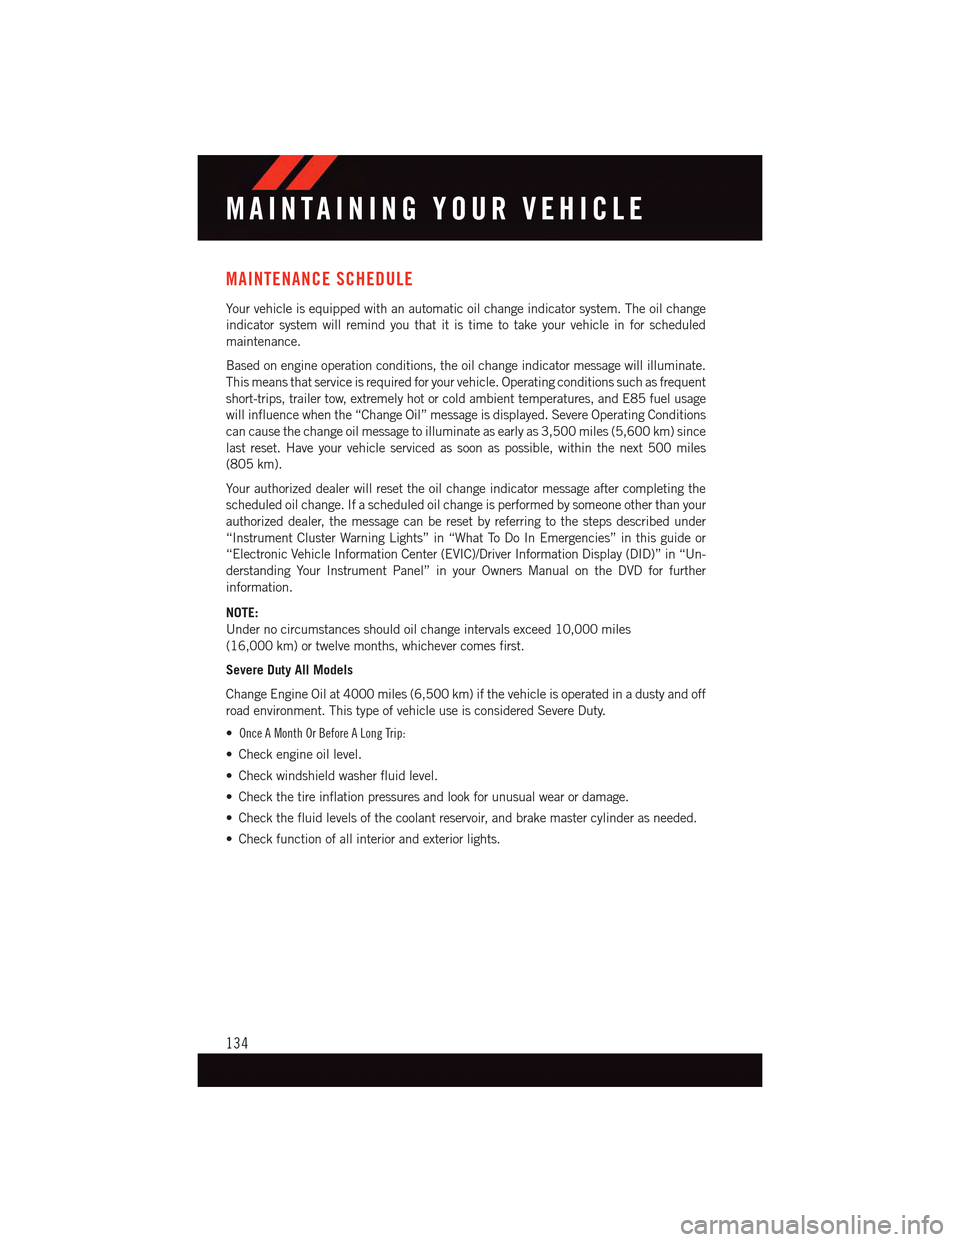
MAINTENANCE SCHEDULE
Yo u r v e h i c l e i s e q u i p p e d w i t h a n a u t o m a t i c o i l c h a n g e i n d i c a t o r s y s t e m . T h e o i l c h a n g e
indicator system will remind you that it is time to take your vehicle in for scheduled
maintenance.
Based on engine operation conditions, the oil change indicator message will illuminate.
This means that service is required for your vehicle. Operating conditions such as frequent
short-trips, trailer tow, extremely hot or cold ambient temperatures, and E85 fuel usage
will influence when the “Change Oil” message is displayed. Severe Operating Conditions
can cause the change oil message to illuminate as early as 3,500 miles (5,600 km) since
last reset. Have your vehicle serviced as soon as possible, within the next 500 miles
(805 km).
Yo u r a u t h o r i z e d d e a l e r w i l l r e s e t t h e o i l c h a n g e i n d i c a t o r m e s s a g e a f t e r c o m p l e t i n g t h e
scheduled oil change. If a scheduled oil change is performed by someone other than your
authorized dealer, the message can be reset by referring to the steps described under
“Instrument Cluster Warning Lights” in “What To Do In Emergencies” in this guide or
“Electronic Vehicle Information Center (EVIC)/Driver Information Display (DID)” in “Un-
derstanding Your Instrument Panel” in your Owners Manual on the DVD for further
information.
NOTE:
Under no circumstances should oil change intervals exceed 10,000 miles
(16,000 km) or twelve months, whichever comes first.
Severe Duty All Models
Change Engine Oil at 4000 miles (6,500 km) if the vehicle is operated in a dusty and off
road environment. This type of vehicle use is considered Severe Duty.
• Once A Month Or Before A Long Trip:
•Checkengineoillevel.
•Checkwindshieldwasherfluidlevel.
•Checkthetireinflationpressuresandlookforunusualwearordamage.
•Checkthefluidlevelsofthecoolantreservoir,andbrakemastercylinderasneeded.
•Checkfunctionofallinteriorandexteriorlights.
MAINTAINING YOUR VEHICLE
134
Page 155 of 164
Inspection . . . . . . . . . . . . .133
Points to Remember.......133
Pressure Cap . . . . . . . . . . .133
Selection of Coolant (Antifreeze)..133
Corrosion Protection..........133
Cruise Light . . . . . . . . . . . . . . .36
Customer Assistance.......146, 147
Customer Programmable Features . . .94
Defects, Reporting...........148Dimmer Control.............35Dimmer Switch, Headlight.......35Disabled Vehicle Towing . . . . . . . .100DisposalAntifreeze (Engine Coolant)....133Door Locks.................8Driver Cockpit...............4
ElectronicsYo u r Ve h i c l e ' s S o u n dSystem.............50,51Electronic Stability Control (ESC) . . .100Electronic Stability Control (ESC) OFFIndicator . . . . . . . . . . . . . .103Electronic Throttle Control WarningLight . . . . . . . . . . . . . . . . .104Emergency, In Case ofFreeing Vehicle When Stuck . . .123Jacking . . . . . . . . . . . . . .108Overheating . . . . . . . . . . . .107To w i n g . . . . . . . . . . . . . . . 1 0 0EngineAir Cleaner.............133Break-In Recommendations....32Checking Oil Level.........133Cooling . . . . . . . . . . . . . . .133Oil . . . . . . . . . . . . . .132, 133Oil Filler Cap...........133Oil Selection . . . . . . . . .132, 133Overheating . . . . . . . . . . . .107Starting...............12Stopping..............12Te m p e r a t u r e W a r n i n g L i g h t....102Event Data Recorder..........124Exhaust System............133
FiltersAir Cleaner.............133
Engine Oil.............133
Engine Oil Disposal........133
Flashers
Tu r n S i g n a l............106
Flat Tire Changing...........108
Fluid, Brake . . . . . . . . . . . . . .133
Fluid Capacities............132
Fluids . . . . . . . . . . . . . . .132, 133
Fluids, Lubricants and Genuine
Parts . . . . . . . . . . . . . . . . .132Fog Lights . . . . . . . . . . . . .35, 106Folding Rear Seat............29Freeing A Stuck Vehicle . . . . . . . .123Front Heated Seats...........29FuelCapacity..............132Filler Cap (Gas Cap)........104Specifications...........132Ta n k C a p a c i t y...........132Fuse . . . . . . . . . . . . . . . . . .139Fuses . . . . . . . . . . . . . . . . . .139
Garage Door Opener (HomeLink®)...94Gasoline (Fuel).............132General Maintenance.........133Glass Cleaning.............133
HeadlightsAutomatic . . . . . . . . . . . . . .35Cleaning..............133Dimmer Switch...........35High Beam.............34Head Restraints.............26Heated Seats..............29Heated Steering Wheel.........30High Beam Indicator..........106High Beam/Low Beam Select (Dimmer)Switch . . . . . . . . . . . . . . . .34HomeLink®(Garage Door Opener) . . .94Hood Release.............125
Instrument Cluster............6Instrument Cluster Indicator Lights . .106Instrument Cluster Warning Lights . .100Instrument Panel Cover........133Instrument Panel Lens Cleaning . . .133Interior Appearance Care.......133Intermittent Wipers (Delay Wipers) . . .33
INDEX
153