reset DODGE DURANGO 2011 3.G User Guide
[x] Cancel search | Manufacturer: DODGE, Model Year: 2011, Model line: DURANGO, Model: DODGE DURANGO 2011 3.GPages: 576, PDF Size: 3.57 MB
Page 223 of 576

The power inverter is designed with built-in overload
protection. If the power rating of 150 Watts is exceeded,
the power inverter will automatically shut down. Once
the electrical device has been removed from the outlet the
inverter should automatically reset. If the power rating
exceeds approximately 170 Watts, the power inverter
may have to be reset manually. To reset the inverter
manually press the power inverter button OFF and ON.
To avoid overloading the circuit, check the power ratings
on electrical devices prior to using the inverter.The power inverter switch is located
on the switch bank below the Climate
Controls. To turn on the power outlet,
press the switch once. Press the switch
a second time to turn the power outlet
off. NOTE:
When the power inverter switch is pressed,
there will be a delay of approximately one second before
the inverter status indicator turns ON. The status indica-
tor of the AC power inverter indicates whether the
inverter is producing AC power.
WARNING!
To avoid serious injury or death:
•Do not use a three-prong adaptor.
•Do not insert any objects into the receptacles.
•Do not touch with wet hands.
•Close the lid when not in use.
•If this outlet is mishandled it may cause an electric
shock and failure.
3
UNDERSTANDING THE FEATURES OF YOUR VEHICLE 221
Page 251 of 576

as it was before the repair or service. If s/he cannot do so,
then the odometer must be set at zero, and a sticker must
be placed in the door jamb stating what the mileage was
before the repair or service. It is a good idea for you to
make a record of the odometer reading before the repair/
service, so that you can be sure that it is properly reset, or
that the door jamb sticker is accurate if the odometer
must be reset at zero.
When the appropriate conditions exist, this display
shows the Electronic Vehicle Information Center (EVIC)
messages. Refer to “Electronic Vehicle Information Cen-
ter”.
13. Electronic Vehicle Information Center (EVIC) White
Telltale Area
This area will display the EVIC reconfigurable white
telltales. For further information, refer to “Electronic
vehicle Information Center (EVIC)”.14. 4 LOW
This light alerts the driver that the vehicle is in
the four-wheel drive LOW mode. The front and
rear driveshafts are mechanically locked to-
gether forcing the front and rear wheels to
rotate at the same speed. Low range provides a greater
gear reduction ratio to provide increased torque at the
wheels.
For further information on four-wheel drive operation
and proper use, refer to “Four-Wheel Drive Operation —
If Equipped” in “Starting And Operating”.
15. Hill Descent Indicator — If Equipped The symbol illuminates (is armed) when the
4WD Lock switch is activated and the trans-
mission range indicator is in LOW or REVERSE
position (Off-Road Mode).
16. Speedometer
Indicates vehicle speed.
4
UNDERSTANDING YOUR INSTRUMENT PANEL 249
Page 261 of 576
•Ignition or Accessory On Lights On
•Oil temp high Speed may be limited
•Oil temp high Speed limited
•Turn signal on
•Park assist on
•Warning object detected
•Remote start aborted — Door ajar
•Remote start aborted — Hood ajar
•Remote start aborted — L/Gate ajar
•Remote start aborted — Fuel low
•Remote start disabled — Start Vehicle to Reset
•Remote start active — Push Start Button
•Remote start active — Insert Key and Turn to Run
•Memory 1 profile set
•Memory 2 profile set
•Memory system unavailable — Not in Park
•Memory system unavailable — Seatbelt buckled
•Memory 1 profile recall
•Memory 2 profile recall
•Wrong Key
•Damaged Key
•Key not programmed
•Park Assist Disabled
•Automatic high beams on
•Automatic high beams off
•Service All Wheel Drive System
4
UNDERSTANDING YOUR INSTRUMENT PANEL 259
Page 269 of 576
Engine Oil Change Indicator System
Oil Change Due
Your vehicle is equipped with an engine oil change
indicator system. The “Oil Change Due” message will
flash in the EVIC display for approximately 10 seconds
after a single chime has sounded, to indicate the next
scheduled oil change interval. The engine oil change
indicator system is duty cycle based, which means the
engine oil change interval may fluctuate, dependent
upon your personal driving style.
Unless reset, this message will continue to display each
time you turn the ignition switch to the ON/RUN
position or cycle the ignition to the ON/RUN position if
equipped with Keyless Enter-N-Go. To turn off the
message temporarily, press and release the MENU but-
ton. To reset the oil change indicator system (after
performing the scheduled maintenance) refer to the fol-
lowing procedure.Vehicles Equipped With Keyless Enter-N-Go
1. Without pressing the brake pedal, cycle the ignition to
the ON/RUN position (Do not start the engine.)
2. Fully depress the accelerator pedal, slowly, three times
within 10 seconds.
3. Cycle the ignition to the OFF/LOCK position.
Vehicles Not Equipped With Keyless Enter-N-Go
1. Turn the ignition switch to the ON/RUN position (Do
not start the engine.)
2. Fully depress the accelerator pedal, slowly, three times
within 10 seconds.
3. Turn the ignition switch to the OFF/LOCK position.
NOTE:
If the indicator message illuminates when you
start the vehicle, the oil change indicator system did not
reset. If necessary, repeat this procedure.
4
UNDERSTANDING YOUR INSTRUMENT PANEL 267
Page 270 of 576
Fuel Economy
Press and release the UP/DOWN buttons until one of the
following Fuel Economy Functions displays in the EVIC:
•Average Fuel Economy/Fuel Saver Mode
•Distance To Empty
Average Fuel Economy / Fuel Saver Mode —
If Equipped
This feature shows the average fuel economy since the
last reset. To reset the average fuel economy display,
press and release the SELECT button once while average
fuel economy is highlighted. Once reset, the history
information will be erased, and the averaging will con-
tinue from the last fuel average reading before the reset.
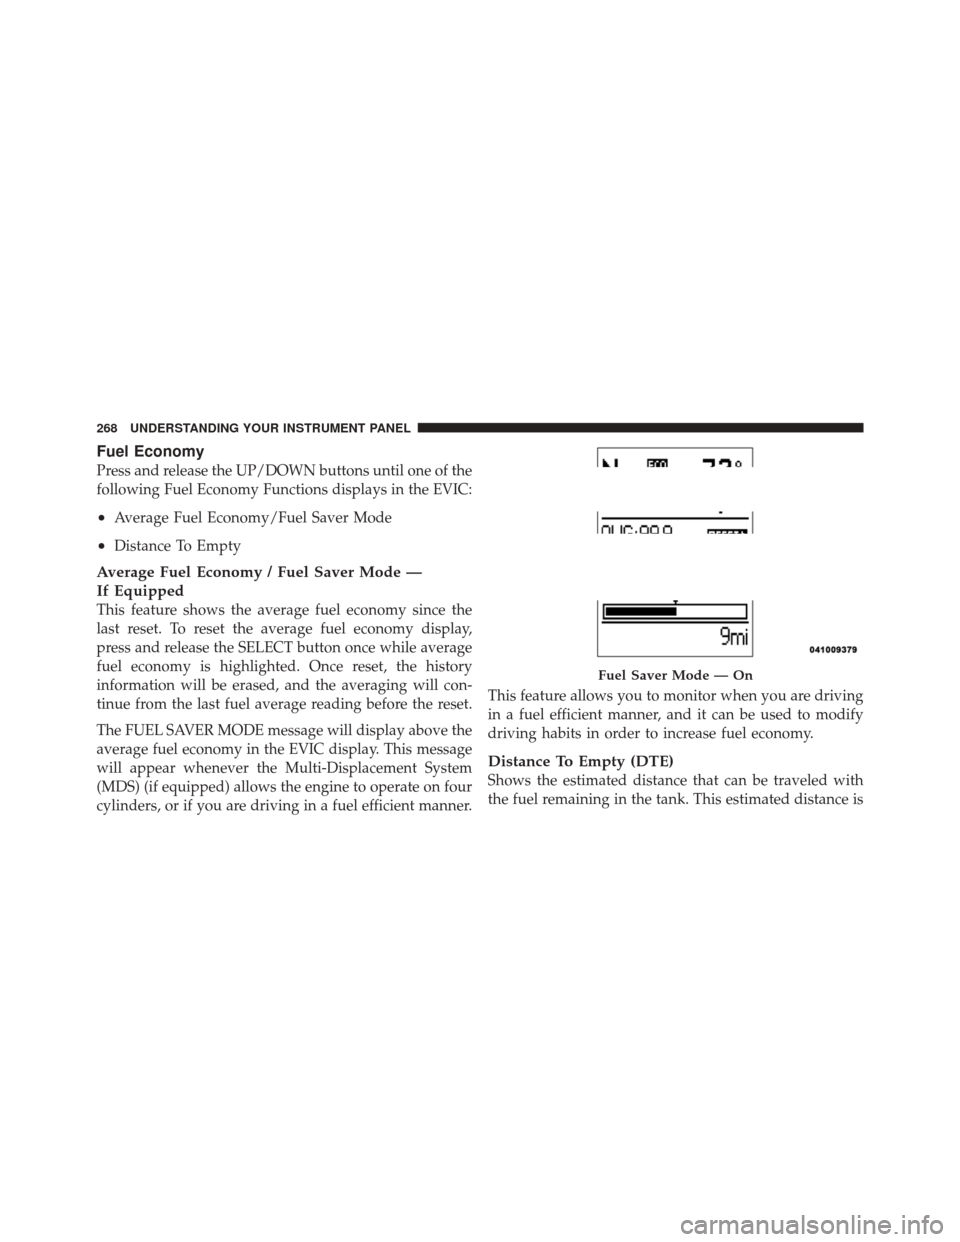
The FUEL SAVER MODE message will display above the
average fuel economy in the EVIC display. This message
will appear whenever the Multi-Displacement System
(MDS) (if equipped) allows the engine to operate on four
cylinders, or if you are driving in a fuel efficient manner.This feature allows you to monitor when you are driving
in a fuel efficient manner, and it can be used to modify
driving habits in order to increase fuel economy.
Distance To Empty (DTE)
Shows the estimated distance that can be traveled with
the fuel remaining in the tank. This estimated distance is
Fuel Saver Mode — On
268 UNDERSTANDING YOUR INSTRUMENT PANEL
Page 271 of 576
determined by a weighted average of the instantaneous
and average fuel economy, according to the current fuel
tank level. DTE cannot be reset through the SELECT
button.
NOTE:Significant changes in driving style or vehicle
loading will greatly affect the actual drivable distance of
the vehicle, regardless of the DTE displayed value.
When the DTE value is less than 30 miles (48 km)
estimated driving distance, the DTE display will change
to a “LOW FUEL” message. This display will continue
until the vehicle runs out of fuel. Adding a significant
amount of fuel to the vehicle will turn off the “LOW
FUEL” message and a new DTE value will display.
Vehicle Speed
This feature allows you to monitor your vehicle speed on
the EVIC display, press and release the SELECT button to
change the units of measure between in MPH or km/h.
Trip Info
This feature allows you to track the total distance trav-
eled since the last reset and the elapsed time of travel.
Press and release the UP/DOWN buttons until one of the
following Trip Functions displays in the EVIC:
•Trip A
•Trip B
•Elapsed Time
Press the UP/DOWN buttons to cycle through all the
Trip Computer functions. The Trip Functions mode dis-
plays the following information:
Trip A
Shows the total distance traveled for Trip A since the last
reset.
4
UNDERSTANDING YOUR INSTRUMENT PANEL 269
Page 272 of 576

Trip B
Shows the total distance traveled for Trip B since the last
reset.
Elapsed Time
Shows the total elapsed time of travel since the last reset
when the ignition switch is in the ACC position. Elapsed
time will increment when the ignition switch is in the ON
or START position.
To Reset The Display
Press and release the SELECT button once to clear the
resettable function being displayed. To reset all resettable
functions, press and hold the SELECT button for two
seconds. Current display will reset along with other
functions.
Vehicle Info (Customer Information Features)
Press and release the UP or DOWN button until “Vehicle
Info” displays in the EVIC and press the SELECT button.
Press the UP and DOWN button to scroll through the
available information displays, then press SELECT to
display any one of the following choices.
•Coolant Temp
Displays the actual coolant temperature.
•Oil Temperature
Displays the actual oil temperature.
•Oil Pressure
Displays the actual oil pressure.
•Trans Temperature
Displays the actual transmission temperature.
•Engine Hours
Displays the number of hours of engine operation.
270 UNDERSTANDING YOUR INSTRUMENT PANEL
Page 273 of 576

Units
Press and release the UP or DOWN button until “Units”
displays in the EVIC and press the SELECT button. The
EVIC, odometer, and navigation system (if equipped) can
be changed between English and Metric units of mea-
sure. To make your selection, scroll up or down until the
preferred setting is highlighted, then press and release
the SELECT button until a check-mark appears next to
the setting, showing that the setting has been selected.
Keyless Enter-N-Go Display — If Equipped
When the ENGINE START/STOP button is pressed to
change ignition switch positions, the Keyless Enter-N-Go
icon momentarily appears in the lower right corner of the
EVIC display showing the new ignition switch position.
Refer to “Keyless Enter-N-Go” in “Starting And Operat-
ing” for more information.NOTE:
Under certain conditions, the display may be
superseded by another display of higher priority. But
when the ignition switch position is changed, the display
always re-appears.
Compass / Temperature Display
The compass readings indicate the direction the vehicle is
facing. The EVIC will display one of eight compass
readings and the outside temperature.
NOTE: The system will display the last known outside
temperature when starting the vehicle and may need to
be driven several minutes before the updated tempera-
ture is displayed. Engine temperature can also affect the
displayed temperature; therefore, temperature readings
are not updated when the vehicle is not moving.
Automatic Compass Calibration
This compass is self-calibrating, which eliminates the
need to manually reset the compass. When the vehicle is
new, the compass may appear erratic and the EVIC will
4
UNDERSTANDING YOUR INSTRUMENT PANEL 271
Page 277 of 576

feature showing the system has been activated, or the
check-mark is removed showing the system has been
deactivated.
Remote Unlock Sequence
WhenUnlock Driver Door Only On 1st Press is selected,
only the driver’s door will unlock on the first press of the
RKE transmitter UNLOCK button. When Driver Door 1st
Press is selected, you must press the RKE transmitter
UNLOCK button twice to unlock the passenger’s doors.
When Unlock All Doors On 1st Press is selected, all of
the doors will unlock on the first press of the RKE
transmitter UNLOCK button. To make your selection,
scroll up or down until the preferred setting is high-
lighted, then press and release the SELECT button until a
check-mark appears next to the setting, showing that the
setting has been selected.
NOTE: If the vehicle is equipped with passive entry and
the EVIC is programmed to Unlock All Doors 1st Press, all doors will unlock no matter which passive entry
equipped door handle is grasped. If Driver Door 1st Press
is programmed, only the driver ’s door will unlock when
the driver ’s door is grasped. With passive entry, if Driver
Door 1st Press is programmed touching the handle more
than once will only result in the driver ’s door opening.
You have to touch a passenger passive entry equipped
door handle to unlock all doors passively when Driver ’s
Door Only is programmed in the EVIC.
RKE Linked To Memory
When this feature is selected, you can use your RKE
transmitter to recall one of two pre-programmed memory
profiles. Each memory profile contains desired position
settings for the driver seat, side mirror, adjustable pedals
(if equipped), power tilt and telescopic steering column
(if equipped), and a set of desired radio station presets.
When OFF is selected, only the MEMORY switch on the
driver’s door trim panel will recall memory profiles. To
make your selection, press and release the SELECT
4
UNDERSTANDING YOUR INSTRUMENT PANEL 275
Page 289 of 576
and 12 FM stations to be stored into pushbutton memory.
The stations stored in SET 2 memory can be selected by
pressing the pushbutton twice.
Every time a preset button is used, a corresponding
button number will display.
Buttons1-6
These buttons tune the radio to the stations that you
commit to pushbutton memory (12 AM and 12 FM
stations).
DISC Button
Pressing the DISC button will allow you to switch from
AM/FM modes to Disc modes.
Operation Instructions — CD MODE For CD And
MP3 Audio Play
NOTE:
•The ignition switch must be in the ON or ACC
position to operate the radio.
•This radio is capable of playing compact discs (CD),
recordable compact discs (CD-R), rewritable compact
discs (CD-RW), compact discs with MP3 tracks and
multisession compact discs with CD and MP3 tracks.
Inserting Compact Disc(s)
Gently insert one CD into the CD player with the CD
label facing up. The CD will automatically be pulled into
the CD player and the CD icon will illuminate on the
radio display. If a CD does not go into the slot more than
1.0 in (2.5 cm), a disc may already be loaded and must be
ejected before a new disc can be loaded.
If you insert a disc with the ignition ON and the radio
ON, the unit will switch from radio to CD mode and
begin to play when you insert the disc. The display will
show the track number, and index time in minutes and
seconds. Play will begin at the start of track 1.
4
UNDERSTANDING YOUR INSTRUMENT PANEL 287