DODGE DURANGO 2011 3.G Owners Manual
Manufacturer: DODGE, Model Year: 2011, Model line: DURANGO, Model: DODGE DURANGO 2011 3.GPages: 576, PDF Size: 3.57 MB
Page 461 of 576
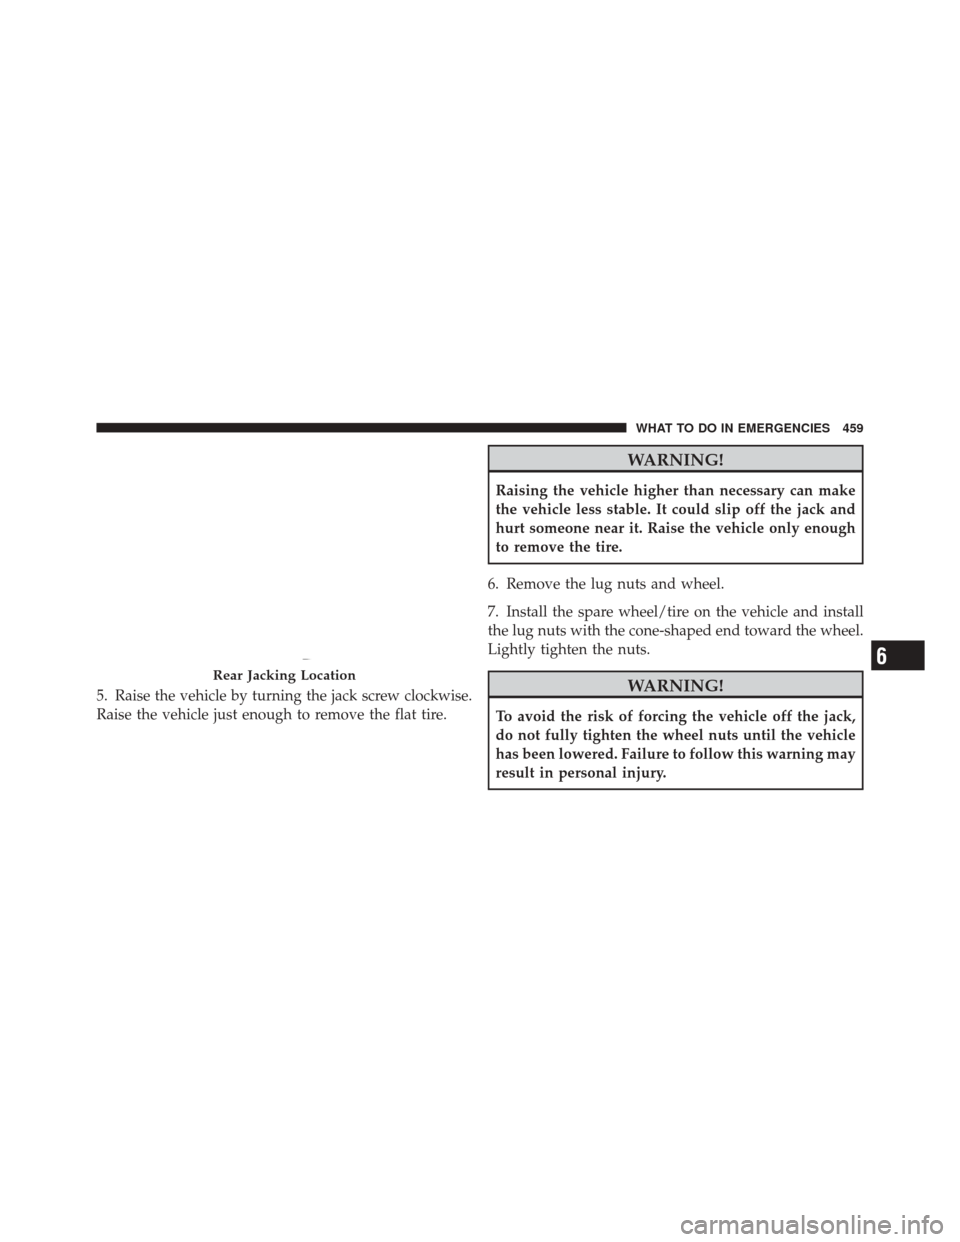
5. Raise the vehicle by turning the jack screw clockwise.
Raise the vehicle just enough to remove the flat tire.
WARNING!
Raising the vehicle higher than necessary can make
the vehicle less stable. It could slip off the jack and
hurt someone near it. Raise the vehicle only enough
to remove the tire.
6. Remove the lug nuts and wheel.
7. Install the spare wheel/tire on the vehicle and install
the lug nuts with the cone-shaped end toward the wheel.
Lightly tighten the nuts.
WARNING!
To avoid the risk of forcing the vehicle off the jack,
do not fully tighten the wheel nuts until the vehicle
has been lowered. Failure to follow this warning may
result in personal injury.
Rear Jacking Location6
WHAT TO DO IN EMERGENCIES 459
Page 462 of 576
8. Lower the vehicle by turning the jack screw counter-
clockwise, and remove the jack and wheel blocks.
9. Finish tightening the lug nuts. Push down on the
wrench while tightening for increased leverage. Alternate
nuts until each nut has been tightened twice. The correct
wheel nut tightness is 110 ft lbs (150 N·m). If in doubt
about the correct tightness, have them checked with a
torque wrench by your authorized dealer or at a service
station.
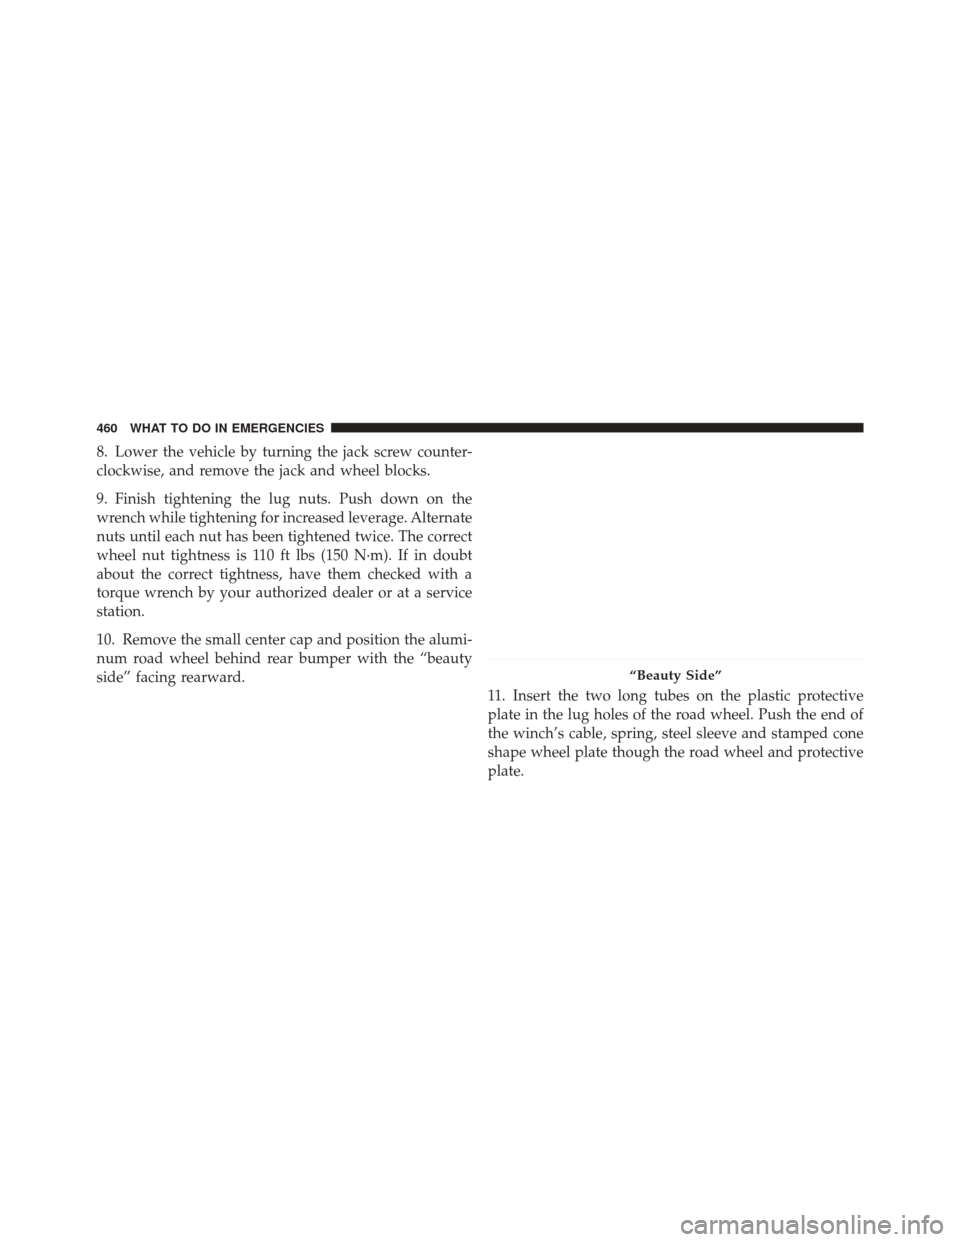
10. Remove the small center cap and position the alumi-
num road wheel behind rear bumper with the “beauty
side” facing rearward.11. Insert the two long tubes on the plastic protective
plate in the lug holes of the road wheel. Push the end of
the winch’s cable, spring, steel sleeve and stamped cone
shape wheel plate though the road wheel and protective
plate.
“Beauty Side”
460 WHAT TO DO IN EMERGENCIES
Page 463 of 576
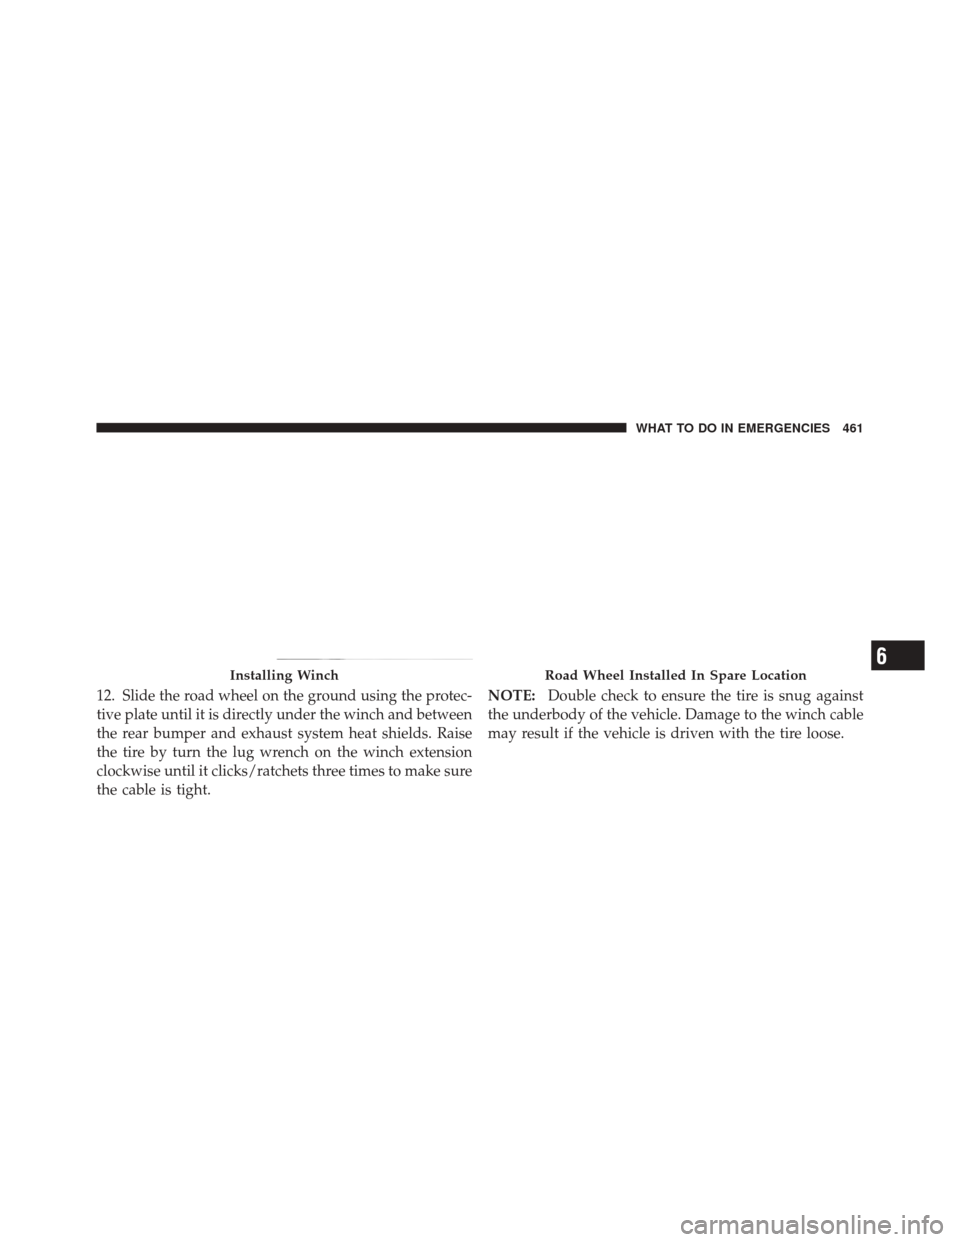
12. Slide the road wheel on the ground using the protec-
tive plate until it is directly under the winch and between
the rear bumper and exhaust system heat shields. Raise
the tire by turn the lug wrench on the winch extension
clockwise until it clicks/ratchets three times to make sure
the cable is tight.NOTE:
Double check to ensure the tire is snug against
the underbody of the vehicle. Damage to the winch cable
may result if the vehicle is driven with the tire loose.
Installing WinchRoad Wheel Installed In Spare Location6
WHAT TO DO IN EMERGENCIES 461
Page 464 of 576
WARNING!
Do not use power tools to winch the tire up or down.
Impact-type tools may damage the winch mecha-
nism.
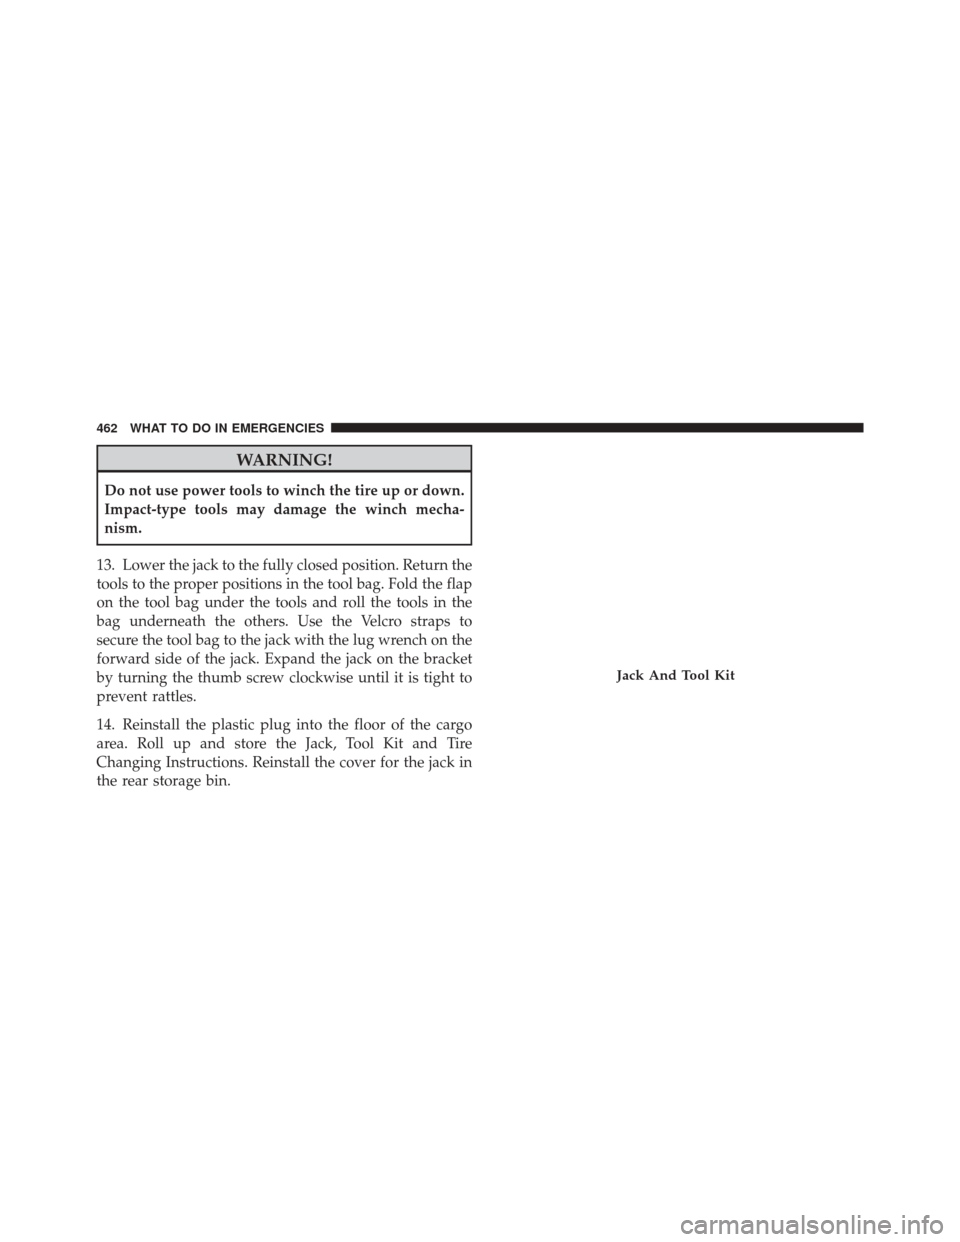
13. Lower the jack to the fully closed position. Return the
tools to the proper positions in the tool bag. Fold the flap
on the tool bag under the tools and roll the tools in the
bag underneath the others. Use the Velcro straps to
secure the tool bag to the jack with the lug wrench on the
forward side of the jack. Expand the jack on the bracket
by turning the thumb screw clockwise until it is tight to
prevent rattles.
14. Reinstall the plastic plug into the floor of the cargo
area. Roll up and store the Jack, Tool Kit and Tire
Changing Instructions. Reinstall the cover for the jack in
the rear storage bin.
Jack And Tool Kit
462 WHAT TO DO IN EMERGENCIES
Page 465 of 576
15. Have the aluminum road wheel and tire repaired as
soon as possible and properly secure the spare tire, jack
and tool kit.
WARNING!
A loose tire or jack, thrown forward in a collision or
hard stop could endanger the occupants of the ve-
hicle. Always stow the jack parts and the spare tire in
the places provided.
JUMP-STARTING
If your vehicle has a discharged battery it can be jump-
started using a set of jumper cables and a battery in
another vehicle or by using a portable battery booster
pack. Jump-starting can be dangerous if done improperly
so please follow the procedures in this section carefully.
NOTE:When using a portable battery booster pack
follow the manufacturer’s operating instructions and
precautions.
Jack And Tool Kit Properly Stored6
WHAT TO DO IN EMERGENCIES 463
Page 466 of 576
CAUTION!
Do not use a portable battery booster pack or any
other booster source with a system voltage greater
than 12 Volts or damage to the battery, starter motor,
alternator or electrical system may occur.
WARNING!
Do not attempt jump-starting if the battery is frozen.
It could rupture or explode and cause personal injury.
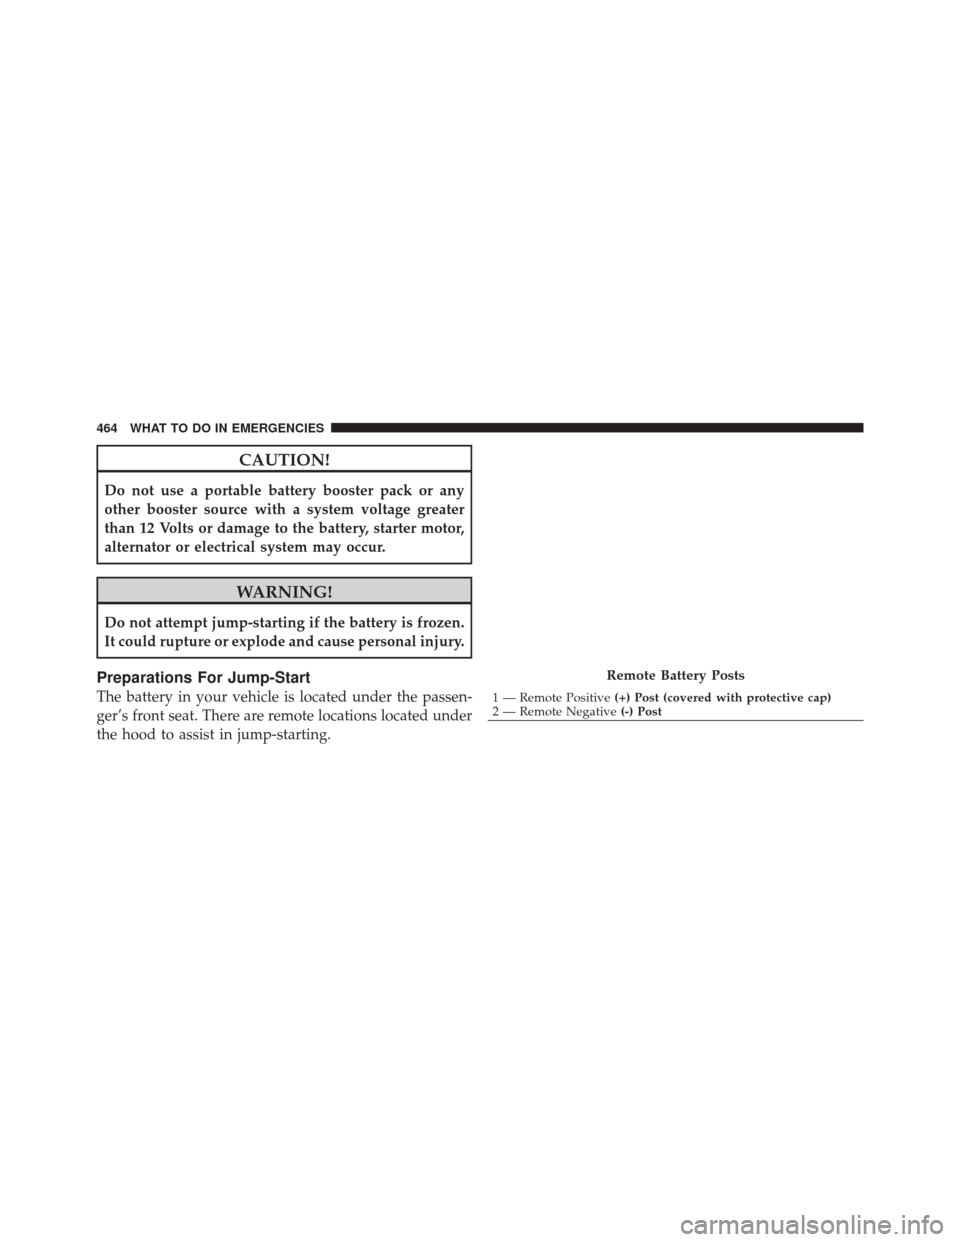
Preparations For Jump-Start
The battery in your vehicle is located under the passen-
ger’s front seat. There are remote locations located under
the hood to assist in jump-starting.
Remote Battery Posts
1 — Remote Positive(+) Post (covered with protective cap)
2 — Remote Negative (-) Post
464 WHAT TO DO IN EMERGENCIES
Page 467 of 576
WARNING!
•Take care to avoid the radiator cooling fan when-
ever the hood is raised. It can start anytime the
ignition switch is on. You can be injured by
moving fan blades.
•Remove any metal jewelry such as watch bands or
bracelets that might make an inadvertent electrical
contact. You could be seriously injured.
•Batteries contain sulfuric acid that can burn your
skin or eyes and generate hydrogen gas which is
flammable and explosive. Keep open flames or
sparks away from the battery.
1. Set the parking brake, shift the automatic transmission
into PARK and turn the ignition to LOCK.
2. Turn off the heater, radio, and all unnecessary electri-
cal accessories. 3. Remove the protective cover over the remote positive
(+)
battery post. Pull upward on the cover to remove it.
4. If using another vehicle to jump-start the battery, park
the vehicle within the jumper cables reach, set the
parking brake and make sure the ignition is OFF.
WARNING!
Do not allow vehicles to touch each other as this
could establish a ground connection and personal
injury could result.
Jump-Starting Procedure
WARNING!
Failure to follow this procedure could result in per-
sonal injury or property damage due to battery ex-
plosion.
6
WHAT TO DO IN EMERGENCIES 465
Page 468 of 576
CAUTION!
Failure to follow these procedures could result in
damage to the charging system of the booster vehicle
or the discharged vehicle.
1. Connect the positive (+)end of the jumper cable to the
remote positive (+)post of the discharged vehicle.
2. Connect the opposite end of the positive (+)jumper
cable to the positive (+)post of the booster battery.
3. Connect the negative end (-)of the jumper cable to the
negative (-)post of the booster battery.
4. Connect the opposite end of the negative (-)jumper
cable to the remote negative (-)post of the vehicle with
the discharged battery.
WARNING!
Do not connect the cable to the negative post (-) of the
discharged battery. The resulting electrical spark
could cause the battery to explode and could result in
personal injury.
5. Start the engine in the vehicle that has the booster
battery, let the engine idle a few minutes, and then start
the engine in the vehicle with the discharged battery.
Once the engine is started, remove the jumper cables in
the reverse sequence:
6. Disconnect the negative (-)jumper cable from the
remote negative (-)post of the discharged vehicle.
7. Disconnect the negative end (-)of the jumper cable
from the negative (-)post of the booster battery.
466 WHAT TO DO IN EMERGENCIES
Page 469 of 576
8. Disconnect the opposite end of the positive(+)jumper
cable from the positive (+)post of the booster battery.
9. Disconnect the positive (+)end of the jumper cable
from the remote positive (+)post of the discharged
vehicle.
10. Reinstall the protective cover over the remote posi-
tive (+)battery post of the discharged vehicle.
If frequent jump-starting is required to start your vehicle
you should have the battery and charging system in-
spected at your authorized dealer.CAUTION!
Accessories that can be plugged into the vehicle
power outlets draw power from the vehicle’s battery,
even when not in use (i.e., cellular phones, etc.).
Eventually, if plugged in long enough, the vehicle’s
battery will discharge sufficiently to degrade battery
life and/or prevent the engine from starting.
EMERGENCY TOW HOOKS — IF EQUIPPED
If your vehicle is equipped with tow hooks, there will be
one in the rear and two mounted on the front of the
vehicle. The rear hook will be located on the driver’s side
of the vehicle.
NOTE: For off-road recovery, it is recommended to use
both of the front tow hooks to minimize the risk of
damage to the vehicle.6
WHAT TO DO IN EMERGENCIES 467
Page 470 of 576
WARNING!
•Chains are not recommended for freeing a stuck
vehicle. Chains may break, causing serious injury
or death.
•Stand clear of vehicles when pulling with tow
hooks. Tow straps may become disengaged, caus-
ing serious injury.
CAUTION!
Tow hooks are for emergency use only, to rescue a
vehicle stranded off road. Do not use tow hooks for
tow truck hookup or highway towing. You could
damage your vehicle.
SHIFT LEVER OVERRIDE
If a malfunction occurs and the shift lever cannot be
moved out of the PARK position, you can use the
following procedure to temporarily move the shift lever:
1. If the engine is running, press the START/STOP
button to turn it off. Do not start the engine.
2. Firmly set the parking brake.
3. Remove the rubber liner from the cupholder (located
next to the shifter on the center console).
4. Using a screwdriver or similar tool, carefully remove
the shift lever override access cover, located on the
bottom of the cupholder.
468 WHAT TO DO IN EMERGENCIES