remote start DODGE DURANGO 2014 3.G Owner's Manual
[x] Cancel search | Manufacturer: DODGE, Model Year: 2014, Model line: DURANGO, Model: DODGE DURANGO 2014 3.GPages: 188, PDF Size: 3.8 MB
Page 57 of 188
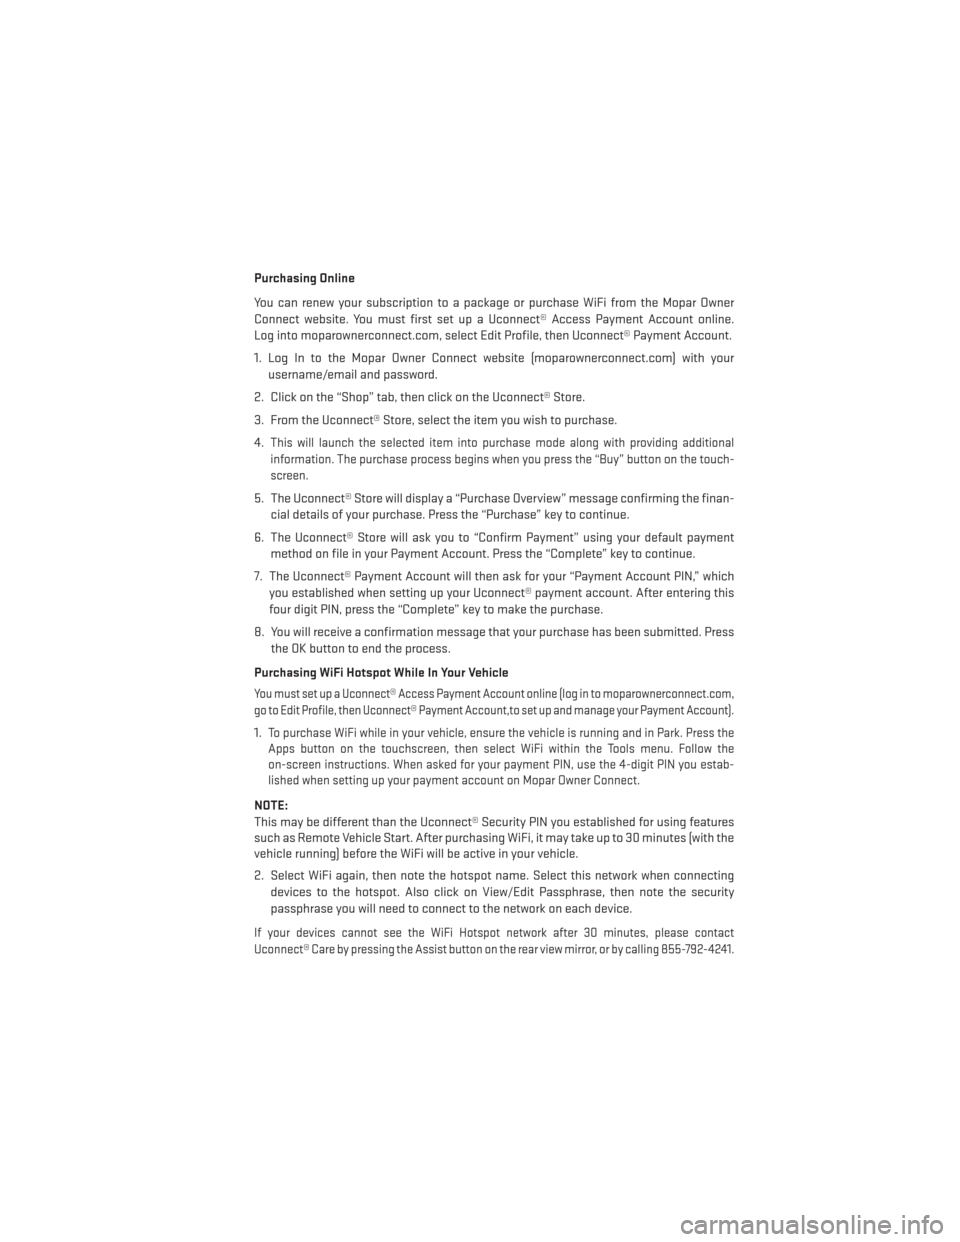
Purchasing Online
You can renew your subscription to a package or purchase WiFi from the Mopar Owner
Connect website. You must first set up a Uconnect® Access Payment Account online.
Log into moparownerconnect.com, select Edit Profile, then Uconnect® Payment Account.
1. Log In to the Mopar Owner Connect website (moparownerconnect.com) with yourusername/email and password.
2. Click on the “Shop” tab, then click on the Uconnect® Store.
3. From the Uconnect® Store, select the item you wish to purchase.
4.
This will launch the selected item into purchase mode along with providing additional
information. The purchase process begins when you press the “Buy” button on the touch-
screen.
5. The Uconnect® Store will display a “Purchase Overview” message confirming the finan- cial details of your purchase. Press the “Purchase” key to continue.
6. The Uconnect® Store will ask you to “Confirm Payment” using your default payment method on file in your Payment Account. Press the “Complete” key to continue.
7. The Uconnect® Payment Account will then ask for your “Payment Account PIN,” which you established when setting up your Uconnect® payment account. After entering this
four digit PIN, press the “Complete” key to make the purchase.
8. You will receive a confirmation message that your purchase has been submitted. Press the OK button to end the process.
Purchasing WiFi Hotspot While In Your Vehicle
You must set up a Uconnect® Access Payment Account online (log in to moparownerconnect.com,
go to Edit Profile, then Uconnect® Payment Account,to set up and manage your Payment Account).
1.To purchase WiFi while in your vehicle, ensure the vehicle is running and in Park. Press the
Apps button on the touchscreen, then select WiFi within the Tools menu. Follow the
on-screen instructions. When asked for your payment PIN, use the 4-digit PIN you estab-
lished when setting up your payment account on Mopar Owner Connect.
NOTE:
This may be different than the Uconnect® Security PIN you established for using features
such as Remote Vehicle Start. After purchasing WiFi, it may take up to 30 minutes (with the
vehicle running) before the WiFi will be active in your vehicle.
2. Select WiFi again, then note the hotspot name. Select this network when connecting
devices to the hotspot. Also click on View/Edit Passphrase, then note the security
passphrase you will need to connect to the network on each device.
If your devices cannot see the WiFi Hotspot network after 30 minutes, please contact
Uconnect® Care by pressing the Assist button on the rear view mirror, or by calling 855-792-4241.
ELECTRONICS
55
Page 61 of 188
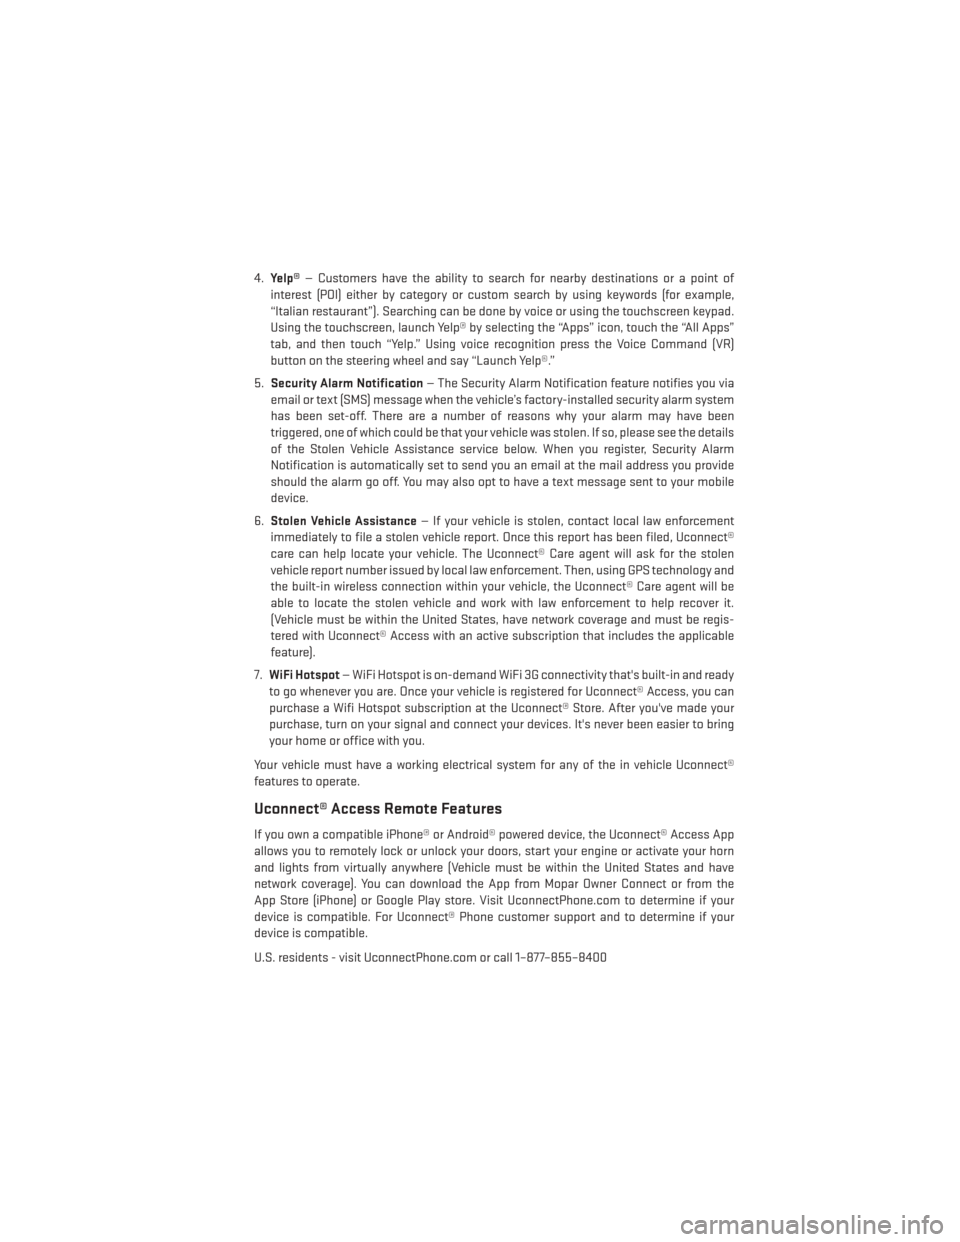
4.Yelp® — Customers have the ability to search for nearby destinations or a point of
interest (POI) either by category or custom search by using keywords (for example,
“Italian restaurant”). Searching can be done by voice or using the touchscreen keypad.
Using the touchscreen, launch Yelp® by selecting the “Apps” icon, touch the “All Apps”
tab, and then touch “Yelp.” Using voice recognition press the Voice Command (VR)
button on the steering wheel and say “Launch Yelp®.”
5. Security Alarm Notification — The Security Alarm Notification feature notifies you via
email or text (SMS) message when the vehicle’s factory-installed security alarm system
has been set-off. There are a number of reasons why your alarm may have been
triggered, one of which could be that your vehicle was stolen. If so, please see the details
of the Stolen Vehicle Assistance service below. When you register, Security Alarm
Notification is automatically set to send you an email at the mail address you provide
should the alarm go off. You may also opt to have a text message sent to your mobile
device.
6. Stolen Vehicle Assistance — If your vehicle is stolen, contact local law enforcement
immediately to file a stolen vehicle report. Once this report has been filed, Uconnect®
care can help locate your vehicle. The Uconnect® Care agent will ask for the stolen
vehicle report number issued by local law enforcement. Then, using GPS technology and
the built-in wireless connection within your vehicle, the Uconnect® Care agent will be
able to locate the stolen vehicle and work with law enforcement to help recover it.
(Vehicle must be within the United States, have network coverage and must be regis-
tered with Uconnect® Access with an active subscription that includes the applicable
feature).
7. WiFi Hotspot — WiFi Hotspot is on-demand WiFi 3G connectivity that's built-in and ready
to go whenever you are. Once your vehicle is registered for Uconnect® Access, you can
purchase a Wifi Hotspot subscription at the Uconnect® Store. After you've made your
purchase, turn on your signal and connect your devices. It's never been easier to bring
your home or office with you.
Your vehicle must have a working electrical system for any of the in vehicle Uconnect®
features to operate.
Uconnect® Access Remote Features
If you own a compatible iPhone® or Android® powered device, the Uconnect® Access App
allows you to remotely lock or unlock your doors, start your engine or activate your horn
and lights from virtually anywhere (Vehicle must be within the United States and have
network coverage). You can download the App from Mopar Owner Connect or from the
App Store (iPhone) or Google Play store. Visit UconnectPhone.com to determine if your
device is compatible. For Uconnect® Phone customer support and to determine if your
device is compatible.
U.S. residents - visit UconnectPhone.com or call 1–877–855–8400
ELECTRONICS
59
Page 62 of 188
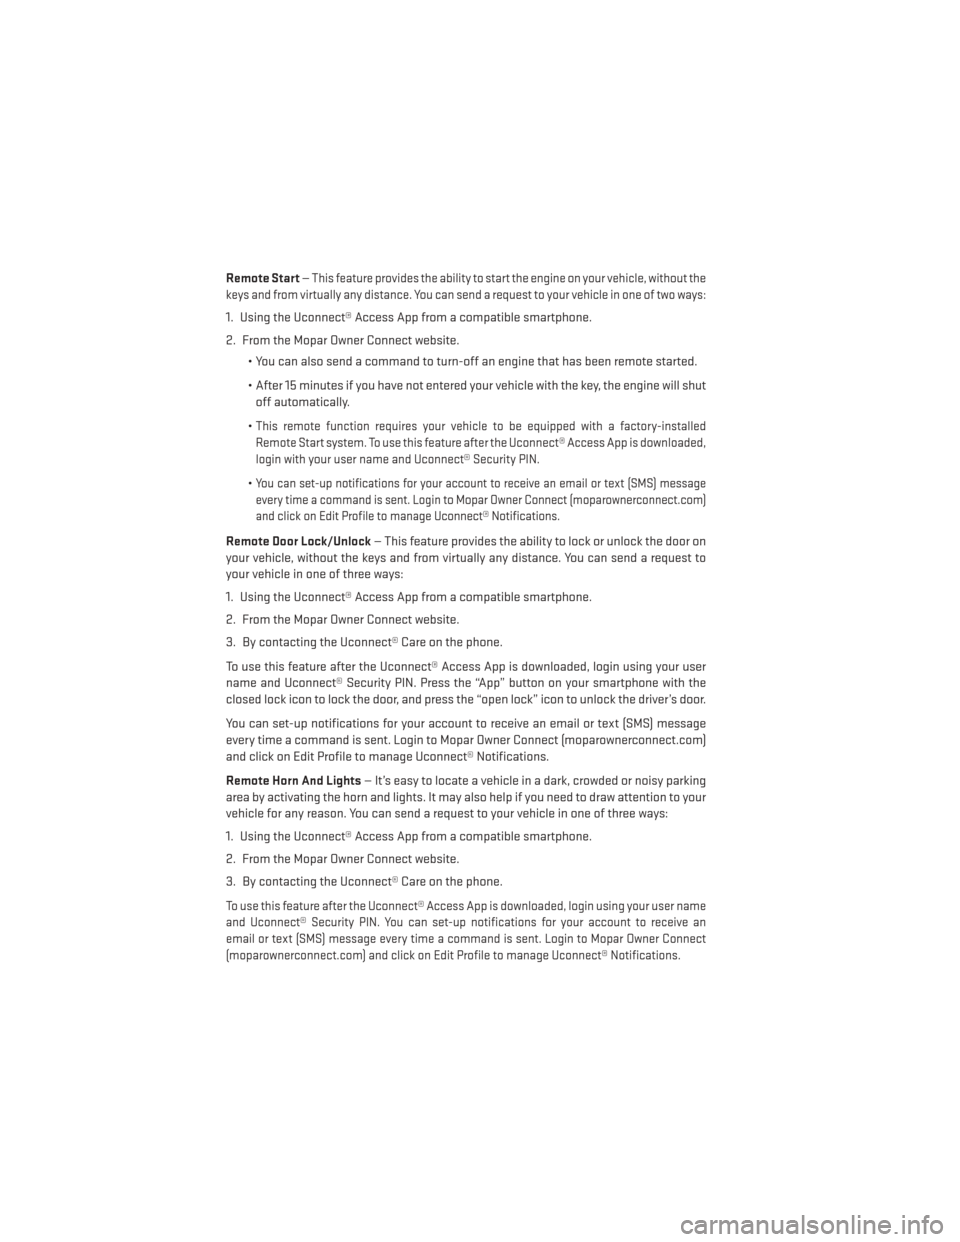
Remote Start—This feature provides the ability to start the engine on your vehicle, without the
keys and from virtually any distance. You can send a request to your vehicle in one of two ways:
1. Using the Uconnect® Access App from a compatible smartphone.
2. From the Mopar Owner Connect website.
• You can also send a command to turn-off an engine that has been remote started.
• After 15 minutes if you have not entered your vehicle with the key, the engine will shutoff automatically.
•
This remote function requires your vehicle to be equipped with a factory-installed
Remote Start system. To use this feature after the Uconnect® Access App is downloaded,
login with your user name and Uconnect® Security PIN.
•You can set-up notifications for your account to receive an email or text (SMS) message
every time a command is sent. Login to Mopar Owner Connect (moparownerconnect.com)
and click on Edit Profile to manage Uconnect® Notifications.
Remote Door Lock/Unlock — This feature provides the ability to lock or unlock the door on
your vehicle, without the keys and from virtually any distance. You can send a request to
your vehicle in one of three ways:
1. Using the Uconnect® Access App from a compatible smartphone.
2. From the Mopar Owner Connect website.
3. By contacting the Uconnect® Care on the phone.
To use this feature after the Uconnect® Access App is downloaded, login using your user
name and Uconnect® Security PIN. Press the “App” button on your smartphone with the
closed lock icon to lock the door, and press the “open lock” icon to unlock the driver’s door.
You can set-up notifications for your account to receive an email or text (SMS) message
every time a command is sent. Login to Mopar Owner Connect (moparownerconnect.com)
and click on Edit Profile to manage Uconnect® Notifications.
Remote Horn And Lights — It’s easy to locate a vehicle in a dark, crowded or noisy parking
area by activating the horn and lights. It may also help if you need to draw attention to your
vehicle for any reason. You can send a request to your vehicle in one of three ways:
1. Using the Uconnect® Access App from a compatible smartphone.
2. From the Mopar Owner Connect website.
3. By contacting the Uconnect® Care on the phone.
To use this feature after the Uconnect® Access App is downloaded, login using your user name
and Uconnect® Security PIN. You can set-up notifications for your account to receive an
email or text (SMS) message every time a command is sent. Login to Mopar Owner Connect
(moparownerconnect.com) and click on Edit Profile to manage Uconnect® Notifications.
ELECTRONICS
60
Page 118 of 188
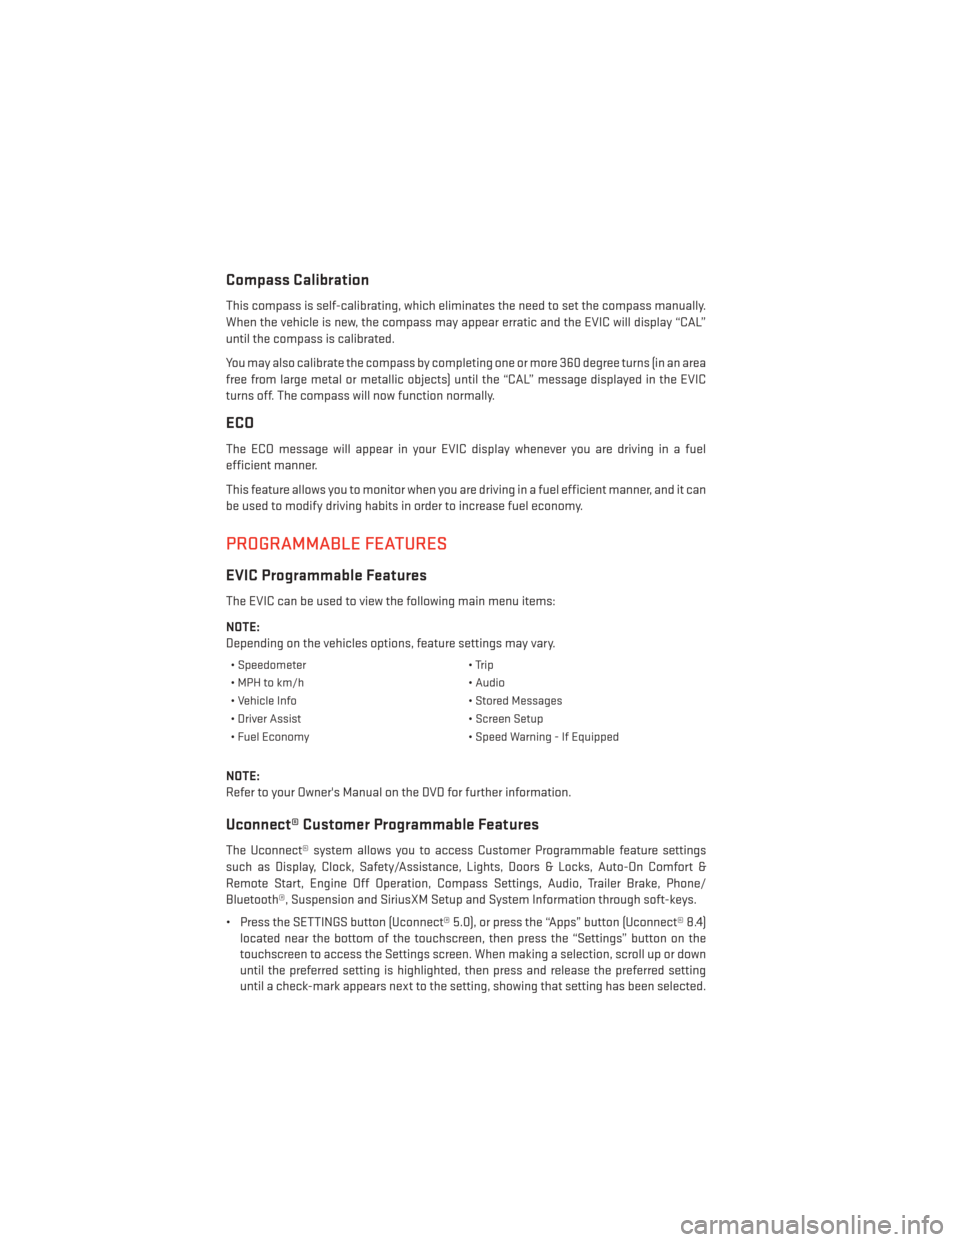
Compass Calibration
This compass is self-calibrating, which eliminates the need to set the compass manually.
When the vehicle is new, the compass may appear erratic and the EVIC will display “CAL”
until the compass is calibrated.
You may also calibrate the compass by completing one or more 360 degree turns (in an area
free from large metal or metallic objects) until the “CAL” message displayed in the EVIC
turns off. The compass will now function normally.
ECO
The ECO message will appear in your EVIC display whenever you are driving in a fuel
efficient manner.
This feature allows you to monitor when you are driving in a fuel efficient manner, and it can
be used to modify driving habits in order to increase fuel economy.
PROGRAMMABLE FEATURES
EVIC Programmable Features
The EVIC can be used to view the following main menu items:
NOTE:
Depending on the vehicles options, feature settings may vary.
• Speedometer• Trip
• MPH to km/h • Audio
• Vehicle Info • Stored Messages
• Driver Assist • Screen Setup
• Fuel Economy • Speed Warning - If Equipped
NOTE:
Refer to your Owner's Manual on the DVD for further information.
Uconnect® Customer Programmable Features
The Uconnect® system allows you to access Customer Programmable feature settings
such as Display, Clock, Safety/Assistance, Lights, Doors & Locks, Auto-On Comfort &
Remote Start, Engine Off Operation, Compass Settings, Audio, Trailer Brake, Phone/
Bluetooth®, Suspension and SiriusXM Setup and System Information through soft-keys.
• Press the SETTINGS button (Uconnect® 5.0), or press the “Apps” button (Uconnect® 8.4)
located near the bottom of the touchscreen, then press the “Settings” button on the
touchscreen to access the Settings screen. When making a selection, scroll up or down
until the preferred setting is highlighted, then press and release the preferred setting
until a check-mark appears next to the setting, showing that setting has been selected.
ELECTRONICS
116
Page 119 of 188
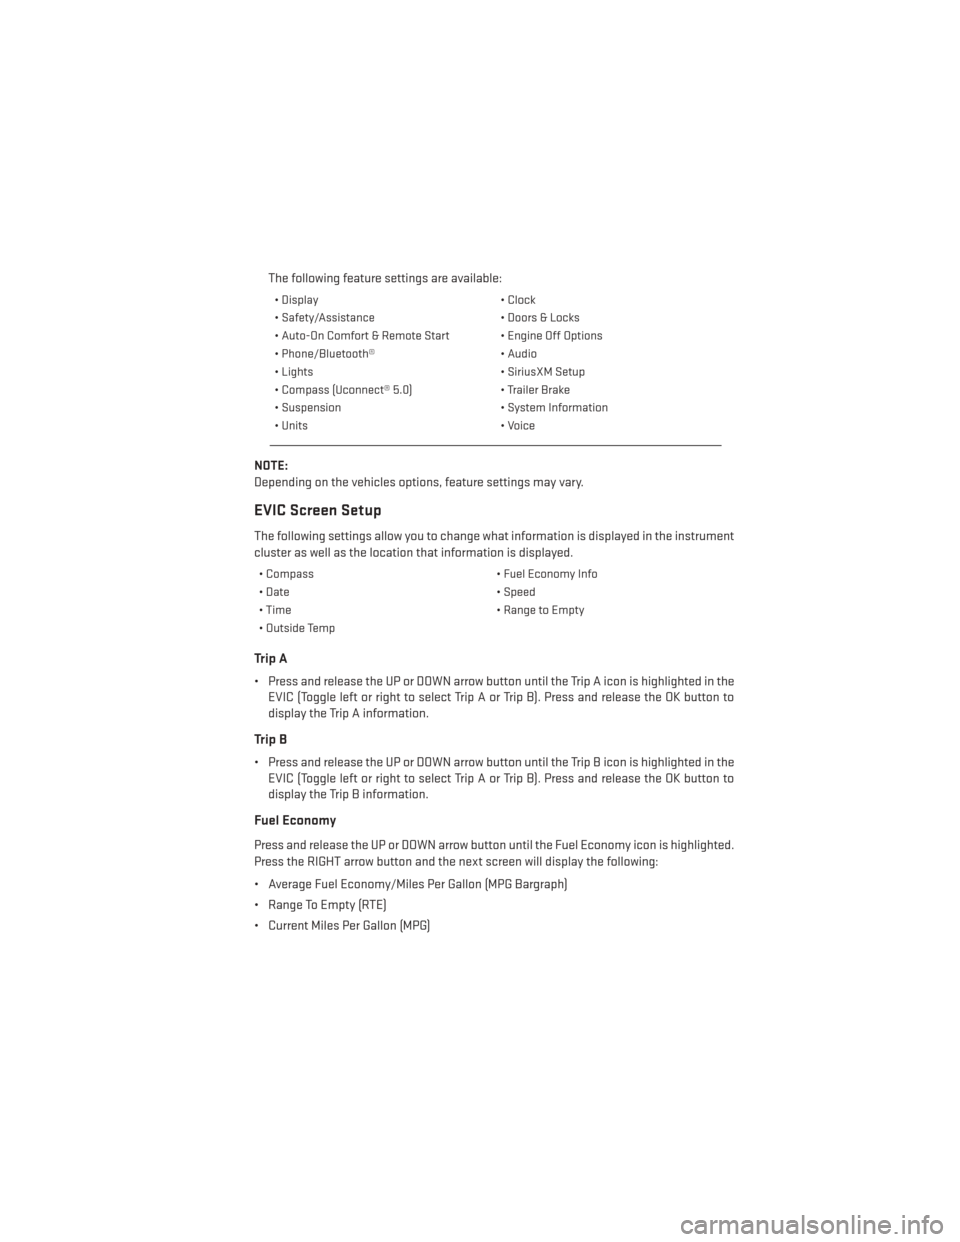
The following feature settings are available:
• Display• Clock
• Safety/Assistance • Doors & Locks
• Auto-On Comfort & Remote Start • Engine Off Options
• Phone/Bluetooth® • Audio
• Lights • SiriusXM Setup
• Compass (Uconnect® 5.0) • Trailer Brake
• Suspension • System Information
• Units • Voice
NOTE:
Depending on the vehicles options, feature settings may vary.
EVIC Screen Setup
The following settings allow you to change what information is displayed in the instrument
cluster as well as the location that information is displayed.
• Compass • Fuel Economy Info
• Date • Speed
• Time • Range to Empty
• Outside Temp
Trip A
• Press and release the UP or DOWN arrow button until the Trip A icon is highlighted in the EVIC (Toggle left or right to select Trip A or Trip B). Press and release the OK button to
display the Trip A information.
Trip B
• Press and release the UP or DOWN arrow button until the Trip B icon is highlighted in theEVIC (Toggle left or right to select Trip A or Trip B). Press and release the OK button to
display the Trip B information.
Fuel Economy
Press and release the UP or DOWN arrow button until the Fuel Economy icon is highlighted.
Press the RIGHT arrow button and the next screen will display the following:
• Average Fuel Economy/Miles Per Gallon (MPG Bargraph)
• Range To Empty (RTE)
• Current Miles Per Gallon (MPG)
ELECTRONICS
117
Page 149 of 188
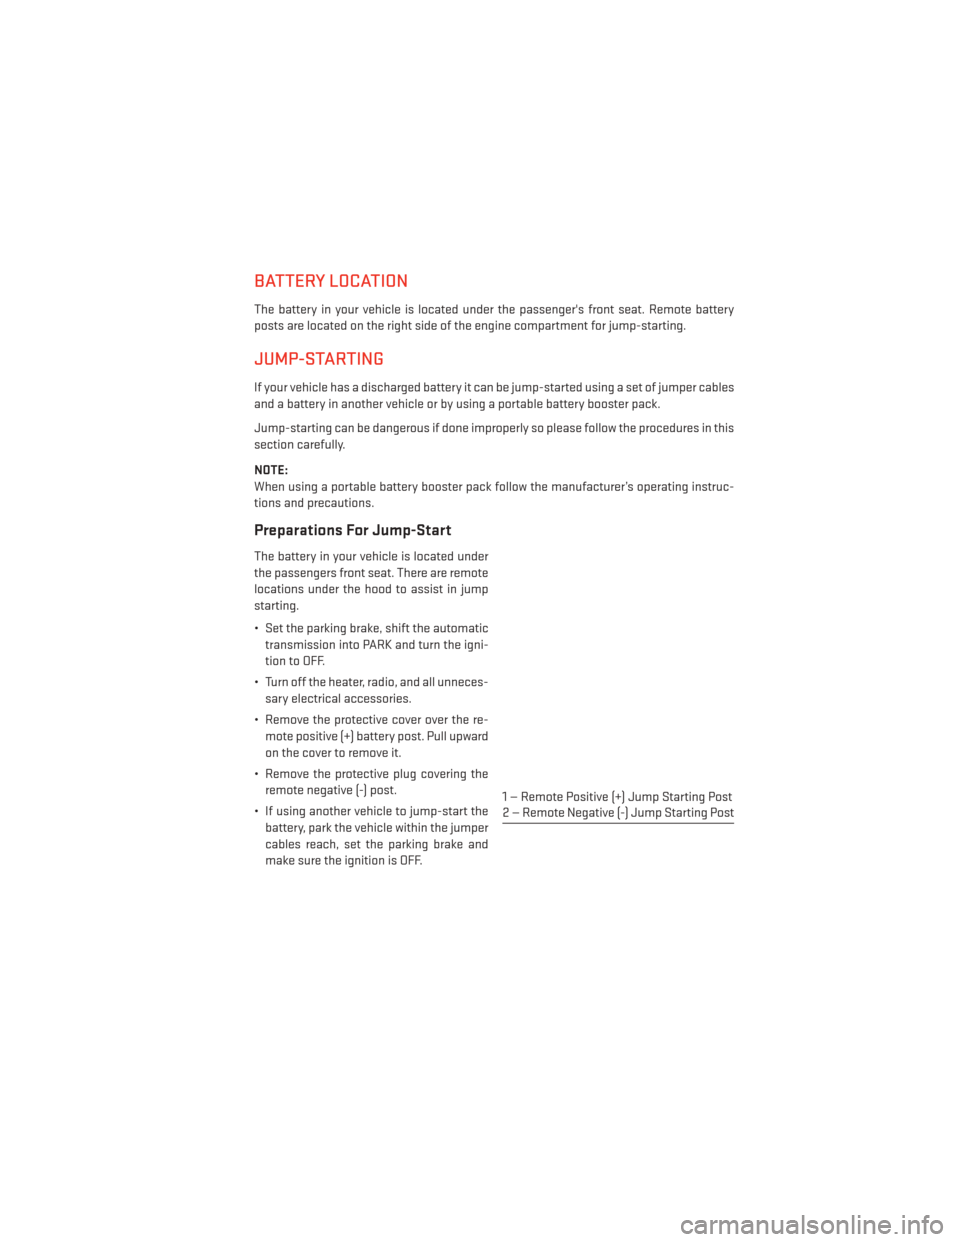
BATTERY LOCATION
The battery in your vehicle is located under the passenger's front seat. Remote battery
posts are located on the right side of the engine compartment for jump-starting.
JUMP-STARTING
If your vehicle has a discharged battery it can be jump-started using a set of jumper cables
and a battery in another vehicle or by using a portable battery booster pack.
Jump-starting can be dangerous if done improperly so please follow the procedures in this
section carefully.
NOTE:
When using a portable battery booster pack follow the manufacturer’s operating instruc-
tions and precautions.
Preparations For Jump-Start
The battery in your vehicle is located under
the passengers front seat. There are remote
locations under the hood to assist in jump
starting.
• Set the parking brake, shift the automatictransmission into PARK and turn the igni-
tion to OFF.
• Turn off the heater, radio, and all unneces- sary electrical accessories.
• Remove the protective cover over the re- mote positive (+) battery post. Pull upward
on the cover to remove it.
• Remove the protective plug covering the remote negative (-) post.
• If using another vehicle to jump-start the battery, park the vehicle within the jumper
cables reach, set the parking brake and
make sure the ignition is OFF.
1 — Remote Positive (+) Jump Starting Post
2 — Remote Negative (-) Jump Starting Post
WHAT TO DO IN EMERGENCIES
147
Page 150 of 188
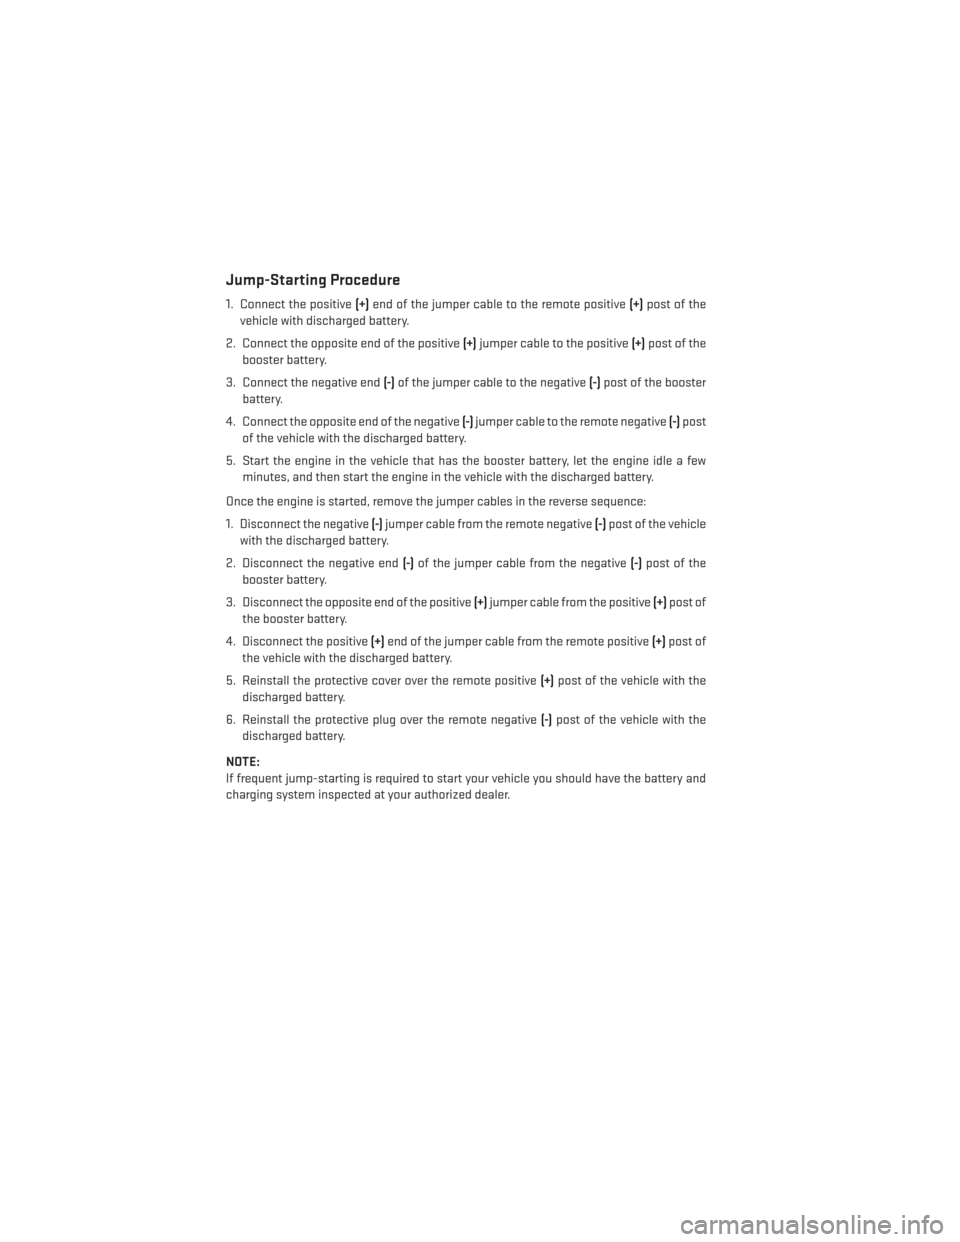
Jump-Starting Procedure
1. Connect the positive(+)end of the jumper cable to the remote positive (+)post of the
vehicle with discharged battery.
2. Connect the opposite end of the positive (+)jumper cable to the positive (+)post of the
booster battery.
3. Connect the negative end (-)of the jumper cable to the negative (-)post of the booster
battery.
4. Connect the opposite end of the negative (-)jumper cable to the remote negative (-)post
of the vehicle with the discharged battery.
5. Start the engine in the vehicle that has the booster battery, let the engine idle a few minutes, and then start the engine in the vehicle with the discharged battery.
Once the engine is started, remove the jumper cables in the reverse sequence:
1. Disconnect the negative (-)jumper cable from the remote negative (-)post of the vehicle
with the discharged battery.
2. Disconnect the negative end (-)of the jumper cable from the negative (-)post of the
booster battery.
3. Disconnect the opposite end of the positive (+)jumper cable from the positive (+)post of
the booster battery.
4. Disconnect the positive (+)end of the jumper cable from the remote positive (+)post of
the vehicle with the discharged battery.
5. Reinstall the protective cover over the remote positive (+)post of the vehicle with the
discharged battery.
6. Reinstall the protective plug over the remote negative (-)post of the vehicle with the
discharged battery.
NOTE:
If frequent jump-starting is required to start your vehicle you should have the battery and
charging system inspected at your authorized dealer.
WHAT TO DO IN EMERGENCIES
148
Page 174 of 188
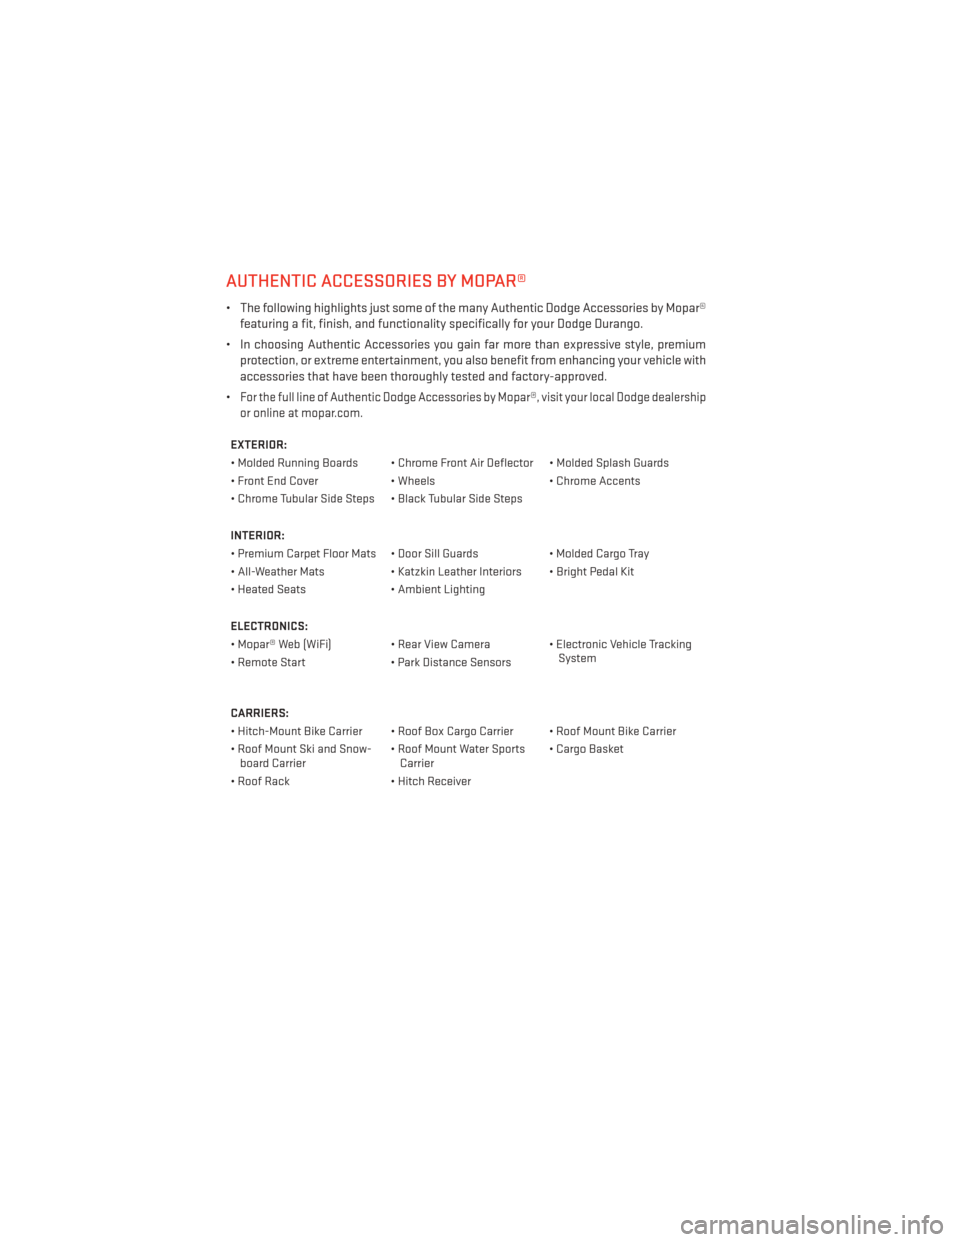
AUTHENTIC ACCESSORIES BY MOPAR®
• The following highlights just some of the many Authentic Dodge Accessories by Mopar®featuring a fit, finish, and functionality specifically for your Dodge Durango.
• In choosing Authentic Accessories you gain far more than expressive style, premium protection, or extreme entertainment, you also benefit from enhancing your vehicle with
accessories that have been thoroughly tested and factory-approved.
•
For the full line of Authentic Dodge Accessories by Mopar®, visit your local Dodge dealership
or online at mopar.com.
EXTERIOR:
• Molded Running Boards • Chrome Front Air Deflector • Molded Splash Guards
• Front End Cover • Wheels• Chrome Accents
• Chrome Tubular Side Steps • Black Tubular Side Steps
INTERIOR:
• Premium Carpet Floor Mats • Door Sill Guards • Molded Cargo Tray
• All-Weather Mats • Katzkin Leather Interiors • Bright Pedal Kit
• Heated Seats • Ambient Lighting
ELECTRONICS:
• Mopar® Web (WiFi) • Rear View Camera • Electronic Vehicle Tracking System
• Remote Start • Park Distance Sensors
CARRIERS:
• Hitch-Mount Bike Carrier • Roof Box Cargo Carrier • Roof Mount Bike Carrier
• Roof Mount Ski and Snow- board Carrier • Roof Mount Water Sports
Carrier • Cargo Basket
• Roof Rack • Hitch Receiver
MOPAR® ACCESSORIES
172
Page 179 of 188
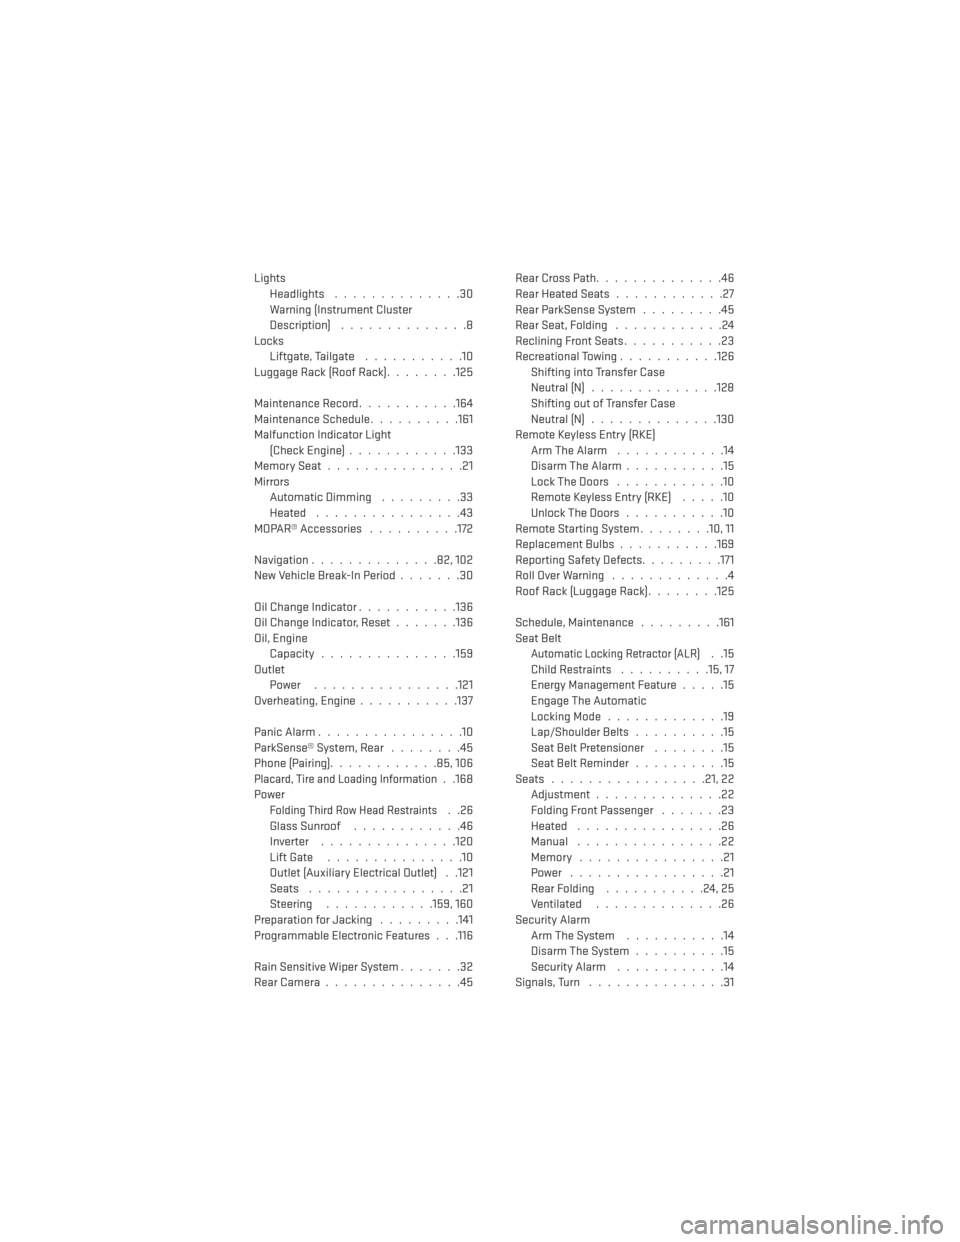
LightsHeadlights ..............30
Warning (Instrument Cluster
Description) ..............8
Locks Liftgate, Tailgate ...........10
Luggage Rack (Roof Rack) ........125
Maintenance Record ...........164
Maintenance Schedule ..........161
Malfunction Indicator Light (CheckEngine)............133
MemorySeat...............21
Mirrors AutomaticDimming .........33
Heated ................43
MOPAR® Accessories ..........172
Navigation ..............82,102
New Vehicle Break-In Period .......30
OilChangeIndicator...........136
Oil Change Indicator, Reset .......136
Oil, Engine Capacity...............159
Outlet Power ................121
Overheating, Engine ...........137
PanicAlarm................10
ParkSense® System, Rear ........45
Phone (Pairing)............85,106
Placard, Tire and Loading Information. .168
Power
Folding Third Row Head Restraints. .26
GlassSunroof ............46
Inverter ...............120
Lift Gate ...............10
Outlet (Auxiliary Electrical Outlet) . .121
Seats .................21
Steering ............159,160
Preparation for Jacking .........141
Programmable Electronic Features . . .116
Rain Sensitive Wiper System .......32
RearCamera...............45 RearCrossPath..............46
Rear Heated Seats
............27
Rear ParkSense System .........45
Rear Seat, Folding ............24
Reclining Front Seats ...........23
Recreational Towing ...........126
Shifting into Transfer Case
Neutral (N) ..............128
Shifting out of Transfer Case
Neutral (N) ..............130
Remote Keyless Entry (RKE) Arm The Alarm ............14
Disarm The Alarm ...........15
LockTheDoors ............10
Remote Keyless Entry (RKE) .....10
Unlock The Doors ...........10
Remote Starting System ........10,11
Replacement Bulbs ...........169
Reporting Safety Defects .........171
Roll Over Warning .............4
Roof Rack (Luggage Rack) ........125
Schedule, Maintenance .........161
Seat Belt
Automatic Locking Retractor (ALR). .15
Child Restraints ..........15, 17
Energy Management Feature .....15
Engage The Automatic
Locking Mode .............19
Lap/Shoulder Belts ..........15
Seat Belt Pretensioner ........15
Seat Belt Reminder ..........15
Seats .................21,22 Adjustment ..............22
Folding Front Passenger .......23
Heated ................26
Manual ................22
Memory ................21
Power .................21
Rear Folding ...........24,25
Ventilated ..............26
Security Alarm Arm The System ...........14
Disarm The System ..........15
Security Alarm ............14
Signals, Turn ...............31
INDEX
177
Page 180 of 188
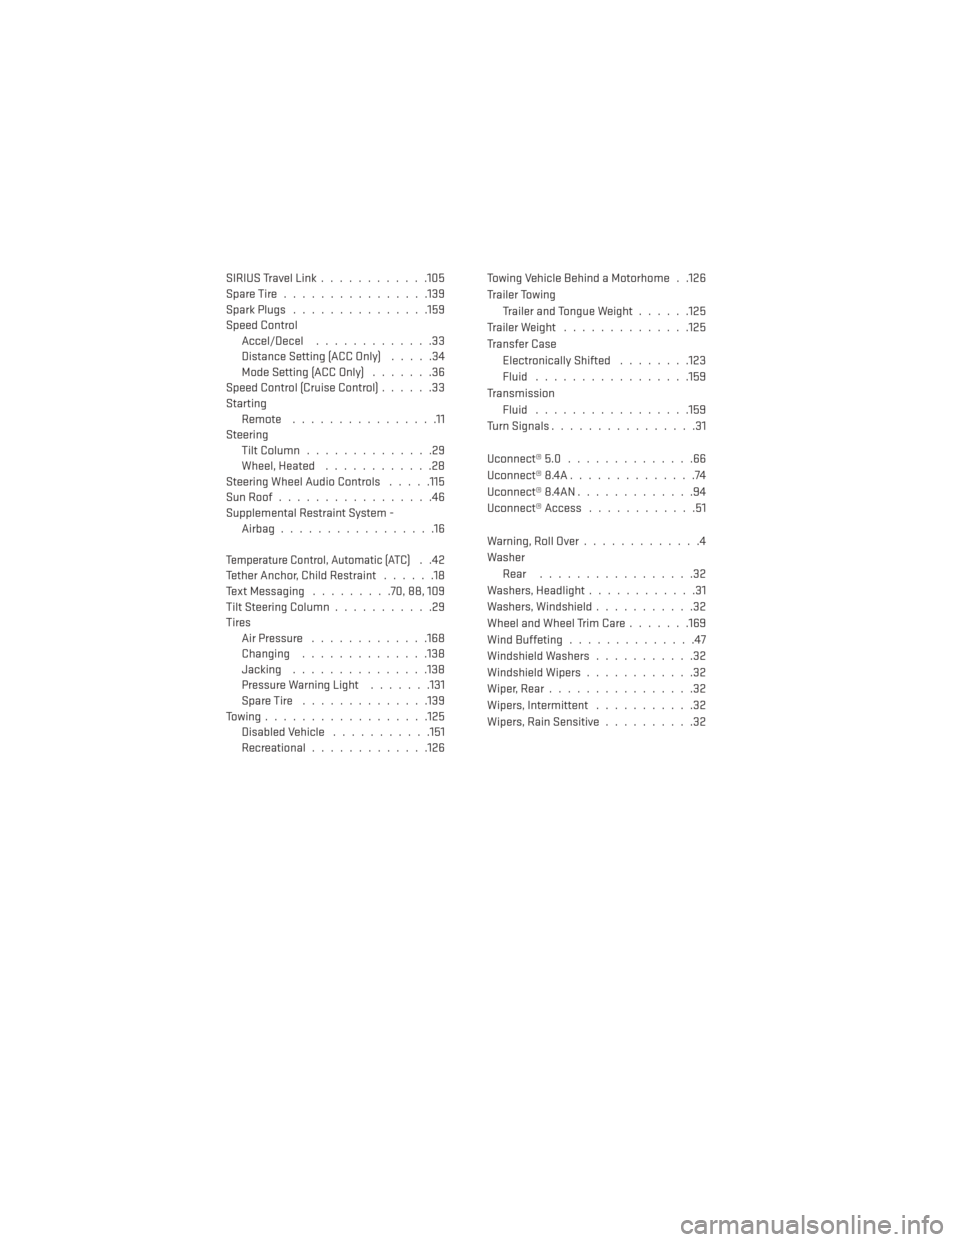
SIRIUS Travel Link............105
SpareTire................139
Spark Plugs ...............159
Speed Control Accel/Decel .............33
Distance Setting (ACC Only) .....34
Mode Setting (ACC Only) .......36
Speed Control (Cruise Control) ......33
Starting Remote ................11
Steering TiltColumn..............29
Wheel, Heated ............28
Steering Wheel Audio Controls .....115
SunRoof.................46
Supplemental Restraint System - Airbag .................16
Temperature Control, Automatic (ATC)..42
Tether Anchor, Child Restraint ......18
Text Messaging .........70,88,109
Tilt Steering Column ...........29
Tires Air Pressure .............168
Changing ..............138
Jacking ...............138
Pressure Warning Light .......131
SpareTire ..............139
Towing..................125 Disabled Vehicle ...........151
Recreational .............126 Towing Vehicle Behind a Motorhome . .126
Trailer Towing
Trailer and Tongue Weight ......125
Trailer Weight ..............125
Transfer Case Electronically Shifted ........123
Fluid .................159
Transmission Fluid .................159
Turn Signals ................31
Uconnect® 5.0 ..............66
Uconnect® 8.4A ..............74
Uconnect® 8.4AN .............94
Uconnect® Access ............51
Warning,RollOver.............4
Washer Rear .................32
Washers, Headlight ............31
Washers, Windshield ...........32
Wheel and Wheel Trim Care .......169
Wind Buffeting ..............47
Windshield Washers ...........32
Windshield Wipers ............32
Wiper, Rear ................32
Wipers, Intermittent ...........32
Wipers, Rain Sensitive ..........32
INDEX
178