navigation system DODGE DURANGO 2021 Owners Manual
[x] Cancel search | Manufacturer: DODGE, Model Year: 2021, Model line: DURANGO, Model: DODGE DURANGO 2021Pages: 340, PDF Size: 20.38 MB
Page 44 of 340
42GETTING TO KNOW YOUR VEHICLE
Each time you give a Voice Command, first push
the VR button, wait until after the beep, then say
your Voice Command. You can also say the
vehicle “Wake Up” word and state your
command. Some examples of “Wake Up” words
include “Hey Uconnect” or “Hey Dodge”.
A passenger can press the VR button shortcut
on the radio status bar to also issue a
command.
You can interrupt the help message or system
prompts by pushing the VR button and saying a
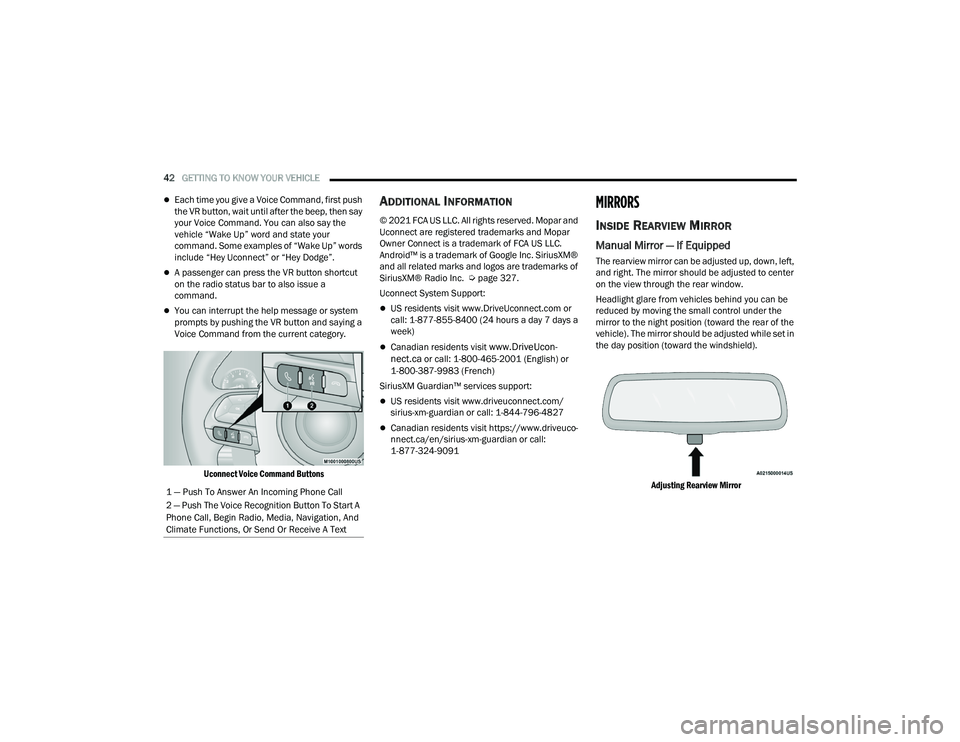
Voice Command from the current category.
Uconnect Voice Command Buttons
ADDITIONAL INFORMATION
© 2021 FCA US LLC. All rights reserved. Mopar and
Uconnect are registered trademarks and Mopar
Owner Connect is a trademark of FCA US LLC.
Android™ is a trademark of Google Inc. SiriusXM®
and all related marks and logos are trademarks of
SiriusXM® Radio Inc. Ú page 327.
Uconnect System Support:
US residents visit www.DriveUconnect.com or
call: 1-877-855-8400 (24 hours a day 7 days a
week)
Canadian residents visit www.DriveUcon -
nect.ca or call: 1-800-465-2001 (English) or
1-800-387-9983 (French)
SiriusXM Guardian™ services support:
US residents visit www.driveuconnect.com/
sirius-xm-guardian or call: 1-844-796-4827
Canadian residents visit https://www.driveuco -
nnect.ca/en/sirius-xm-guardian or call:
1-877-324-9091
MIRRORS
INSIDE REARVIEW MIRROR
Manual Mirror — If Equipped
The rearview mirror can be adjusted up, down, left,
and right. The mirror should be adjusted to center
on the view through the rear window.
Headlight glare from vehicles behind you can be
reduced by moving the small control under the
mirror to the night position (toward the rear of the
vehicle). The mirror should be adjusted while set in
the day position (toward the windshield).
Adjusting Rearview Mirror
1 — Push To Answer An Incoming Phone Call
2 — Push The Voice Recognition Button To Start A
Phone Call, Begin Radio, Media, Navigation, And
Climate Functions, Or Send Or Receive A Text
21_WD_OM_EN_USC_t.book Page 42
Page 141 of 340
STARTING AND OPERATING139
CHANGING LANESENSE STATUS
The LaneSense system has settings to adjust the
intensity of the torque warning and the warning
zone sensitivity (early/late) that you can configure
through the Uconnect system Ú page 159.
NOTE:
When enabled the system operates above
37 mph (60 km/h) and below 112 mph
(180 km/h).
The warnings are disabled with use of the turn
signal.
The system will not apply torque to the steering
wheel whenever a safety system engages
(Anti-Lock Brakes, Traction Control System,
Electronic Stability Control, Forward Collision
Warning, etc.).
PARKVIEW REAR BACK UP CAMERA
Your vehicle is equipped with the ParkView Rear
Back Up Camera that allows you to see an
on-screen image of the rear surroundings of your
vehicle whenever the gear selector is put into
REVERSE. The image will be displayed on the
Navigation/Multimedia radio display screen along
with a caution note to “Check Entire Surroundings” across the top of the screen. After five seconds this
note will disappear. The ParkView camera is
located on the rear of the vehicle above the rear
license plate.
When the vehicle is shifted out of REVERSE (with
camera delay turned off), the rear camera mode is
exited and the previous screen appears.
Manual Activation Of The Backup Camera
1. Press the Vehicle Menu button located at the
bottom of the Uconnect display. Then select
the Control” tab.
2. Press the Rear View Camera button to turn the Rear View Camera system on.
NOTE:The ParkView Rear Back Up Camera has program -
mable modes of operation that may be selected
through the Uconnect system Ú page 159. In
certain radio configurations, these modes of oper -
ation will be found in the “Camera” section of the
vehicle settings menu.
When the vehicle is shifted out of REVERSE with
camera delay turned off, the rear camera mode is
exited and the previous screen appears. When the
vehicle is shifted out of REVERSE with camera
delay turned on, the camera image will continue to
be displayed for up to 10 seconds after shifting out of REVERSE unless the following conditions occur:
the vehicle speed exceeds 8 mph (13 km/h), the
vehicle is shifted into PARK, the vehicle’s ignition is
placed in the OFF position, or the touchscreen
button X to disable the display of the Rear View
Camera is pressed.
When enabled, active guidelines are overlaid on
the image to illustrate the width of the vehicle and
its projected backup path based on the steering
wheel position. A dashed center line overlay
indicates the center of the vehicle to assist with
parking or aligning to a hitch/receiver. Different
colored zones indicate the distance to the rear of
the vehicle.
The following table shows the approximate
distances for each zone:
Zone Distance To The Rear Of
The Vehicle
Red 0 - 1 ft
(0 - 30 cm)
Yellow 1 ft - 6.5 ft
(30 cm - 2 m)
Green 6.5 ft or greater
(2 m or greater)
4
21_WD_OM_EN_USC_t.book Page 139
Page 164 of 340
162MULTIMEDIA
Units
Touchscreen Beep This setting will allow you to turn the touchscreen beep on or off.
Show Main Category Bar Labels This setting will allow the main category bar labels to be shown on or off.
Navigation Next Turn Pop-Ups Displayed in Cluster This setting will display navigation prompts in the Instrument Cluster Display.
Phone Pop-Ups Displayed In Cluster This setting will display smartphone notifications and messages in the
Instrument Cluster Display.
Ready To Drive Pop-Ups This setting will enable the Ready To Drive Pop-Ups in the Instrument Cluster
Display.
Setting Name
Description
When the Units button is pressed on the touchscreen, the system displays the different measurement options. The selected unit of measurement will display
in the instrument cluster display and Navigation system (if equipped). The available settings are:
NOTE:Depending on the vehicle’s options, feature settings may vary.
Setting NameDescription
USThis setting will change the unit of measurement on the display to US.
Metric This setting will change the unit of measurement on the display to Metric.
Custom This setting changes the “Speed” (MPH or km/h), “Distance” (mi or km),
“Fuel Consumption” (MPG [US], MPG [UK], L/100 km, or km/L),
“Pressure” (psi, kPa, or bar), and “Temperature” (°C or °F) units of
measurement independently.
21_WD_OM_EN_USC_t.book Page 162
Page 169 of 340
MULTIMEDIA167
Voice
Navigation
When the Voice button is pressed on the touchscreen, the system displays the options related to the vehicle’s Voice Recognition feature.
NOTE:Depending on the vehicle’s options, feature settings may vary.
Setting Name Description
Voice OptionsThis setting will change the voice type during a Voice Recognition session.
The available options are “Male” and “Female”.
Voice Response Length This setting will change the response length for the Voice Recognition system.
The “Brief” setting provides a shortened audio description from the system.
The “Detailed” setting provides the full audio description from the system.
Show Command List This setting will allow you to turn the Command List on or off. The “Always”
setting will always show the Command List. The “With Help” setting will show
the Command List and provide a brief description of what the command does.
The “Never” setting will turn the Command List off.
Wake Up Word This setting will change the system’s “Wake Up” word. The available options
are “Hey Uconnect” and “Hey Dodge”.
Voice Barge-in This setting will turn the Voice Barge-in function on or off.
When the Navigation button is pressed on the touchscreen, the system displays options related to the vehicle’s built-in Navigation system. These settings can
change which icons display on the map, how “time to arrival is calculated”, and route types.
For more information on Navigation and settings, refer to the Uconnect Owner’s Manual Supplement.
5
21_WD_OM_EN_USC_t.book Page 167
Page 176 of 340
174MULTIMEDIA
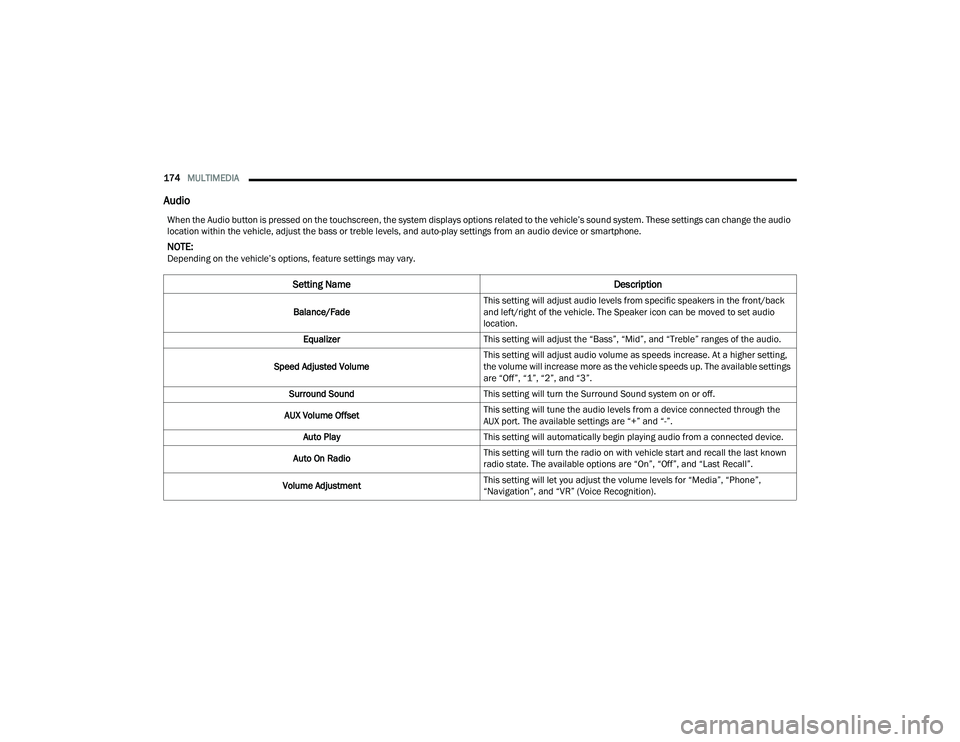
Audio
When the Audio button is pressed on the touchscreen, the system displays options related to the vehicle’s sound system. These settings can change the audio
location within the vehicle, adjust the bass or treble levels, and auto-play settings from an audio device or smartphone.
NOTE:Depending on the vehicle’s options, feature settings may vary.
Setting Name Description
Balance/FadeThis setting will adjust audio levels from specific speakers in the front/back
and left/right of the vehicle. The Speaker icon can be moved to set audio
location.
Equalizer This setting will adjust the “Bass”, “Mid”, and “Treble” ranges of the audio.
Speed Adjusted Volume This setting will adjust audio volume as speeds increase. At a higher setting,
the volume will increase more as the vehicle speeds up. The available settings
are “Off”, “1”, “2”, and “3”.
Surround Sound This setting will turn the Surround Sound system on or off.
AUX Volume Offset This setting will tune the audio levels from a device connected through the
AUX port. The available settings are “+” and “-”.
Auto Play This setting will automatically begin playing audio from a connected device.
Auto On Radio This setting will turn the radio on with vehicle start and recall the last known
radio state. The available options are “On”, “Off”, and “Last Recall”.
Volume Adjustment This setting will let you adjust the volume levels for “Media”, “Phone”,
“Navigation”, and “VR” (Voice Recognition).
21_WD_OM_EN_USC_t.book Page 174
Page 187 of 340
MULTIMEDIA185
STEREO HEADPHONE LIFETIME LIMITED
W
ARRANTY
Who Does This Warranty Cover? This warranty
covers the initial user or purchaser ("you" or "your")
of this particular Aptiv PLC (“Aptiv”) wireless
headphone ("Product"). The warranty is not
transferable.
How Long Does the Coverage Last? This warranty
lasts as long as you own the Product.
What Does This Warranty Cover? Except as
specified below, this warranty covers any Product
that in normal use is defective in workmanship or
materials.
What Does This Warranty Not Cover? This warranty
does not cover any damage or defect that results
from misuse, abuse, or modification of the Product
other than by Aptiv. Foam earpieces, which will
wear over time through normal use, are specifically
not covered (replacement foam is available for a
nominal charge). APTIV IS NOT LIABLE FOR ANY
INJURIES OR DAMAGES TO PERSONS OR
PROPERTY RESULTING FROM THE USE OF, OR ANY
FAILURE OR DEFECT IN, THE PRODUCT, NOR IS
APTIV LIABLE FOR ANY GENERAL, SPECIAL,
DIRECT, INDIRECT, INCIDENTAL, CONSEQUENTIAL,
EXEMPLARY, PUNITIVE OR OTHER DAMAGES OF
ANY KIND OR NATURE WHATSOEVER. Some states
and jurisdictions may not allow the exclusion or
limitation of incidental or consequential damages, so the above limitation may not apply to you. This
warranty gives you specific legal rights. You may
also have other rights, which vary from jurisdiction
to jurisdiction.
What Will Aptiv Do?
Aptiv, at its option, will repair or
replace any defective Product. Aptiv reserves the
right to replace any discontinued Product with a
comparable model. THIS WARRANTY IS THE SOLE
WARRANTY FOR THIS PRODUCT, SETS FORTH
YOUR EXCLUSIVE REMEDY REGARDING
DEFECTIVE PRODUCTS, AND IS IN LIEU OF ALL
OTHER WARRANTIES (EXPRESS OR IMPLIED),
INCLUDING ANY WARRANTY FOR
MERCHANTABILITY OR FITNESS FOR A
PARTICULAR PURPOSE.
If you have any questions or comments regarding
your Aptiv wireless headphones, please email
[email protected] or phone: 888-293-3332
System Information
Disc Menu
When listening to a CD Audio or CD Data disc,
pushing the remote control’s POPUP/MENU button
displays a list of all commands which control
playback of the disc.
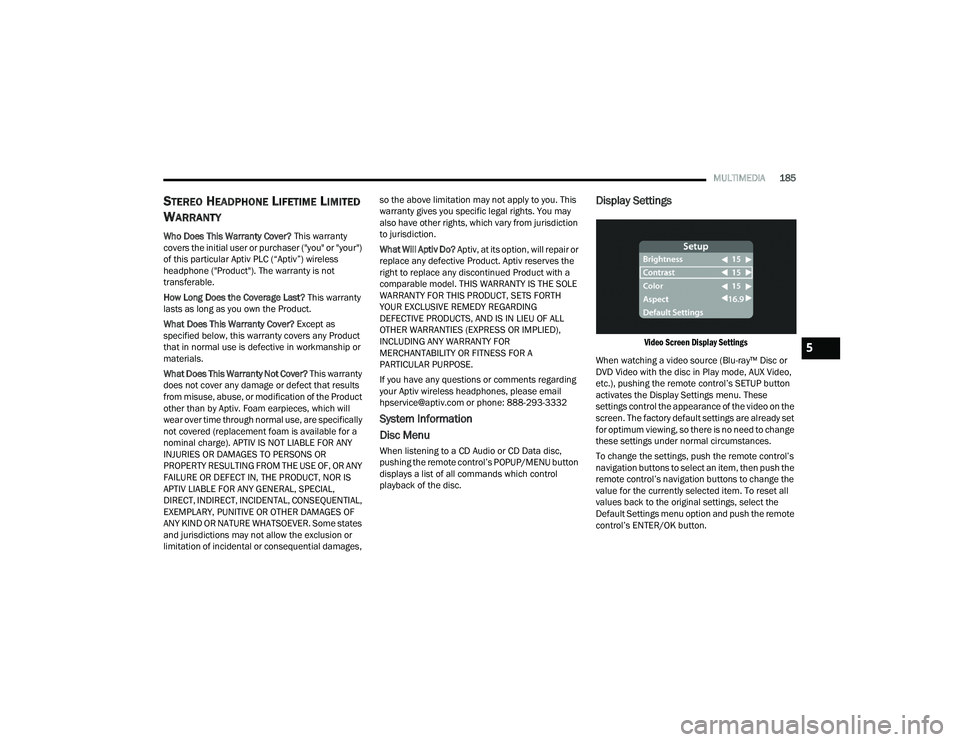
Display Settings
Video Screen Display Settings
When watching a video source (Blu-ray™ Disc or
DVD Video with the disc in Play mode, AUX Video,
etc.), pushing the remote control’s SETUP button
activates the Display Settings menu. These
settings control the appearance of the video on the
screen. The factory default settings are already set
for optimum viewing, so there is no need to change
these settings under normal circumstances.
To change the settings, push the remote control’s
navigation buttons to select an item, then push the
remote control’s navigation buttons to change the
value for the currently selected item. To reset all
values back to the original settings, select the
Default Settings menu option and push the remote
control’s ENTER/OK button.5
21_WD_OM_EN_USC_t.book Page 185