battery DODGE GRAND CARAVAN 2008 5.G User Guide
[x] Cancel search | Manufacturer: DODGE, Model Year: 2008, Model line: GRAND CARAVAN, Model: DODGE GRAND CARAVAN 2008 5.GPages: 531, PDF Size: 7.72 MB
Page 168 of 531
Battery Protection
This feature provides battery protection to avoid wearing
down the battery if the headlights, park lights, or front
fog lights are left on for extended periods of time when
the ignition switch is in the LOCK position. After eight
minutes of the ignition switch being in the LOCK posi-
tion and the headlight switch in any position other than
OFF or AUTO, the lights will turn off automatically until
the next cycle of the ignition switch or headlight switch.
The battery protection feature will be disabled if the
ignition switch is turned to any other position other than
LOCK during the three minute delay.
MULTIFUNCTION LEVER
The multifunction control lever is located on the left side
of the steering column.
The Multifunction Lever assembly controls:
²Turn Signals
²Headlight Low and High Beams
²Flash-to-Pass (Optical Horn)
²Front and Rear Wiper And Washer Functions
Turn Signals
Move the multifunction lever up or down to signal a
right-hand or left-hand turn.
The arrow on either side of the instrument cluster flashes
to indicate the direction of the turn, and proper operation
of the front and rear turn signal lights.
166 UNDERSTANDING THE FEATURES OF YOUR VEHICLE
Page 187 of 531
Rear Courtesy/Reading Lights Ð If Equipped
The overhead console had two sets of courtesy lights. The
lights turn on when a front door, a sliding door or the
liftgate is opened. If your vehicle is equipped with
Remote Keyless Entry, the lights will also turn on when
the unlock button on the transmitter is pressed.
The courtesy lights also function as reading lights. Press
in on each lens to turn these lights on while inside the
vehicle. Press a second time to turn the each light off. You
may adjust the direction of these lights by pressing the
outside ring which is identified with four directional
arrows.
Rear Console Halo Lighting Ð If Equipped
The rear overhead console features recessed halo lighting
around the perimeter of the console base. This feature
provides additional lighting options while traveling and
is controlled by the headlight switch. Refer to ªHalo
Lighting - If Equippedº under ªLightingº in ªUnder-
standing The Features Of Your Vehicleº in Section 3.
GARAGE DOOR OPENER Ð IF EQUIPPED
HomeLinktreplaces up to three remote controls (hand-
held transmitters) that operate devices such as garage
door openers, motorized gates, lighting, or home security
systems. The HomeLinktunit operates off your vehicle's
battery.
UNDERSTANDING THE FEATURES OF YOUR VEHICLE 185
3
Page 189 of 531
WARNING!
Vehicle exhaust contains carbon monoxide, a danger-
ous gas. Do not run your vehicle in the garage while
training the transceiver. Exhaust gas can cause seri-
ous injury or death.
PROGRAMMING HOMELINKT
Before You Begin
If you have not trained any of the HomeLinktbuttons,
erase all channels before you begin training.
To do this, press and hold the two outside buttons for 20
seconds until the red indicator flashes.
It is recommended that a new battery be placed in the
hand-held transmitter of the device being programmed
to HomeLinktfor more efficient training and accurate
transmission of the radio-frequency signal.Your vehicle should be parked outside of the garage
when programming.
Begin Programming
1. Turn the ignition switch to the ON/RUN position.
2. Hold the battery side of the hand-held transmitter
away from the HomeLinktbutton you wish to program.
Place the hand-held transmitter 1 to 3 in (3 to 8 cm) away
from the HomeLinktbutton you wish to program while
keeping the indicator light in view.
3. Simultaneously press and hold both the chosen
HomeLinktbutton and the hand-held transmitter button
until the HomeLinktindicator changes from a slow to a
rapidly blinking light, then release both the HomeLinkt
and hand-held transmitter buttons.
UNDERSTANDING THE FEATURES OF YOUR VEHICLE 187
3
Page 193 of 531
has successfully accepted the frequency signal. The
indicator light will flash slowly and then rapidly when
fully trained.
If you unplugged the device for training, plug it back in
at this time.
Then proceed with Step 4 under ªProgramming
HomeLinkt,º earlier in this section.
SECURITY
It is advised to erase all channels before you sell or turn
in your vehicle.
To do this, press and hold the two outside buttons for 20
seconds until the red indicator flashes. Note that all
channels will be erased. Individual channels cannot be
erased.
The HomeLinktUniversal Transceiver is disabled when
the Vehicle Security Alarm is active.
TROUBLESHOOTING TIPS
If you are having trouble programming HomeLinkt, here
are some of the most common solutions:
²Replace the battery in the original transmitter.
²Press the ªLearnº button on the Garage Door Opener
to complete the training for a Rolling Code.
²Did you unplug the device for training, and remember
to plug it back in?
If you have any problems, or require assistance, please
call toll-free 1±800±355±3515 or, on the Internet at
www.HomeLink.com for information or assistance.
GENERAL INFORMATION
This device complies with FCC rules Part 15 and Industry
Canada RSS-210. Operation is subject to the following
two conditions:
1. This device may not cause harmful interference.
UNDERSTANDING THE FEATURES OF YOUR VEHICLE 191
3
Page 197 of 531
open or partially open positions. This is a normal occur-
rence and can be minimized. If the buffeting occurs with
the rear windows open, open the front and rear windows
together to minimize the buffeting. If the buffeting occurs
with the sunroof open, adjust the sunroof opening to
minimize the buffeting or open any window.
Sunroof Maintenance
Use only a non-abrasive cleaner and a soft cloth to clean
the glass panel.
ELECTRICAL POWER OUTLETS Ð IF EQUIPPED
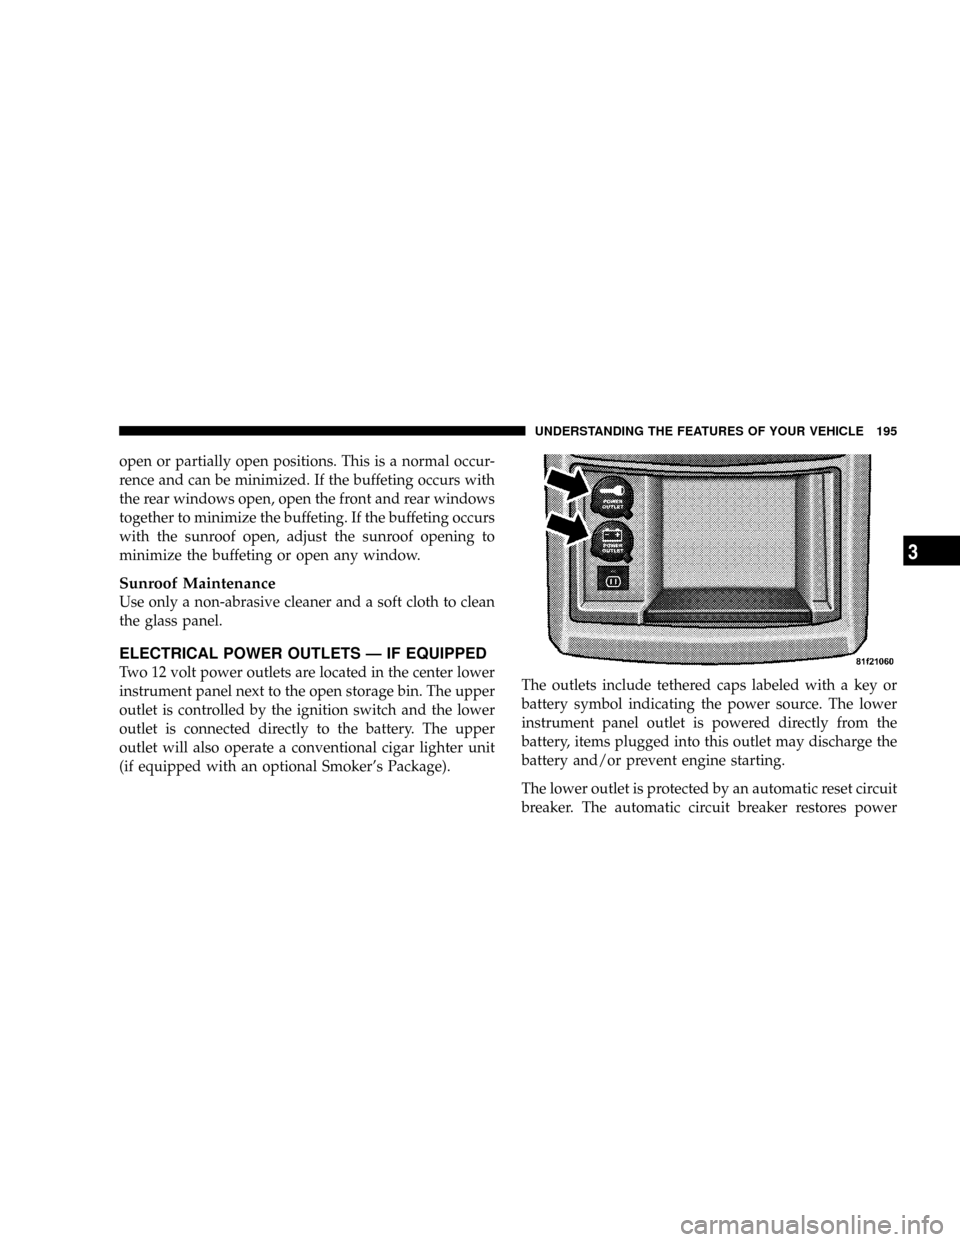
Two 12 volt power outlets are located in the center lower
instrument panel next to the open storage bin. The upper
outlet is controlled by the ignition switch and the lower
outlet is connected directly to the battery. The upper
outlet will also operate a conventional cigar lighter unit
(if equipped with an optional Smoker's Package).The outlets include tethered caps labeled with a key or
battery symbol indicating the power source. The lower
instrument panel outlet is powered directly from the
battery, items plugged into this outlet may discharge the
battery and/or prevent engine starting.
The lower outlet is protected by an automatic reset circuit
breaker. The automatic circuit breaker restores power
UNDERSTANDING THE FEATURES OF YOUR VEHICLE 195
3
Page 200 of 531
ELECTRICAL OUTLET USE WITH ENGINE OFF
CAUTION!
²Many accessories that can be plugged in draw power
from the vehicle's battery, even when not in use (i.e.,
cellular phones, etc.). Eventually, if plugged in long
enough, the vehicle's battery will discharge sufficiently
to degrade battery life and/or prevent engine starting.
²Accessories that draw higher power (i.e., coolers, vacuum
cleaners, lights, etc.), will degrade the battery even more
quickly. Only use these intermittently and with greater
caution.
²After the use of high power draw accessories, or long
periods of the vehicle not being started (with accessories
still plugged in), the vehicle must be driven a sufficient
length of time to allow the alternator to recharge the
vehicle's battery.
²Power outlets are designed for accessory plugs only. Do
not hang any type of accessory or accessory bracket from
the plug. Improper use of the power outlet can cause
damage.
SUN SCREENSÐ IF EQUIPPED
Sun Screens are available for second and third row
seating windows. The screens store in the sill trim panels
and the tops of the windows are equipped with hooks
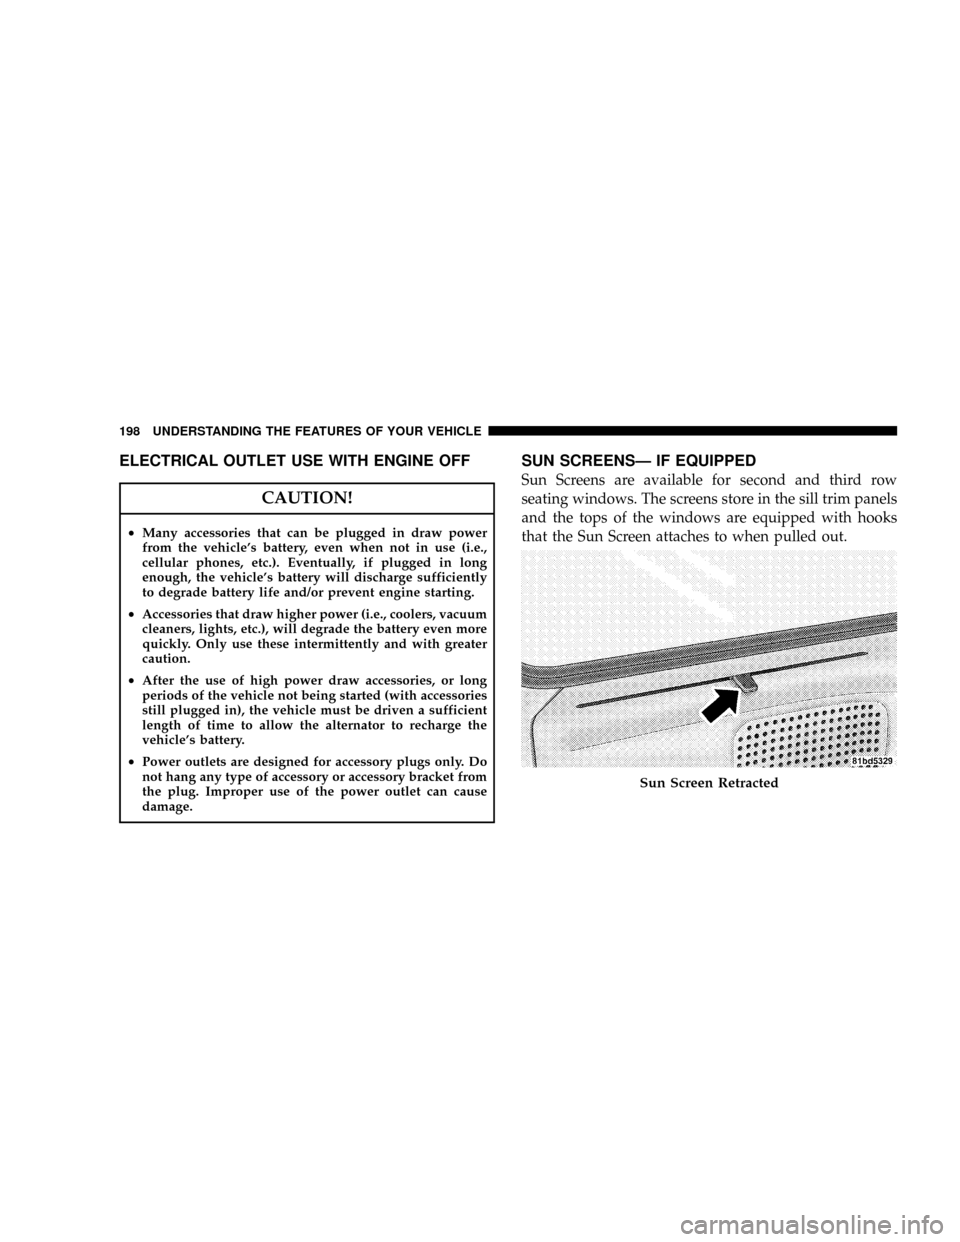
that the Sun Screen attaches to when pulled out.
Sun Screen Retracted
198 UNDERSTANDING THE FEATURES OF YOUR VEHICLE
Page 245 of 531
EVIC Displays
When the appropriate conditions exist, the EVIC displays
the following messages:
²Door(s) Ajar (with a single chime if vehicle is in
motion)
²Liftgate Ajar (chime will sound when vehicle starts
moving)
²Hood Ajar (If equipped with hood switch)
²Check TPM System. Refer to ªTire Pressure Monitor-
ing Systemº in Section 5 of this manual.
²Turn Signal On
²RKE Battery Low
²LOW WASHER FLUID
²Oil Change Required
²Left Front Turn Signal Light Out
²Left Rear Turn Signal Light Out
²Right Front Turn Signal Light Out
²Right Rear Turn Signal Light Out
²Park Assist Disabled
²Service Park Assist System
²Personal Settings Not Available ± Vehicle Not in Park
Oil Change Required
Your vehicle is equipped with an engine oil change
indicator system. TheOil Change Requiredmessage will
flash in the EVIC display for approximately 10 seconds
after a single chime has sounded to indicate the next
scheduled oil change interval. The engine oil change
indicator system is duty cycle based, which means the
engine oil change interval may fluctuate dependent upon
your personal driving style.
UNDERSTANDING YOUR INSTRUMENT PANEL 243
4
Page 294 of 531
Operating Instructions - Hands-Free Phone (If
Equipped)
Refer to ªHands-Free Communication (UConnectt)º in
Section 3.
Operating Instructions - Video Entertainment
System (VEST) (If Equipped)
Refer to separate ªVideo Entertainment System (VESt)
Guide.º
UNIVERSAL CONSUMER INTERFACE (UCI) Ð IF
EQUIPPED
NOTE:This section is for sales code RES/REL and
REQ/RET radios only with UConnectt. For sales code
REN/REZ touch screen radio and REU/REX/RE1 radio,
refer to the separate User's Manual.This feature allows you to plug an iPodtmobile digital
device into the vehicle's sound system through a connec-
tor (UCI connector) using an optional connection cable
(available through MOPARt). See your authorized dealer
for details.
Using this feature,
²the iPodtaudio can be played on the vehicle's sound
system, providing metadata (Track Title, Artist, Al-
bum, etc.) information display on radio.
²the iPodtcan be controlled using the radio buttons to
Play, Browse and List the iPodtcontents.
²the iPodtbattery charges when plugged into the UCI
connector.
292 UNDERSTANDING YOUR INSTRUMENT PANEL
Page 299 of 531
SIRIUS BACKSEAT TVŸ Ð IF EQUIPPED
Satellite video uses direct satellite receiver broadcasting
technology to provide streaming video coast to coast. The
subscription service provider is SIRIUS Satellite Radio.
SIRIUS Backseat TVŸ offers three video channels for
family entertainment, directly from its satellites and
broadcasting studios.
NOTE:SIRIUS service is not available in Hawaii and
has limited coverage in Alaska.
Refer to your Video Entertainment System (VES)t, RER
Navigation or REN Multimedia User Manuals for de-
tailed operating instructions.
VIDEO ENTERTAINMENT SYSTEM (VEST)ÐIF
EQUIPPED
The optional VESt(Video Entertainment System) is
available with:
²One or two video screens
²Additional single-disc DVD player with twoÐscreen
system
²Battery-powered two channel remote control
²Two remote headphones
²Integrated remote storage in either screen location
²Three different medias can be played simultaneously
(Cabin speakers and Headphone Channels 1 and 2)
²Easy menu driven functions on touch screen radios
²Video and audio input jacks available in rear seating
area
UNDERSTANDING YOUR INSTRUMENT PANEL 297
4
Page 328 of 531
If The Engine Fails To Start
WARNING!
²NEVER pour fuel or other flammable liquids into
the throttle body air inlet opening in an attempt to
start the vehicle. This could result in a flash fire
causing serious personal injury.
²DO NOT attempt to push or tow your vehicle to
get it started. Vehicles equipped with an automatic
transmission cannot be started this way. Unburned
fuel could enter the catalytic converter and once
the engine has started, ignite and damage the
converter and vehicle.
²If the vehicle has a discharged battery, booster
cables may be used to obtain a start from a booster
battery or the battery in another vehicle. This type
of start can be dangerous if done improperly. Refer
to Section 6 of this manual for proper jump-
starting procedures and follow them carefully.If the engine fails to start after you have followed the
ªNormal Startingº procedure, it may be flooded. Push
the accelerator pedal all the way to the floor and hold it
there while cranking the engine. This should clear any
excess fuel in case the engine is flooded.
CAUTION!
To prevent damage to the starter, DO NOT crank the
engine for more than 15±second intervals at one time.
Wait 10 to 15 seconds before trying again.
If the engine has been flooded, it may start to run, but not
have enough power to continue running when the key is
released. If this occurs, continue cranking with the accel-
erator pedal pushed all the way to the floor. Release the
accelerator pedal and the key once the engine is running
smoothly.
326 STARTING AND OPERATING