DODGE GRAND CARAVAN 2009 5.G Owners Manual
Manufacturer: DODGE, Model Year: 2009, Model line: GRAND CARAVAN, Model: DODGE GRAND CARAVAN 2009 5.GPages: 535, PDF Size: 18.61 MB
Page 211 of 535
WARNING!Never leave children in a vehicle with the key in the
ignition switch. Occupants, particularly unattended
children, can become entrapped by the power sun-
roof while operating the power sunroof switch. Such
entrapment may result in serious injury or death.
Express-Open
Press the switch rearward and release, and the sunroof
will open automatically from any position. The sunroof
will open fully, then stop automatically. This is called
“Express-Open”. During Express-Open operation, any
movement of the sunroof switch will stop the sunroof.
Express-Vent
Press and release the
9V9button, and the sunroof will
automatically open to the vent position. This is called
“Express-Vent”.
Express-Close
Press the switch forward and release, and the sunroof
will close automatically from any position. The sunroof
will close fully, then stop automatically. This is called
“Express-Close”. During Express-Close operation, any
movement of the sunroof switch will stop the sunroof. WARNING!
Do not allow small children to operate the sunroof.
Never allow your fingers, other body parts, or any
object to project through the sunroof opening. Injury
may result.
Ignition Off Operation
The power sunroof switch will remain active for 10 min-
utes after the ignition switch is turned OFF. Opening
either front door will cancel this feature.
UNDERSTANDING THE FEATURES OF YOUR VEHICLE 209 3
Page 212 of 535
Auto-Express with Anti-Pinch ProtectionDuring express closing, anytime an obstacle that restricts
glass movement is detected, the motor will stop and
reverse travel to avoid pinching the object.
Auto Express will stop and reverse travel up to three
times in succession. After the third time, Auto Express
will enter a manual operation mode. This allows the
operator to manually control the power switch, in order
to close or open the sunroof in case of a malfunction.
Wind Buffeting
Wind buffeting can be described as the perception of
pressure on the ears or a helicopter-type sound in the
ears. Your vehicle may exhibit wind buffeting with the
windows down, or the sunroof (if equipped) in certain
open or partially open positions. This is a normal occur-
rence and can be minimized. If the buffeting occurs with
the rear windows open, open the front and rear windows
together to minimize the buffeting. If the buffeting occurs
with the sunroof open, adjust the sunroof opening to
minimize the buffeting or open any window.
Sunroof Maintenance
Use only a non-abrasive cleaner and a soft cloth to clean
the glass panel.
ELECTRICAL POWER OUTLETS — IF EQUIPPED
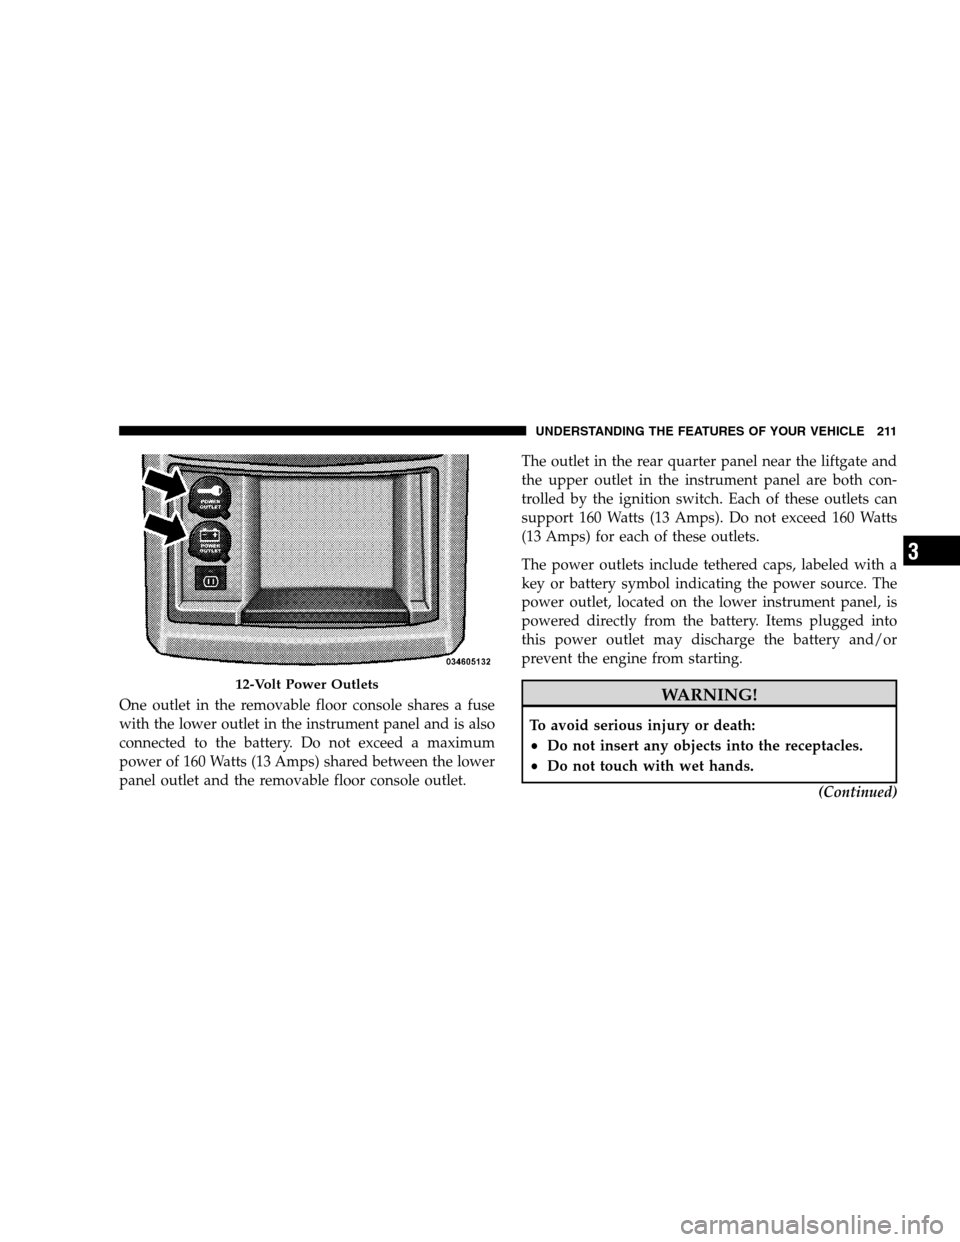
Two 12-Volt power outlets are located on the lower
instrument panel, next to the open storage bin. The upper
power outlet is controlled by the ignition switch and the
lower power outlet is connected directly to the battery.
The upper power outlet will also operate a conventional
cigar lighter unit (if equipped with an optional Smoker’s
Package). To ensure proper operation, a MOPARt
cigar
knob and element must be used.
210 UNDERSTANDING THE FEATURES OF YOUR VEHICLE
Page 213 of 535
One outlet in the removable floor console shares a fuse
with the lower outlet in the instrument panel and is also
connected to the battery. Do not exceed a maximum
power of 160 Watts (13 Amps) shared between the lower
panel outlet and the removable floor console outlet.The outlet in the rear quarter panel near the liftgate and
the upper outlet in the instrument panel are both con-
trolled by the ignition switch. Each of these outlets can
support 160 Watts (13 Amps). Do not exceed 160 Watts
(13 Amps) for each of these outlets.
The power outlets include tethered caps, labeled with a
key or battery symbol indicating the power source. The
power outlet, located on the lower instrument panel, is
powered directly from the battery. Items plugged into
this power outlet may discharge the battery and/or
prevent the engine from starting. WARNING!
To avoid serious injury or death:
Do not insert any objects into the receptacles.
Do not touch with wet hands.
(Continued)12-Volt Power Outlets
UNDERSTANDING
THE FEATURES OF YOUR VEHICLE 211 3
Page 214 of 535
WARNING! (Continued)
Close the lid when not in use and while driving
the vehicle.
If this outlet is mishandled, it may cause an
electric shock and failure. CAUTION!
Many accessories that can be plugged in draw
power from the vehicle’s battery, even when not in
use (i.e., cellular phones, etc.). Eventually, if
plugged in long enough, the vehicle’s battery will
discharge sufficiently to degrade battery life
and/or prevent the engine from starting.
(Continued) CAUTION! (Continued)
Accessories that draw higher power (i.e., coolers,
vacuum cleaners, lights, etc.), will degrade the
battery even more quickly. Only use these inter-
mittently and with greater caution.
After the use of high power draw accessories, or
long periods of the vehicle not being started (with
accessories still plugged in), the vehicle must be
driven a sufficient length of time to allow the
alternator to recharge the vehicle’s battery.
Power outlets are designed for accessory plugs
only. Do not hang any type of accessory or acces-
sory bracket from the plug. Improper use of the
power outlet can cause damage.
212 UNDERSTANDING THE FEATURES OF YOUR VEHICLE
Page 215 of 535
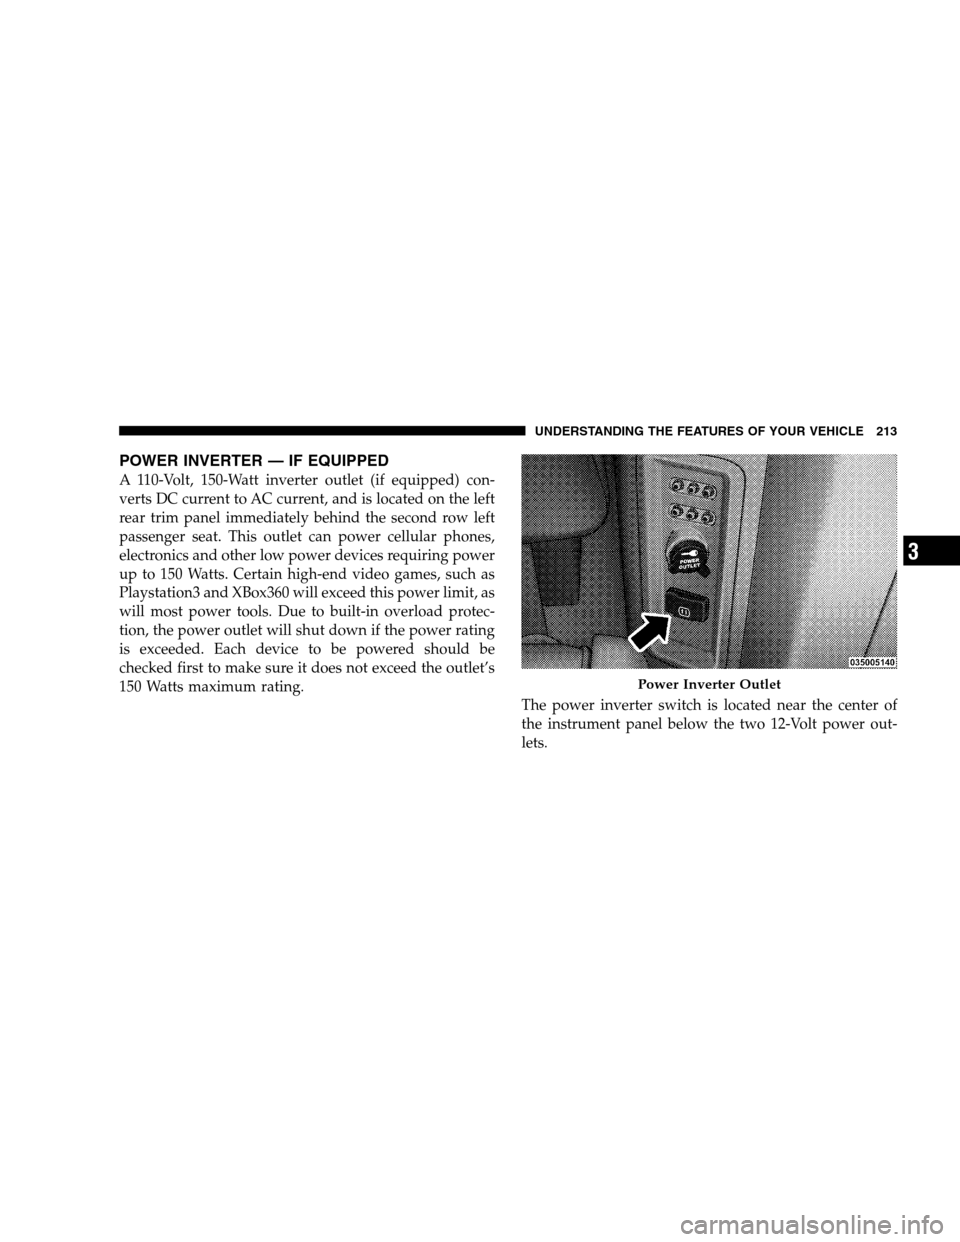
POWER INVERTER — IF EQUIPPEDA 110-Volt, 150-Watt inverter outlet (if equipped) con-
verts DC current to AC current, and is located on the left
rear trim panel immediately behind the second row left
passenger seat. This outlet can power cellular phones,
electronics and other low power devices requiring power
up to 150 Watts. Certain high-end video games, such as
Playstation3 and XBox360 will exceed this power limit, as
will most power tools. Due to built-in overload protec-
tion, the power outlet will shut down if the power rating
is exceeded. Each device to be powered should be
checked first to make sure it does not exceed the outlet’s
150 Watts maximum rating.
The power inverter switch is located near the center of
the instrument panel below the two 12-Volt power out-
lets. Power Inverter Outlet
UNDERSTANDING
THE FEATURES OF YOUR VEHICLE 213 3
Page 216 of 535
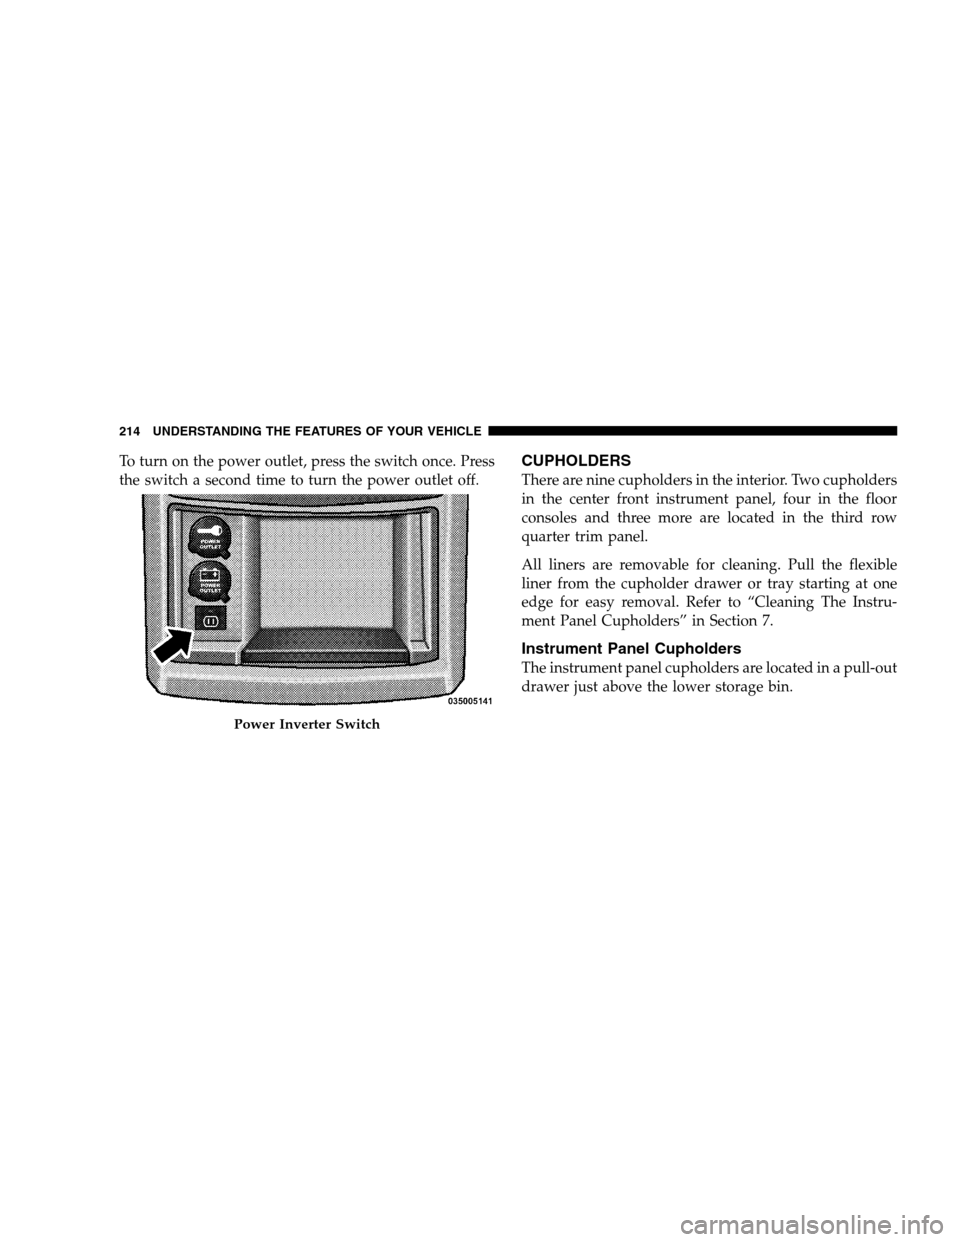
To turn on the power outlet, press the switch once. Press
the switch a second time to turn the power outlet off.CUPHOLDERS
There are nine cupholders in the interior. Two cupholders
in the center front instrument panel, four in the floor
consoles and three more are located in the third row
quarter trim panel.
All liners are removable for cleaning. Pull the flexible
liner from the cupholder drawer or tray starting at one
edge for easy removal. Refer to “Cleaning The Instru-
ment Panel Cupholders” in Section 7.
Instrument Panel Cupholders
The instrument panel cupholders are located in a pull-out
drawer just above the lower storage bin.Power Inverter Switch
214 UNDERST
ANDING THE FEATURES OF YOUR VEHICLE
Page 217 of 535
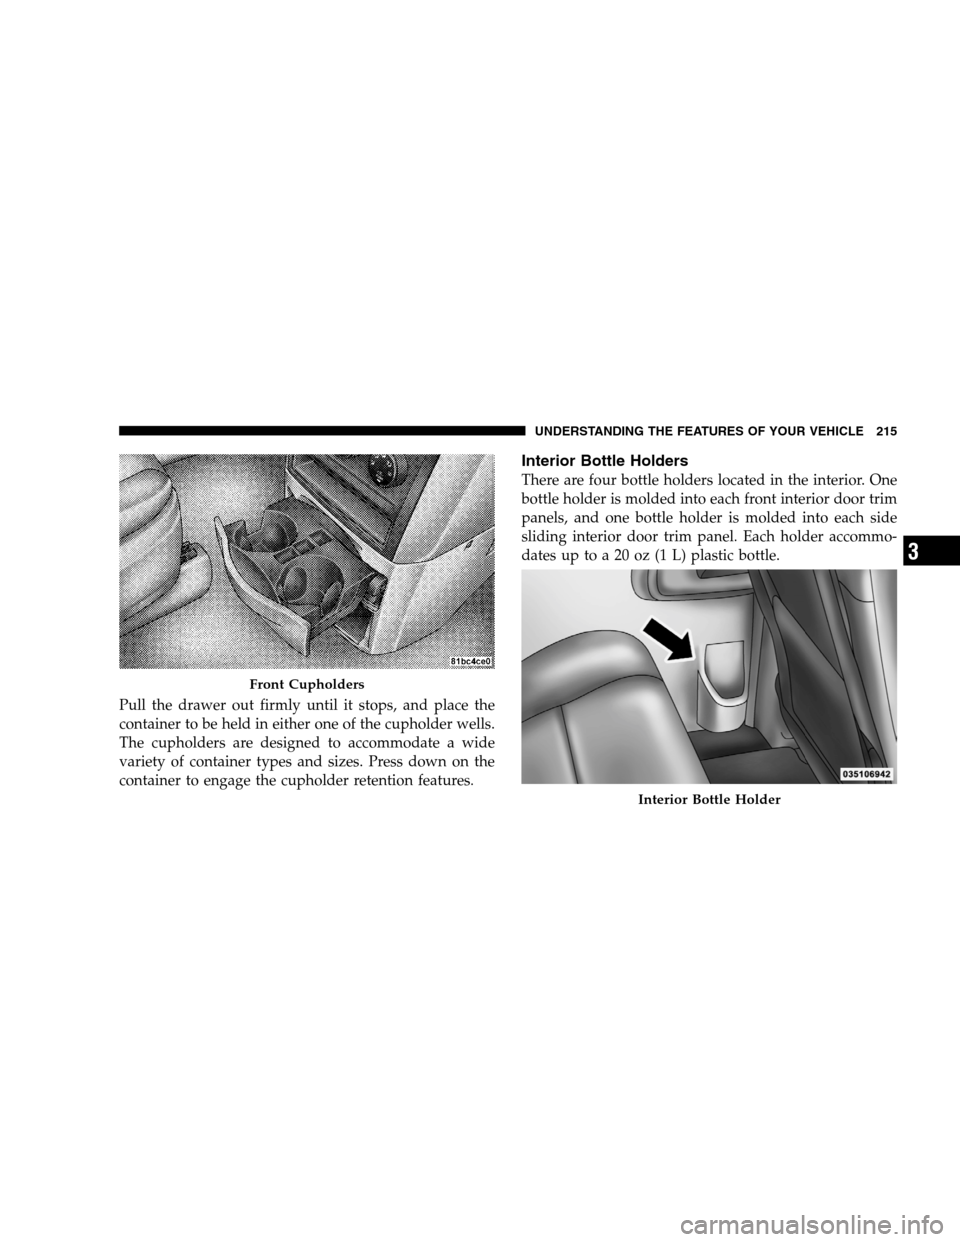
Pull the drawer out firmly until it stops, and place the
container to be held in either one of the cupholder wells.
The cupholders are designed to accommodate a wide
variety of container types and sizes. Press down on the
container to engage the cupholder retention features.
Interior Bottle Holders
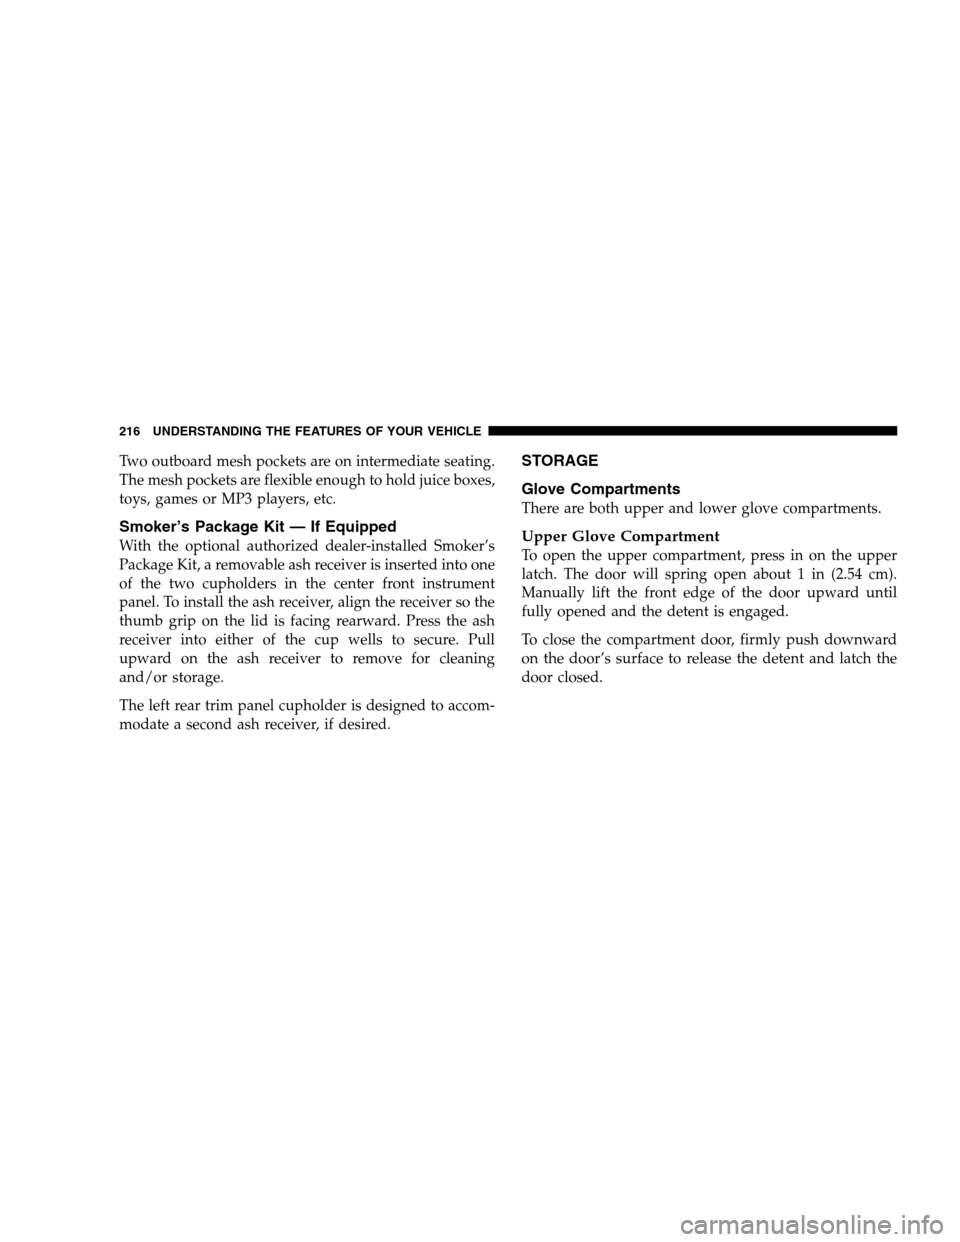
There are four bottle holders located in the interior. One
bottle holder is molded into each front interior door trim
panels, and one bottle holder is molded into each side
sliding interior door trim panel. Each holder accommo-
dates up to a 20 oz (1 L) plastic bottle.Front Cupholders
Interior Bottle Holder
UNDERSTANDING
THE FEATURES OF YOUR VEHICLE 215 3
Page 218 of 535
Two outboard mesh pockets are on intermediate seating.
The mesh pockets are flexible enough to hold juice boxes,
toys, games or MP3 players, etc.
Smoker’s Package Kit — If Equipped
With the optional authorized dealer-installed Smoker’s
Package Kit, a removable ash receiver is inserted into one
of the two cupholders in the center front instrument
panel. To install the ash receiver, align the receiver so the
thumb grip on the lid is facing rearward. Press the ash
receiver into either of the cup wells to secure. Pull
upward on the ash receiver to remove for cleaning
and/or storage.
The left rear trim panel cupholder is designed to accom-
modate a second ash receiver, if desired.
STORAGE
Glove Compartments
There are both upper and lower glove compartments.
Upper Glove Compartment
To open the upper compartment, press in on the upper
latch. The door will spring open about 1 in (2.54 cm).
Manually lift the front edge of the door upward until
fully opened and the detent is engaged.
To close the compartment door, firmly push downward
on the door’s surface to release the detent and latch the
door closed.
216 UNDERSTANDING THE FEATURES OF YOUR VEHICLE
Page 219 of 535
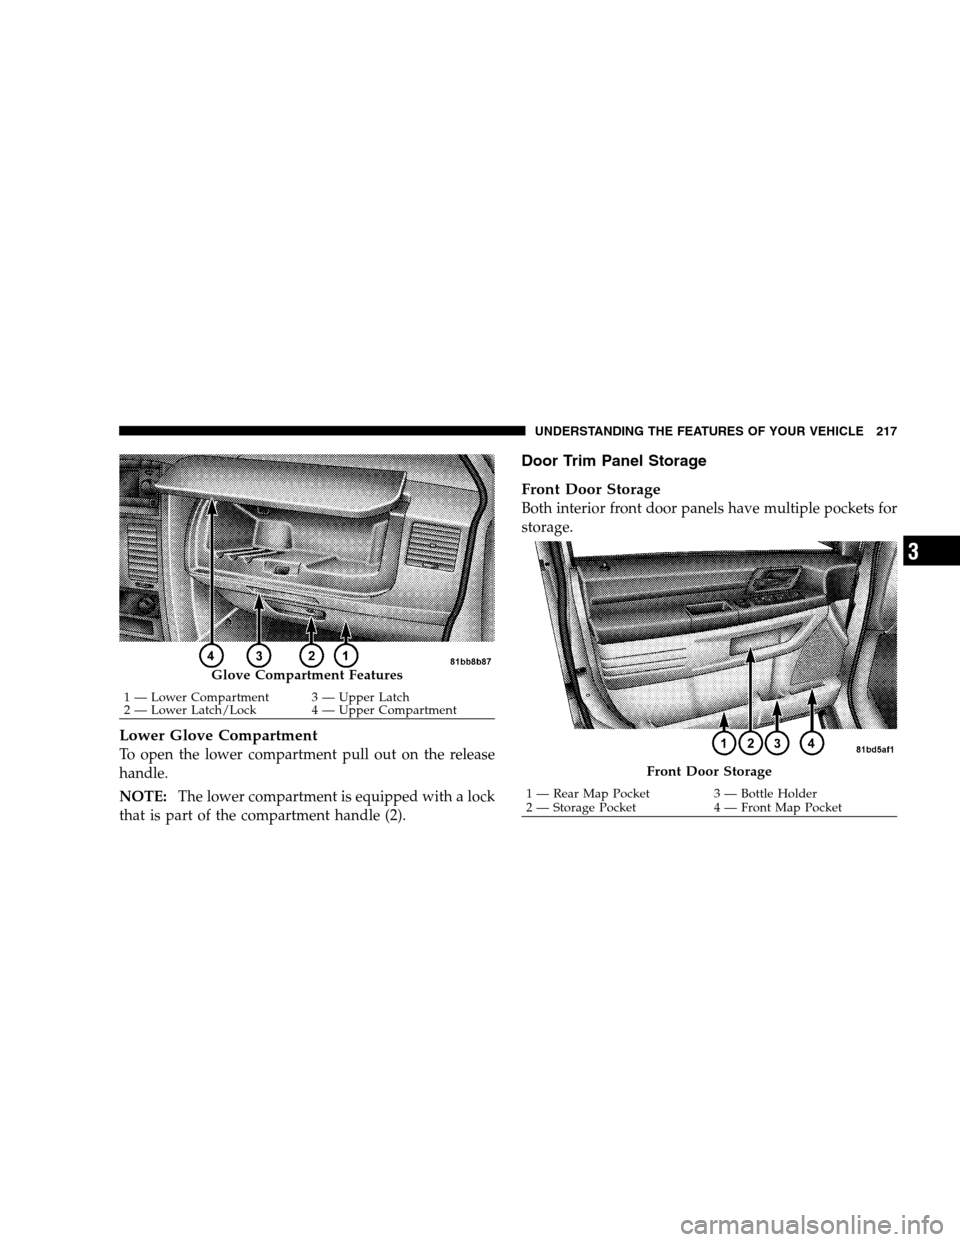
Lower Glove CompartmentTo open the lower compartment pull out on the release
handle.
NOTE:
The lower compartment is equipped with a lock
that is part of the compartment handle (2).
Door Trim Panel Storage
Front Door Storage
Both interior front door panels have multiple pockets for
storage. Glove Compartment Features
1 — Lower Compartment 3 — Upper Latch
2 —
Lower Latch/Lock 4 — Upper Compartment Front Door Storage
1 — Rear Map Pocket
3 — Bottle Holder
2 —
Storage Pocket 4 — Front Map Pocket
UNDERSTANDING THE FEATURES OF YOUR VEHICLE 217 3
Page 220 of 535
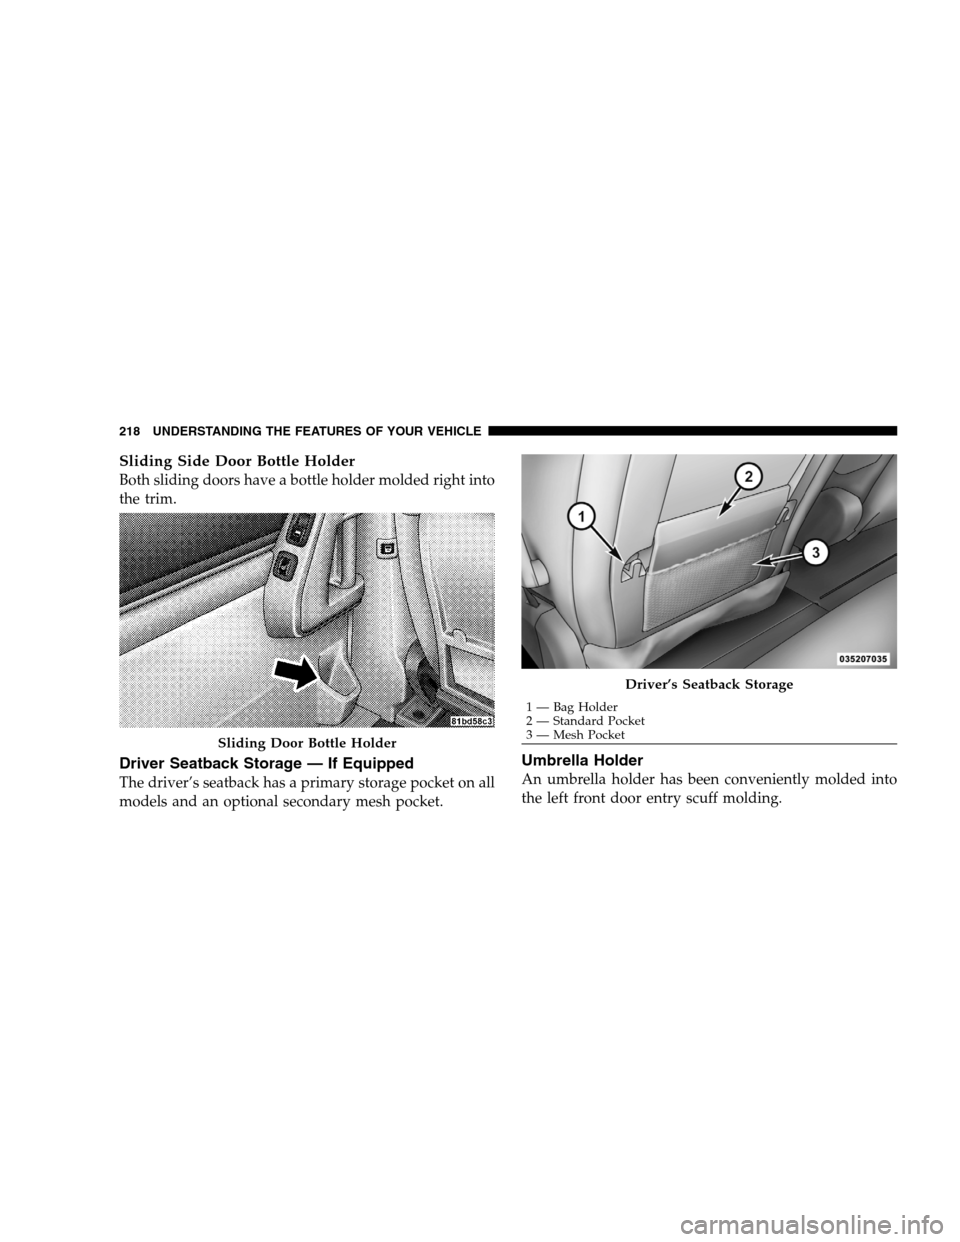
Sliding Side Door Bottle HolderBoth sliding doors have a bottle holder molded right into
the trim.
Driver Seatback Storage — If Equipped
The driver’s seatback has a primary storage pocket on all
models and an optional secondary mesh pocket.
Umbrella Holder
An umbrella holder has been conveniently molded into
the left front door entry scuff molding.
Sliding Door Bottle Holder Driver’s Seatback Storage
1 — Bag Holder
2 —
Standard Pocket
3 — Mesh Pocket
218 UNDERSTANDING THE FEATURES OF YOUR VEHICLE