DODGE GRAND CARAVAN 2009 5.G Owners Manual
Manufacturer: DODGE, Model Year: 2009, Model line: GRAND CARAVAN, Model: DODGE GRAND CARAVAN 2009 5.GPages: 535, PDF Size: 18.61 MB
Page 171 of 535
To Unfold Third Row Seats1. Pull up on the assist strap to lift the seat out of the
storage bin and push the seat forward until the anchors
latch.
2. Pull release strap marked “1” to unlock the recliner.
3. Pulling strap “3” releases the seatback to return to its
full upright position.
4. Adjust the head restraint to the desired position.
WARNING!
In a collision, you or others in your vehicle could be
injured if seats are not properly latched to their floor
attachments. Always be sure the seats are fully
latched.
Tailgate Mode
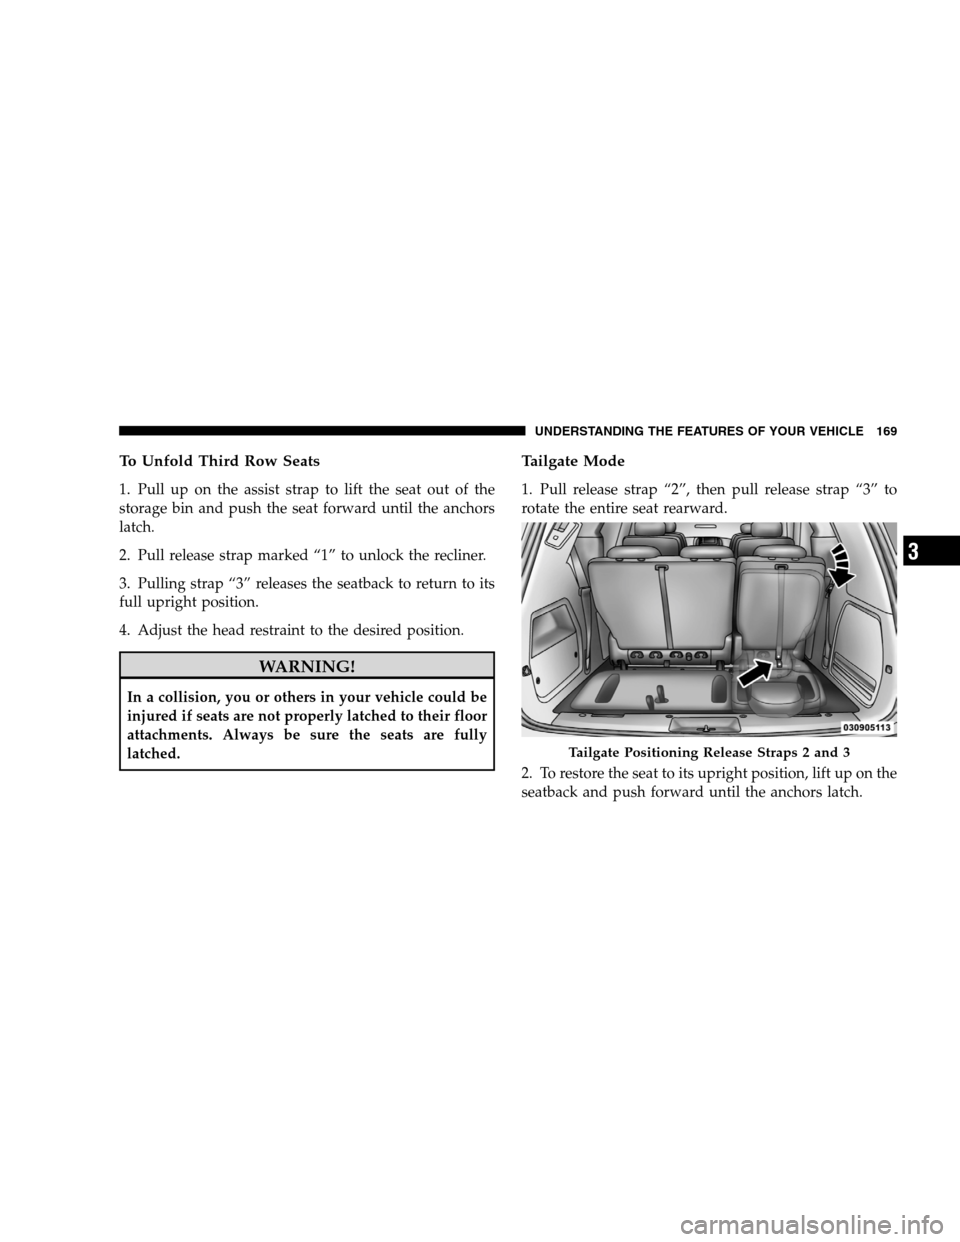
1. Pull release strap “2”, then pull release strap “3” to
rotate the entire seat rearward.
2. To restore the seat to its upright position, lift up on the
seatback and push forward until the anchors latch.
Tailgate Positioning Release Straps 2 and 3
UNDERSTANDING
THE FEATURES OF YOUR VEHICLE 169 3
Page 172 of 535
WARNING!To avoid serious injury or death, NEVER operate the
vehicle with occupants in the third row seat while in
the tailgate mode.
DRIVER MEMORY SEAT — IF EQUIPPED
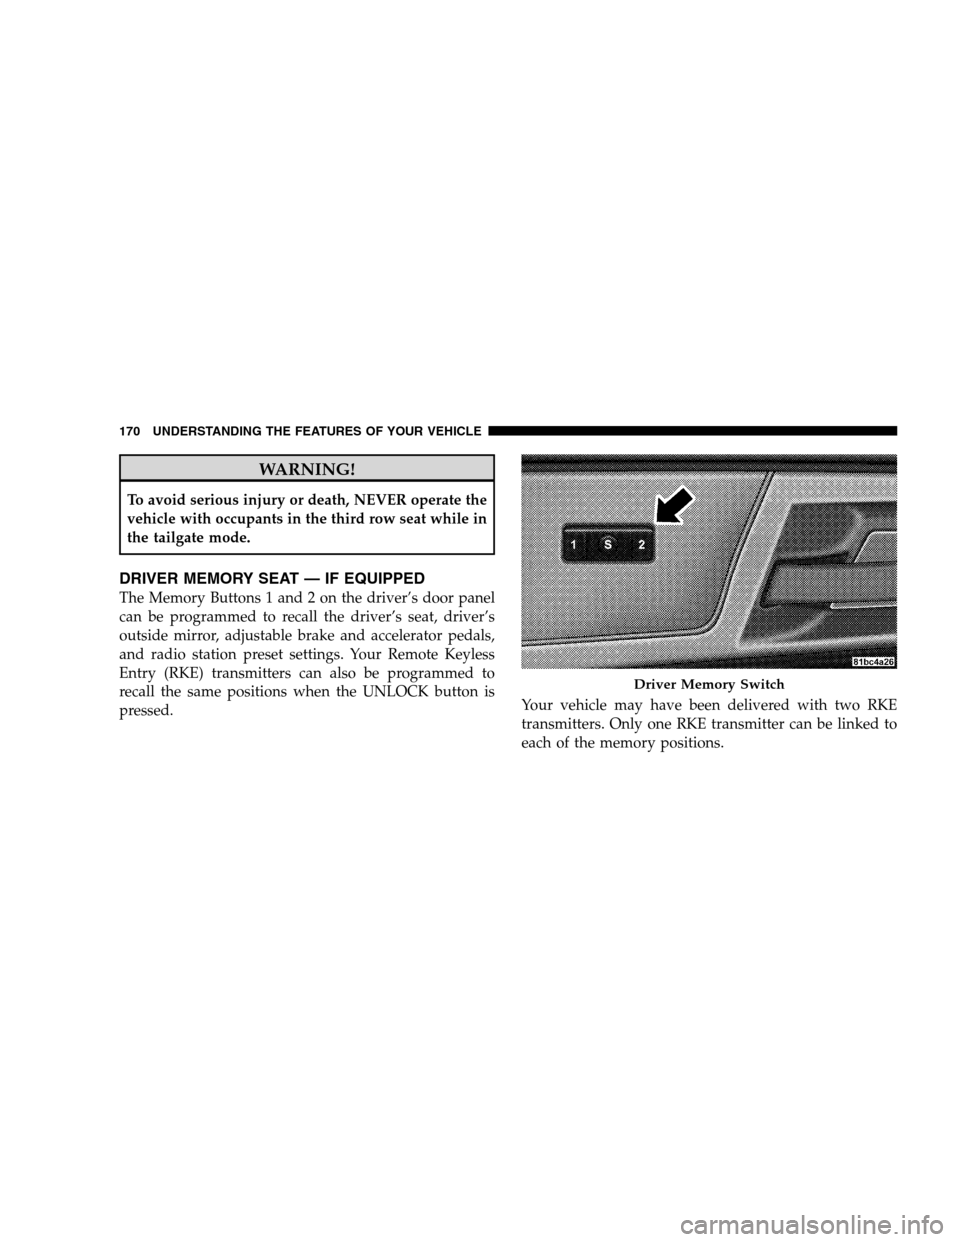
The Memory Buttons 1 and 2 on the driver’s door panel
can be programmed to recall the driver’s seat, driver’s
outside mirror, adjustable brake and accelerator pedals,
and radio station preset settings. Your Remote Keyless
Entry (RKE) transmitters can also be programmed to
recall the same positions when the UNLOCK button is
pressed.
Your vehicle may have been delivered with two RKE
transmitters. Only one RKE transmitter can be linked to
each of the memory positions. Driver Memory Switch
170 UNDERST
ANDING THE FEATURES OF YOUR VEHICLE
Page 173 of 535
Setting Memory Positions and Linking RKE
Transmitter
to Memory
NOTE:Each time the SET (S) button and a numbered
button (1 or 2) is pressed, you erase the memory settings
for that button and store a new one.
1. Insert the ignition key and turn the ignition switch to
the ON position.
2. Press the driver door MEMORY button number 1 if
you are setting the memory for driver 1, or button
number 2 if you are setting the memory for driver 2. The
system will recall any stored settings. Wait for the system
to complete the memory recall before continuing to
Step 3.
3. Adjust the driver’s seat, recliner, and driver’s side-
view mirror to the desired positions.
4. Adjust the brake and accelerator pedals to the desired
positions. 5. Turn on the radio and set the radio station presets (up
to 10 AM and 10 FM stations can be set).
6. Turn the ignition switch to the OFF position and
remove the key.
7. Press and release the SET (S) button located on the
driver’s door.
8. Within five seconds, press and release MEMORY
button 1 or 2 on the driver’s door. The next step must be
performed within 10 seconds if you desire to also use a
RKE transmitter to recall memory positions.
9. Press and release the LOCK button on one of the RKE
transmitters.
10. Insert the ignition key and turn the ignition switch to
the ON position.
UNDERSTANDING THE FEATURES OF YOUR VEHICLE 171 3
Page 174 of 535
11. Select9Remote Linked to Memory9 in the Electronic
Vehicle Information Center (EVIC) and enter “Yes”. Refer
to the “Customer-Programmable Features” in the “Elec-
tronic Vehicle Information Center (EVIC)” section for
more information.
12. Repeat the above steps to set the next Memory
position using the other numbered Memory button or to
link another RKE transmitter to memory.
Memory Position Recall
NOTE: The vehicle must be in PARK to recall memory
positions. If a recall is attempted when the vehicle is not
in PARK, a message will be displayed in the EVIC.
To recall the memory settings for driver one, press
MEMORY button 1 on the driver’s door or the UNLOCK
button on the RKE transmitter linked to memory position
1. To recall the memory setting for driver two, press
MEMORY button 2 on the driver’s door or the UNLOCK
button on the RKE transmitter linked to Memory Position
2.
A recall can be cancelled by pressing any of the
MEMORY buttons on the driver’s door during a recall (S,
1, or 2). When a recall is cancelled, the driver’s seat,
driver’s mirror, and the pedals stop moving. A delay of
one second will occur before another recall can be
selected.To Disable RKE Transmitter Linked to Memory
1. Turn the ignition switch to the OFF position and
remove the key.
2. Press and release MEMORY button 1. The system will
recall any memory settings stored in position 1. Wait for
the system to complete the memory recall before continu-
ing to Step 3.
172 UNDERSTANDING THE FEATURES OF YOUR VEHICLE
Page 175 of 535
3. Press and release the memory SET (S) button located
on the driver’s door. A chime will sound signaling that
you are in the memory set mode.
4. Within five seconds, press and release MEMORY
button 1 on the driver’s door. A chime will sound
signaling to you that the driver memory has been set.
5. Within five seconds, press and release the UNLOCK
button on the RKE transmitter. A chime will sound
signaling to you that the RKE transmitter link has been
successfully disabled.
To disable another RKE transmitter linked to either
Memory Position, repeat Steps 1 to 5 for each RKE
transmitter.
NOTE:Once programmed, all RKE transmitters linked
to memory can be easily enabled or disabled at one time. Refer to the Remote Linked to Memory
9Customer-
Programmable Features9 in the Electronic Vehicle Infor-
mation Center (EVIC) for more information.
Easy Entry/Exit Seat (Available with Memory Seat
ONLY)
This feature provides automatic driver seat positioning to
enhance driver mobility when entering and exiting the
vehicle.
The distance the driver seat moves depends on where
you have the driver seat positioned when you remove the
key from the ignition switch.
When you remove the key from the ignition switch,
the driver seat will move about 2.4 in (60 mm)
rearward if the driver seat position is greater than or
equal to 2.7 in (67.7 mm) forward of the rear stop. The
seat will return to its previously set position when you
insert the key into the ignition switch and turn it out of
the LOCK position.
UNDERSTANDING THE FEATURES OF YOUR VEHICLE 173 3
Page 176 of 535
When you remove the key from the ignition switch the
driver seat will move to a position 0.3 in (7.7 mm)
forward of the rear stop if the driver seat position is
between 0.9 – 2.7 in (22.7 – 67.7 mm) forward of the
rear stop. The seat will return to its previously set
position when you insert the key into the ignition
switch and turn it out of the LOCK position.
The Easy Entry/Easy Exit feature is disabled when the
driver seat position is less than 0.9 in (22.7 mm)
forward of the rear stop. At this position, there is no
benefit to the driver by moving the seat for Easy Exit
or Easy Entry.
Each stored memory setting will have an associated Easy
Entry and Easy Exit Position.
NOTE:
The Easy Entry/Easy Exit feature can be en-
abled or disabled through the programmable features in
the Electronic Vehicle Information Center (EVIC). If your
vehicle is not equipped with an EVIC, your dealership
can activate/deactivate this feature for you. For details,
refer to “Automatically Move Seat Back on Exit,” section
of this manual.
174 UNDERSTANDING THE FEATURES OF YOUR VEHICLE
Page 177 of 535
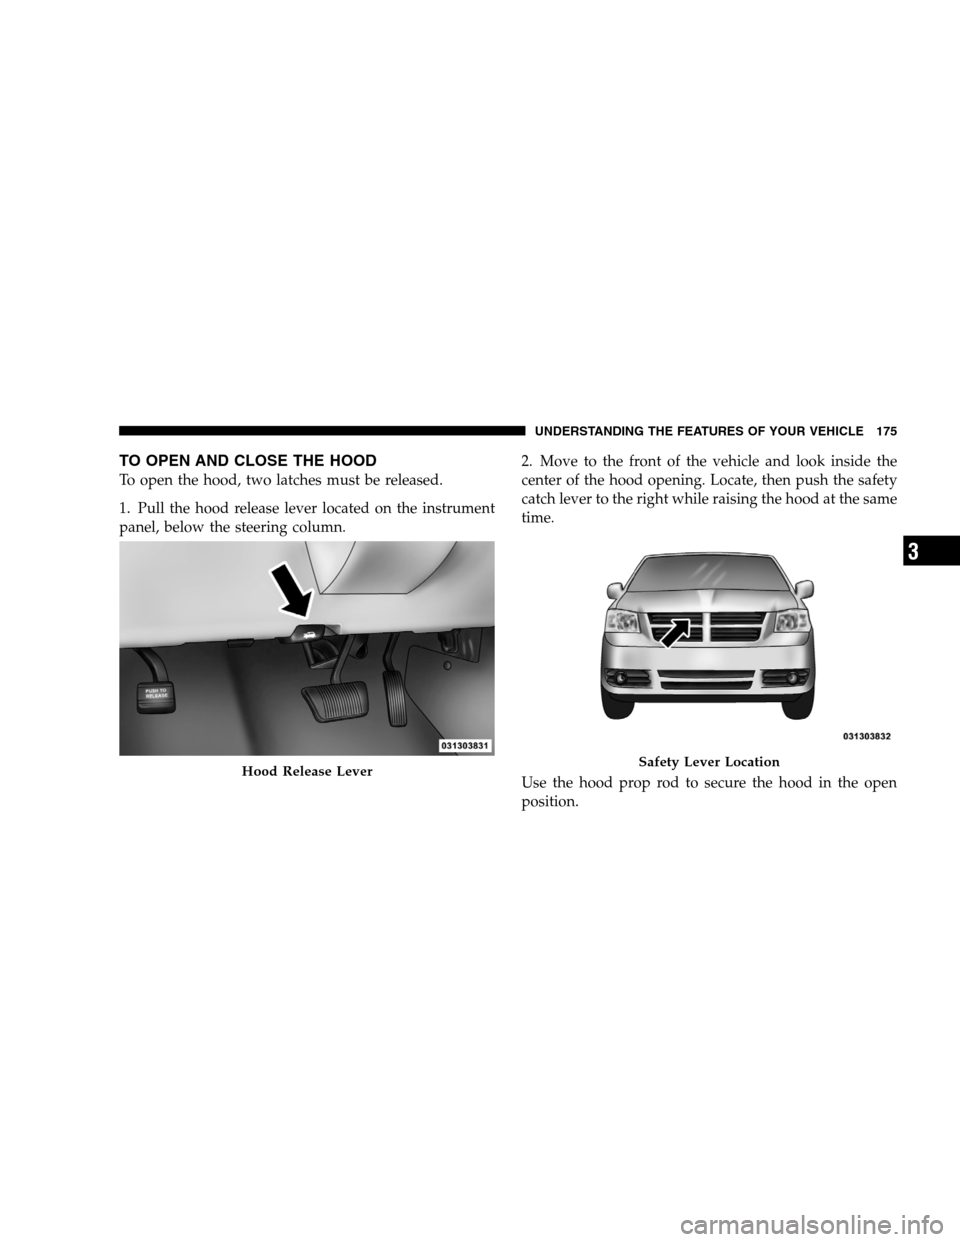
TO OPEN AND CLOSE THE HOODTo open the hood, two latches must be released.
1. Pull the hood release lever located on the instrument
panel, below the steering column.
2. Move to the front of the vehicle and look inside the
center of the hood opening. Locate, then push the safety
catch lever to the right while raising the hood at the same
time.
Use the hood prop rod to secure the hood in the open
position.Hood Release Lever Safety Lever Location
UNDERSTANDING
THE FEATURES OF YOUR VEHICLE 175 3
Page 178 of 535
CAUTION!To prevent possible damage, do not slam the hood to
close it. Lower the hood until it is open approxi-
mately 12 in (30 cm) and then drop it. This should
secure both latches. Never drive your vehicle unless
the hood is fully closed, with both latches engaged.
WARNING!
If the hood is not fully latched, it could open when
the vehicle is moving and block your forward vision.
You could have a collision. Be sure all hood latches
are fully latched before driving.
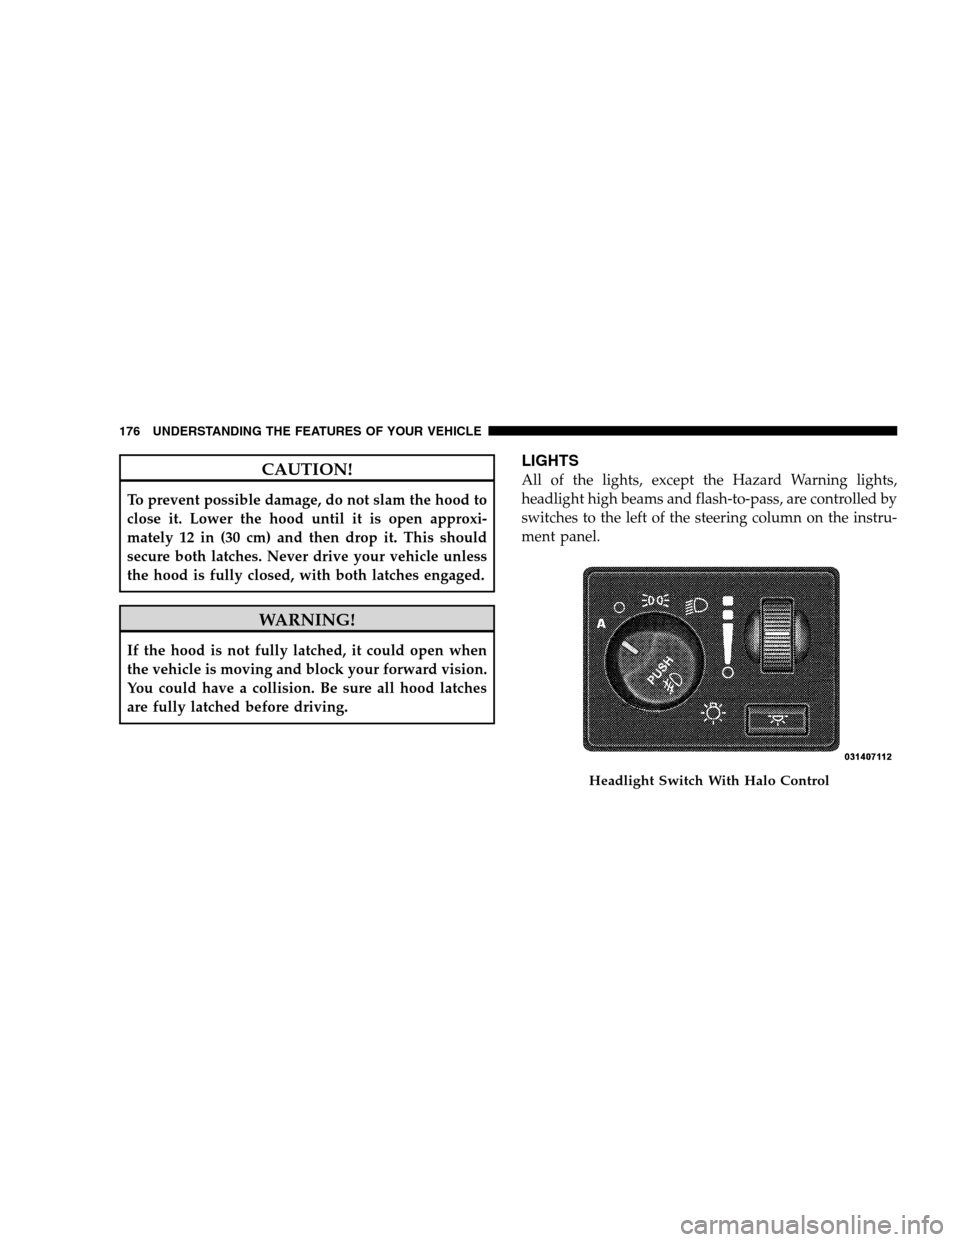
LIGHTS
All of the lights, except the Hazard Warning lights,
headlight high beams and flash-to-pass, are controlled by
switches to the left of the steering column on the instru-
ment panel.
Headlight Switch With Halo Control
176 UNDERST
ANDING THE FEATURES OF YOUR VEHICLE
Page 179 of 535
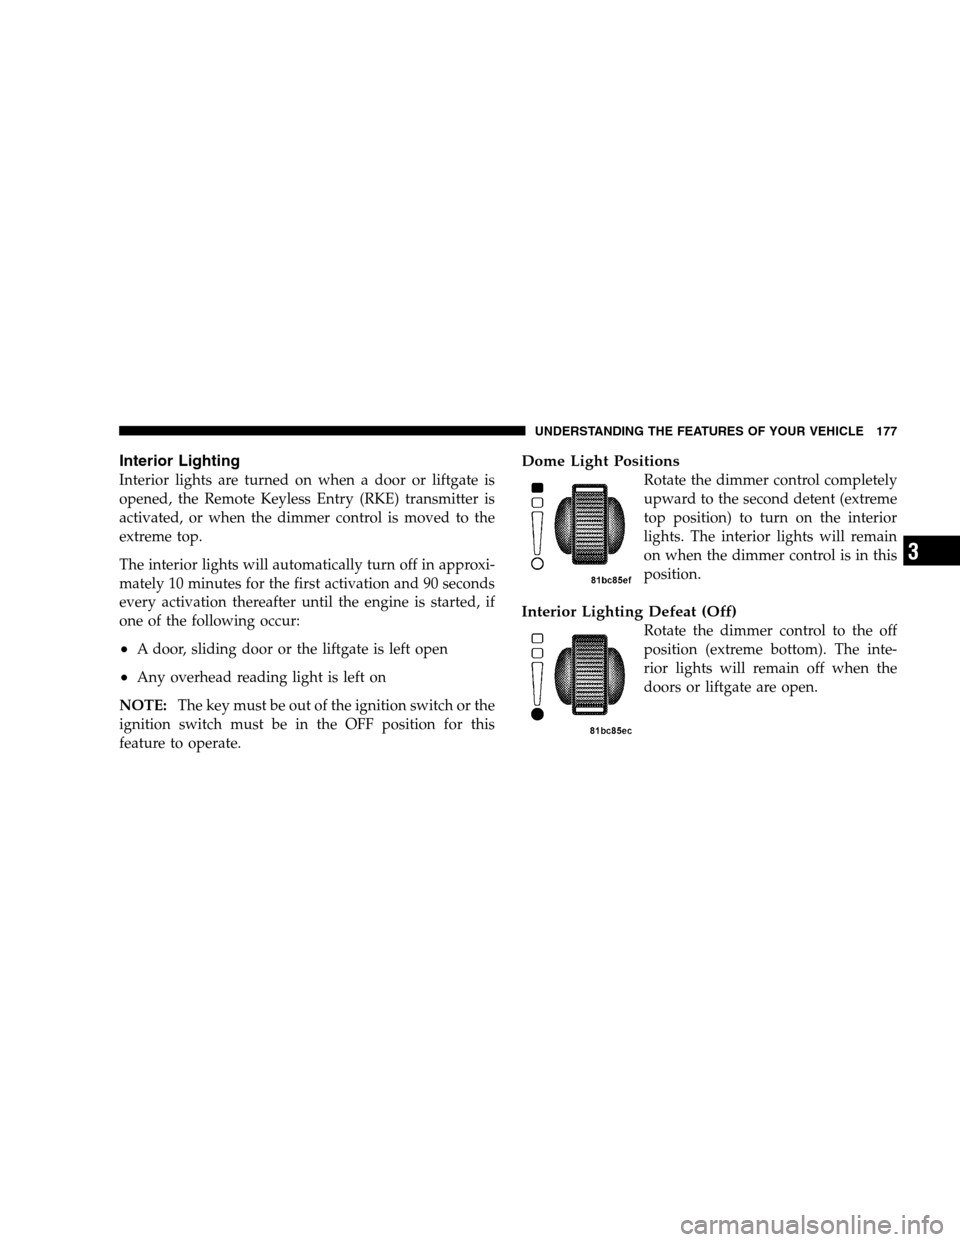
Interior LightingInterior lights are turned on when a door or liftgate is
opened, the Remote Keyless Entry (RKE) transmitter is
activated, or when the dimmer control is moved to the
extreme top.
The interior lights will automatically turn off in approxi-
mately 10 minutes for the first activation and 90 seconds
every activation thereafter until the engine is started, if
one of the following occur:
A door, sliding door or the liftgate is left open
Any overhead reading light is left on
NOTE: The key must be out of the ignition switch or the
ignition switch must be in the OFF position for this
feature to operate.
Dome Light Positions
Rotate the dimmer control completely
upward to the second detent (extreme
top position) to turn on the interior
lights. The interior lights will remain
on when the dimmer control is in this
position.
Interior Lighting Defeat (Off)
Rotate the dimmer control to the off
position (extreme bottom). The inte-
rior lights will remain off when the
doors or liftgate are open. UNDERSTANDING THE FEATURES OF YOUR VEHICLE 177
3
Page 180 of 535
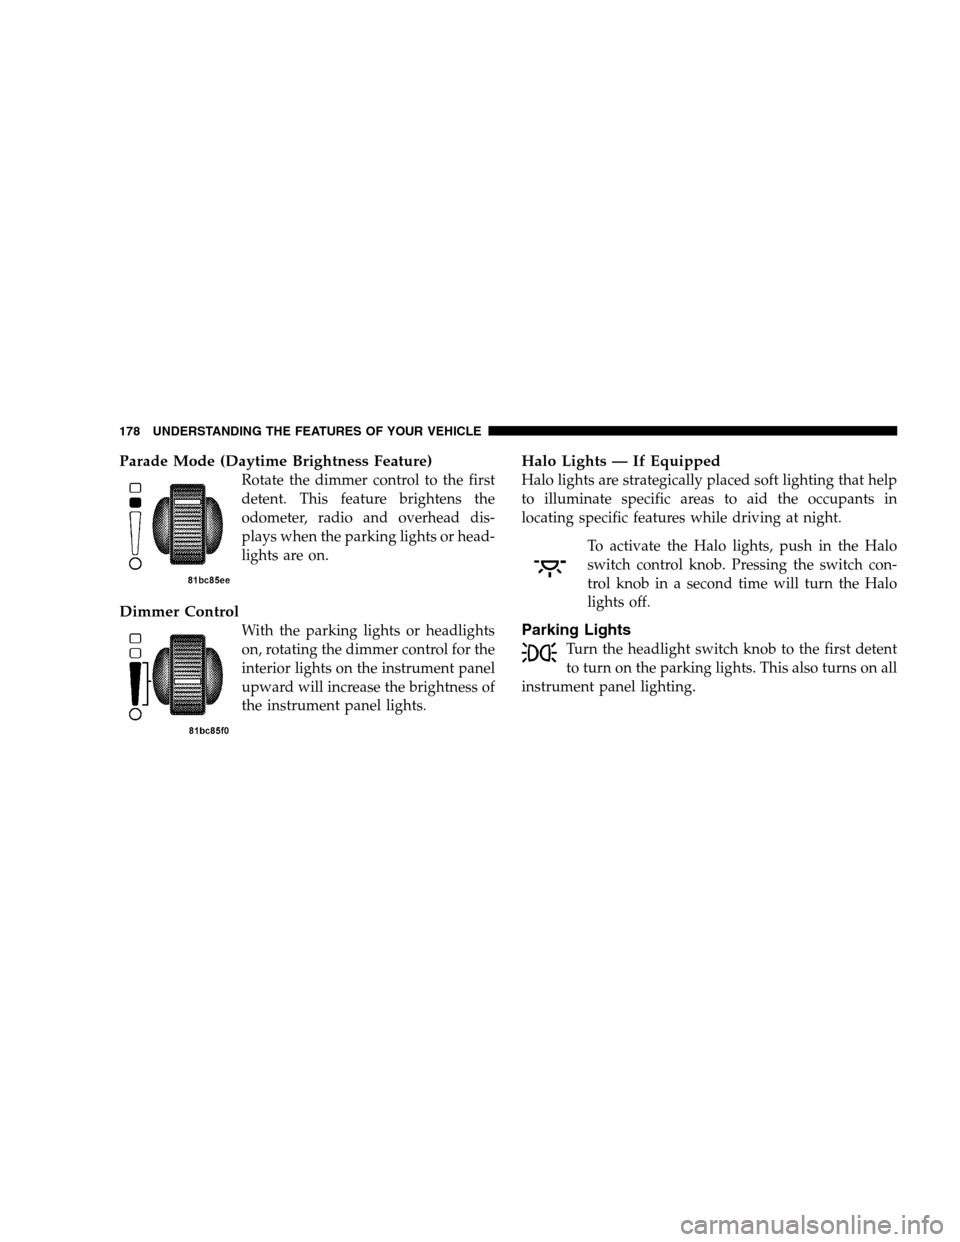
Parade Mode (Daytime Brightness Feature)Rotate the dimmer control to the first
detent. This feature brightens the
odometer, radio and overhead dis-
plays when the parking lights or head-
lights are on.
Dimmer Control
With the parking lights or headlights
on, rotating the dimmer control for the
interior lights on the instrument panel
upward will increase the brightness of
the instrument panel lights.
Halo Lights — If Equipped
Halo lights are strategically placed soft lighting that help
to illuminate specific areas to aid the occupants in
locating specific features while driving at night.
To activate the Halo lights, push in the Halo
switch control knob. Pressing the switch con-
trol knob in a second time will turn the Halo
lights off.
Parking Lights
Turn the headlight switch knob to the first detent
to turn on the parking lights. This also turns on all
instrument panel lighting. 178 UNDERSTANDING THE FEATURES OF YOUR VEHICLE