ECO mode DODGE GRAND CARAVAN 2013 5.G User Guide
[x] Cancel search | Manufacturer: DODGE, Model Year: 2013, Model line: GRAND CARAVAN, Model: DODGE GRAND CARAVAN 2013 5.GPages: 132, PDF Size: 4.51 MB
Page 3 of 132
INTRODUCTION/WELCOME
WELCOME FROM CHRYSLER GROUP LLC . . . 2
CONTROLS AT A GLANCE
DRIVER COCKPIT................4
INSTRUMENT CLUSTER .............6
GETTING STARTED
KEYFOB .....................8
REMOTE START.................9
THEFT ALARM ..................9
SEATBELT ...................10
SUPPLEMENTAL RESTRAINT SYSTEM
(SRS)—AIRBAGS................10
CHILD RESTRAINTS ..............11
FRONT SEATS .................14
REARSEATS ..................15
HEATEDSEATS .................19
HEATED STEERING WHEEL ..........20
TILT/TELESCOPING STEERING COLUMN . . . 20
ADJUSTABLE PEDALS .............21
OPERATING YOUR VEHICLE
ENGINE BREAK-IN RECOMMENDATIONS . . . 22
TURN SIGNAL/WIPER/WASHER/HIGH
BEAM LEVER..................22
HEADLIGHT SWITCH AND HALO LIGHT
SWITCH .....................24
SPEED CONTROL ................25
ELECTRONIC RANGE SELECTION (ERS) . . . 26
FUEL ECONOMY (ECON) MODE ........26
MANUAL CLIMATE CONTROLS ........27
THREE ZONE MANUAL CLIMATE CONTROLS . . 28THREE ZONE AUTOMATIC TEMPERATURE
CONTROLS (ATC)................29
PARKSENSE® REAR PARK ASSIST ......30
PARKVIEW® REAR BACK-UP CAMERA ....30
BLIND SPOT MONITORING WITH REAR
CROSS PATH ..................31
POWER SLIDING SIDE DOORS .........31
POWER LIFTGATE ...............32
POWER SUNROOF ...............32
WIND BUFFETING ...............33
ELECTRONICS
YOUR VEHICLE'S SOUND SYSTEM ......34
Uconnect® 130 .................36
Uconnect® 130 WITH SiriusXM SATELLITE
RADIO ......................38
Uconnect® 430/430N .............41
Uconnect® 730N ................50
SiriusXM SATELLITE RADIO/TRAVEL LINK . . 60
STEERING WHEEL AUDIO CONTROLS ....63
iPod®/USB/MP3 CONTROL ..........63
Uconnect® Phone ...............64
Uconnect® VOICE COMMAND .........67Bluetooth® STREAMING AUDIO
........69
VIDEO ENTERTAINMENT SYSTEM (VES™)..69
ELECTRONIC VEHICLE INFORMATION
CENTER (EVIC) .................71
PROGRAMMABLE FEATURES .........72
UNIVERSAL GARAGE DOOR OPENER
(HomeLink®) ..................73
POWER INVERTER ...............75
POWER OUTLETS ...............76
UTILITY
IN-FLOORSTORAGE–STOW'NGO® ......78
ROOF LUGGAGE RACK .............78
TRAILER TOWING WEIGHTS
(MAXIMUM TRAILER WEIGHT RATINGS) . . . 79
RECREATIONAL TOWING
(BEHIND MOTORHOME, ETC.) .........79
WHAT TO DO IN EMERGENCIES
ROADSIDE ASSISTANCE............80INSTRUMENT CLUSTER WARNING LIGHTS . . . 80IF YOUR ENGINE OVERHEATS .........84
JACKING AND TIRE CHANGING ........85
JUMP-STARTING ...............95
SHIFT LEVER OVERRIDE ............97
TOWING A DISABLED VEHICLE ........97
FREEING A STUCK VEHICLE .........98
EVENT DATA RECORDER (EDR) ........99
MAINTAINING YOUR VEHICLE
OPENING THE HOOD.............100
ADDING FUEL .................101
ENGINE COMPARTMENT ...........102
FLUIDS AND CAPACITIES ..........103
MAINTENANCE SCHEDULE .........104
MAINTENANCE RECORD ...........108
FUSES .....................109
TIRE PRESSURES ...............112
WHEEL AND WHEEL TRIM CARE .......113
EXTERIOR BULBS ...............113
CONSUMER ASSISTANCE
CHRYSLER GROUP LLC
CUSTOMER CENTER .............114
CHRYSLER CANADA INC.
CUSTOMER CENTER .............114
PUBLICATIONS ORDERING ..........114
ASSISTANCE FOR THE HEARING IMPAIRED. . 114
REPORTING SAFETY DEFECTS IN THE
UNITEDSTATES ................115
MOPAR ACCESSORIES
AUTHENTIC ACCESSORIES BY MOPAR® . . . 116
INDEX.....................117
FAQ (How To?)
FREQUENTLY ASKED QUESTIONS ......120
TABLE OF CONTENTS
Page 7 of 132
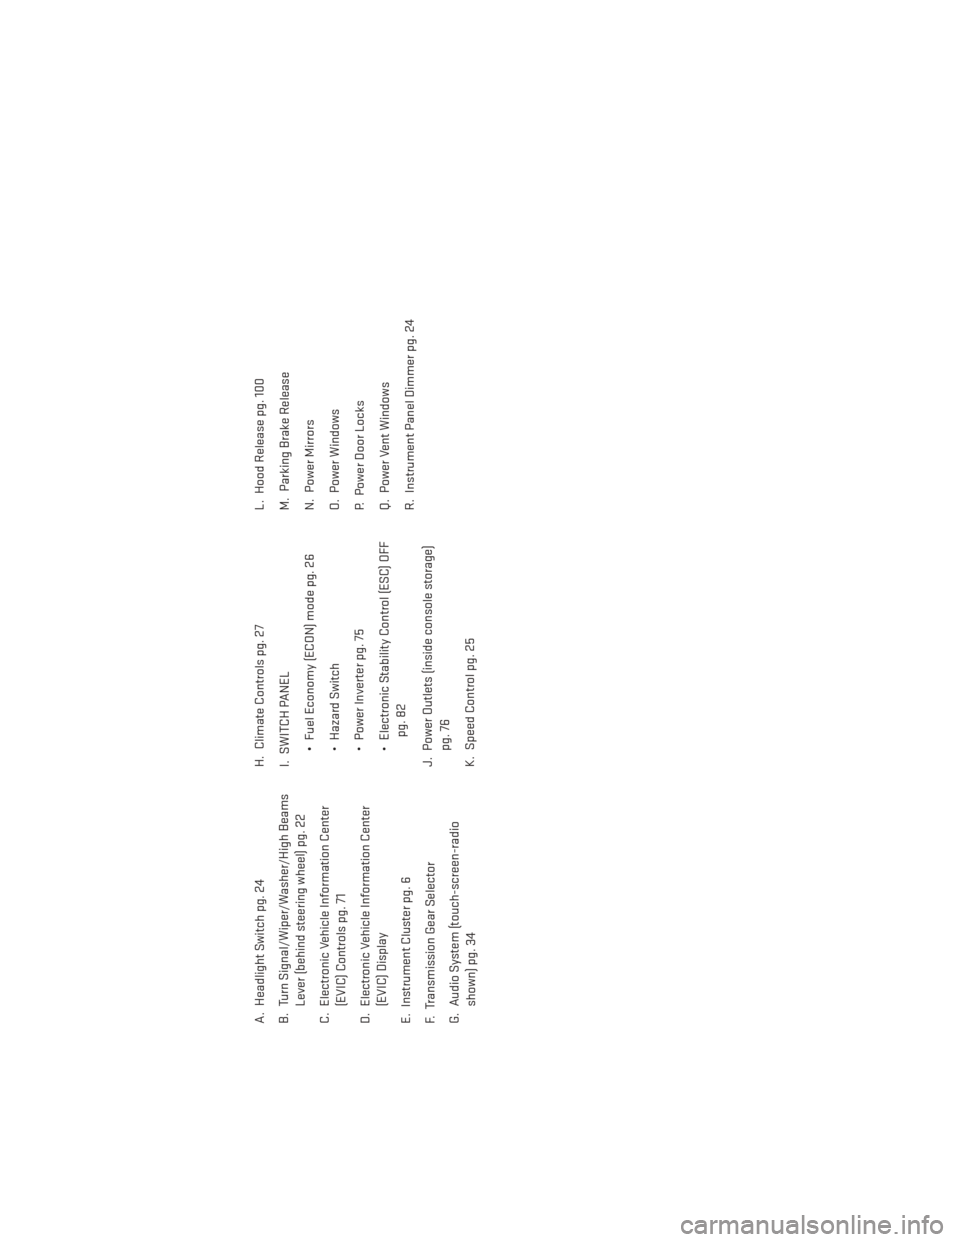
A. Headlight Switch pg. 24
B. Turn Signal/Wiper/Washer/High BeamsLever (behind steering wheel) pg. 22
C. Electronic Vehicle Information Center (EVIC) Controls pg. 71
D. Electronic Vehicle Information Center (EVIC) Display
E. Instrument Cluster pg. 6
F. Transmission Gear Selector
G. Audio System (touch-screen-radio shown) pg. 34 H. Climate Controls pg. 27
I. SWITCH PANEL
• Fuel Economy (ECON) mode pg. 26
• Hazard Switch
• Power Inverter pg. 75
• Electronic Stability Control (ESC) OFFpg. 82
J. Power Outlets (inside console storage) pg. 76
K. Speed Control pg. 25 L. Hood Release pg. 100
M. Parking Brake Release
N. Power Mirrors
O. Power Windows
P. Power Door Locks
Q. Power Vent Windows
R. Instrument Panel Dimmer pg. 24
CONTROLS AT A GLANCE
5
Page 24 of 132
ENGINE BREAK-IN RECOMMENDATIONS
•A long break-in period is not required for the engine and drivetrain (transmission and axle)
in your vehicle.
• Drive moderately during the first 300 miles (500 km). After the initial 60 miles (100 km), speeds up to 50 or 55 mph (80 or 90 km/h) are desirable.
• While cruising, brief full-throttle acceleration within the limits of local traffic laws contributes to a good break-in. Wide-open throttle acceleration in low gear can be
detrimental and should be avoided.
• The engine oil installed in the engine at the factory is a high-quality energy conserving type lubricant. Oil changes should be consistent with anticipated climate conditions
under which vehicle operations will occur. For the recommended viscosity and quality
grades, refer to “Maintaining Your Vehicle”.
NOTE:
A new engine may consume some oil during its first few thousand miles (kilometers) of
operation. This should be considered a normal part of the break-in and not interpreted as an
indication to an engine problem or malfunction.
CAUTION!
Never use Non-Detergent Oil or Straight Mineral Oil in the engine or damage may result.
TURN SIGNAL/WIPER/WASHER/HIGH BEAM LEVER
Turn Signal/Lane Change Assist
• Tap the lever up or down once and the turn signal (right or left) will flash three times and automatically turn off.
• Vehicles equipped with Blind Spot Monitoring will produce a visual alert and may be programmed to produce an audible alert when signaling a lane change; refer to your
Owner’s Manual on the DVD for operation.
OPERATING YOUR VEHICLE
22
Page 28 of 132
ELECTRONIC RANGE SELECTION (ERS)
• Electronic Range Select (ERS) allows youto limit the highest available transmis-
sion gear, and can be activated during any
driving condition. When towing a trailer or
operating the vehicle in off-road condi-
tions, using ERS shift control will help you
maximize both performance and engine
braking.
• To shift from DRIVE mode to ERS mode, move the shift lever to the left (-) once.
The current gear will be maintained as the
top gear. To disable ERS, simply press and
hold the shift lever to the right (+) until “D”
is displayed in the instrument cluster
odometer.
• Switching between ERS and DRIVE mode can be done at any vehicle speed.
• Refer to your Owner's Manual on the DVD for further details.
FUEL ECONOMY (ECON) MODE
• The Fuel Economy (ECON) mode can improve the vehicle’s overall fuel economy duringnormal driving conditions.
• Press the “econ” switch in the center stack of the instrument panel and a green light will indicate the ECON mode is engaged.
OPERATING YOUR VEHICLE
26
Page 29 of 132
• When the Fuel Economy (ECON) Mode is engaged, the vehicle control systems will beable to change the following:• The transmission will upshift sooner and downshift later.
• The transmission will skip select gears during shifts to allow the engine to operate at
lower speeds.
• The torque converter clutch will engage sooner (lower engine rpm’s) and remain on longer.
• The engine idle speed will be lower.
• The overall driving performance will be more conservative.
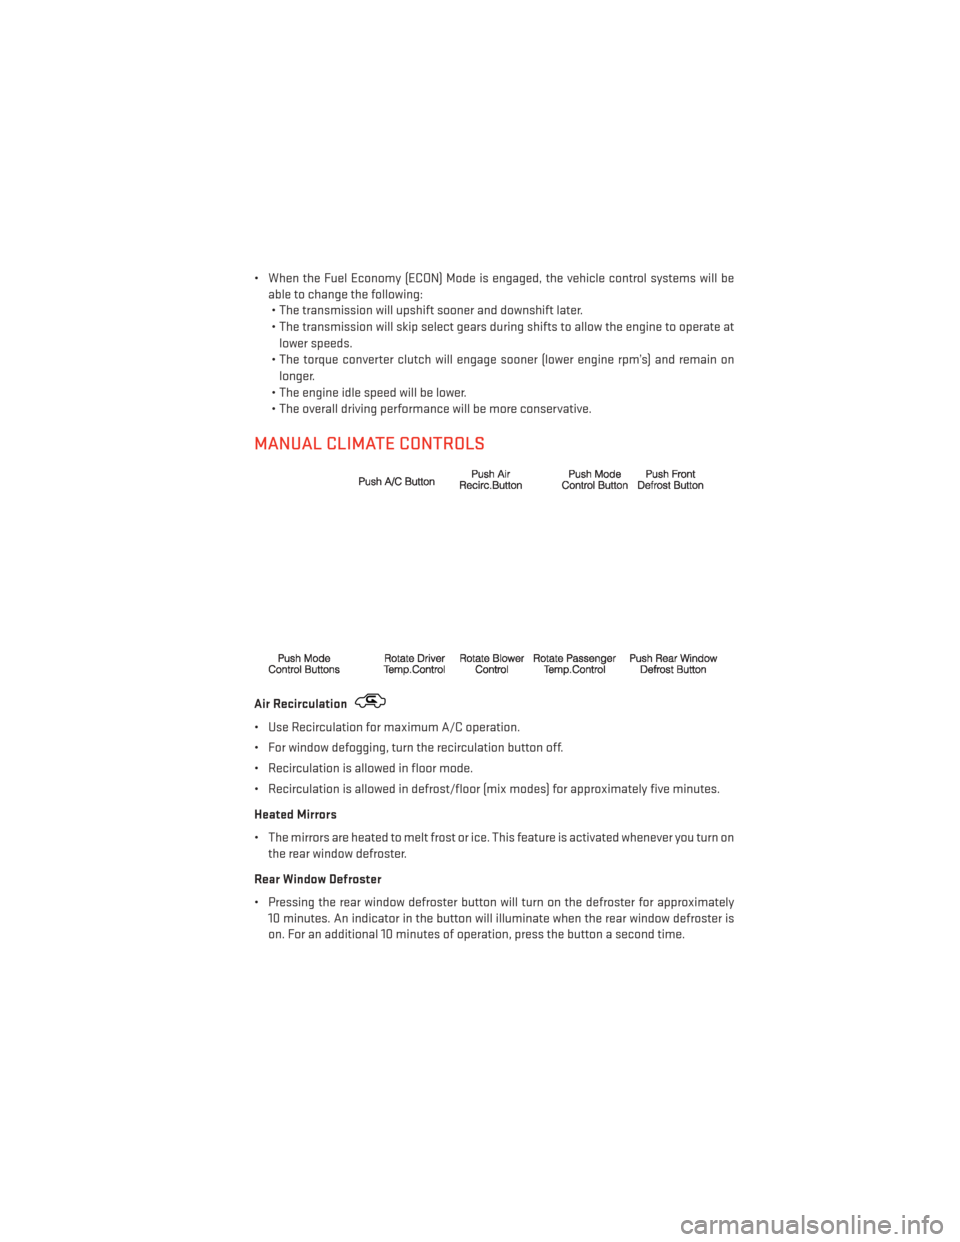
MANUAL CLIMATE CONTROLS
Air Recirculation
• Use Recirculation for maximum A/C operation.
• For window defogging, turn the recirculation button off.
• Recirculation is allowed in floor mode.
• Recirculation is allowed in defrost/floor (mix modes) for approximately five minutes.
Heated Mirrors
• The mirrors are heated to melt frost or ice. This feature is activated whenever you turn on the rear window defroster.
Rear Window Defroster
• Pressing the rear window defroster button will turn on the defroster for approximately 10 minutes. An indicator in the button will illuminate when the rear window defroster is
on. For an additional 10 minutes of operation, press the button a second time.
OPERATING YOUR VEHICLE
27
Page 30 of 132
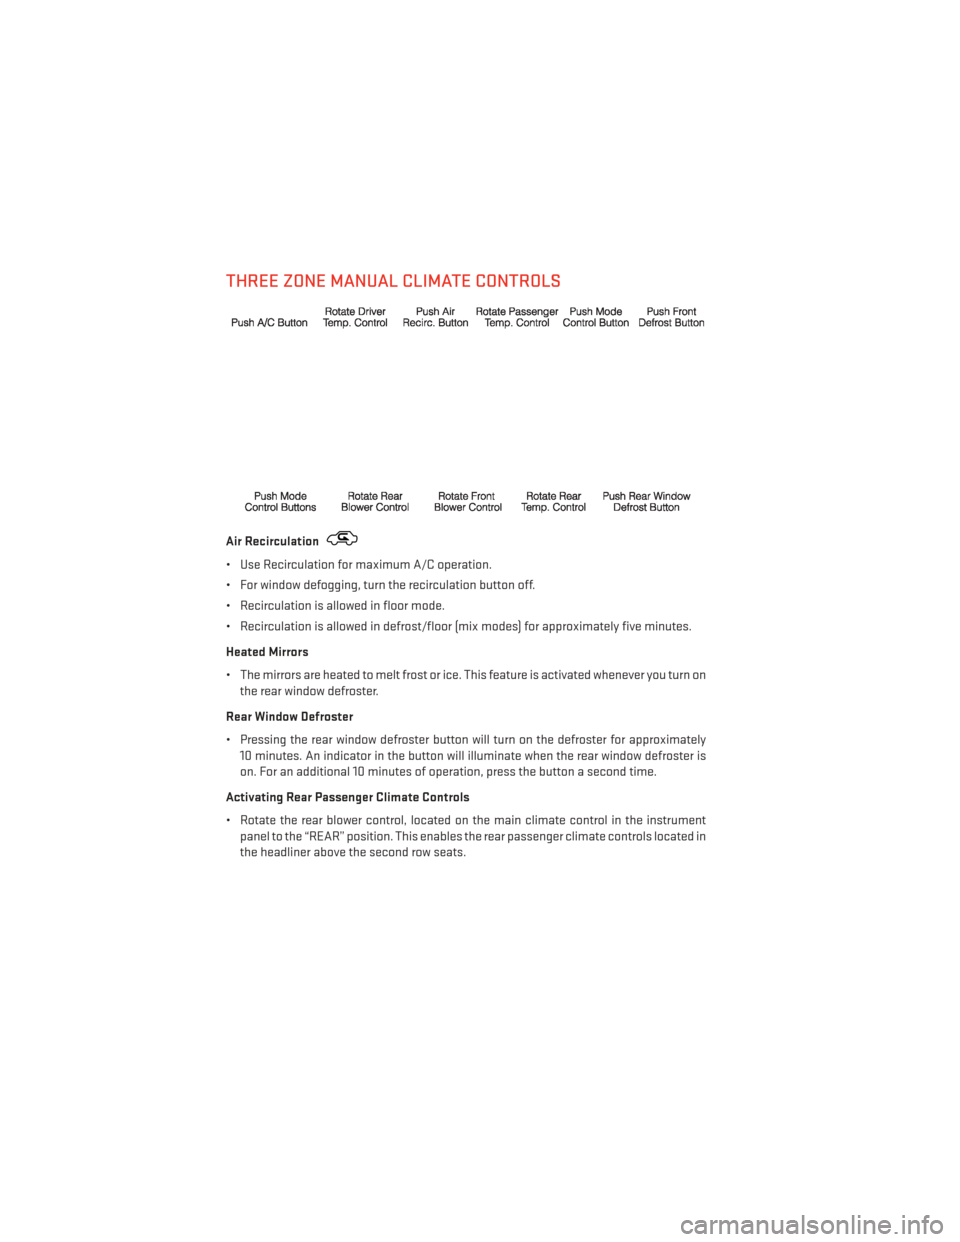
THREE ZONE MANUAL CLIMATE CONTROLS
Air Recirculation
• Use Recirculation for maximum A/C operation.
• For window defogging, turn the recirculation button off.
• Recirculation is allowed in floor mode.
• Recirculation is allowed in defrost/floor (mix modes) for approximately five minutes.
Heated Mirrors
• The mirrors are heated to melt frost or ice. This feature is activated whenever you turn onthe rear window defroster.
Rear Window Defroster
• Pressing the rear window defroster button will turn on the defroster for approximately 10 minutes. An indicator in the button will illuminate when the rear window defroster is
on. For an additional 10 minutes of operation, press the button a second time.
Activating Rear Passenger Climate Controls
• Rotate the rear blower control, located on the main climate control in the instrument panel to the “REAR” position. This enables the rear passenger climate controls located in
the headliner above the second row seats.
OPERATING YOUR VEHICLE
28
Page 31 of 132
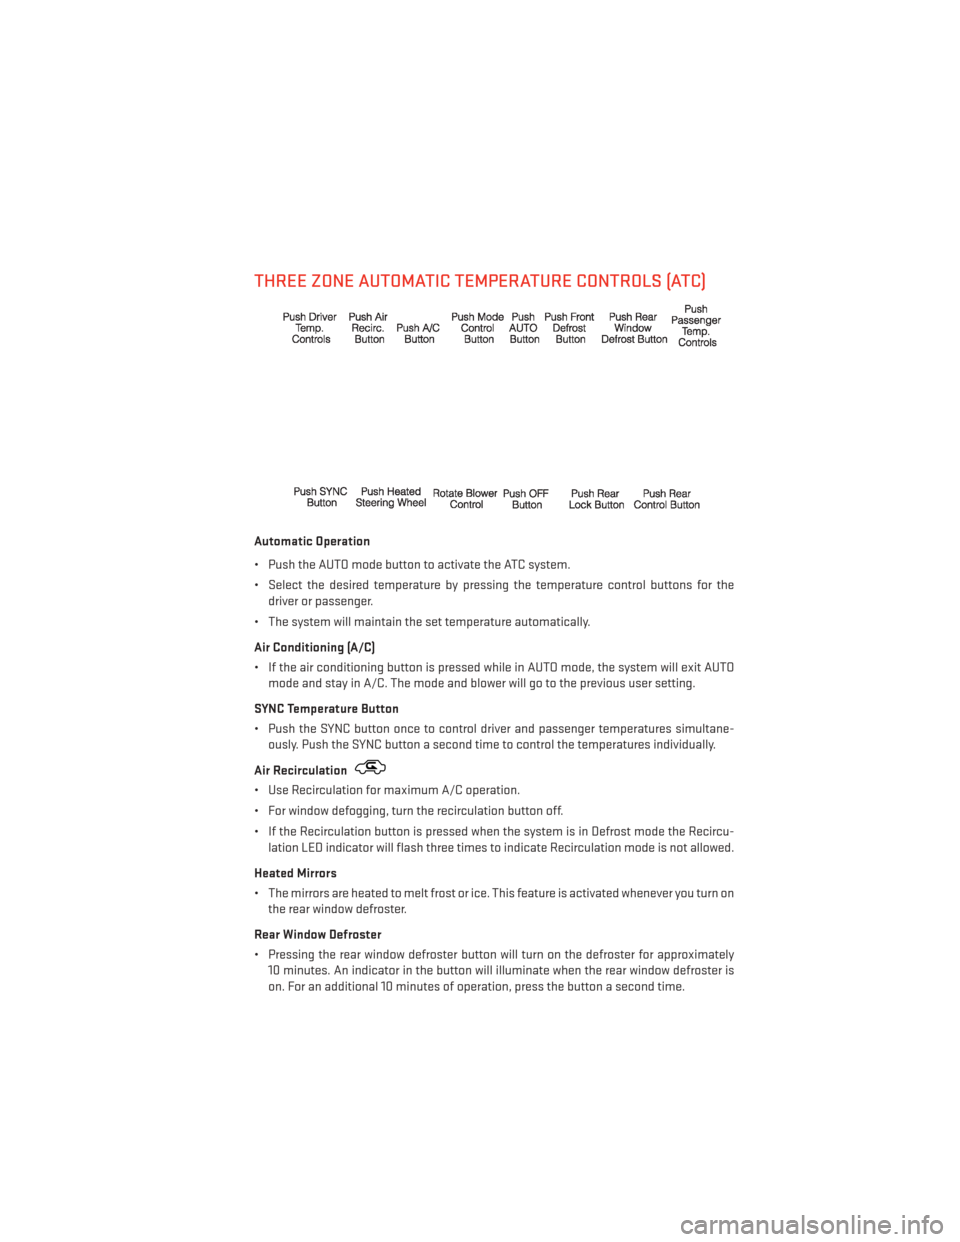
THREE ZONE AUTOMATIC TEMPERATURE CONTROLS (ATC)
Automatic Operation
• Push the AUTO mode button to activate the ATC system.
• Select the desired temperature by pressing the temperature control buttons for thedriver or passenger.
• The system will maintain the set temperature automatically.
Air Conditioning (A/C)
• If the air conditioning button is pressed while in AUTO mode, the system will exit AUTO mode and stay in A/C. The mode and blower will go to the previous user setting.
SYNC Temperature Button
• Push the SYNC button once to control driver and passenger temperatures simultane- ously. Push the SYNC button a second time to control the temperatures individually.
Air Recirculation
• Use Recirculation for maximum A/C operation.
• For window defogging, turn the recirculation button off.
• If the Recirculation button is pressed when the system is in Defrost mode the Recircu- lation LED indicator will flash three times to indicate Recirculation mode is not allowed.
Heated Mirrors
• The mirrors are heated to melt frost or ice. This feature is activated whenever you turn on the rear window defroster.
Rear Window Defroster
• Pressing the rear window defroster button will turn on the defroster for approximately 10 minutes. An indicator in the button will illuminate when the rear window defroster is
on. For an additional 10 minutes of operation, press the button a second time.
OPERATING YOUR VEHICLE
29
Page 39 of 132
Radio Operation
Seek Up/Down Buttons
• Press to seek through radio stations in AM or FM bands.
• Hold either button to bypass stations without stopping.
Store Radio Presets
• Press the “SET/RND” button once and SET 1 will show in the display. Then select button(1–6).
• A second station may be added to each push button. Press the “SET/RND” button twice and SET 2 will show in the display. Then select button (1–6).
CD/DISC Operation
Seek Up/Down Buttons
• Press to seek through CD tracks.
• Hold either button to bypass tracks without stopping.
SET/RND Button (Random Play)
• Press this button while the CD is playing to activate Random Play.
• This feature plays the selections on the CD in random order to provide an interesting change of pace.
Audio Jack Operation
• The AUX/Audio Jack provides a means to connect a portable audio device, such as an MP3 player or an iPod®, to the vehicles sound system. This requires the use of a 3.5 mm
stereo audio patch cable.
• Pressing the AUX button will change the mode to auxiliary device if the Audio Jack is connected, allowing the music from your portable device to play through the vehicle's
speakers.
• The functions of the portable device are controlled using the device buttons, not the buttons on the radio. However, the volume may be controlled using the radio or portable
device.
ELECTRONICS
37
Page 41 of 132
Radio Operation
Seek Up/Down Buttons
• Press to seek through radio stations in AM, FM, or SAT bands.
• Hold either button to bypass stations without stopping.
Store Radio Presets
• Press the “SET/RND” button once and SET 1 will show in the display. Then select button(1–6).
• A second station may be added to each push button. Press the “SET/RND” button twice and SET 2 will show in the display. Then select button (1–6).
Music Type
• Press the “MUSIC TYPE” button to activate this mode. Press the “MUSIC TYPE” button again or turn the “TUNE/SCROLL” control knob to select the desired music type (Adult
Hits, Country, Jazz, Oldies, Rock, etc.).
• Once a music type is chosen and the icon is displayed, press either “SEEK” button and the radio will only search for stations with the selected music type.
NOTE:
The Music Type function only operates when in FM mode.
SETUP Button
• Pressing the “SETUP” button allows you to select between items that are available in that particular mode.
• Turn the “TUNE/SCROLL” control knob to scroll through the entries. Push the “AUDIO/ SELECT” button to select an entry and make changes.
SiriusXM Satellite Radio
• SiriusXM Satellite Radio gives you over 130 channels, including 100% commercial-free music from nearly every genre, plus all your favorite sports, news, talk and entertainment
channels–all with crystal clear, coast-to-coast coverage, all in one place and all at your
fingertips.
• To access SiriusXM Satellite Radio, press the “SAT” hard-key.
ELECTRONICS
39
Page 46 of 132
CD/DVD Disc Operation
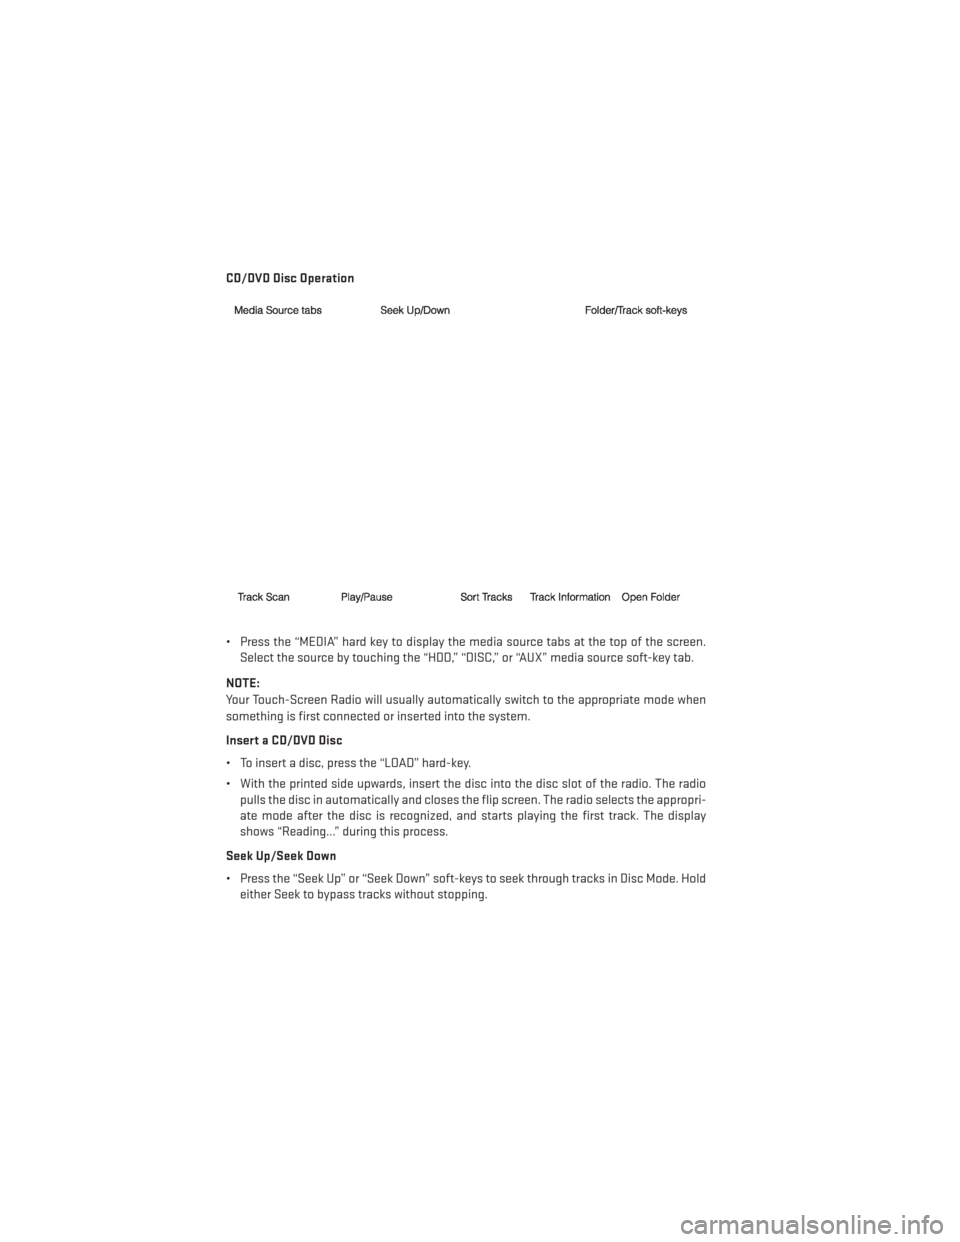
• Press the “MEDIA” hard key to display the media source tabs at the top of the screen.Select the source by touching the “HDD,” “DISC,” or “AUX” media source soft-key tab.
NOTE:
Your Touch-Screen Radio will usually automatically switch to the appropriate mode when
something is first connected or inserted into the system.
Insert a CD/DVD Disc
• To insert a disc, press the “LOAD” hard-key.
• With the printed side upwards, insert the disc into the disc slot of the radio. The radio pulls the disc in automatically and closes the flip screen. The radio selects the appropri-
ate mode after the disc is recognized, and starts playing the first track. The display
shows “Reading...” during this process.
Seek Up/Seek Down
• Press the “Seek Up” or “Seek Down” soft-keys to seek through tracks in Disc Mode. Hold either Seek to bypass tracks without stopping.
ELECTRONICS
44