lock DODGE GRAND CARAVAN 2014 5.G Owner's Manual
[x] Cancel search | Manufacturer: DODGE, Model Year: 2014, Model line: GRAND CARAVAN, Model: DODGE GRAND CARAVAN 2014 5.GPages: 156, PDF Size: 3.83 MB
Page 22 of 156
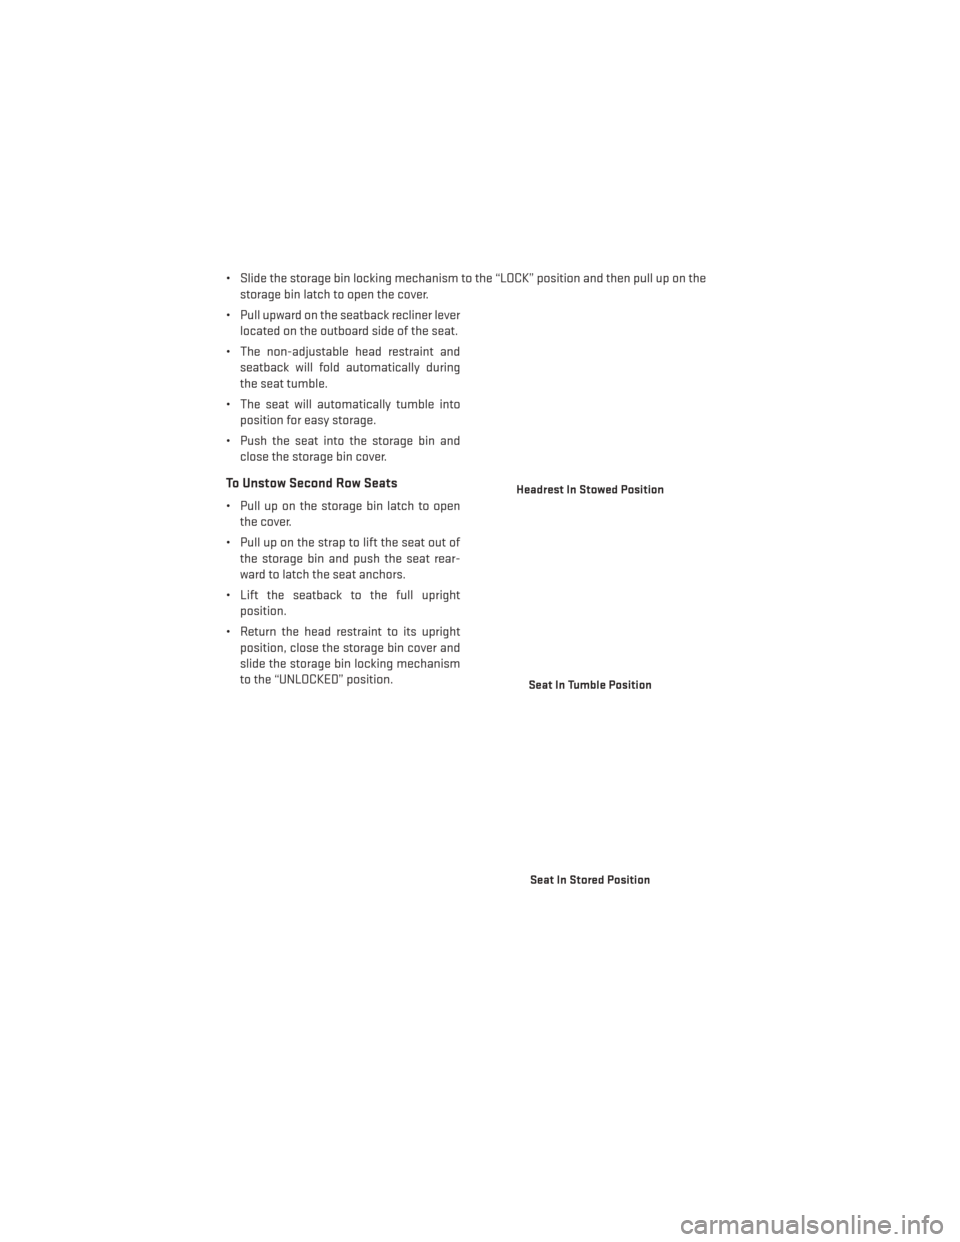
• Slide the storage bin locking mechanism to the “LOCK” position and then pull up on thestorage bin latch to open the cover.
• Pull upward on the seatback recliner lever located on the outboard side of the seat.
• The non-adjustable head restraint and seatback will fold automatically during
the seat tumble.
• The seat will automatically tumble into position for easy storage.
• Push the seat into the storage bin and close the storage bin cover.
To Unstow Second Row Seats
• Pull up on the storage bin latch to openthe cover.
• Pull up on the strap to lift the seat out of the storage bin and push the seat rear-
ward to latch the seat anchors.
• Lift the seatback to the full upright position.
• Return the head restraint to its upright position, close the storage bin cover and
slide the storage bin locking mechanism
to the “UNLOCKED” position.
Headrest In Stowed Position
Seat In Tumble Position
Seat In Stored Position
GETTING STARTED
20
Page 25 of 156
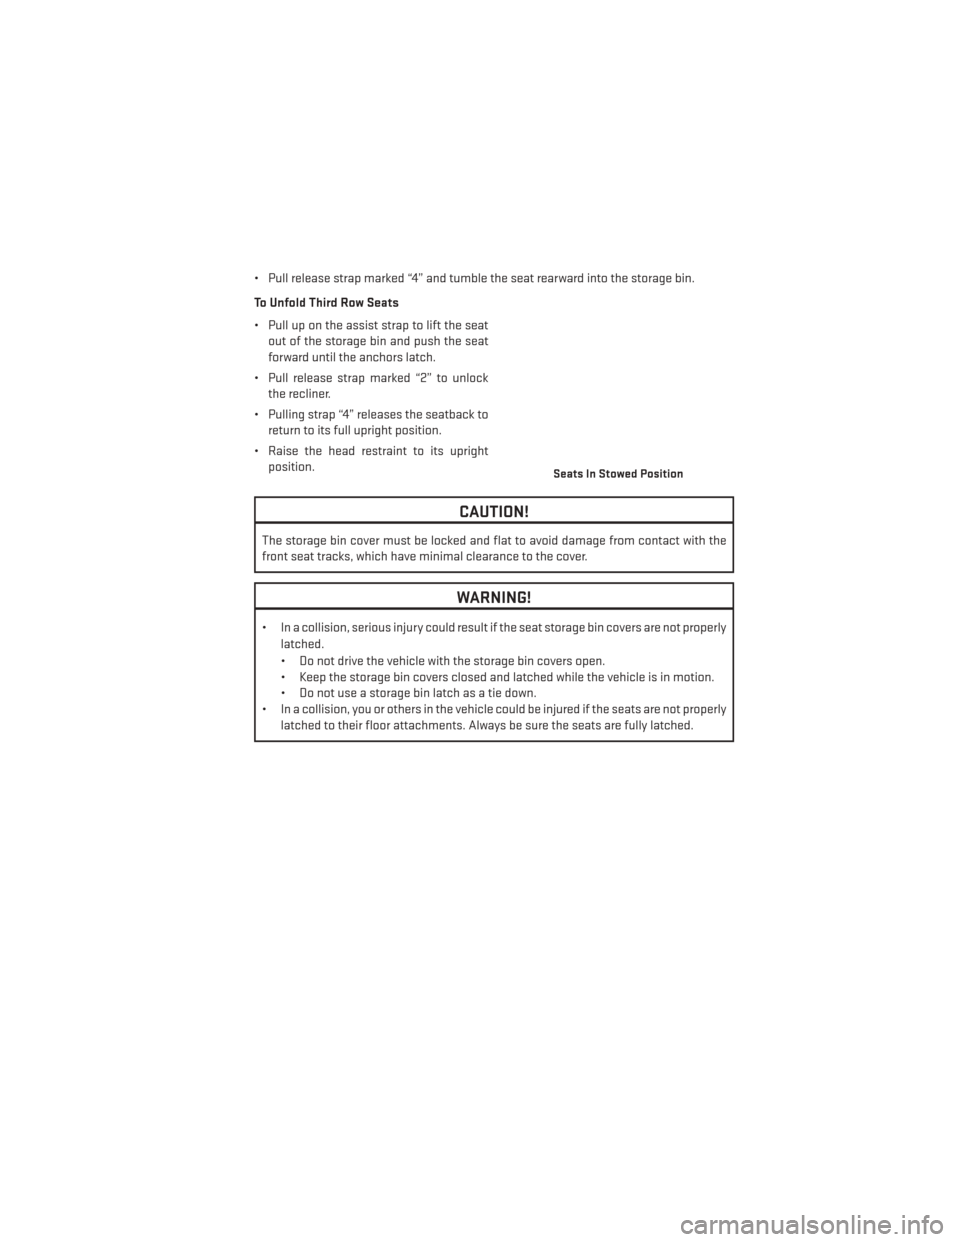
• Pull release strap marked “4” and tumble the seat rearward into the storage bin.
To Unfold Third Row Seats
• Pull up on the assist strap to lift the seatout of the storage bin and push the seat
forward until the anchors latch.
• Pull release strap marked “2” to unlock the recliner.
• Pulling strap “4” releases the seatback to return to its full upright position.
• Raise the head restraint to its upright position.
CAUTION!
The storage bin cover must be locked and flat to avoid damage from contact with the
front seat tracks, which have minimal clearance to the cover.
WARNING!
• In a collision, serious injury could result if the seat storage bin covers are not properly
latched.
• Do not drive the vehicle with the storage bin covers open.
• Keep the storage bin covers closed and latched while the vehicle is in motion.
• Do not use a storage bin latch as a tie down.
• In a collision, you or others in the vehicle could be injured if the seats are not properly
latched to their floor attachments. Always be sure the seats are fully latched.
Seats In Stowed Position
GETTING STARTED
23
Page 28 of 156
TILT/TELESCOPING STEERING COLUMN
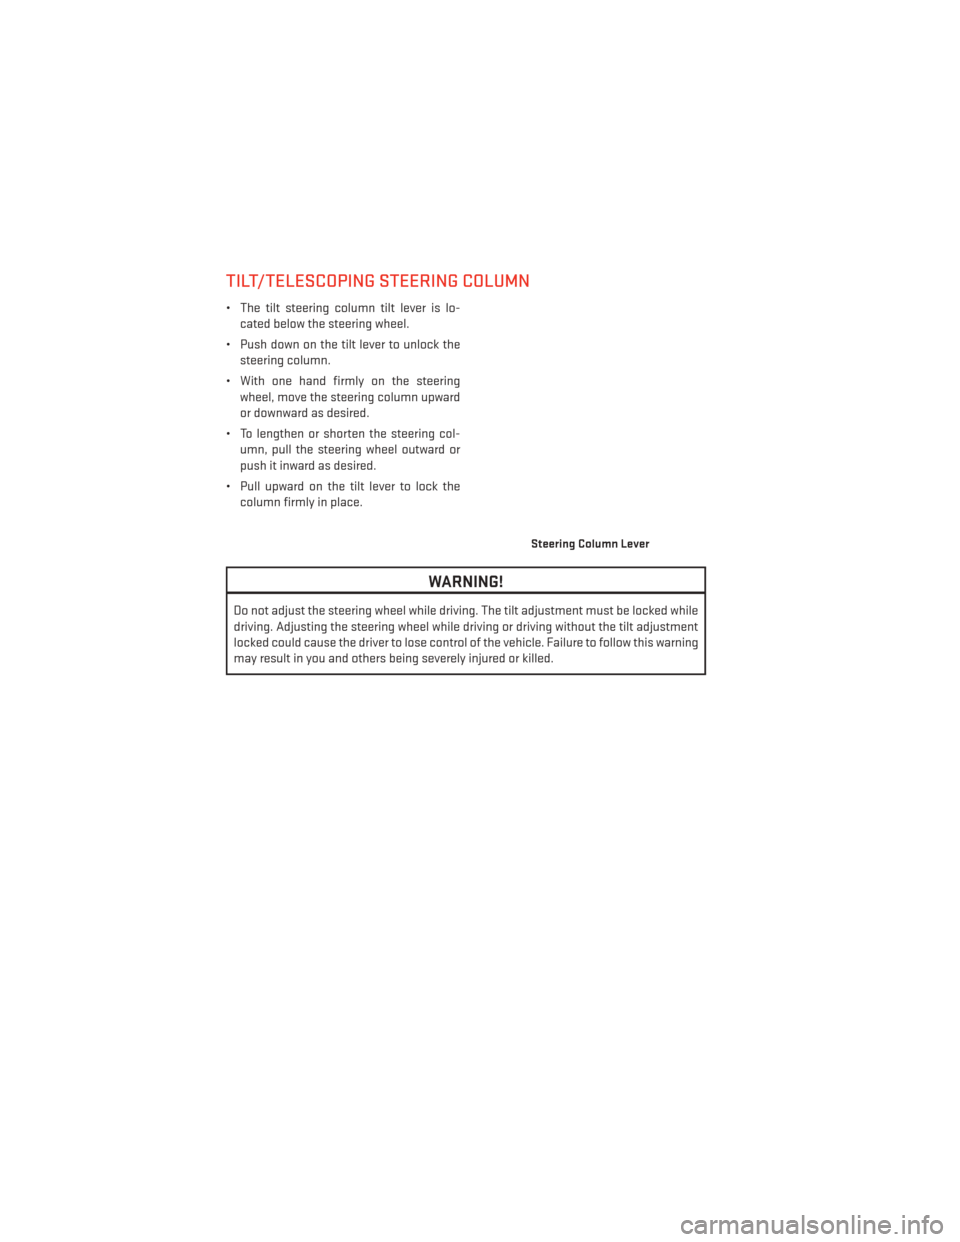
• The tilt steering column tilt lever is lo-cated below the steering wheel.
• Push down on the tilt lever to unlock the steering column.
• With one hand firmly on the steering wheel, move the steering column upward
or downward as desired.
• To lengthen or shorten the steering col- umn, pull the steering wheel outward or
push it inward as desired.
• Pull upward on the tilt lever to lock the column firmly in place.
WARNING!
Do not adjust the steering wheel while driving. The tilt adjustment must be locked while
driving. Adjusting the steering wheel while driving or driving without the tilt adjustment
locked could cause the driver to lose control of the vehicle. Failure to follow this warning
may result in you and others being severely injured or killed.
Steering Column Lever
GETTING STARTED
26
Page 40 of 156
Air Conditioning (A/C)
• If the air conditioning button is pressed while in AUTO mode, the system will exit AUTOmode and stay in A/C. The mode and blower will go to the previous user setting.
SYNC Temperature Button
• Push the SYNC button once to control driver and passenger temperatures simultane-ously. Push the SYNC button a second time to control the temperatures individually.
Air Recirculation
• Use Recirculation for maximum A/C operation.
• For window defogging, turn the Recirculation button off.
• If the Recirculation button is pressed when the system is in Defrost mode the Recircu-lation LED indicator will flash three times to indicate Recirculation mode is not allowed.
Heated Mirrors
The mirrors are heated to melt frost or ice. This feature is activated whenever you turn on
the rear window defroster.
Rear Window Defroster
• Pressing the rear window defroster button will turn on the defroster for approximately10 minutes. An indicator in the button will illuminate when the rear window defroster is
on. For an additional 10 minutes of operation, press the button a second time.
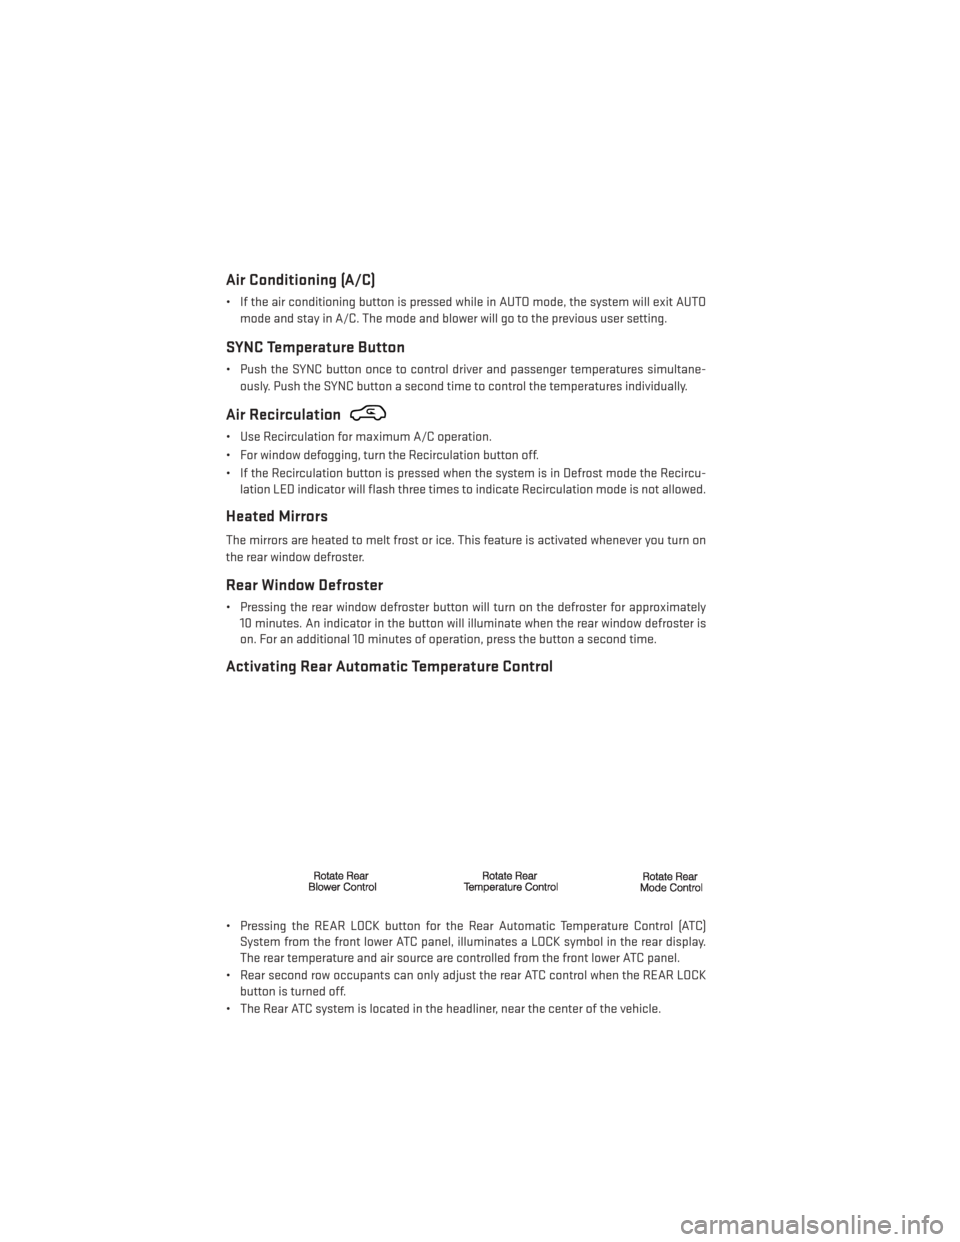
Activating Rear Automatic Temperature Control
• Pressing the REAR LOCK button for the Rear Automatic Temperature Control (ATC)System from the front lower ATC panel, illuminates a LOCK symbol in the rear display.
The rear temperature and air source are controlled from the front lower ATC panel.
• Rear second row occupants can only adjust the rear ATC control when the REAR LOCK button is turned off.
• The Rear ATC system is located in the headliner, near the center of the vehicle.
OPERATING YOUR VEHICLE
38
Page 42 of 156
POWER SLIDING SIDE DOORS
Automatic/Manual Operation
• The power sliding door may be opened or closed manually or by using the buttons on theKey Fob, overhead console switch, or rear door switch.
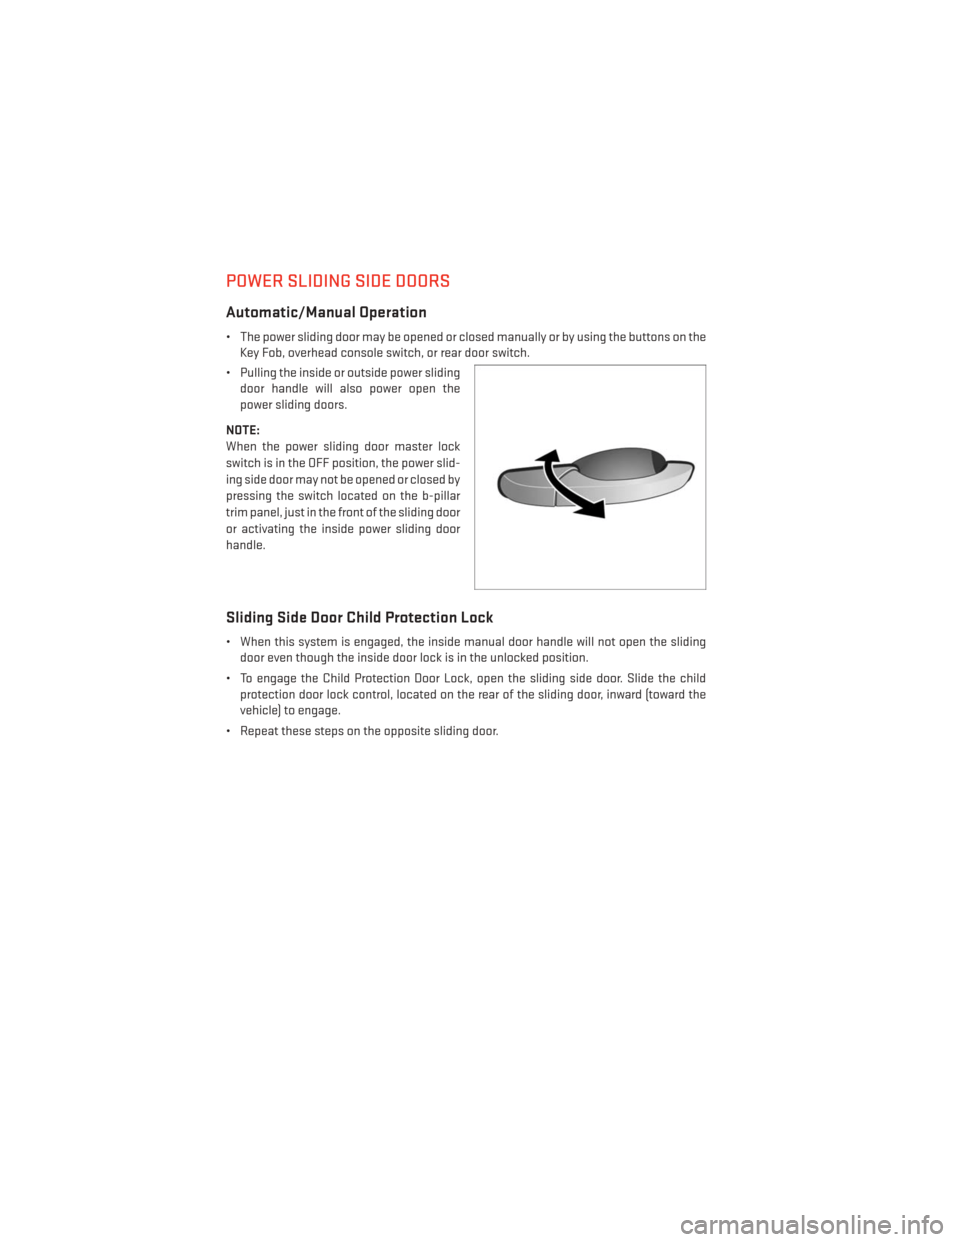
• Pulling the inside or outside power sliding door handle will also power open the
power sliding doors.
NOTE:
When the power sliding door master lock
switch is in the OFF position, the power slid-
ing side door may not be opened or closed by
pressing the switch located on the b-pillar
trim panel, just in the front of the sliding door
or activating the inside power sliding door
handle.
Sliding Side Door Child Protection Lock
• When this system is engaged, the inside manual door handle will not open the sliding door even though the inside door lock is in the unlocked position.
• To engage the Child Protection Door Lock, open the sliding side door. Slide the child protection door lock control, located on the rear of the sliding door, inward (toward the
vehicle) to engage.
• Repeat these steps on the opposite sliding door.
OPERATING YOUR VEHICLE
40
Page 48 of 156
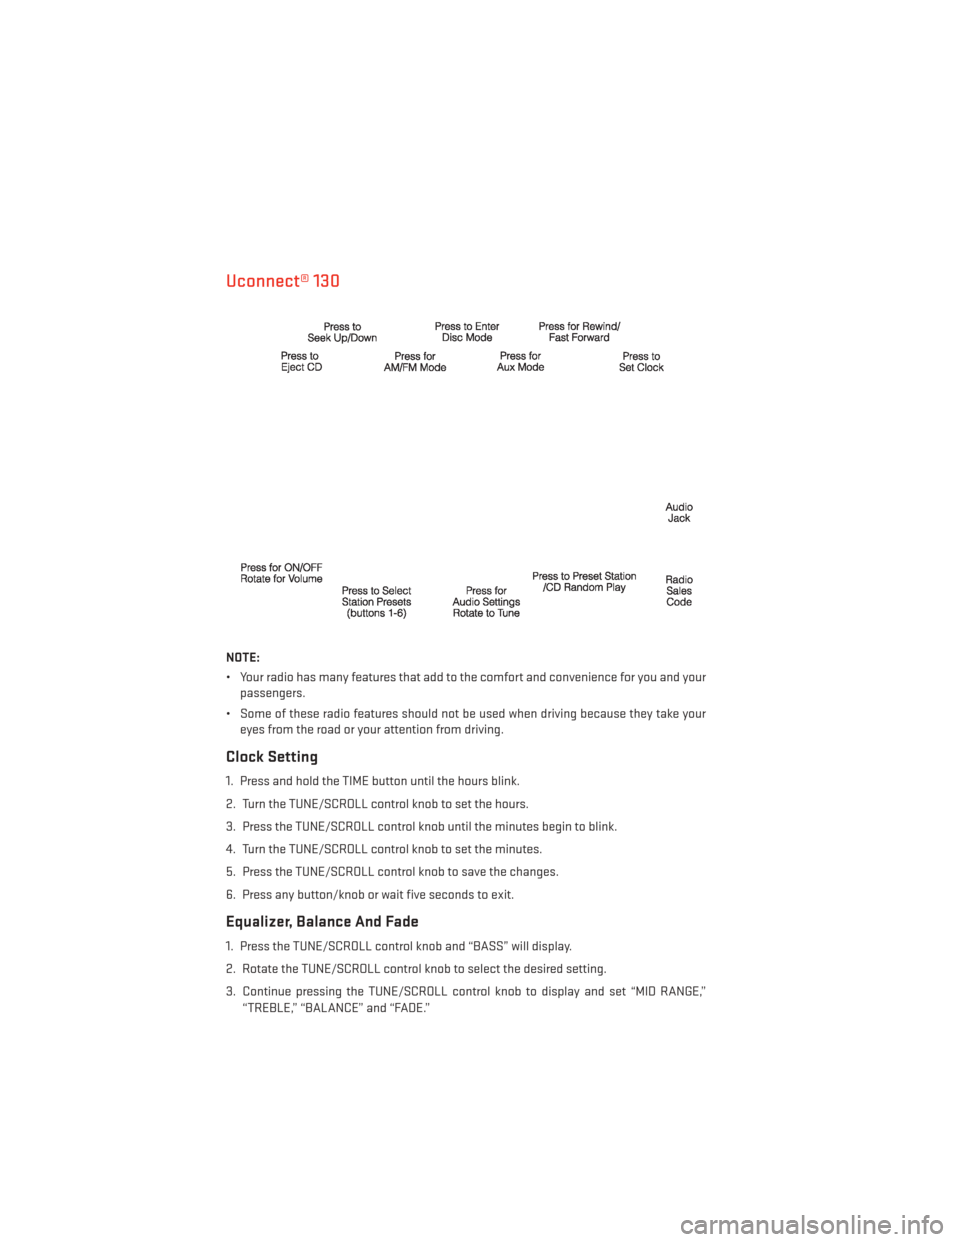
Uconnect® 130
NOTE:
• Your radio has many features that add to the comfort and convenience for you and yourpassengers.
• Some of these radio features should not be used when driving because they take your eyes from the road or your attention from driving.
Clock Setting
1. Press and hold the TIME button until the hours blink.
2. Turn the TUNE/SCROLL control knob to set the hours.
3. Press the TUNE/SCROLL control knob until the minutes begin to blink.
4. Turn the TUNE/SCROLL control knob to set the minutes.
5. Press the TUNE/SCROLL control knob to save the changes.
6. Press any button/knob or wait five seconds to exit.
Equalizer, Balance And Fade
1. Press the TUNE/SCROLL control knob and “BASS” will display.
2. Rotate the TUNE/SCROLL control knob to select the desired setting.
3. Continue pressing the TUNE/SCROLL control knob to display and set “MID RANGE,”
“TREBLE,” “BALANCE” and “FADE.”
ELECTRONICS
46
Page 50 of 156
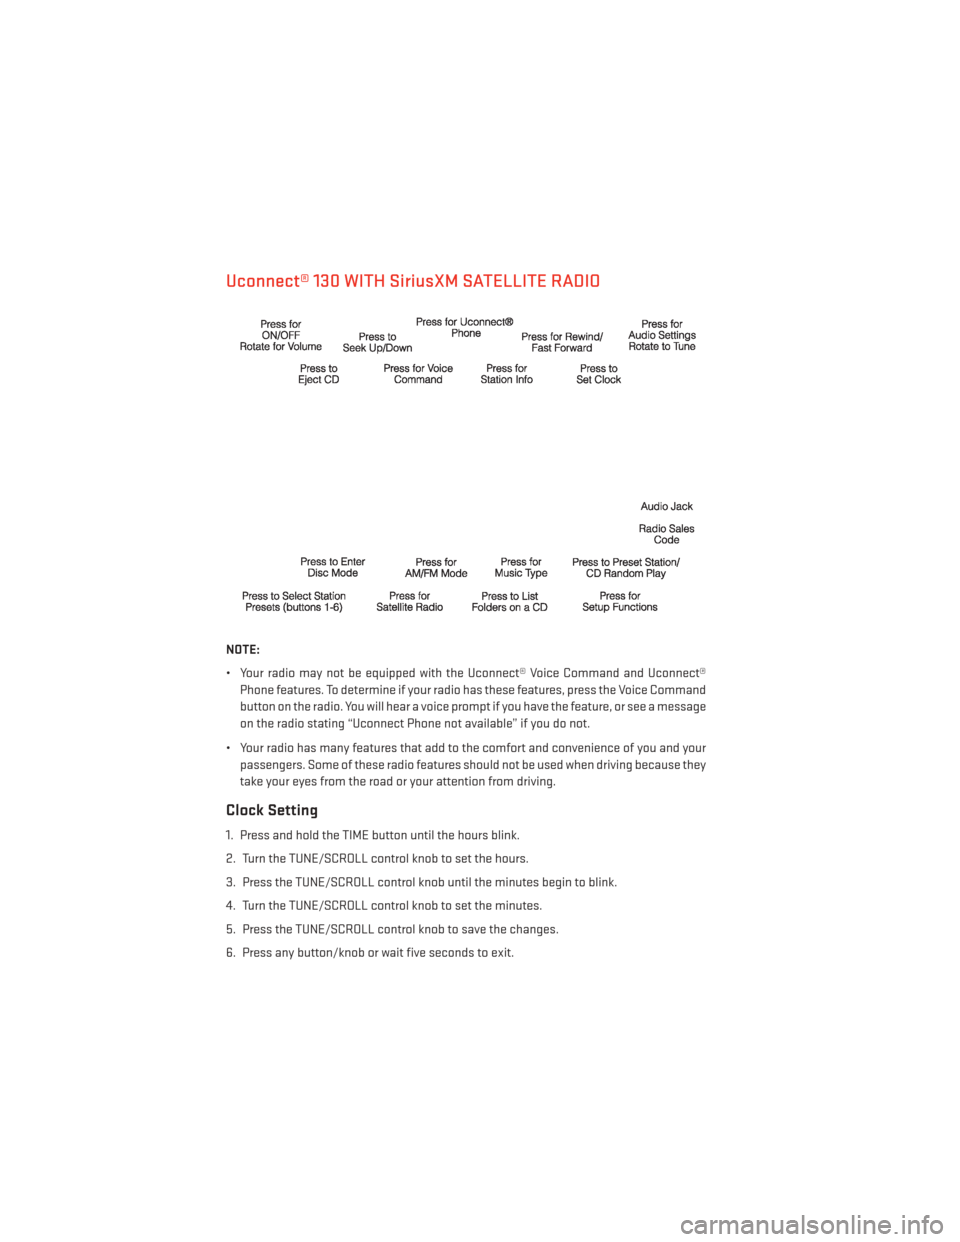
Uconnect® 130 WITH SiriusXM SATELLITE RADIO
NOTE:
• Your radio may not be equipped with the Uconnect® Voice Command and Uconnect®Phone features. To determine if your radio has these features, press the Voice Command
button on the radio. You will hear a voice prompt if you have the feature, or see a message
on the radio stating “Uconnect Phone not available” if you do not.
• Your radio has many features that add to the comfort and convenience of you and your passengers. Some of these radio features should not be used when driving because they
take your eyes from the road or your attention from driving.
Clock Setting
1. Press and hold the TIME button until the hours blink.
2. Turn the TUNE/SCROLL control knob to set the hours.
3. Press the TUNE/SCROLL control knob until the minutes begin to blink.
4. Turn the TUNE/SCROLL control knob to set the minutes.
5. Press the TUNE/SCROLL control knob to save the changes.
6. Press any button/knob or wait five seconds to exit.
ELECTRONICS
48
Page 53 of 156
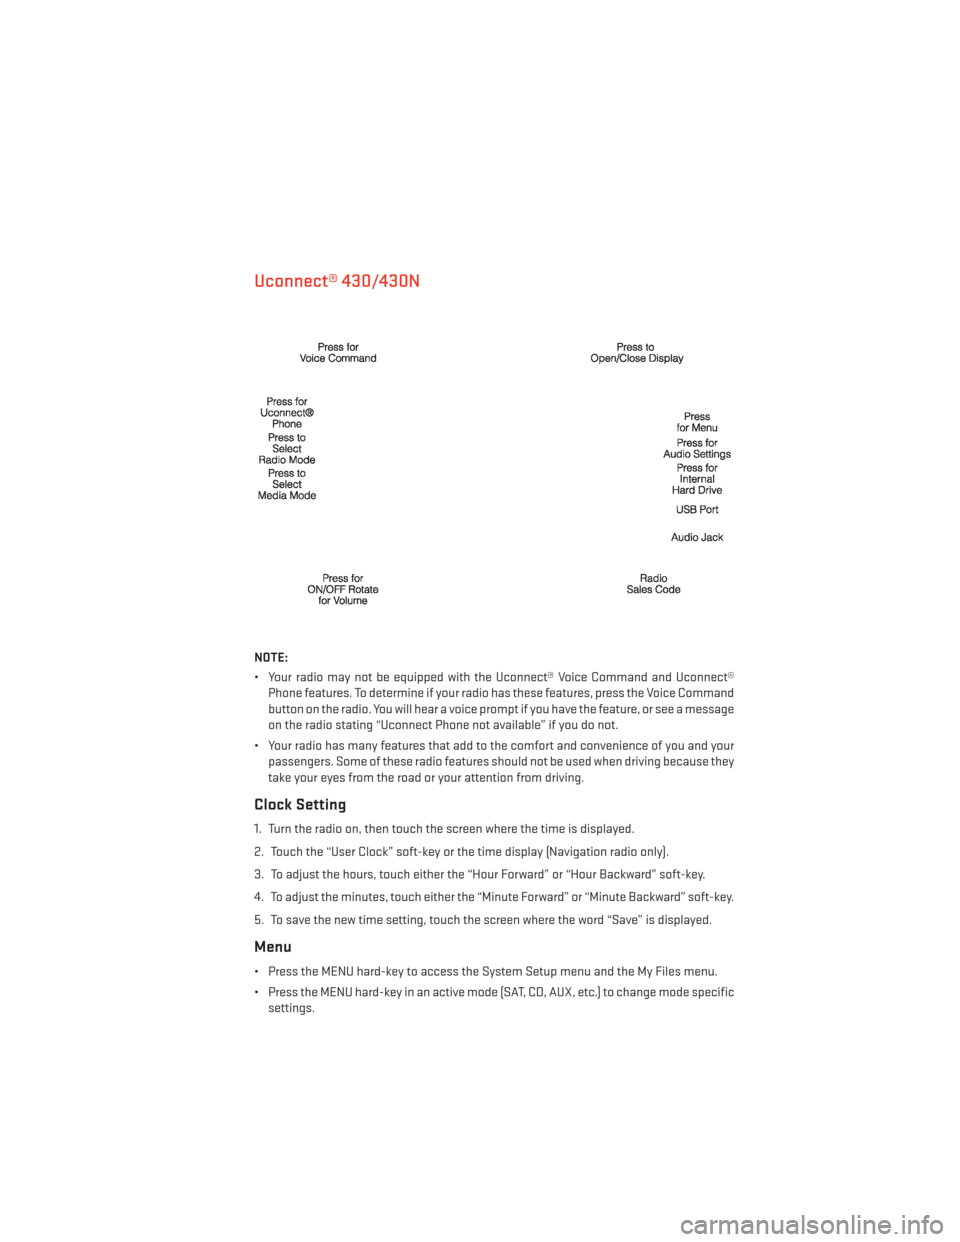
Uconnect® 430/430N
NOTE:
• Your radio may not be equipped with the Uconnect® Voice Command and Uconnect®Phone features. To determine if your radio has these features, press the Voice Command
button on the radio. You will hear a voice prompt if you have the feature, or see a message
on the radio stating “Uconnect Phone not available” if you do not.
• Your radio has many features that add to the comfort and convenience of you and your passengers. Some of these radio features should not be used when driving because they
take your eyes from the road or your attention from driving.
Clock Setting
1. Turn the radio on, then touch the screen where the time is displayed.
2. Touch the “User Clock” soft-key or the time display (Navigation radio only).
3. To adjust the hours, touch either the “Hour Forward” or “Hour Backward” soft-key.
4. To adjust the minutes, touch either the “Minute Forward” or “Minute Backward” soft-key.
5. To save the new time setting, touch the screen where the word “Save” is displayed.
Menu
• Press the MENU hard-key to access the System Setup menu and the My Files menu.
• Press the MENU hard-key in an active mode (SAT, CD, AUX, etc.) to change mode specificsettings.
ELECTRONICS
51
Page 62 of 156
Acquiring Satellites
• The GPS Satellite strength bars indicate the strength of your satellite reception.
• Acquiring satellite signals can take a few minutes. When at least one of the bars is green,your device has acquired satellite signals.
• You may experience delays receiving satellite signals when in areas with an obstructed view to the sky, such as garages, tunnels, or large cities with tall buildings.
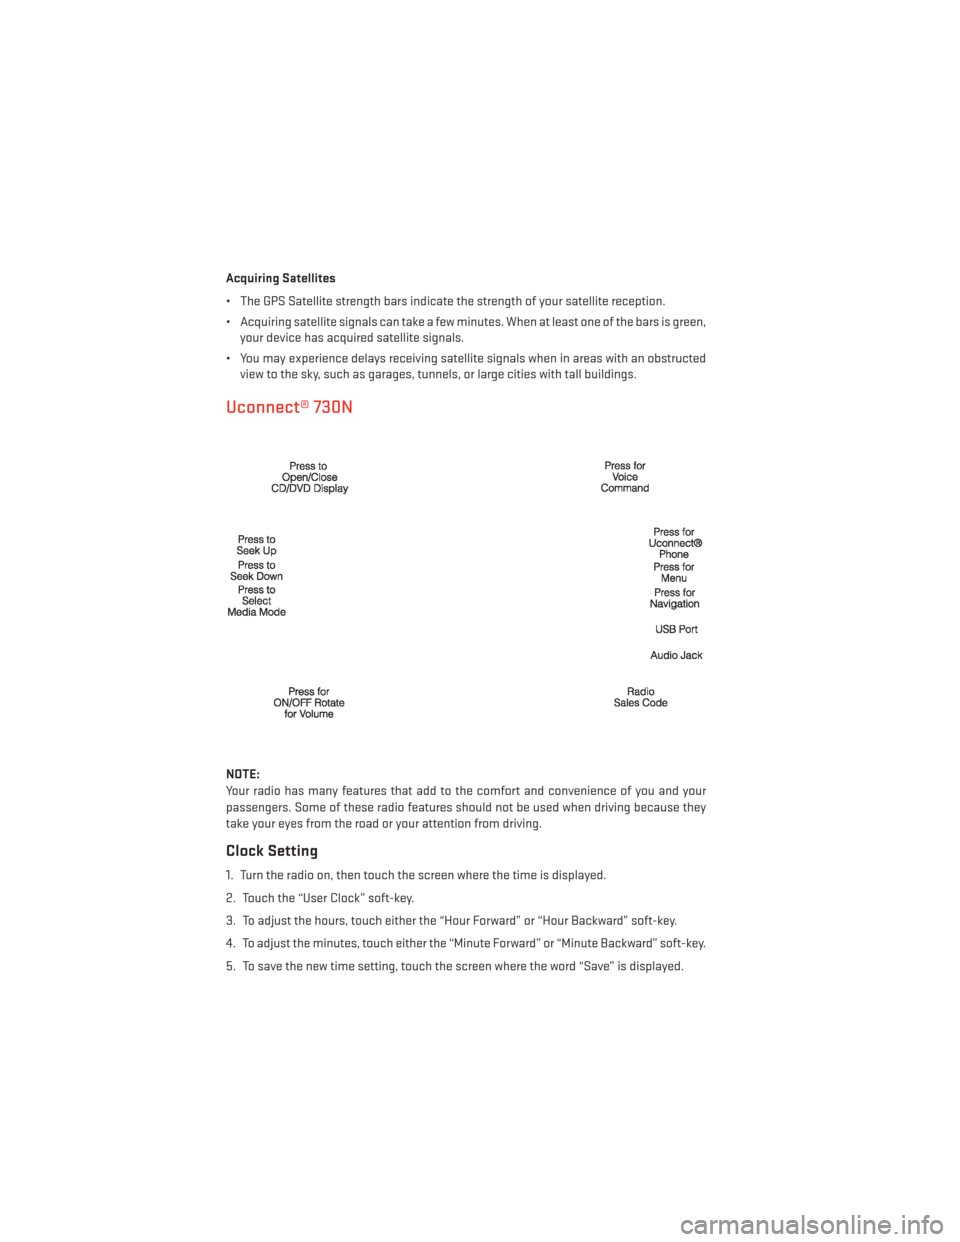
Uconnect® 730N
NOTE:
Your radio has many features that add to the comfort and convenience of you and your
passengers. Some of these radio features should not be used when driving because they
take your eyes from the road or your attention from driving.
Clock Setting
1. Turn the radio on, then touch the screen where the time is displayed.
2. Touch the “User Clock” soft-key.
3. To adjust the hours, touch either the “Hour Forward” or “Hour Backward” soft-key.
4. To adjust the minutes, touch either the “Minute Forward” or “Minute Backward” soft-key.
5. To save the new time setting, touch the screen where the word “Save” is displayed.
ELECTRONICS
60
Page 73 of 156
SiriusXM SATELLITE RADIO/TRAVEL LINK
• SiriusXM Travel Link requires a subscription, sold separately after the 1 year trial sub-scription included with your vehicle purchase.
• SiriusXM Travel Link is only available in the United States.
• The following describes features that are available when in SiriusXM Satellite Radio mode.
• To access SiriusXM Satellite Radio, press the RADIO/MEDIA or RADIO hard-key, then touch the “SAT” soft-key tab.
Info
• Touch the “i” soft-key to view detailed information about the current Sirius XM Satellite channel.
SiriusXM Parental Controls
• SiriusXM offers the option to permanently block selected channels. Call 1-888-539-7474 and request the Family Package.
• Uconnect® 430/430N and 730N: Press the “MENU” hard-key while in SiriusXM Satellite
Radio Mode, then touch the “Channel Lock” to enable and/or disable desired channels.
The SEEK and SCAN function will then only display channels without Channel lock.
Search/Browse
• Touch the “magnifying glass” soft-key to search/browse the SiriusXM channel listing by Favorites and Categories such as Song, Artist and Channel Name. The Search/Browse
also allows you to manage your Favorites.
ELECTRONICS
71