engine DODGE JOURNEY 2014 1.G User Guide
[x] Cancel search | Manufacturer: DODGE, Model Year: 2014, Model line: JOURNEY, Model: DODGE JOURNEY 2014 1.GPages: 124, PDF Size: 3.37 MB
Page 3 of 124
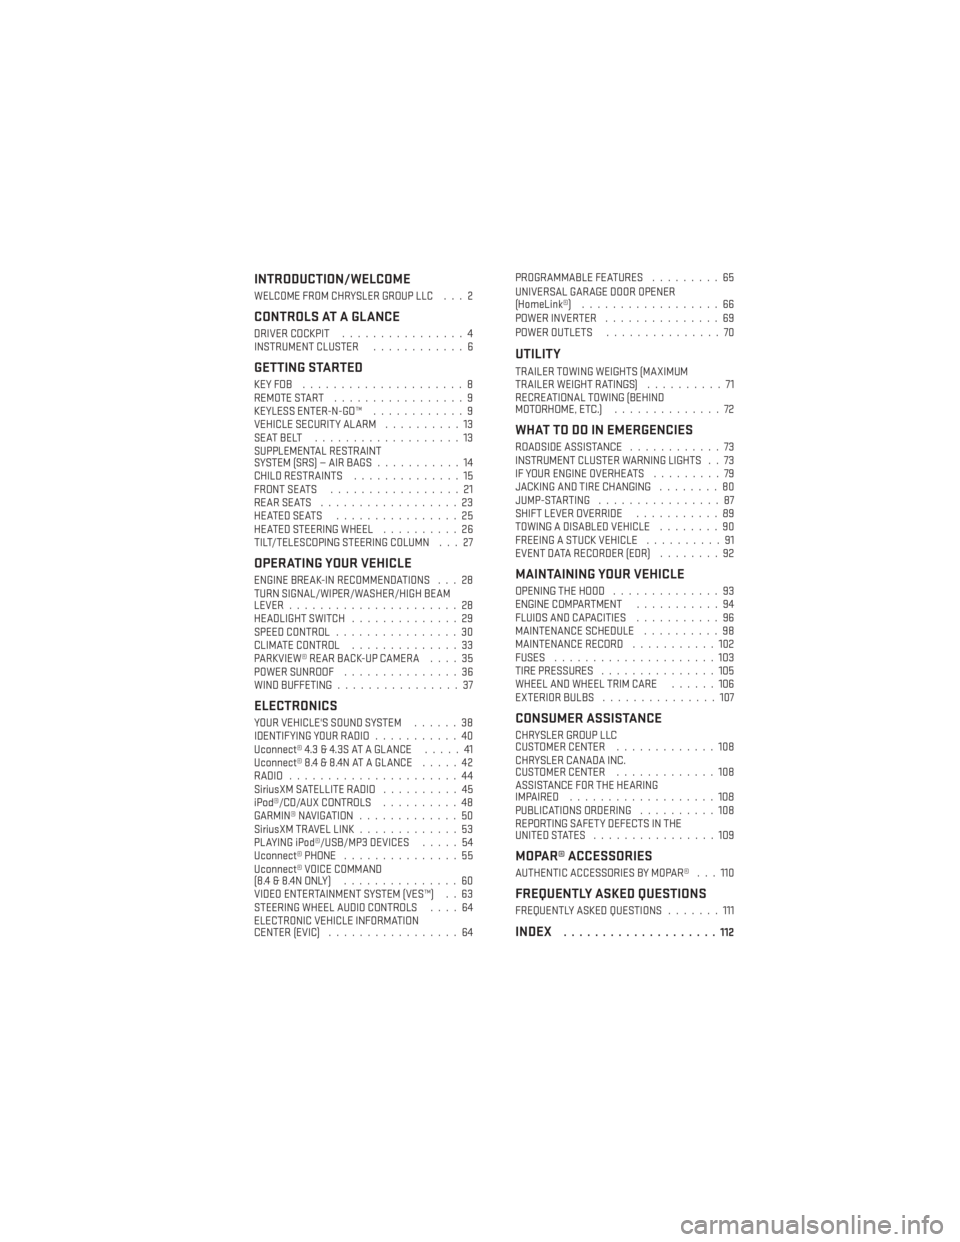
INTRODUCTION/WELCOME
WELCOME FROM CHRYSLER GROUP LLC . . . 2
CONTROLS AT A GLANCE
DRIVER COCKPIT................4
INSTRUMENT CLUSTER ............6
GETTING STARTED
KEYFOB .....................8
REMOTE START.................9
KEYLESS ENTER-N-GO™ ............9
VEHICLE SECURITY ALARM ..........13
SEATBELT ...................13
SUPPLEMENTAL RESTRAINT
SYSTEM (SRS) — AIR BAGS ...........14
CHILD RESTRAINTS ..............15
FRONT SEATS .................21
REARSEATS ..................23
HEATEDSEATS ................25
HEATED STEERING WHEEL ..........26
TILT/TELESCOPING STEERING COLUMN . . . 27
OPERATING YOUR VEHICLE
ENGINE BREAK-IN RECOMMENDATIONS . . . 28
TURN SIGNAL/WIPER/WASHER/HIGH BEAM
LEVER ......................28
HEADLIGHT SWITCH ..............29
SPEED CONTROL ................30
CLIMATE CONTROL ..............33
PARKVIEW® REAR BACK-UP CAMERA ....35
POWER SUNROOF ...............36
WIND BUFFETING ................37
ELECTRONICS
YOUR VEHICLE'S SOUND SYSTEM ......38
IDENTIFYING YOUR RADIO ...........40
Uconnect® 4.3 & 4.3S AT A GLANCE .....41
Uconnect® 8.4 & 8.4N AT A GLANCE .....42
RADIO ......................44
SiriusXM SATELLITE RADIO ..........45
iPod®/CD/AUX CONTROLS ..........48
GARMIN® NAVIGATION .............50
SiriusXM TRAVEL LINK .............53
PLAYING iPod®/USB/MP3 DEVICES .....54
Uconnect® PHONE ...............55
Uconnect® VOICE COMMAND
(8.4&8.4NONLY) ...............60
VIDEO ENTERTAINMENT SYSTEM (VES™) . . 63
STEERING WHEEL AUDIO CONTROLS ....64
ELECTRONIC VEHICLE INFORMATION
CENTER (EVIC) .................64 PROGRAMMABLE FEATURES
.........65
UNIVERSAL GARAGE DOOR OPENER
(HomeLink®) ..................66
POWER INVERTER ...............69
POWER OUTLETS ...............70
UTILITY
TRAILER TOWING WEIGHTS (MAXIMUM
TRAILERWEIGHTRATINGS) ..........71
RECREATIONAL TOWING (BEHIND
MOTORHOME, ETC.) ..............72
WHAT TO DO IN EMERGENCIES
ROADSIDE ASSISTANCE ............73
INSTRUMENT CLUSTER WARNING LIGHTS . . 73
IF YOUR ENGINE OVERHEATS .........79
JACKING AND TIRE CHANGING ........80
JUMP-STARTING ................87
SHIFT LEVER OVERRIDE ...........89
TOWING A DISABLED VEHICLE ........90
FREEING A STUCK VEHICLE ..........91
EVENT DATA RECORDER (EDR) ........92
MAINTAINING YOUR VEHICLE
OPENING THE HOOD..............93
ENGINE COMPARTMENT ...........94
FLUIDS AND CAPACITIES ...........96
MAINTENANCE SCHEDULE ..........98
MAINTENANCE RECORD ...........102
FUSES .....................103
TIRE PRESSURES ...............105
WHEEL AND WHEEL TRIM CARE ......106
EXTERIOR BULBS ...............107
CONSUMER ASSISTANCE
CHRYSLER GROUP LLC
CUSTOMER CENTER .............108
CHRYSLER CANADA INC.
CUSTOMER CENTER .............108
ASSISTANCE FOR THE HEARING
IMPAIRED ...................108
PUBLICATIONS ORDERING ..........108
REPORTING SAFETY DEFECTS IN THE
UNITEDSTATES ................109
MOPAR® ACCESSORIES
AUTHENTIC ACCESSORIES BY MOPAR® . . . 110
FREQUENTLY ASKED QUESTIONS
FREQUENTLY ASKED QUESTIONS .......111
INDEX....................112
TABLE OF CONTENTS
Page 6 of 124
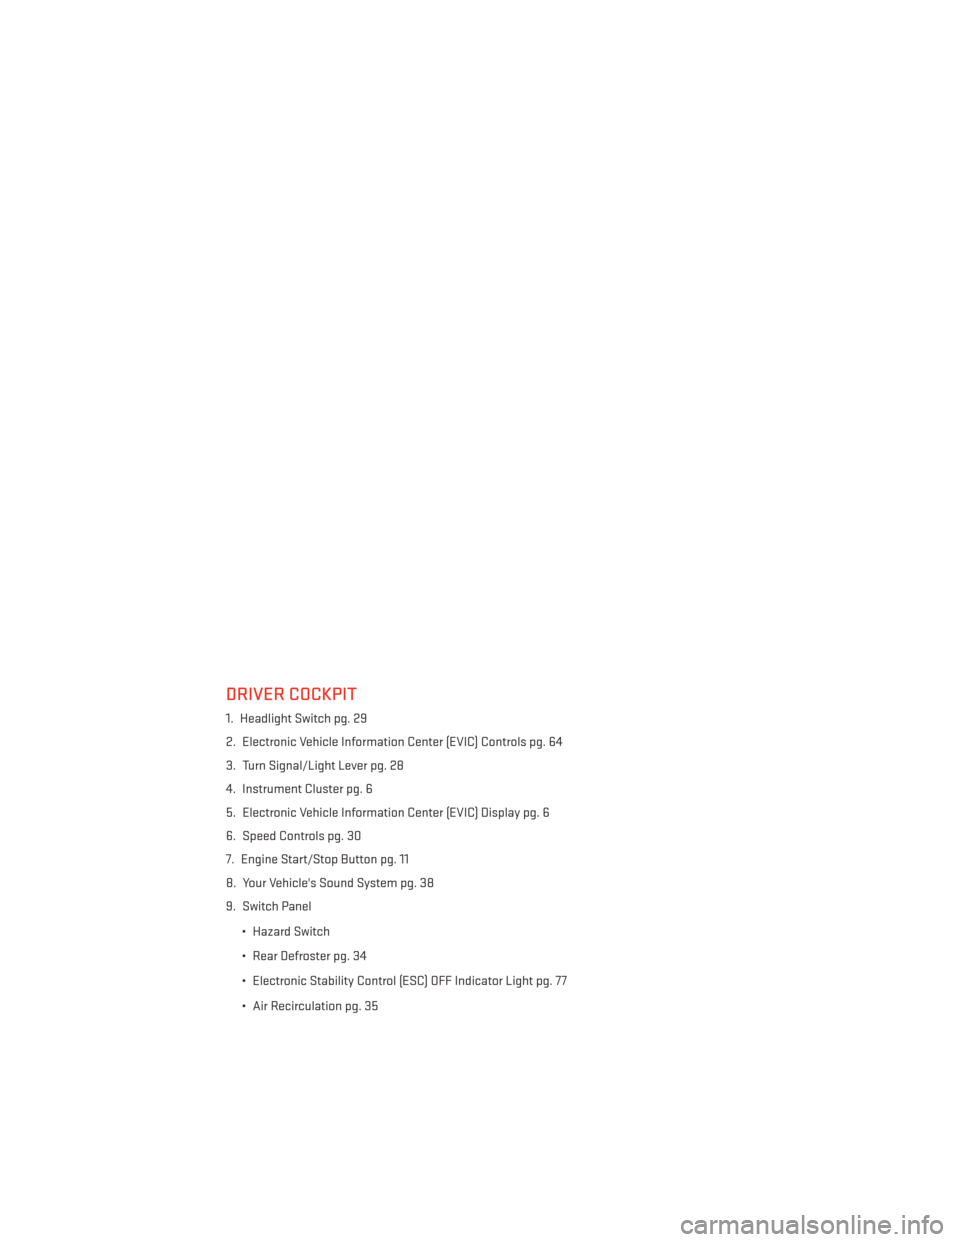
DRIVER COCKPIT
1. Headlight Switch pg. 29
2. Electronic Vehicle Information Center (EVIC) Controls pg. 64
3. Turn Signal/Light Lever pg. 28
4. Instrument Cluster pg. 6
5. Electronic Vehicle Information Center (EVIC) Display pg. 6
6. Speed Controls pg. 30
7. Engine Start/Stop Button pg. 11
8. Your Vehicle's Sound System pg. 38
9. Switch Panel• Hazard Switch
• Rear Defroster pg. 34
• Electronic Stability Control (ESC) OFF Indicator Light pg. 77
• Air Recirculation pg. 35
CONTROLS AT A GLANCE
4
Page 8 of 124
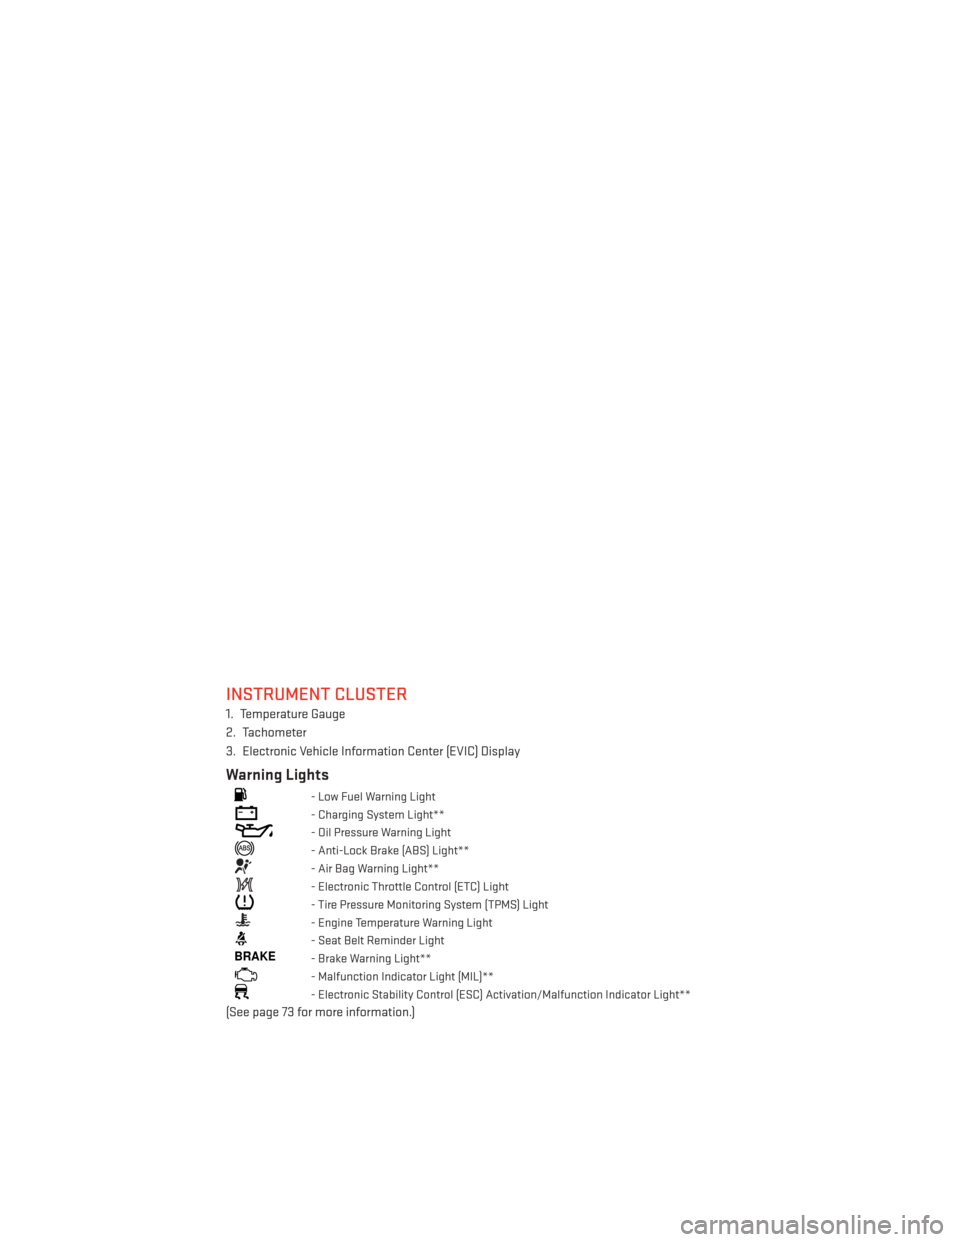
INSTRUMENT CLUSTER
1. Temperature Gauge
2. Tachometer
3. Electronic Vehicle Information Center (EVIC) Display
Warning Lights
- Low Fuel Warning Light
- Charging System Light**
- Oil Pressure Warning Light
- Anti-Lock Brake (ABS) Light**
- Air Bag Warning Light**
- Electronic Throttle Control (ETC) Light
- Tire Pressure Monitoring System (TPMS) Light
- Engine Temperature Warning Light
- Seat Belt Reminder Light
BRAKE- Brake Warning Light**
- Malfunction Indicator Light (MIL)**
- Electronic Stability Control (ESC) Activation/Malfunction Indicator Light**
(See page 73 for more information.)
CONTROLS AT A GLANCE
6
Page 11 of 124
REMOTE START
• Press the REMOTE START buttonx2on the Key Fob twice within five seconds. Pressing
the REMOTE START button a third time shuts the engine off.
• To drive the vehicle, press the UNLOCK button and cycle the ignition to the ON/RUN position.
• With remote start, the engine will only run for 15 minutes (timeout) unless the ignition is cycled to the ON/RUN position.
• The vehicle must be cycled to the ON/RUN position after two consecutive timeouts.
WARNING!
• Do not start or run an engine in a closed garage or confined area. Exhaust gas contains Carbon Monoxide (CO) which is odorless and colorless. Carbon Monoxide is
poisonous and can cause you or others to be severely injured or killed when inhaled.
• Keep Key Fob transmitters away from children. Operation of the Remote Start
System, windows, door locks or other controls could cause you and others to be
severely injured or killed.
KEYLESS ENTER-N-GO™
The Keyless Enter-N-Go™ system is an enhancement to the vehicle's Key Fob. This feature
allows you to lock and unlock the vehicle's door(s) and liftgate without having to push the
Key Fob lock or unlock buttons, as well as starting and stopping the vehicle with the push of
a button.
To Unlock From The Driver Or Passenger Side:
• With a valid Keyless Enter-N-Go™ Key Foblocated outside the vehicle and within 5 ft
(1.5m) of the driver or passenger side door
handle, grab either front door handle to
unlock the door automatically.
To Lock The Vehicle:
•Both front door handles have LOCK buttons
located on the outside of the handle. With
one of the vehicle’s Keyless Enter-N-Go™
Key Fobs located outside the vehicle and
within 5 ft (1.5m) of the driver's or passen-
ger front door handle, press the door
handle LOCK button to lock all four doors
and liftgate.
Grab The Door Handle To Unlock
GETTING STARTED
9
Page 13 of 124
Lock Or Unlock The Liftgate:
• With a valid Keyless Enter-N-Go™ Key Fobwithin 3 feet (1 meter) of the liftgate, press
the electronic liftgate lock/unlock pad
located to the left of the liftgate handle
to unlock the liftgate. Press the button a
second time to lock the liftgate.
NOTE:
Refer to your Owner's Manual on the DVD for
further information.
ENGINE STARTING/STOPPING
Starting
• With a valid Keyless Enter-N-Go™ Key Fob inside the vehicle.
• Place the shift lever in PARK or NEUTRAL.
• While pressing the brake pedal, press the ENGINE START/STOP button once. If the
engine fails to start, the starter will disen-
gage automatically after 10 seconds.
•
To stop the cranking of the engine prior to
the engine starting, press the button again.
NOTE:
In case the ignition switch does not change
with the push of a button, the RKE transmit-
ter (Key Fob) may have a low or dead battery.
In this situation a back up method can be
used to operate the ignition switch. Put the nose side of the Key Fob against the ENGINE
START/STOP button and push to operate the ignition switch.
1 — Electronic Liftgate Lock/Unlock Pad
Engine Start/Stop Button
GETTING STARTED
11
Page 14 of 124
Stopping
• Place the shift lever in PARK.
• Press the ENGINE START/STOP button once. The ignition switch will return to the OFFposition.
•
If the shift lever is not in PARK, the ENGINE START/STOP button must be held for two
seconds and vehicle speed must be above 5 mph (8 km/h) before the engine will shut off.
Accessory Positions With Engine Off
NOTE:
The following functions are with the driver’s foot OFF the Brake Pedal (Transmission in PARK
or NEUTRAL Position).
Starting With The Ignition Switch In The OFF Position:
• Press the ENGINE START/STOP button once to change the ignition switch to the ACC position.
• Press the ENGINE START/STOP button a second time to change the ignition switch to the ON/RUN position.
• Press the ENGINE START/STOP button a third time to return the ignition switch to the OFF position.
NOTE:
If the ignition switch is left in the ACC or
ON/RUN (engine not running) position and
the transmission is in PARK, the system will
automatically time out after 30 minutes of
inactivity and the ignition will switch to the
OFF position.
• In case the ignition switch does not change with the push of a button, the RKE
transmitter (Key Fob) may have a low or
dead battery. In this situation a back up
method can be used to operate the ignition switch. Put the nose side (side opposite of the
emergency key) of the Key Fob against the ENGINE START/STOP button and push to
operate the ignition switch.
GETTING STARTED
12
Page 30 of 124
ENGINE BREAK-IN RECOMMENDATIONS
A long break-in period is not required for the engine and drivetrain (transmission and axle)
in your vehicle.
Drive moderately during the first 300 miles (500 km). After the initial 60 miles (100 km),
speeds up to 50 or 55 mph (80 or 90 km/h) are desirable.
While cruising, brief full-throttle acceleration within the limits of local traffic laws contrib-
utes to a good break-in. Wide-open throttle acceleration in low gear can be detrimental and
should be avoided.
The engine oil installed in the engine at the factory is a high-quality energy conserving type
lubricant. Oil changes should be consistent with anticipated climate conditions under
which vehicle operations will occur. For the recommended viscosity and quality grades,
refer to “Maintaining Your Vehicle.”
NOTE:
A new engine may consume some oil during its first few thousand miles (kilometers) of
operation. This should be considered a normal part of the break-in and not interpreted as an
indication of an engine problem or malfunction.
CAUTION!
Never use Non-Detergent Oil or Straight Mineral Oil in the engine or damage may result.
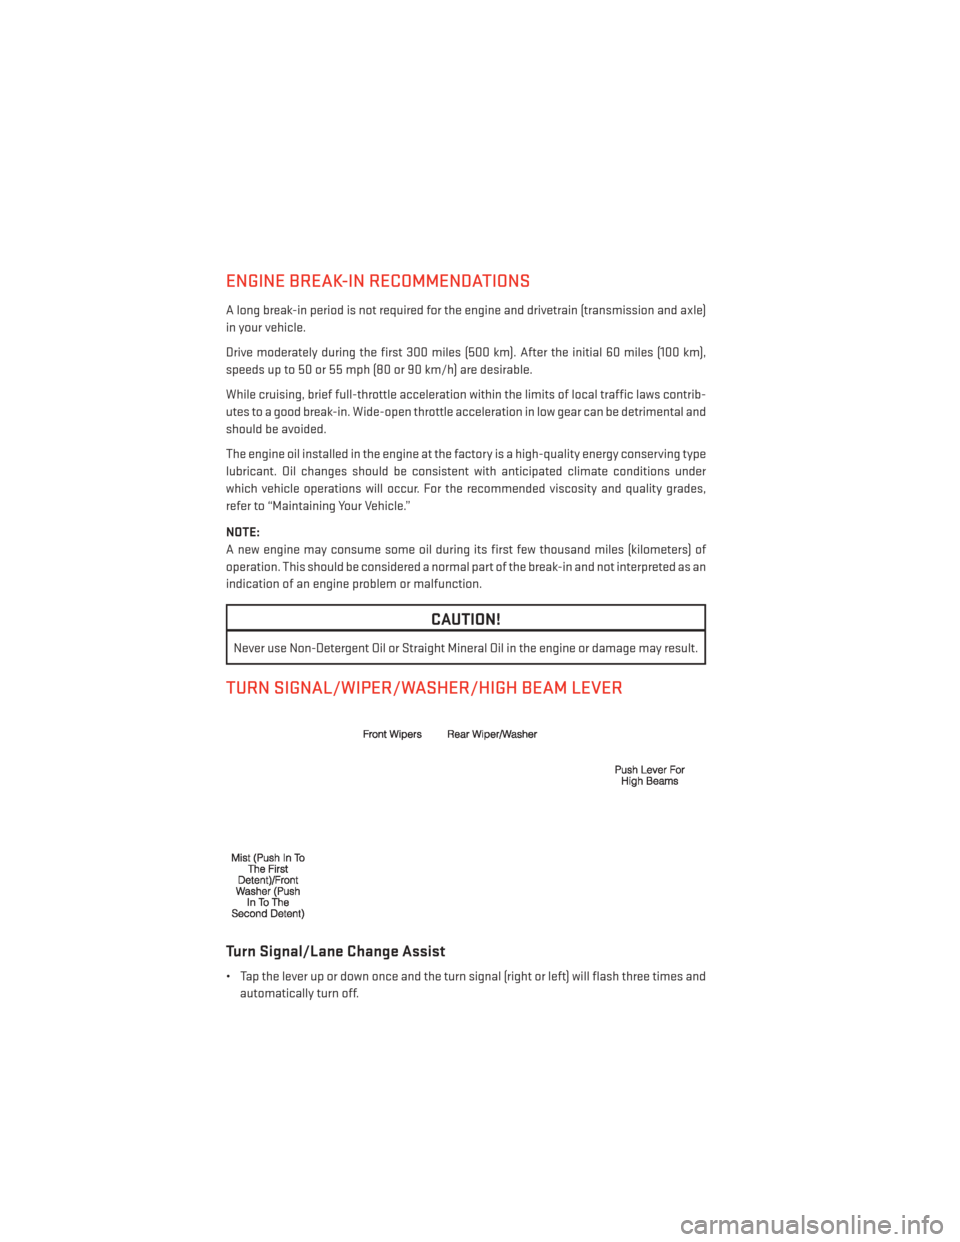
TURN SIGNAL/WIPER/WASHER/HIGH BEAM LEVER
Turn Signal/Lane Change Assist
• Tap the lever up or down once and the turn signal (right or left) will flash three times andautomatically turn off.
OPERATING YOUR VEHICLE
28
Page 67 of 124
Compass Calibration
This compass is self-calibrating, which eliminates the need to set the compass manually.
When the vehicle is new, the compass may appear erratic and the EVIC will display “CAL”
until the compass is calibrated.
You may also calibrate the compass by completing one or more 360 degree turns (in an area
free from large metal or metallic objects) until the “CAL” message displayed in the EVIC
turns off. The compass will now function normally.
PROGRAMMABLE FEATURES
Electronic Vehicle Information Center (EVIC) — If Equipped
• The EVIC can be used to view or change the following settings. Press the UPor
DOWN
button until System Setup displays, then press the SELECTbutton. Scroll
through the settings using the UP or DOWN buttons. Press the SELECT
button to
change the setting. Press the BACK button to scroll back to a previous menu or sub
menu.
• Fuel Economy • Average Fuel Economy
• Distance To Empty (DTE)
• Miles Per Gallon (MPG) • Trip Info
• Trip A
• Trip B
• Elapsed Time
• Vehicle Speed • Tire PSI
• Messages •
Vehicle Info (Customer Information
Features)
Uconnect® 4.3 Customer Programmable Features
• The Uconnect® 4.3 system allows you to access Customer Programmable feature set- tings such as Display, Clock, Safety/Assistance, Lights, Doors & Locks, Heated Seats,
Engine Off Operation, Compass Settings, Audio, Phone/ Bluetooth® and SIRIUS Setup
through hard-keys and soft-keys.
• Press the “Settings” hard-key to on the right side of the unit to access the Settings screen, use the “Page Up/Down” soft-keys to scroll through the following settings. The
following feature settings are available:
• Display • Auto On Comfort & Remote Start
• Clock • Engine Off Options
• Safety/Assistance • Audio
• Lights • Phone/Bluetooth®
• Doors & Locks • SIRIUS Setup
ELECTRONICS
65
Page 68 of 124
Uconnect® 8.4 Customer Programmable Features
• The Uconnect® 8.4 system allows you to access Customer Programmable feature set-tings such as Display, Clock, Safety/Assistance, Lights, Doors & Locks, Heated Seats,
Engine Off Operation, Compass Settings, Audio, Phone/Bluetooth® and SIRIUS Setup
through soft-keys.
• Touch the “More” soft-key on the bottom of the screen, then touch the “Settings” soft-key to access the Settings screen. When making a selection, scroll up or down until
the preferred setting is highlighted, then press and release the preferred setting until a
check-mark appears next to the setting, showing that setting has been selected.
The following feature settings are available:
• Display • Auto On Comfort & Remote Start
• Clock • Engine Off Options
• Safety/Assistance • Audio
• Lights • Phone/Bluetooth®
• Doors & Locks • SIRIUS Setup
UNIVERSAL GARAGE DOOR OPENER (HomeLink®)
• HomeLink® replaces up to three hand-held transmitters that operate devices such as
garage door openers, motorized gates, lighting or home security systems. The
HomeLink® unit is powered by your vehicles 12 Volt battery.
• The HomeLink® buttons that are located in the overhead console or sunvisor designate the three different HomeLink® channels.
• The HomeLink® indicator is located above the center button.
Before You Begin Programming
HomeLink®
Ensure that your vehicle is parked outside of
the garage before you begin programming.
For efficient programming and accurate
transmission of the radio-frequency signal,
it is recommended that a new battery be
placed in the hand-held transmitter of the
device that is being programmed to the
HomeLink® system.
Erase all channels before you begin pro-
gramming. To erase the channels, place the
ignition switch into the ON/RUN position,
then press and hold the two outside HomeLink® buttons (I and III) for up to 20 seconds or
until the red indicator flashes.
ELECTRONICS
66
Page 73 of 124

TRAILER TOWING WEIGHTS (MAXIMUM TRAILER WEIGHT RATINGS)
Engine/TransmissionGCWR (Gross Combined
Wt. Rating) Frontal Area Max. GTW
(Gross Trailer Wt.) Max. Tongue Wt.
2.4L/Automatic 6,000 lbs (2,722 kg) 22 sq ft (2.0 sq m) 1,000 lbs (454 kg) which
includes up to 5 persons & Luggage 100 lbs (45 kg)
3.6L/Automatic 7,300 lbs (3,311 kg) 32 sq ft (3.0 sq m)
2,500 lbs (1 134 kg) which
includes 1 to 2 persons & Luggage 200 lbs (91 kg)
7,300 lbs (3,311 kg) 32 sq ft (3.0 sq m) 2,000 lbs (907 kg) which
includes 3 to 4 persons & Luggage 150 lbs (68 kg)
7,300 lbs (3,311 kg) 32 sq ft (3.0 sq m) 1,500 lbs (680 kg) which
includes 5 to 7 persons & Luggage 100 lbs (45 kg)
* Except for AWD models
NOTE:
• The trailer tongue weight must be considered as part of the combined weight of occupants and cargo, and should never exceed the weight
referenced on the Tire and Loading Information placard.
• * For All Wheel Drive (AWD) models carrying 5 to 7 persons and luggage will exceed the rear Gross Axle Weight Rating (GAWR) and therefore should not be attempted.
UTILITY
71