manual radio set DODGE JOURNEY 2015 1.G User Guide
[x] Cancel search | Manufacturer: DODGE, Model Year: 2015, Model line: JOURNEY, Model: DODGE JOURNEY 2015 1.GPages: 140, PDF Size: 23.09 MB
Page 39 of 140
HEADLIGHT SWITCH
Automatic Headlights/Parking
Lights/Headlights
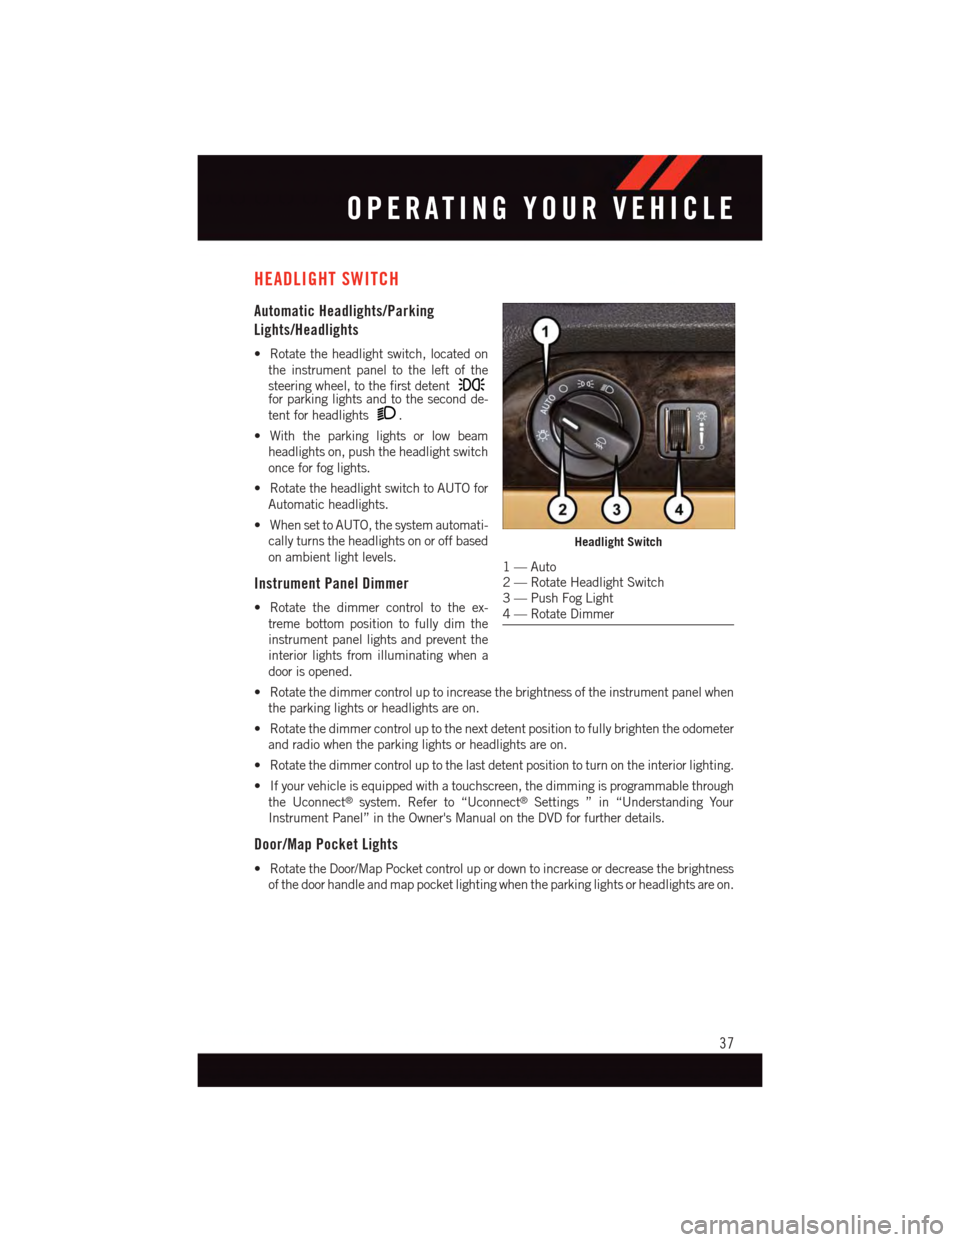
•Rotatetheheadlightswitch,locatedon
the instrument panel to the left of the
steering wheel, to the first detentfor parking lights and to the second de-
tent for headlights.
•Withtheparkinglightsorlowbeam
headlights on, push the headlight switch
once for fog lights.
•RotatetheheadlightswitchtoAUTOfor
Automatic headlights.
•WhensettoAUTO,thesystemautomati-
cally turns the headlights on or off based
on ambient light levels.
Instrument Panel Dimmer
•Rotatethedimmercontroltotheex-
treme bottom position to fully dim the
instrument panel lights and prevent the
interior lights from illuminating when a
door is opened.
•Rotatethedimmercontroluptoincreasethebrightnessoftheinstrumentpanelwhen
the parking lights or headlights are on.
•Rotatethedimmercontroluptothenextdetentpositiontofullybrightentheodometer
and radio when the parking lights or headlights are on.
•Rotatethedimmercontroluptothelastdetentpositiontoturnontheinteriorlighting.
•Ifyourvehicleisequippedwithatouchscreen,thedimmingisprogrammablethrough
the Uconnect®system. Refer to “Uconnect®Settings ” in “Understanding Your
Instrument Panel” in the Owner's Manual on the DVD for further details.
Door/Map Pocket Lights
•RotatetheDoor/MapPocketcontrolupordowntoincreaseordecreasethebrightness
of the door handle and map pocket lighting when the parking lights or headlights are on.
Headlight Switch
1—Auto2—RotateHeadlightSwitch3—PushFogLight4—RotateDimmer
OPERATING YOUR VEHICLE
37
Page 54 of 140
Setting The Time
•Model8.4NsynchronizestimeautomaticallyviaGPS,soshouldnotrequireanytime
adjustment. If you do need to set the time manually, follow the instructions below for
Model 8.4.
•ForModel8.4,turntheuniton,thenpressthe“TimeDisplay”atthetopofthescreen.
Press “Yes”.
•Ifthetimeisnotdisplayedatthetopofthescreen,press“More”buttononthe
touchscreen and then “Settings” button on the touchscreen. In the Settings screen,
press the “Clock” button on the touchscreen, then check or uncheck this option.
•Press“+”or“–”nexttoSetTimeHoursandSetTimeMinutestoadjustthetime.
•Ifthesefeaturesarenotavailable,uncheckthe“Sync”withGPSbox.
•Press“X”tosaveyoursettingsandexitoutoftheClockSettingscreen.
Audio Settings
•Pressthe“Audio”buttononthetouchscreentoactivatetheAudiosettingsscreento
adjust Balance\Fade, Equalizer and Speed Adjusted Volume.
•YoucanreturntotheRadioscreenbypressingthe“X”locatedatthetopright.
Balance/Fade
•Pressthe“Balance/Fade”buttononthetouchscreentoBalanceaudiobetweenthe
front speakers or fade the audio between the rear and front speakers.
•Pressingthe“Front,”“Rear,””Left”or“Right”buttonsonthetouchscreenorpress
and drag the red Speaker Icon to adjust the Balance/Fade.
Equalizer
•Pressthe“Equalizer”buttononthetouchscreentoactivatetheEqualizerscreen.
•Pressthe“+”or“–”buttonsonthetouchscreen,orbypressinganddraggingoverthe
level bar for each of the equalizer bands. The level value, which spans between ±9, is
displayed at the bottom of each of the Bands.
Speed Adjusted Volume
•Pressthe“SpeedAdjustedVolume”buttononthetouchscreentoactivatetheSpeed
Adjusted Volume screen. The Speed Adjusted Volume is adjusted by pressing the “+”
and “–” buttons or by pressing and dragging over the level bar. This alters the automatic
adjustment of the audio volume with variation to vehicle speed.
ELECTRONICS
52
Page 68 of 140
SD Card (8.4 and 8.4N Only)
•PlaysongsstoredonanSDcardinsertedintotheSDcardslot,locatedontheradio
faceplate.
•SongplaybackcanbecontrolledusingtheradioorSteeringWheelAudioControlsto
play, skip to the next or previous track, browse, and list the contents.
Bluetooth® Streaming Audio
•IfequippedwithUconnect®Voice Command, your Bluetooth®-equippediPod®
devices, cell phones or other media players, may also be able to stream music to your
vehicles sound system. Your connected device must be Bluetooth®-compatible,and
paired with your Uconnect®system (see Uconnect®Phone for pairing instructions).
Yo u c a n a c c e s s t h e m u s i c f r o m y o u r c o n n e c t e d B l u e t o o t h®device by pressing the
“Source” button on the touchscreen while in Player mode.
Uconnect® PHONE
Uconnect® Phone (Bluetooth® Hands Free Calling)
•IftheUconnect®Phone Buttonexists on your steering wheel, then you have the
Uconnect®Phone features.
•TheUconnect®Phone is a voice-activated, hands-free, in-vehicle communications
system with Voice Command Capability (see Voice Command section).
•TheUconnect®Phone allows you to dial a phone number with your mobile phone using
simple voice commands or using touchscreen buttons.
•Refertothe“UnderstandTheFeaturesOfYourVehicle”sectionofyourvehicle's
Owner's Manual on the DVD for further details.
NOTE:
The Uconnect®Phone requires a mobile phone equipped with the Bluetooth®Hands-Free
Profile, Version 1.0 or higher. For Uconnect®customer support: U.S. residents - visitUcon-
nectPhone.com or call 1–877–855–8400. Canadian Residents - call 1-800-465–2001
(English) or 1-800-387-9983 (French).
Pairing A Phone
•TousetheUconnect®Phone feature, you must first pair your Bluetooth®phone with
the Uconnect®system.
ELECTRONICS
66
Page 73 of 140
Mute (Or Unmute) Microphone During Call
•Duringacall,pressthe“mute”buttononthetouchscreentomuteandunmutethe
call.
Transfer Ongoing Call Between Handset And Vehicle
During an on-going call, press the “Transfer” button on the touchscreen to transfer an
on-going call between handset and vehicle.
Common Phone Commands (Examples)
•“CallJohnSmith”
•“CallJohnSmithmobile”
•“Dial12485551212”
•“CallEmergency”
•“CallTowingAssistance”
•“Redial”
Phonebook
•Uconnect®radios will automatically download your phonebook from your paired
phone, if this feature is supported by your phone. Entries are updated each time that
the phone is connected. If your phone book entries do not appear, check the settings on
your phone. Some phones require you to enable this feature manually.
•Yourphonebookcanbebrowsedonyourradioscreen,buteditingcanonlybedoneon
your phone. To browse, press the “Phone” button on the touchscreen, then the
“Phonebook” button on the touchscreen.
•FavoritephonebookentriescanbesavedasFavoritesforquickeraccess.Favoritesare
shown at the top of your main phone screen.
Voice Command Tips (8.4 And 8.4N Only)
•Usingcompletenames(i.e;CallJohnDoevs.CallJohn)willresultingreatersystem
accuracy.
•Youcan“chain”commandstogetherforfasterresults.Say“CallJohnDoemobile,”for
example.
•Ifyouarelisteningtoavailablevoicecommandoptions,youdonothavetolistentothe
entire list. When you hear the command that you need, press thebutton on the
steering wheel, wait for the beep and say your command.
Changing The Volume
•StartadialoguebypressingthePhonebutton,thensayacommandforexample
-"Help."
•UsetheradioON/OFFVOLUMErotaryknobtoadjustthevolumetoacomfortablelevel
while the Uconnect®system is speaking. Please note the volume setting for Uconnect®
is different than the audio system.
ELECTRONICS
71
Page 75 of 140
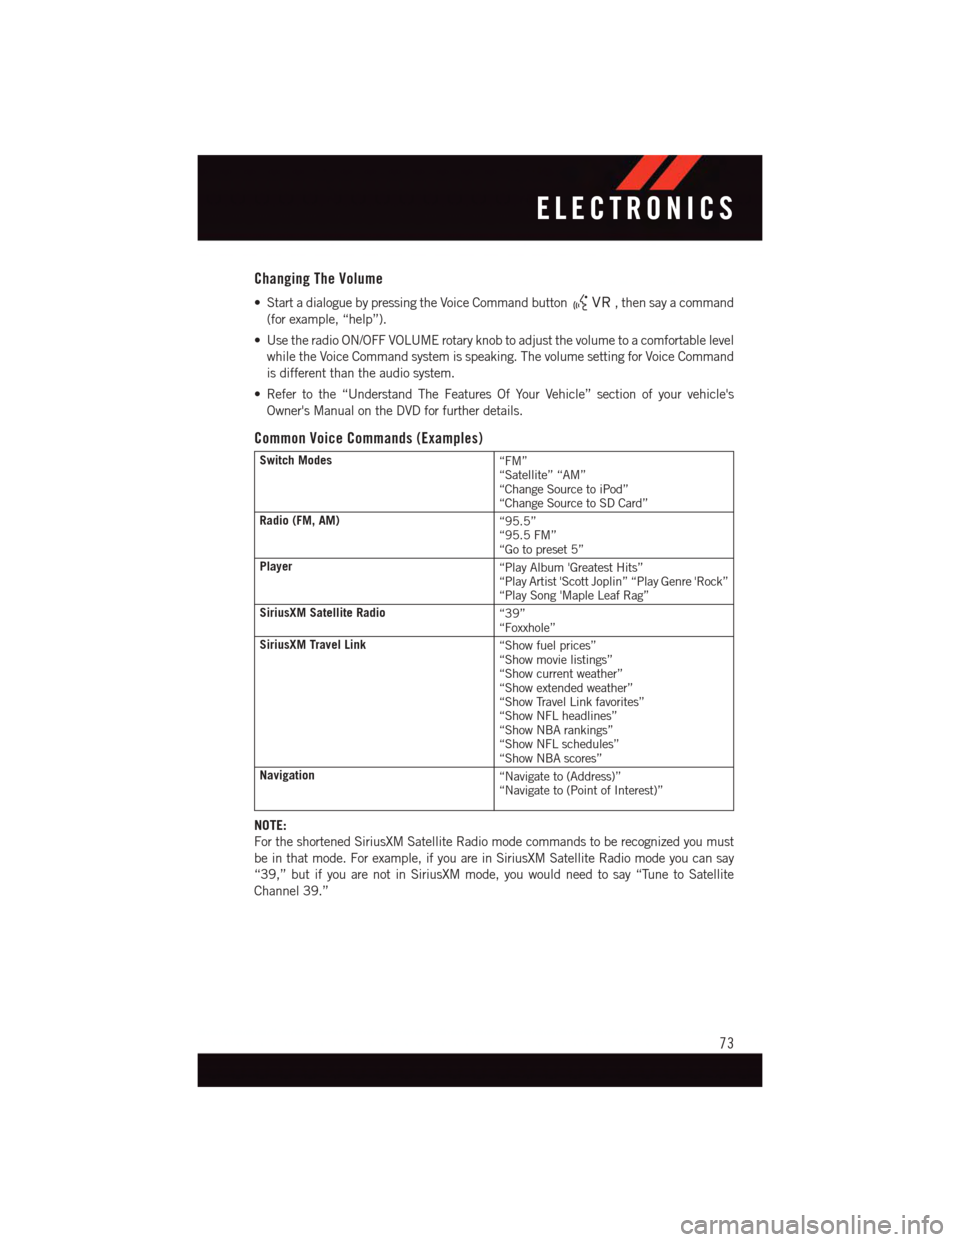
Changing The Volume
•StartadialoguebypressingtheVoiceCommandbutton,thensayacommand
(for example, “help”).
•UsetheradioON/OFFVOLUMErotaryknobtoadjustthevolumetoacomfortablelevel
while the Voice Command system is speaking. The volume setting for Voice Command
is different than the audio system.
•Refertothe“UnderstandTheFeaturesOfYourVehicle”sectionofyourvehicle's
Owner's Manual on the DVD for further details.
Common Voice Commands (Examples)
Switch Modes“FM”“Satellite” “AM”“Change Source to iPod”“Change Source to SD Card”
Radio (FM, AM)“95.5”“95.5 FM”“Go to preset 5”
Player“Play Album 'Greatest Hits”“Play Artist 'Scott Joplin” “Play Genre 'Rock”“Play Song 'Maple Leaf Rag”
SiriusXM Satellite Radio“39”“Foxxhole”
SiriusXM Travel Link“Show fuel prices”“Show movie listings”“Show current weather”“Show extended weather”“Show Travel Link favorites”“Show NFL headlines”“Show NBA rankings”“Show NFL schedules”“Show NBA scores”
Navigation“Navigate to (Address)”“Navigate to (Point of Interest)”
NOTE:
For the shortened SiriusXM Satellite Radio mode commands to be recognized you must
be in that mode. For example, if you are in SiriusXM Satellite Radio mode you can say
“39,” but if you are not in SiriusXM mode, you would need to say “Tune to Satellite
Channel 39.”
ELECTRONICS
73
Page 77 of 140
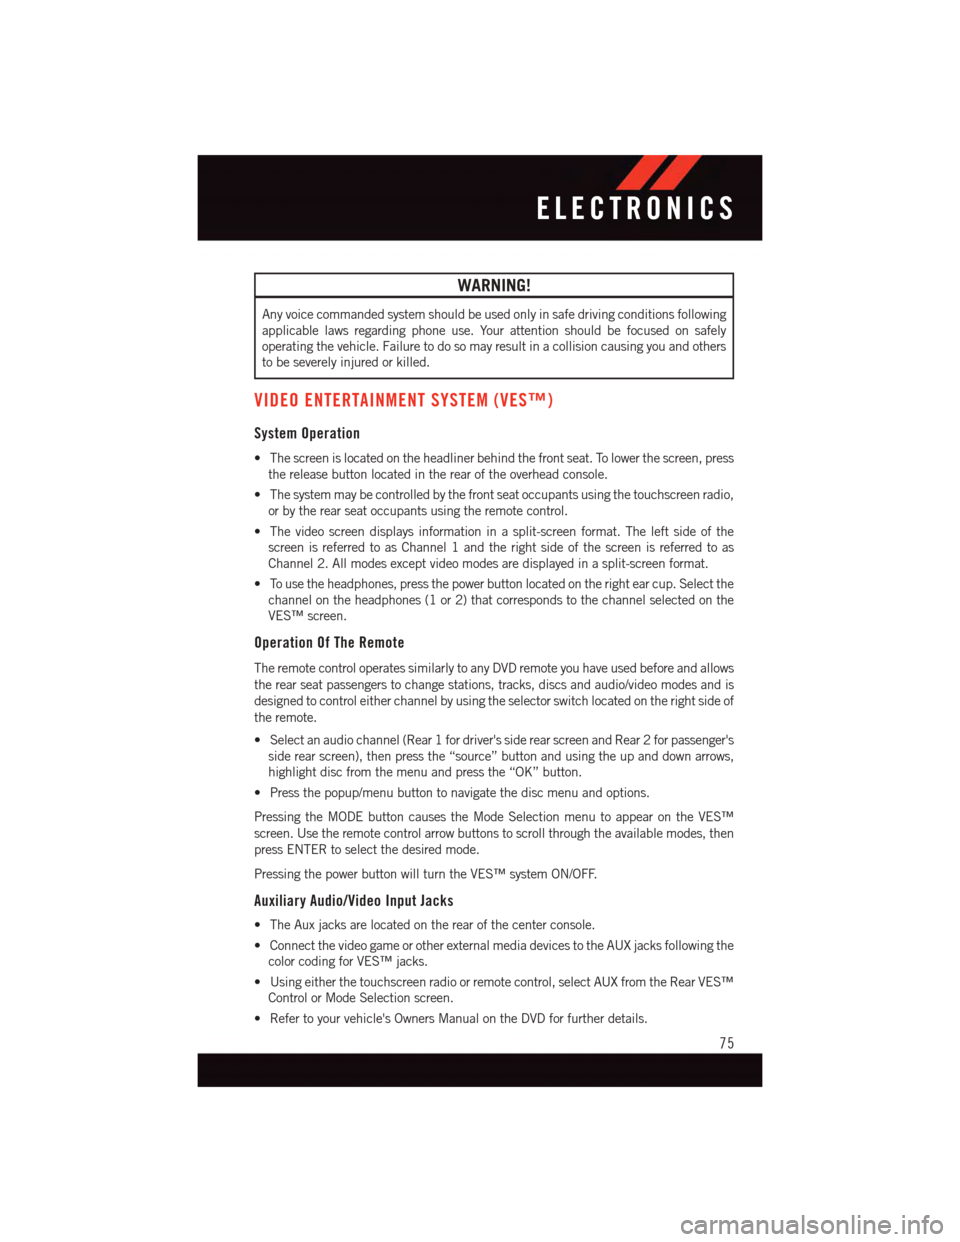
WARNING!
Any voice commanded system should be used only in safe driving conditions following
applicable laws regarding phone use. Your attention should be focused on safely
operating the vehicle. Failure to do so may result in a collision causing you and others
to be severely injured or killed.
VIDEO ENTERTAINMENT SYSTEM (VES™)
System Operation
•Thescreenislocatedontheheadlinerbehindthefrontseat.Tolowerthescreen,press
the release button located in the rear of the overhead console.
•Thesystemmaybecontrolledbythefrontseatoccupantsusingthetouchscreenradio,
or by the rear seat occupants using the remote control.
•Thevideoscreendisplaysinformationinasplit-screenformat.Theleftsideofthe
screen is referred to as Channel 1 and the right side of the screen is referred to as
Channel 2. All modes except video modes are displayed in a split-screen format.
•Tousetheheadphones,pressthepowerbuttonlocatedontherightearcup.Selectthe
channel on the headphones (1 or 2) that corresponds to the channel selected on the
VES™ screen.
Operation Of The Remote
The remote control operates similarly to any DVD remote you have used before and allows
the rear seat passengers to change stations, tracks, discs and audio/video modes and is
designed to control either channel by using the selector switch located on the right side of
the remote.
•Selectanaudiochannel(Rear1fordriver'ssiderearscreenandRear2forpassenger's
side rear screen), then press the “source” button and using the up and down arrows,
highlight disc from the menu and press the “OK” button.
•Pressthepopup/menubuttontonavigatethediscmenuandoptions.
Pressing the MODE button causes the Mode Selection menu to appear on the VES™
screen. Use the remote control arrow buttons to scroll through the available modes, then
press ENTER to select the desired mode.
Pressing the power button will turn the VES™ system ON/OFF.
Auxiliary Audio/Video Input Jacks
•TheAuxjacksarelocatedontherearofthecenterconsole.
•ConnectthevideogameorotherexternalmediadevicestotheAUXjacksfollowingthe
color coding for VES™ jacks.
•Usingeitherthetouchscreenradioorremotecontrol,selectAUXfromtheRearVES™
Control or Mode Selection screen.
•Refertoyourvehicle'sOwnersManualontheDVDforfurtherdetails.
ELECTRONICS
75
Page 135 of 140
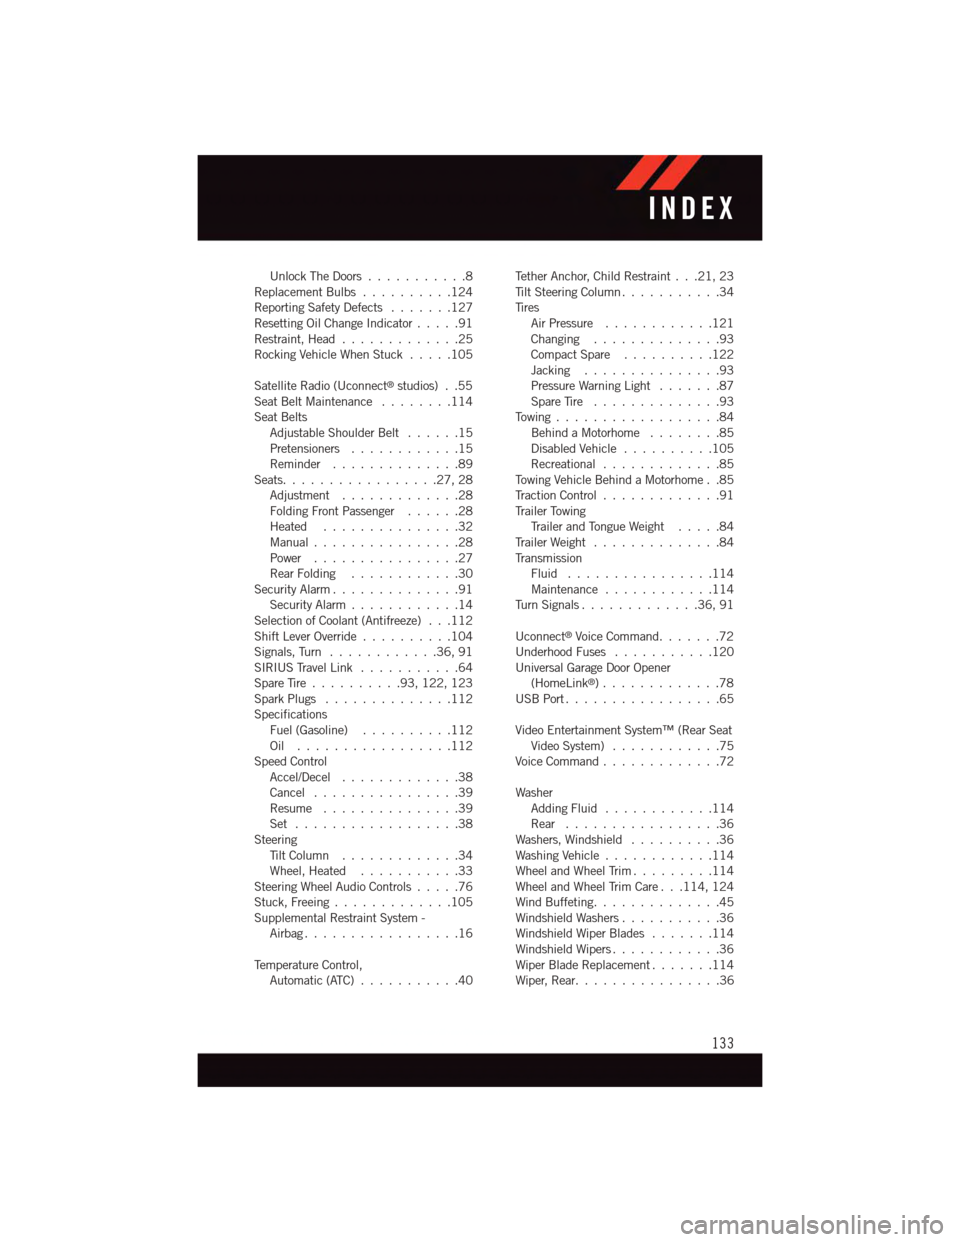
Unlock The Doors...........8Replacement Bulbs..........124Reporting Safety Defects.......127Resetting Oil Change Indicator.....91Restraint, Head.............25Rocking Vehicle When Stuck.....105
Satellite Radio (Uconnect®studios) . .55Seat Belt Maintenance........114Seat BeltsAdjustable Shoulder Belt......15Pretensioners............15Reminder..............89Seats. . . . . . . . . . . . . . . . .27, 28Adjustment.............28Folding Front Passenger......28Heated . . . . . . . . . . . . . . .32Manual................28Power................27Rear Folding............30Security Alarm..............91Security Alarm............14Selection of Coolant (Antifreeze) . . .112Shift Lever Override..........104Signals, Turn . . . . . . . . . . . .36, 91SIRIUS Travel Link . . . . . . . . . . .64Spare Tire . . . . . . . . . .93,122, 123Spark Plugs . . . . . . . . . . . . . .112SpecificationsFuel (Gasoline)..........112Oil . . . . . . . . . . . . . . . . .112Speed ControlAccel/Decel.............38Cancel................39Resume . . . . . . . . . . . . . . .39Set . . . . . . . . . . . . . . . . . .38SteeringTi l t C o l u m n . . . . . . . . . . . . . 3 4Wheel, Heated...........33Steering Wheel Audio Controls.....76Stuck, Freeing . . . . . . . . . . . . .105Supplemental Restraint System -Airbag . . . . . . . . . . . . . . . . .16
Te m p e r a t u r e C o n t r o l ,Automatic (ATC) . . . . . . . . . . .40
Te t h e r A n c h o r, C h i l d R e s t r a i n t . . . 2 1 , 2 3Ti l t S t e e r i n g C o l u m n . . . . . . . . . . . 3 4Ti r e sAir Pressure . . . . . . . . . . . .121Changing..............93Compact Spare..........122Jacking...............93Pressure Warning Light . . . . . . .87Spare Tire..............93To w i n g . . . . . . . . . . . . . . . . . . 8 4Behind a Motorhome........85Disabled Vehicle . . . . . . . . . .105Recreational.............85To w i n g V e h i c l e B e h i n d a M o t o r h o m e . . 8 5Tr a c t i o n C o n t r o l . . . . . . . . . . . . . 9 1Tr a i l e r To w i n gTr a i l e r a n d To n g u e W e i g h t.....84Tr a i l e r W e i g h t . . . . . . . . . . . . . . 8 4Tr a n s m i s s i o nFluid . . . . . . . . . . . . . . . .114Maintenance............114Tu r n S i g n a l s.............36,91
Uconnect®Voice Command.......72Underhood Fuses...........120Universal Garage Door Opener(HomeLink®). . . . . . . . . . . . .78USB Port . . . . . . . . . . . . . . . . .65
Video Entertainment System™ (Rear SeatVideo System) . . . . . . . . . . . .75Voice Command.............72
WasherAdding Fluid............114Rear.................36Washers, Windshield . . . . . . . . . .36Washing Vehicle . . . . . . . . . . . .114Wheel and Wheel Trim.........114Wheel and Wheel Trim Care . . .114, 124Wind Buffeting. . . . . . . . . . . . . .45Windshield Washers...........36Windshield Wiper Blades.......114Windshield Wipers . . . . . . . . . . . .36Wiper Blade Replacement.......114Wiper, Rear................36
INDEX
133