fuel type DODGE MAGNUM SRT 2007 1.G Owners Manual
[x] Cancel search | Manufacturer: DODGE, Model Year: 2007, Model line: MAGNUM SRT, Model: DODGE MAGNUM SRT 2007 1.GPages: 380, PDF Size: 6.63 MB
Page 207 of 380
WARNING!
²Never pour fuel or other flammable liquid into
the throttle body air inlet opening in an attempt to
start the vehicle. This could result in flash fire
causing serious personal injury.
²Do not attempt to push or tow your vehicle to get
it started. Vehicles equipped with an automatic
transmission cannot be started this way. Un-
burned fuel could enter the catalytic converter and
once the engine has started, ignite and damage the
converter and vehicle. If the vehicle has a dis-
charged battery, booster cables may be used to
obtain a start from a booster battery or the battery
in another vehicle. This type of start can be
dangerous if done improperly. See section 6 of
this manual for the proper jump-starting proce-
dures and follow them carefully.
If the engine is flooded, it may start to run, but not have
enough power to continue running when the key is
released. If this occurs, continue cranking up to 15
seconds with the accelerator pedal pushed all the way to
the floor. Release the accelerator pedal and the key once
the engine is running smoothly. Do not overspeed the
engine.
If the engine shows no sign of starting after two 15-
second periods of cranking with the accelerator pedal
held to the floor, the ªNORMAL STARTINGº procedure
should be repeated.
After Starting
The idle speed is controlled automatically and it will
decrease as the engine warms up.
206 STARTING AND OPERATING
Page 214 of 380
D (Drive)
This range should be used for most city and highway
driving. It provides the smoothest upshifts and down-
shifts and best fuel economy.
The transmission automatically upshifts through fifth
gear. The D (Drive) position provides optimum driving
characteristics under all normal operating conditions.
When frequent transmission shifting occurs when using
the Overdrive range, such as when operating the vehicle
under heavy loading conditions (in hilly terrain, travel-
ing into strong head winds, or while towing heavy
trailers, use the AutoSticktmode and select the ª3º
range.
AutoSticktGear selection
The AutoSticktfeature can be selected by pressing the
selector lever to the right or the left with the lever in the
D (Drive) position. The gear currently selected is indi-
cated in the instrument cluster display. Briefly, press the
selector lever in the ªD -º direction and the transmission
will shift from the current gear to the next lower gear.Press and hold the selector lever in the ªD-º direction and
the transmission will shift from the current gear directly
to the next lowest gear for best acceleration.
NOTE:To avoid overrevving the engine when the
selector lever is moved in ªD -º direction, the transmis-
sion will not shift to a lower gear if the engine's revolu-
tions per minute (RPM) limit would be exceeded.
Briefly, press the selector lever in the ªD +º direction and
the transmission will shift from the current gear to the
next higher gear.
Press and hold the selector lever in the ªD +º direction
and the transmission will shift from the current gear
directly to gear ªD.º
WARNING!
On slippery road surfaces, never downshift in order
to obtain braking action. This could result in drive
wheel slip and reduced vehicle control. Your vehi-
cle's ABS will not prevent this type of loss of control.
You could lose control of your vehicle and have an
accident.
STARTING AND OPERATING 213
5
Page 239 of 380
2. EconomyÐ
Improper inflation pressures can cause uneven wear
patterns to develop across the tire tread. These abnormal
wear patterns will reduce tread life resulting in a need for
earlier tire replacement. Under inflation, also increases
tire rolling resistance and results in higher fuel consump-
tion.
3. Ride Comfort and Vehicle StabilityÐ
Proper tire inflation contributes to a comfortable ride.
Over inflation produces a jarring and uncomfortable ride.
Tire Inflation Pressures
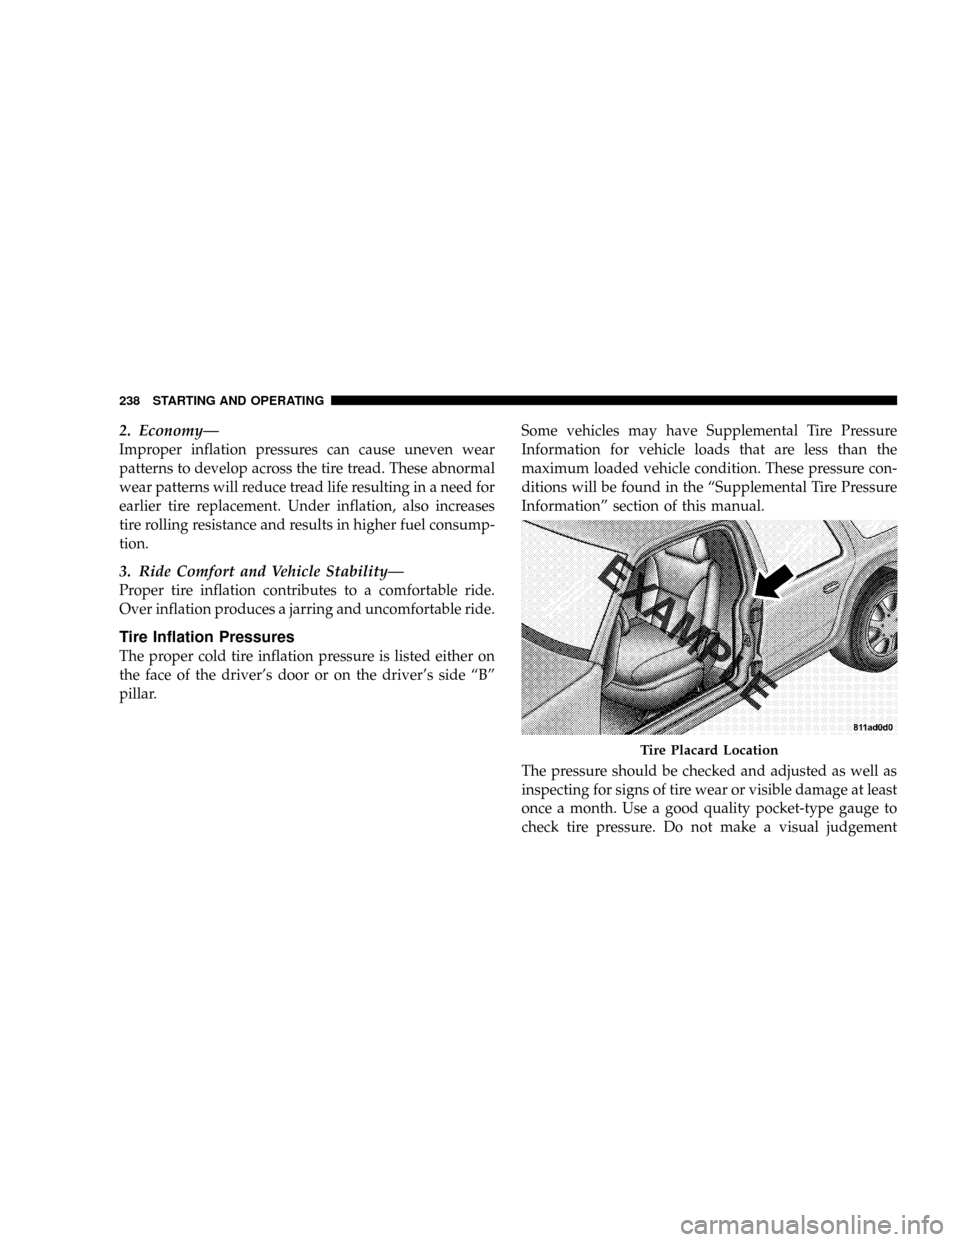
The proper cold tire inflation pressure is listed either on
the face of the driver's door or on the driver's side ªBº
pillar.Some vehicles may have Supplemental Tire Pressure
Information for vehicle loads that are less than the
maximum loaded vehicle condition. These pressure con-
ditions will be found in the ªSupplemental Tire Pressure
Informationº section of this manual.
The pressure should be checked and adjusted as well as
inspecting for signs of tire wear or visible damage at least
once a month. Use a good quality pocket-type gauge to
check tire pressure. Do not make a visual judgement
Tire Placard Location
238 STARTING AND OPERATING
Page 249 of 380
CAUTION!
²The TPMS has been optimized for the original
equipment tires and wheels. TPMS pressures and
warning have been established for the tire size
equipped on your vehicle. Undesirable system
operation or sensor damage may result when
using replacement equipment that is not of the
same size, type, and/or style. After-market wheels
can cause sensor damage. Do not use tire sealant
from a can, or balance beads if your vehicle is
equipped with a TPMS, as damage to the sensors
may result.
²After inspecting or adjusting the tire pressure,
always reinstall the valve stem cap. This will
prevent moisture and dirt from entering the valve
stem, which could damage the Tire Pressure
Monitoring Sensor.
NOTE:
²
The TPMS is not intended to replace normal tire care
and maintenance, or to provide warning of a tire
failure or condition.
²The TPMS should not be used as a tire pressure gauge
while adjusting your tire pressure.
²Driving on a significantly under-inflated tire causes
the tire to overheat and can lead to tire failure.
Under-inflation also reduces fuel efficiency and tire
tread life, and may affect the vehicle's handling and
stopping ability.
²The TPMS is not a substitute for proper tire mainte-
nance, and it is the driver 's responsibility to maintain
correct tire pressure, even if under-inflation has not
reached the level to trigger illumination of the Tire
Pressure Monitoring Telltale light.
248 STARTING AND OPERATING
Page 260 of 380
Loose Fuel Filler Cap Message
If the vehicle diagnostic system determines that the fuel
filler cap is loose, improperly installed, or damaged, a
ªCheck Gascapº message will display in the Electronic
Vehicle Information Center (EVIC). If this occurs, tighten
the fuel filler cap properly and press the odometer reset
button to turn off the message. If the problem continues,
the message will appear the next time the vehicle is
started.
A loose, improperly installed, or damaged fuel filler cap
may also turn on the Malfunction Indicator Light (MIL).
Refer to ªOnboard Diagnostic Systemº in Section 7 of this
manual for more information.
VEHICLE LOADING
The load carrying capacity of your vehicle is shown on
the ªVehicle Certification Label.º This information
should be used for passenger and luggage loading as
indicated.
If the seatbacks are folded for carrying cargo, do not
exceed the specified GVWR and GAWR.
Vehicle Certification Label
Your vehicle has a certification label attached to the rear
of the driver's door.
The label contains the following information:
²Name of manufacturer
²Month and year of manufacture
²Gross Vehicle Weight Rating (GVWR)
²Gross Axle Weight Rating (GAWR) front
²Gross Axle Weight Rating (GAWR) rear
²Vehicle Identification Number (VIN)
²Type of Vehicle
STARTING AND OPERATING 259
5
Page 283 of 380
²Do not operate the electric air pump for more than
eight minutes to avoid overheating. The air pump may
be used again once it has cooled down.
²Replace the TIREFIT sealant bottle (5) once every four
years to assure optimum operation of the system.
²If TIREFIT is liquid, clean water and a damp cloth will
remove the material from the vehicle or tire and wheel
components. Once TIREFIT sealing material has dried,
it can easily be peeled off and properly discarded.
²Do not exceed 55 mph (90 km/h) until the tire has
been inspected.
JUMP-STARTING PROCEDURES
WARNING!
²Take care to avoid the radiator cooling fan whenever the
hood is raised. It can start anytime the ignition switch is on.
You can be hurt by the fan.
²Do not attempt to push or tow your vehicle to get it started.
Vehicles equipped with an automatic transmission cannot
be started this way. Unburned fuel could enter the catalytic
converter and once the engine has started, ignite and
damage the converter and vehicle. If the vehicle has a
discharged battery, booster cables may be used to obtain a
start from another vehicle. This type of start can be danger-
ous if done improperly, so follow this procedure carefully.
²Battery fluid is a corrosive acid solution; do not allow
battery fluid to contact eyes, skin, or clothing. Don't lean
over battery when attaching clamps or allow the clamps to
touch each other. If acid splashes in eyes or on skin, flush
contaminated area immediately with large quantities of
water.
²A battery generates hydrogen gas, which is flammable and
explosive. Keep flame or spark away from the vent holes.
²Do not use a booster battery or any other booster source
with an output that exceeds 12 volts.
²The battery in this vehicle has a vent hose that should not
be disconnected and should only be replaced with a battery
of the same type (vented).
282 WHAT TO DO IN EMERGENCIES
Page 333 of 380
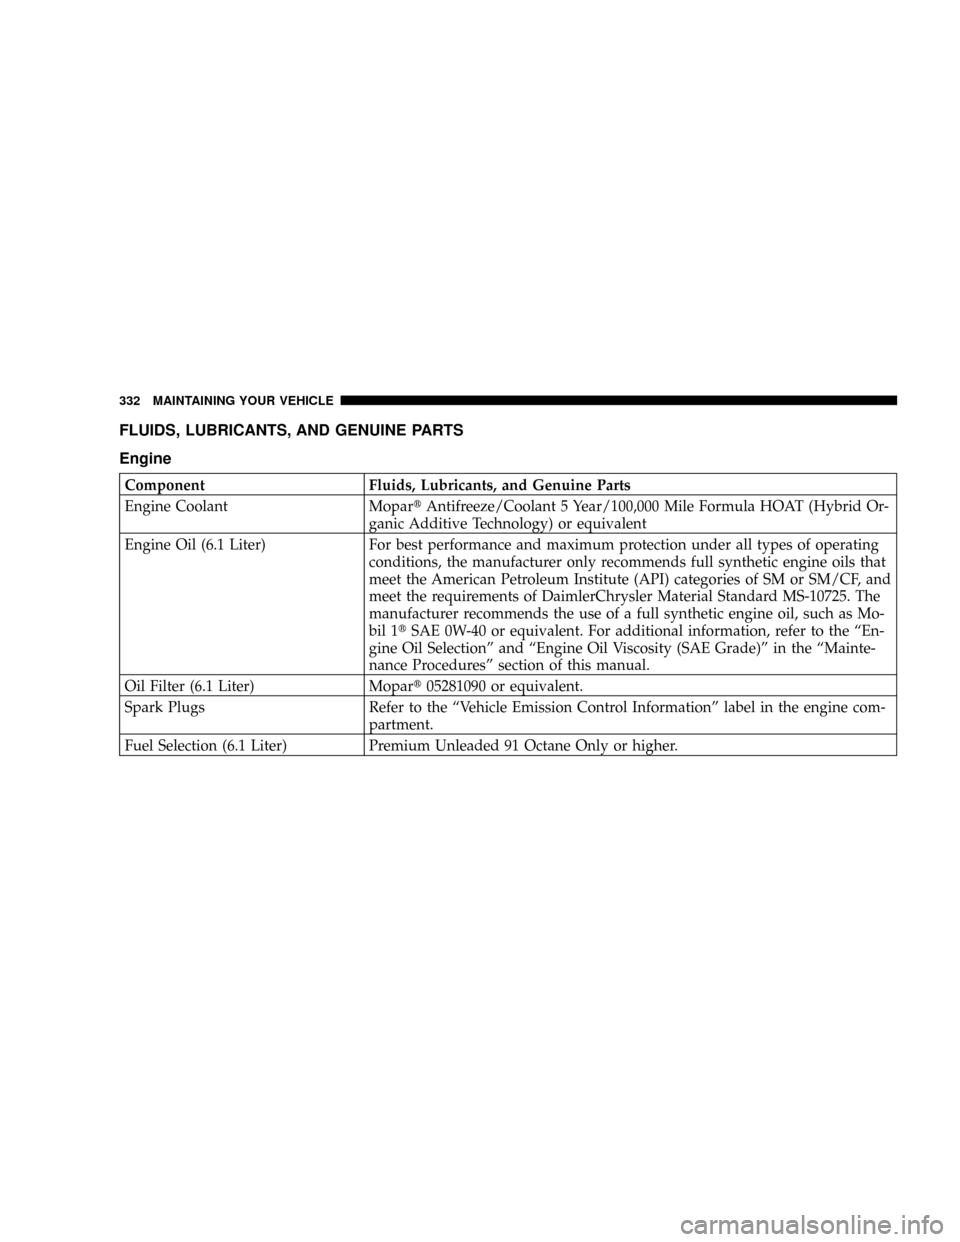
FLUIDS, LUBRICANTS, AND GENUINE PARTS
Engine
Component Fluids, Lubricants, and Genuine Parts
Engine Coolant MopartAntifreeze/Coolant 5 Year/100,000 Mile Formula HOAT (Hybrid Or-
ganic Additive Technology) or equivalent
Engine Oil (6.1 Liter) For best performance and maximum protection under all types of operating
conditions, the manufacturer only recommends full synthetic engine oils that
meet the American Petroleum Institute (API) categories of SM or SM/CF, and
meet the requirements of DaimlerChrysler Material Standard MS-10725. The
manufacturer recommends the use of a full synthetic engine oil, such as Mo-
bil 1tSAE 0W-40 or equivalent. For additional information, refer to the ªEn-
gine Oil Selectionº and ªEngine Oil Viscosity (SAE Grade)º in the ªMainte-
nance Proceduresº section of this manual.
Oil Filter (6.1 Liter) Mopart05281090 or equivalent.
Spark Plugs Refer to the ªVehicle Emission Control Informationº label in the engine com-
partment.
Fuel Selection (6.1 Liter) Premium Unleaded 91 Octane Only or higher.
332 MAINTAINING YOUR VEHICLE
Page 366 of 380
Fluid Change........................ 315
Fluid Level Check..................... 314
Fluid Type.......................... 333
Shifting............................. 211
Special Additives..................... 315
Autostick..........................213,215
Ball Joints............................ 304
Battery............................... 301
Emergency Starting.................... 282
Jump Starting........................ 282
Keyless Transmitter Replacement (RKE)..... 19
Location.........................283,301
Bearings.............................. 315
Belts, Drive........................... 298
Belts, Seat............................. 31
Body Mechanism Lubrication.............. 304
B-Pillar Location....................... 233
Brake Assist System..................... 223
Brake Control System, Electronic........... 222
Brake, Parking......................... 217
Brake System.......................219,312
Anti-Lock (ABS)...................219,222Fluid Check......................313,333
Hoses.............................. 312
Master Cylinder...................... 313
Parking............................ 217
Warning Light....................139,219
Brakes............................... 219
Brake/Transmission Interlock.............. 210
Break-In Recommendations, New Vehicle...... 56
Bulb Replacement...................... 327
Bulbs, Light........................... 326
Calibration, Compass.................... 147
Capacities, Fluid....................... 331
Caps, Filler
Fuel............................... 257
Oil (Engine)......................... 297
Radiator (Coolant Pressure).............. 309
Car Washes........................... 316
Carbon Monoxide Warning.............57,256
Cargo Compartment
Luggage Carrier...................... 126
Cargo Management System............... 119
Cargo Organizer...................... 124
INDEX 365
10