reset DODGE VIPER 2008 ZB II / 2.G Owners Manual
[x] Cancel search | Manufacturer: DODGE, Model Year: 2008, Model line: VIPER, Model: DODGE VIPER 2008 ZB II / 2.GPages: 303, PDF Size: 2.65 MB
Page 97 of 303

INSTRUMENT CLUSTER DESCRIPTION
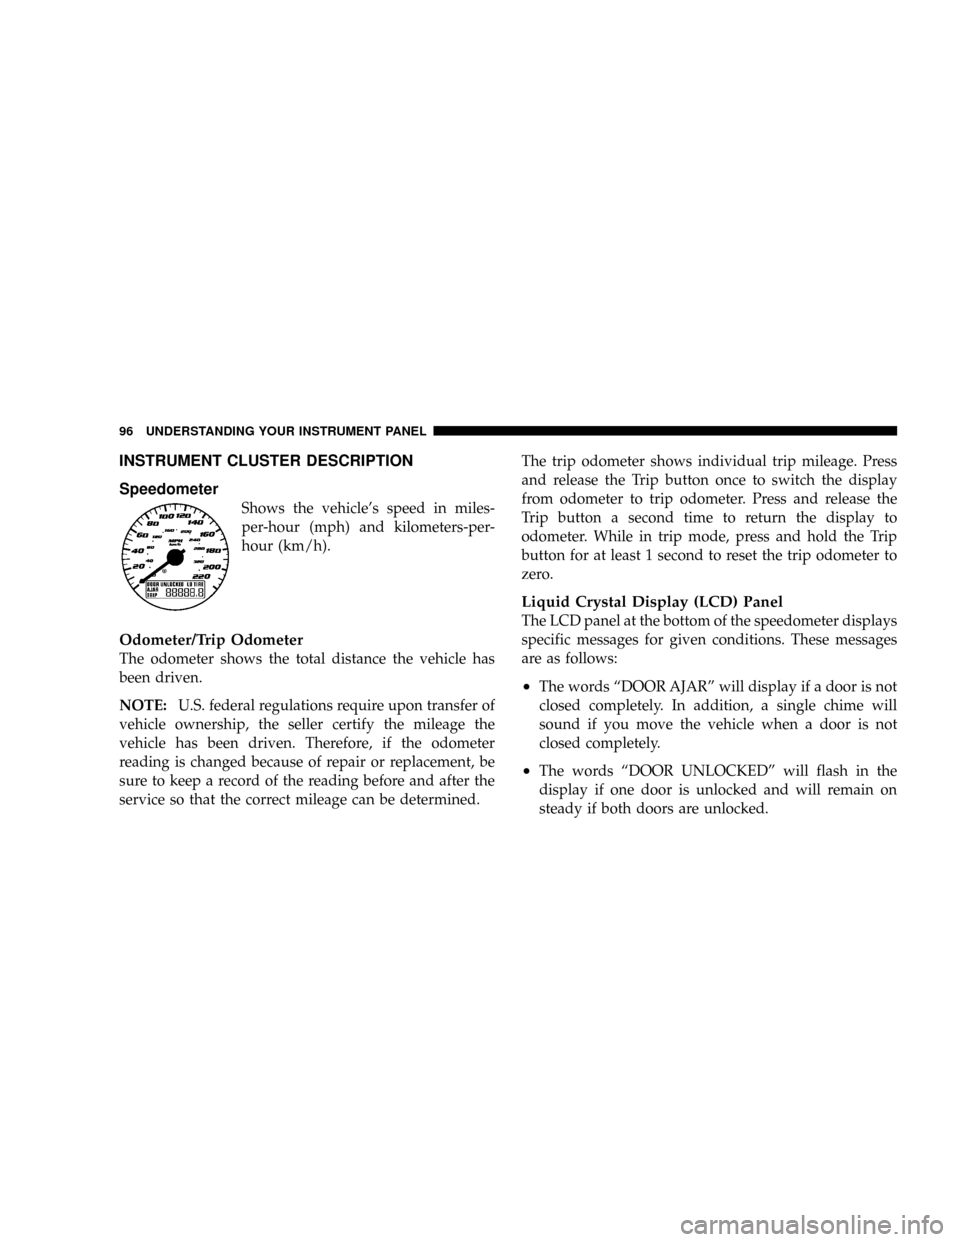
Speedometer
Shows the vehicle's speed in miles-
per-hour (mph) and kilometers-per-
hour (km/h).
Odometer/Trip Odometer
The odometer shows the total distance the vehicle has
been driven.
NOTE:U.S. federal regulations require upon transfer of
vehicle ownership, the seller certify the mileage the
vehicle has been driven. Therefore, if the odometer
reading is changed because of repair or replacement, be
sure to keep a record of the reading before and after the
service so that the correct mileage can be determined.The trip odometer shows individual trip mileage. Press
and release the Trip button once to switch the display
from odometer to trip odometer. Press and release the
Trip button a second time to return the display to
odometer. While in trip mode, press and hold the Trip
button for at least 1 second to reset the trip odometer to
zero.
Liquid Crystal Display (LCD) Panel
The LCD panel at the bottom of the speedometer displays
specific messages for given conditions. These messages
are as follows:
²The words ªDOOR AJARº will display if a door is not
closed completely. In addition, a single chime will
sound if you move the vehicle when a door is not
closed completely.
²The words ªDOOR UNLOCKEDº will flash in the
display if one door is unlocked and will remain on
steady if both doors are unlocked.
96 UNDERSTANDING YOUR INSTRUMENT PANEL
Page 99 of 303

standard non-anti-lock brakes. If this occurs, safely bring
the vehicle to a complete stop as soon as possible and
cycle the ignition key to attempt to reset the ABS. If the
light remains on, see your authorized dealer immediately
to have the system serviced. Furthermore, if the red
BRAKE warning light and the amber ABS warning light
are on, and the parking brake is fully released, see your
authorized dealer immediately. (See page 147 for more
information.)
WARNING!
If the ABS and/or Brake Warning lights illuminate,
please seek service immediately! Your vehicle will
have diminished braking capability and control if ABS
and/or service brake systems are not working properly.
Have your brake system serviced immediately.
Malfunction Indicator Light
This light is part of an onboard diagnostic
system called OBD. The OBD system monitors
engine control systems. The light will turn on
when the key is in the ON/RUN position
before engine start. If the light does not come on when
turning the key from OFF/LOCK to ON/RUN, have the
condition checked promptly.
Certain conditions such as a loose or missing gas cap,
poor fuel quality, etc. may illuminate the light after
engine start. The vehicle should be serviced if the light
remains on through several of your typical driving
cycles. In most situations, the vehicle will drive normally
and will not require towing.
The Malfunction Indicator Light flashes to alert you to
serious conditions that could lead to immediate loss of
power or severe catalytic converter damage. The vehicle
should be serviced as soon as possible if this occurs. (See
page 195 for more information.)
98 UNDERSTANDING YOUR INSTRUMENT PANEL
Page 111 of 303

no station is found with the selected PTY program type,
the radio will return to the last preset station.
If a preset button is activated while in the PTY (Program
Type) mode, the PTY mode will be exited and the radio
will tune to the preset station.
Mode
Press the MODE button to select between, AM, FM, CD,
CD/DVD changer or the Satellite Radio (if equipped).
When the Satellite Radio (if equipped) is selected ªSAº
will appear in your radio display.
A disc may remain in the radio while in the Satellite or
radio mode.
Seek
Press and release the SEEK button to search for the next
station in either the AM, FM or Satellite mode. Press the
top of the button to seek up and the bottom to seek down.
The radio will remain tuned to the new station until youmake another selection. Holding the button in will by-
pass stations without stopping until you release it.
Tuning
Press the TUNE control up or down to increase or
decrease the frequency. If you press and hold the button,
the radio will continue to tune until you release the
button. The frequency will be displayed and continu-
ously updated while the button is pressed.
Balance
The Balance control adjusts the left-to-right speaker bal-
ance. Press the AUDIO button, select BALANCE, then
press SEEK + or SEEK2to adjust the balance.
Fade
The Fade control provides for balance between the front
and rear speakers. Press the AUDIO button, select FADE,
then press SEEK + or SEEK2to adjust the fade balance.
110 UNDERSTANDING YOUR INSTRUMENT PANEL
Page 148 of 303

All vehicle wheels and tires must be the same size and
type as the original equipment and the tires must be
properly inflated to produce accurate signals for the
computer.
WARNING!
Significant over or under inflation of tires, or mixing
sizes of front or rear tires or wheels on the vehicle can
lead to loss of braking effectiveness.
Anti-Lock Brake Warning Light
The amber Anti-Lock Brake Warning Light will
turn on and stay on briefly as a bulb check
when the ignition is first turned on. If the light
does not turn on during starting, have it re-
paired promptly.This light also illuminates at vehicle start-up to indicate
that the ABS self-check is in process. If the light remains
on after start-up, or turns on and remains on at road
speeds, it may indicate a system malfunction or that the
system is inoperative. In this case, the system reverts to
standard non-anti-lock brakes. If this occurs, safely bring
the vehicle to a complete stop as soon as possible and
cycle the ignition key to attempt to reset the ABS. If the
light remains on, see your authorized dealer immediately
to have the system serviced. Furthermore, if the red
BRAKE warning light and the amber ABS warning light
are on, and the parking brake is fully released, see your
authorized dealer immediately.
STARTING AND OPERATING 147
5