door lock FIAT 124 SPIDER 2017 2.G Owner's Guide
[x] Cancel search | Manufacturer: FIAT, Model Year: 2017, Model line: 124 SPIDER, Model: FIAT 124 SPIDER 2017 2.GPages: 300, PDF Size: 121.24 MB
Page 156 of 300
DRIVE (D), and MANUAL (M)(+/–) shift
positions.
The transmission may be shifted freely
from REVERSE (R), to NEUTRAL (N), to
DRIVE (D), to MANUAL (M)(+/–).
Note:
Even if you intend to use the automatic
transmission functions as a traditional
automatic, you should also be aware
that you can inadvertently shift into
manual shift mode and an inappropriategear may be retained as the vehicle
speed increases. If you notice the
engine speed going higher or hear the
engine racing, confirm you have not
accidentally slipped into manual shift
mode (refer to “Manual Shift Mode”
paragraph in this section).
Shift Position Indication
The gear selector position PARK (P) is
indicated when the ignition is placed in
the ON mode.
Note:
If one of the following actions is
performed, the gear selector position is
displayed for five minutes even if the
ignition is placed in a mode other
than ON.
The ignition is placed in the OFF
mode.
The driver's door is opened.
Gear Position Indication
In MANUAL (M) shift mode, the “M” of
the shift position indication illuminates
and the number of the selected gear is
displayed.
Gear Selector Positions
The gear selector position indicator light
in the instrument cluster illuminates.
The gear selector must be in PARK (P)
or NEUTRAL (N) to operate the starter.
Park (P)
PARK (P) locks the transmission and
prevents the rear wheels from rotating.
Warning!
Never use the PARK position as a
substitute for the park brake. Always apply
the park brake fully when parked to guard
against vehicle movement and possible
injury or damage.
Your vehicle could move and injure you
and others if it is not in PARK. Check by
trying to move the gear selector out of
PARK with the brake pedal released. Make
sure the transmission is in PARK before
leaving the vehicle.
It is dangerous to shift out of PARK or
NEUTRAL if the engine speed is higher than
idle speed. If your foot is not firmly pressing
the brake pedal, the vehicle could accelerate
quickly forward or in reverse. You could lose
control of the vehicle and hit someone or
something. Only shift into gear when the
engine is idling normally and your foot is
firmly pressing the brake pedal.
Unintended movement of a vehicle
could injure those in or near the vehicle. As
with all vehicles, you should never exit a
vehicle while the engine is running. Before
exiting a vehicle, always apply the park
brake, shift the transmission into PARK,
and turn the ignition OFF. When the ignition
is in the OFF mode, the transmission is
locked in PARK, securing the vehicle
against unwanted movement.
When leaving the vehicle, always make
sure the ignition is in the OFF mode,
remove the key fob from the vehicle, and
lock the vehicle.
GUID-05210200LHD12AT001Gear Selector And Pattern
154
STARTING AND OPERATING
Page 177 of 300
Carbon Monoxide
Warnings
Warning!
Carbon monoxide (CO) in exhaust gases is
deadly. Follow the precautions below to
prevent carbon monoxide poisoning:
Do not inhale exhaust gases. They
contain carbon monoxide, a colorless and
odorless gas, which can kill. Never run the
engine in a closed area, such as a garage,
and never sit in a parked vehicle with the
engine running for an extended period. If
the vehicle is stopped in an open area with
the engine running for more than a short
period, adjust the ventilation system to
force fresh, outside air into the vehicle.
Guard against carbon monoxide with
proper maintenance. Have the exhaust
system inspected every time the vehicle is
raised. Have any abnormal conditions
repaired promptly. Until repaired, drive with
all side windows fully open.
Refueling Procedure
Fuel Filler Door
Note: Always use only a designated
FCA fuel filler cap or an approved
equivalent, available at your Authorized
Dealer. The wrong cap can result in a
serious malfunction of the fuel and
emission control systems.
When the fuel filler door end is pressed
with the doors unlocked, the fuel filler
door rises.
The fuel filler door operates in
conjunction with the door
locking/unlocking mechanism.
To close, press the fuel filler door until a
click sound is heard. Note:Make sure to lock both the doors
when leaving the vehicle.
Lock the doors after closing the fuel
filler door. If the fuel filler door is closed
after locking the doors, the fuel filler
door cannot be locked.
Fuel Filler Cap
To remove the fuel filler cap, turn it
counterclockwise. Attach the removed
cap to the inner side of the fuel filler
door.
To close the fuel filler cap, turn it
clockwise until a click is heard.
04040201-12A-002Fuel Filler Door04040202-12A-001-high.jpgFuel Filler Cap
175
Page 184 of 300
Observe the traction device
manufacturer’s instructions on the method
of installation, operating speed, and
conditions for use. Always use the
suggested operating speed of the device
manufacturer’s if it is less than 30 mph
(48 km/h).
Do not use traction devices on a
compact spare tire.
Driving In Flooded Area
Note: Do not drive the vehicle on
flooded roads as it could cause short
circuit of electrical/electronic parts, or
water enters the engine and causes it
to lock up (hydro-lock) and stall. If the
vehicle has been immersed in water
contact your Authorized Dealer.
Although your vehicle is capable of
driving through shallow standing water,
consider the following Cautions and
Warnings before doing so.
Warning!
Driving through standing water limits
your vehicle’s traction capabilities. Do not
exceed 5 mph (8 km/h) when driving
through standing water.
Driving through standing water limits
your vehicle’s braking capabilities, which
increases stopping distances. Therefore,
after driving through standing water, drive
slowly and lightly press on the brake pedal
several times to dry the brakes.
Failure to follow these warnings may
result in injuries that are serious or fatal to
you, your passengers, and others around
you.
Caution!
Always check the depth of the standing
water before driving through it. Never drive
through standing water that is deeper than
the bottom of the tire rims mounted on the
vehicle.
Determine the condition of the road or
the path that is under water and if there are
any obstacles in the way before driving
through the standing water.
Do not exceed 5 mph (8 km/h) when
driving through standing water. This will
minimize wave effects.
Driving through standing water may
cause damage to your vehicle’s drivetrain
components. Always inspect your vehicle’s
fluids (i.e., engine oil, transmission, axle,
etc.) for signs of contamination (i.e., fluid
that is milky or foamy in appearance) after
driving through standing water. Do not
continue to operate the vehicle if any fluid
appears contaminated, as this may result in
further damage. Such damage is not
covered by the New Vehicle Limited
Warranty.
Getting water inside your vehicle’s
engine can cause it to lock up and stall out,
and cause serious internal damage to the
engine. Such damage is not covered by
the New Vehicle Limited Warranty.
Overloading
Note: Be careful not to overload your
vehicle. The gross axle weight rating
(GAWR) and the gross vehicle weight
rating (GVWR) of the vehicle are on the
Motor Vehicle Safety Standard Label on
the driver's door frame. Exceeding
these ratings can cause an accident or
vehicle damage. You can estimate the
weight of the load by weighing the
items (or people) before putting them in
the vehicle.
182
STARTING AND OPERATING
Page 198 of 300
REPLACING FUSES
General Information
Warning!
When replacing a blown fuse, always
use an appropriate replacement fuse with
the same amp rating as the original fuse.
Never replace a fuse with another fuse of
higher amp rating. Never replace a blown
fuse with metal wires or any other material.
Failure to use proper fuses may result in
serious personal injury, fire and/or property
damage.
Before replacing a fuse, make sure that
the ignition is off and that all the other
services are switched off and/or
disengaged.
If the replaced fuse blows again, contact
an authorized dealer.
If a general protection fuse for safety
systems (air bag system, braking system),
power unit systems (engine system,
gearbox system) or steering system blows,
contact an authorized dealer.
Your vehicle's electrical system is
protected by fuses.
If any lights, accessories, or controls do
not work, inspect the appropriate circuit
protector. If a fuse has blown, the inside
element will be melted. If the same fuse
blows again, go to an Authorized Dealer
as soon as possible.
Fuse location
Fuses are grouped together in two fuse
boxes located in the interior on the left
side of the vehicle and under the hood.
Interior Fuses
If the electrical system does not work,
first inspect the fuses on the vehicle's
left side.
Proceed as follows:
1. Make sure the ignition is placed in
the OFF mode, and other switches are
turned off.
2. Open the fuse panel cover (located
near the door). 3. Press retaining clip and remove
protection cover.
4. Pull the fuse straight out with the
fuse puller provided on the fuse block
located in the engine compartment.
5. Inspect the fuse and replace it if it is
blown.
07031601-121-001Fuse Panel Cover
07031601-122-001Fuse Puller
196
IN CASE OF EMERGENCY
Page 201 of 300
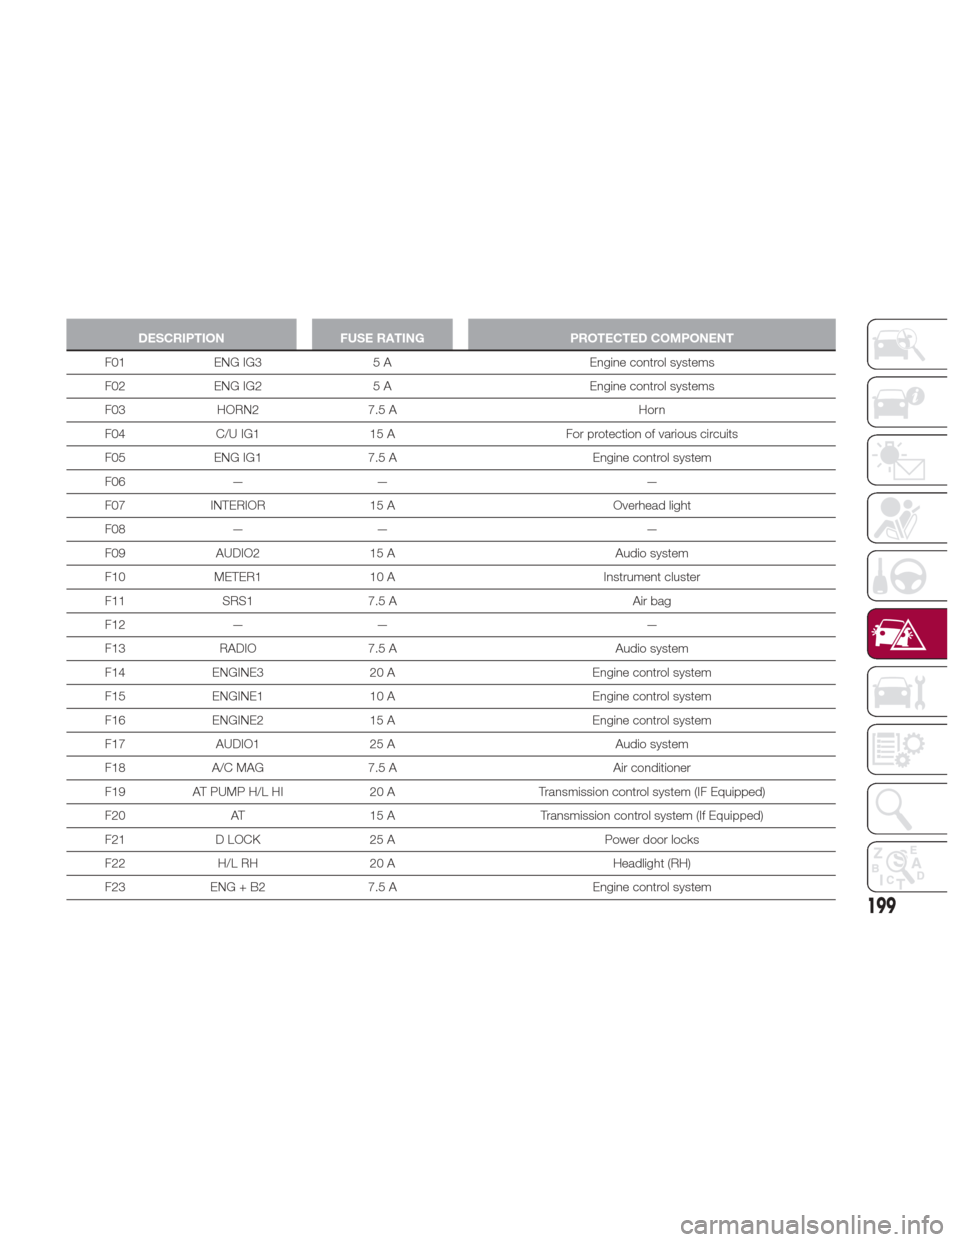
DESCRIPTIONFUSE RATING PROTECTED COMPONENT
F01 ENG IG3 5 A Engine control systems
F02
ENG IG2 5 A Engine control systems
F03 HORN2 7.5 A Horn
F04 C/U IG1 15 A For protection of various circuits
F05 ENG IG1 7.5 A Engine control system
F06 — — —
F07 INTERIOR 15 A Overhead light
F08 — — —
F09 AUDIO2 15 A Audio system
F10 METER1 10 A Instrument cluster
F11 SRS1 7.5 A Air bag
F12 — — —
F13 RADIO 7.5 A Audio system
F14 ENGINE3 20 A Engine control system
F15 ENGINE1 10 A Engine control system
F16 ENGINE2 15 A Engine control system
F17 AUDIO1 25 A Audio system
F18 A/C MAG 7.5 A Air conditioner
F19 AT PUMP H/L HI 20 ATransmission control system (IF Equipped)
F20 AT 15 A Transmission control system (If Equipped)
F21 D LOCK 25 A Power door locks
F22 H/L RH 20 A Headlight (RH)
F23 ENG + B2 7.5 A Engine control system
199
Page 219 of 300
13. Reinsert the valve core into the
valve and turn it clockwise to install.
Note:
The tire sealant cannot be reused.
If the tire sealant kit has been used, or
is expired, purchase new one at an
Authorized Dealer.
Do not throw away the empty tire
sealant bottle after use. Return the
empty tire sealant bottle to an
Authorized Dealer when replacing the
tire. The empty tire sealant bottle will
need to be used to extract and dispose
of the used sealant from the tire.
14. Install the injection hose to the tab
of the bottle to prevent leakage of any
remaining sealant.
15. Adhere the speed restriction sticker
to an area where it can be viewed easily
by the driver.
Warning!
Do not adhere the speed restriction sticker
to the padded area on the steering wheel.
Adhering the speed restriction sticker to
the padded area on the steering wheel is
dangerous because the air bag may not
operate (deploy) normally resulting in
serious injury. In addition, do not adhere
the sticker to areas where warning lights or
the speedometer cannot be viewed.
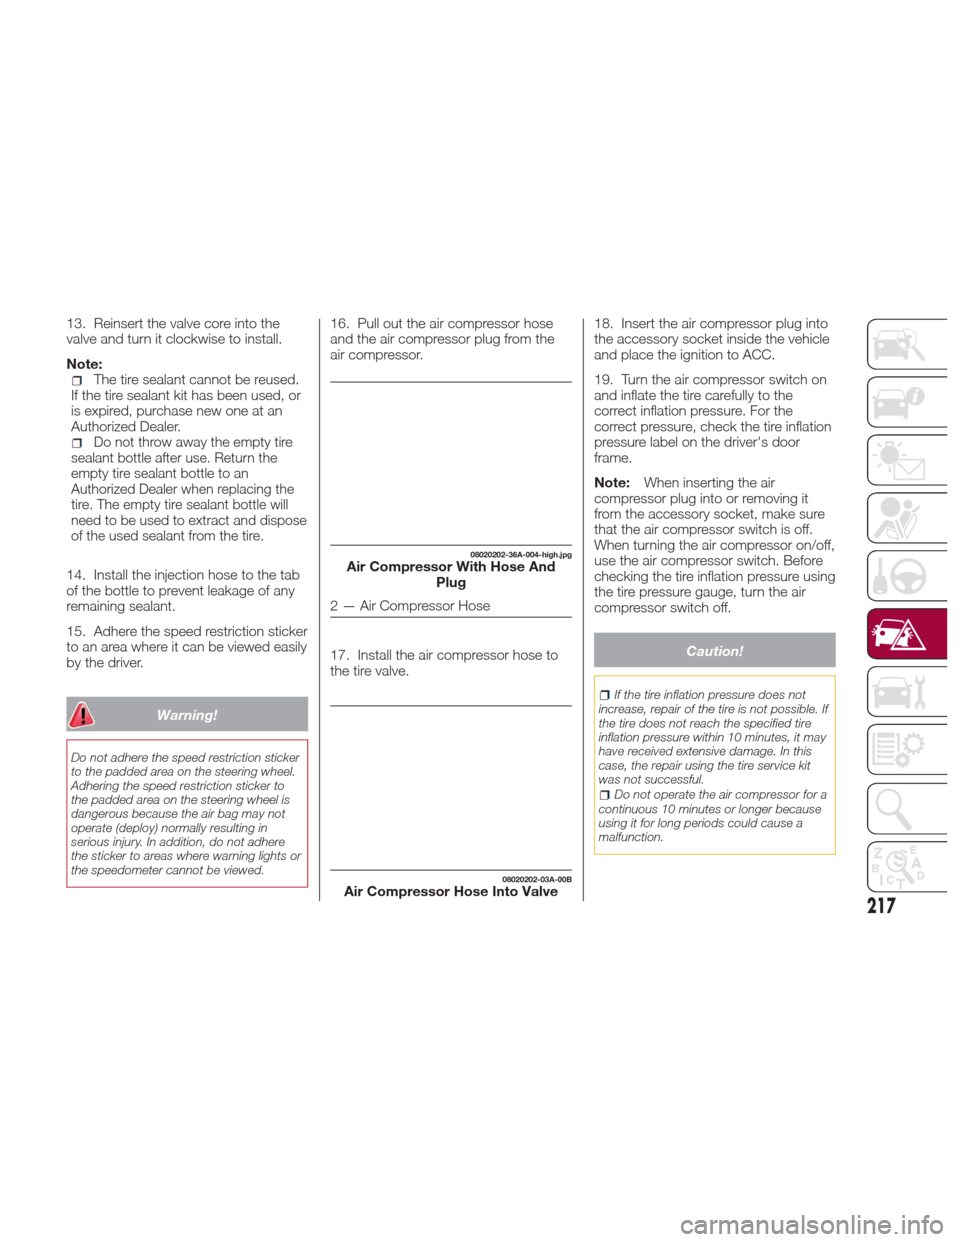
16. Pull out the air compressor hose
and the air compressor plug from the
air compressor.
17. Install the air compressor hose to
the tire valve. 18. Insert the air compressor plug into
the accessory socket inside the vehicle
and place the ignition to ACC.
19. Turn the air compressor switch on
and inflate the tire carefully to the
correct inflation pressure. For the
correct pressure, check the tire inflation
pressure label on the driver's door
frame.
Note:
When inserting the air
compressor plug into or removing it
from the accessory socket, make sure
that the air compressor switch is off.
When turning the air compressor on/off,
use the air compressor switch. Before
checking the tire inflation pressure using
the tire pressure gauge, turn the air
compressor switch off.
Caution!
If the tire inflation pressure does not
increase, repair of the tire is not possible. If
the tire does not reach the specified tire
inflation pressure within 10 minutes, it may
have received extensive damage. In this
case, the repair using the tire service kit
was not successful.
Do not operate the air compressor for a
continuous 10 minutes or longer because
using it for long periods could cause a
malfunction.
08020202-36A-004-high.jpgAir Compressor With Hose And Plug
2 — Air Compressor Hose
08020202-03A-00BAir Compressor Hose Into Valve
217
Page 228 of 300
At least twice a year (for example,
every spring and fall) perform
inspection of:
Engine coolant
Engine oil
As explained in the “Introduction”
paragraph, several procedures can be
done only by a qualified service
technician with special tools.
For details, read the separate Warranty
Booklet provided with the vehicle. If you
are unsure about any servicing or
maintenance procedure, have it done
by an Authorized Dealer.
There are strict environmental laws
regarding the disposal of waste oil and
fluids. Please dispose of your waste
properly and with due regard to the
environment.
We recommend that you entrust the oil
and fluid changes of your vehicle to an
Authorized Dealer.
Periodic Checks
Every 620 miles (1,000 km) or before
long trips check and, if necessary, top
off:
Engine coolant level.
Brake fluid level.
Windshield washer fluid level.
Tire inflation pressure and condition.
Operation of lighting system
(headlights, direction indicators, hazard
warning lights, etc.).
Operation of windshield
washer/wiper system and
positioning/wear of windshield wiper
blades.
Every 1860 miles (3,000 km) check
and top off the engine oil level if
required.
Heavy-Duty Use Of The
Vehicle
If the vehicle is used under one of the
following conditions:
Dusty roads.
Short, repeated trips less than 4.4 -
5 miles (7-8km)atsub -zero outside
temperatures.
Engine idling for long periods of time
or driving long distances at low speeds
or long periods of inactivity. The following checks must be carried
out more often than indicated in the
Scheduled Servicing Plan:
Check front disc brake pad condition
and wear.
Check cleanliness of underhood area
and all door and trunk locks, cleanliness
and lubrication of linkage.
Visually inspect conditions of the:
engine, transmission, lines and hoses
(exhaust/fuel system/brakes) and
rubber elements (hoses/belts/etc.).
Check battery charge and battery
fluid level.
Visually inspect conditions of the
accessory drive belts.
Check and, if necessary, change
engine oil and replace oil filter.
Check and, if necessary, replace
cabin air filter.
Check and, if necessary, replace air
cleaner.
Severe Duty All Models
Change Engine Oil at 4,000 miles
(6,500 km) if the vehicle is operated in a
dusty and off road environment or is
operated predominately at idle or only
very low engine RPM’s. This type of
vehicle use is considered Severe Duty.
226
SERVICING AND MAINTENANCE
Page 238 of 300
BATTERY
RECHARGING
BATTERY CHARGING
PROCEDURE
Warning!
Battery fluid is a corrosive acid solution
and can burn or even blind you. Do not
allow battery fluid to contact your eyes,
skin, or clothing. Do not lean over a battery
when attaching clamps. If acid splashes in
eyes or on skin, flush the area immediately
with large amounts of water. Refer to
“Jump-Starting” in “In Case Of Emergency”
for further information.
Battery gas is flammable and explosive.
Keep flame or sparks away from the
battery. Do not use a booster battery or
any other booster source with an output
greater than 12 Volts. Do not allow cable
clamps to touch each other.
Battery posts, terminals, and related
accessories contain lead and lead
compounds. Wash hands after handling.
Caution!
It is essential when replacing the cables
on the battery that the positive cable is
attached to the positive post and the
negative cable is attached to the negative
post. Battery posts are marked positive (+)
and negative (-) and are identified on the
battery case. Cable clamps should be tight
on the terminal posts and free of corrosion.
If a “fast charger” is used while the
battery is in the vehicle, disconnect both
vehicle battery cables before connecting
the charger to the battery. Do not use a
“fast charger” to provide starting voltage.
Charge battery as follows:
Before recharging the battery, turn off
all accessories and turn the engine off
by placing the ignition in the OFF mode.
Disconnect the negative battery cable.
Connect the charger cables to
the battery terminals, observing the
polarity (+,–).
Turn on the charger.
When finished, turn the charger off
before disconnecting the battery.
Reconnect the negative battery
terminal.
MAINTENANCE
PROCEDURES
The following pages contain
instructions on the required
maintenance from the technical
personnel who designed the vehicle.
In addition to these specific
maintenance instructions specified for
routine scheduled servicing, there are
other components which may require
periodic maintenance or replacement
over the vehicle’s life cycle.
Body Lubrication
Ensure that the locks and bodywork
junction points, including components
such as the seat guides, door hinges
(and rollers), trunk and hood are
periodically lubricated with lithium
based grease to ensure correct, silent
operation and to protect them from rust
and wear.
Thoroughly clean the components,
eliminating every trace of dirt and dust.
After lubricating, eliminate excess oil
and grease. Also pay particular
attention to the hood closing devices,
to ensure correct operation.
During operations on the hood, be sure
to perform with the engine cold, also
remember to check, clean and lubricate
the locking, release and safety devices.
Make sure the hood's secondary latch
keeps the hood from opening when the
primary latch is released.
236
SERVICING AND MAINTENANCE
Page 258 of 300
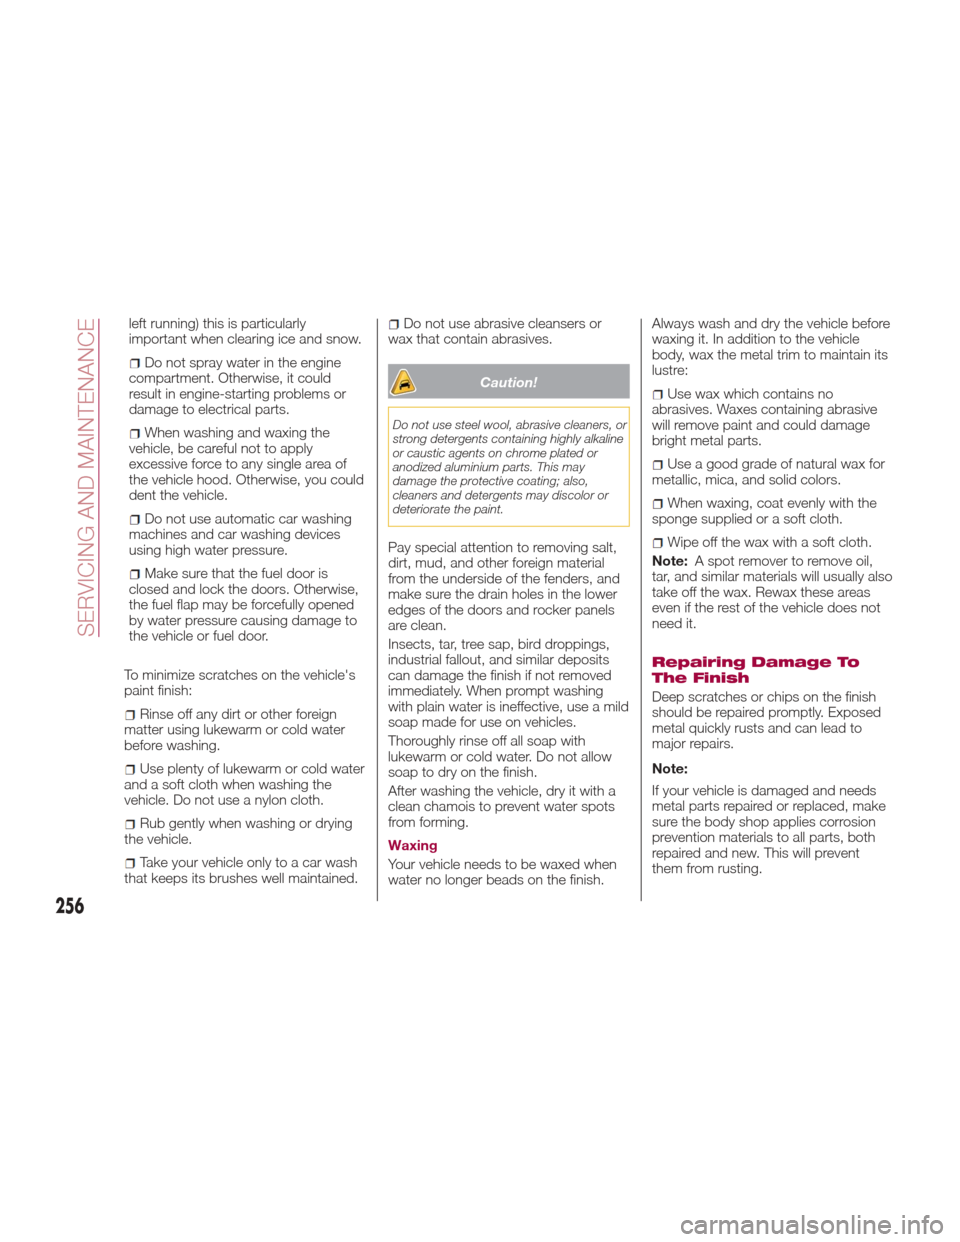
left running) this is particularly
important when clearing ice and snow.
Do not spray water in the engine
compartment. Otherwise, it could
result in engine-starting problems or
damage to electrical parts.
When washing and waxing the
vehicle, be careful not to apply
excessive force to any single area of
the vehicle hood. Otherwise, you could
dent the vehicle.
Do not use automatic car washing
machines and car washing devices
using high water pressure.
Make sure that the fuel door is
closed and lock the doors. Otherwise,
the fuel flap may be forcefully opened
by water pressure causing damage to
the vehicle or fuel door.
To minimize scratches on the vehicle's
paint finish:
Rinse off any dirt or other foreign
matter using lukewarm or cold water
before washing.
Use plenty of lukewarm or cold water
and a soft cloth when washing the
vehicle. Do not use a nylon cloth.
Rub gently when washing or drying
the vehicle.
Take your vehicle only to a car wash
that keeps its brushes well maintained.
Do not use abrasive cleansers or
wax that contain abrasives.
Caution!
Do not use steel wool, abrasive cleaners, or
strong detergents containing highly alkaline
or caustic agents on chrome plated or
anodized aluminium parts. This may
damage the protective coating; also,
cleaners and detergents may discolor or
deteriorate the paint.
Pay special attention to removing salt,
dirt, mud, and other foreign material
from the underside of the fenders, and
make sure the drain holes in the lower
edges of the doors and rocker panels
are clean.
Insects, tar, tree sap, bird droppings,
industrial fallout, and similar deposits
can damage the finish if not removed
immediately. When prompt washing
with plain water is ineffective, use a mild
soap made for use on vehicles.
Thoroughly rinse off all soap with
lukewarm or cold water. Do not allow
soap to dry on the finish.
After washing the vehicle, dry it with a
clean chamois to prevent water spots
from forming.
Waxing
Your vehicle needs to be waxed when
water no longer beads on the finish. Always wash and dry the vehicle before
waxing it. In addition to the vehicle
body, wax the metal trim to maintain its
lustre:
Use wax which contains no
abrasives. Waxes containing abrasive
will remove paint and could damage
bright metal parts.
Use a good grade of natural wax for
metallic, mica, and solid colors.
When waxing, coat evenly with the
sponge supplied or a soft cloth.
Wipe off the wax with a soft cloth.
Note: A spot remover to remove oil,
tar, and similar materials will usually also
take off the wax. Rewax these areas
even if the rest of the vehicle does not
need it.
Repairing Damage To
The Finish
Deep scratches or chips on the finish
should be repaired promptly. Exposed
metal quickly rusts and can lead to
major repairs.
Note:
If your vehicle is damaged and needs
metal parts repaired or replaced, make
sure the body shop applies corrosion
prevention materials to all parts, both
repaired and new. This will prevent
them from rusting.
256
SERVICING AND MAINTENANCE
Page 288 of 300
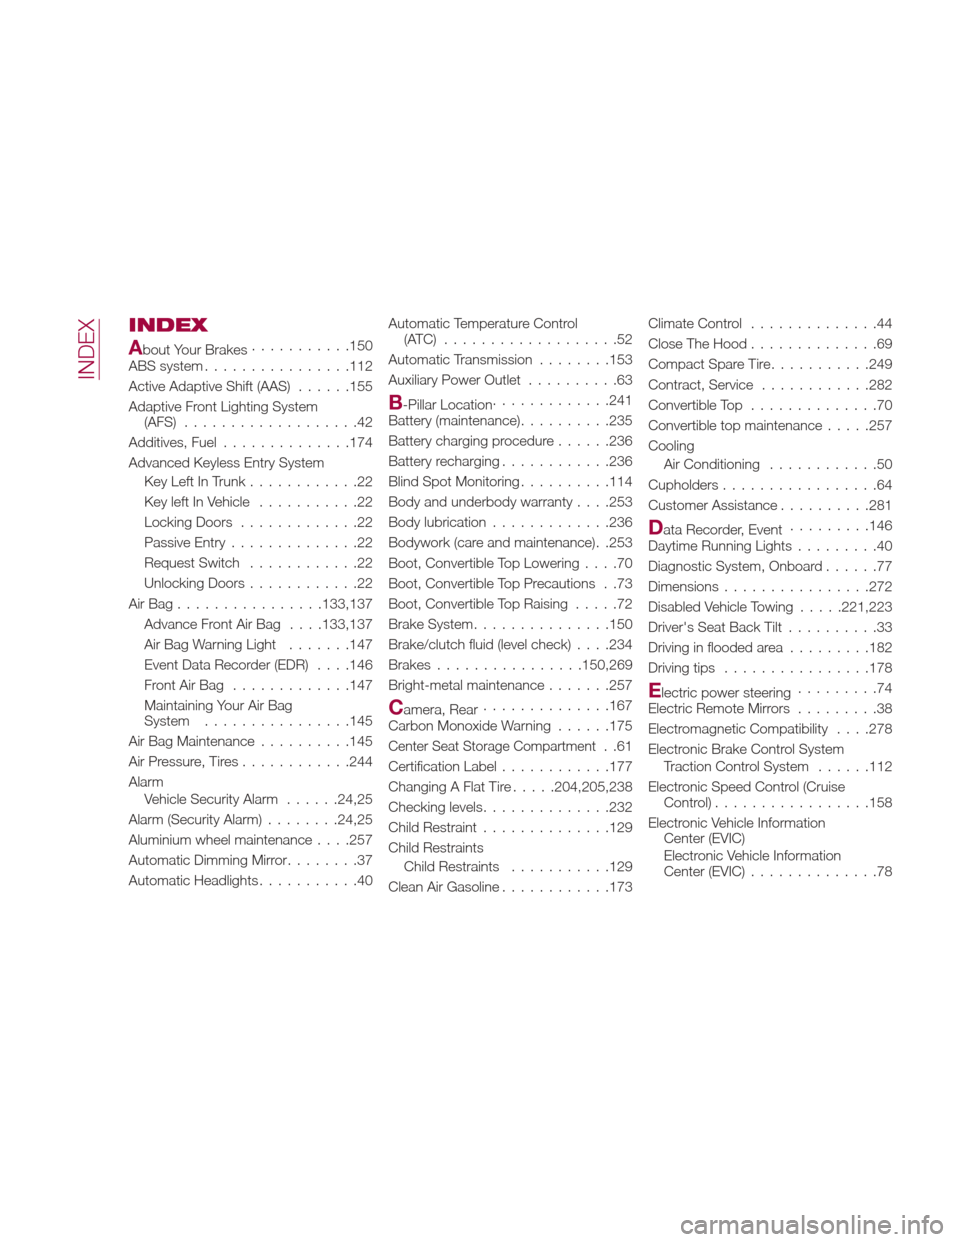
INDEX
About Your Brakes...........150
ABS system ............... .112
Active Adaptive Shift (AAS) ......155
Adaptive Front Lighting System (AFS) ...................42
Additives, Fuel ..............174
Advanced Keyless Entry System Key Left In Trunk ............22
Key left In Vehicle ...........22
Locking Doors .............22
Passive Entry ..............22
Request Switch ............22
Unlocking Doors ............22
AirBag............... .133,137
Advance Front Air Bag . . . .133,137
Air Bag Warning Light .......147
Event Data Recorder (EDR) . . . .146
FrontAirBag ............ .147
Maintaining Your Air Bag
System ............... .145
Air Bag Maintenance ..........145
Air Pressure, Tires ............244
Alarm Vehicle Security Alarm ......24,25
Alarm (Security Alarm) ........24,25
Aluminium wheel maintenance . . . .257
Automatic Dimming Mirror ........37
Automatic Headlights ...........40Automatic Temperature Control
(ATC) ...................52
Automatic Transmission ........153
Auxiliary Power Outlet ..........63
B-Pillar Location.............241
Battery (maintenance) ..........235
Battery charging procedure ......236
Battery recharging ............236
Blind Spot Monitoring ..........114
Body and underbody warranty . . . .253
Body lubrication .............236
Bodywork (care and maintenance). .253
Boot, Convertible Top Lowering ....70
Boot, Convertible Top Precautions . .73
Boot, Convertible Top Raising .....72
Brake System ...............150
Brake/clutch fluid (level check) . . . .234
Brakes ............... .150,269
Bright-metal maintenance .......257
Camera, Rear..............167
Carbon Monoxide Warning ......175
Center Seat Storage Compartment. .61
Certification Label ............177
Changing A Flat Tire .....204,205,238
Checking levels ..............232
Child Restraint ..............129
Child Restraints Child Restraints ...........129
Clean Air Gasoline ............173 Climate Control
..............44
Close The Hood ..............69
Compact Spare Tire ...........249
Contract, Service ............282
Convertible Top ..............70
Convertible top maintenance .....257
Cooling Air Conditioning ............50
Cupholders .................64
Customer Assistance ..........281
Data Recorder, Event.........146
Daytime Running Lights .........40
Diagnostic System, Onboard ......77
Dimensions ............... .272
Disabled Vehicle Towing .....221,223
Driver's Seat Back Tilt ..........33
Driving in flooded area .........182
Driving tips ............... .178
Electric power steering.........74
Electric Remote Mirrors .........38
Electromagnetic Compatibility . . . .278
Electronic Brake Control System Traction Control System ......112
Electronic Speed Control (Cruise Control) ................ .158
Electronic Vehicle Information Center (EVIC)
Electronic Vehicle Information
Center (EVIC) ..............78
INDEX