FIAT 500E 2013 2.G Owner's Guide
Manufacturer: FIAT, Model Year: 2013, Model line: 500E, Model: FIAT 500E 2013 2.GPages: 350, PDF Size: 2.49 MB
Page 31 of 350
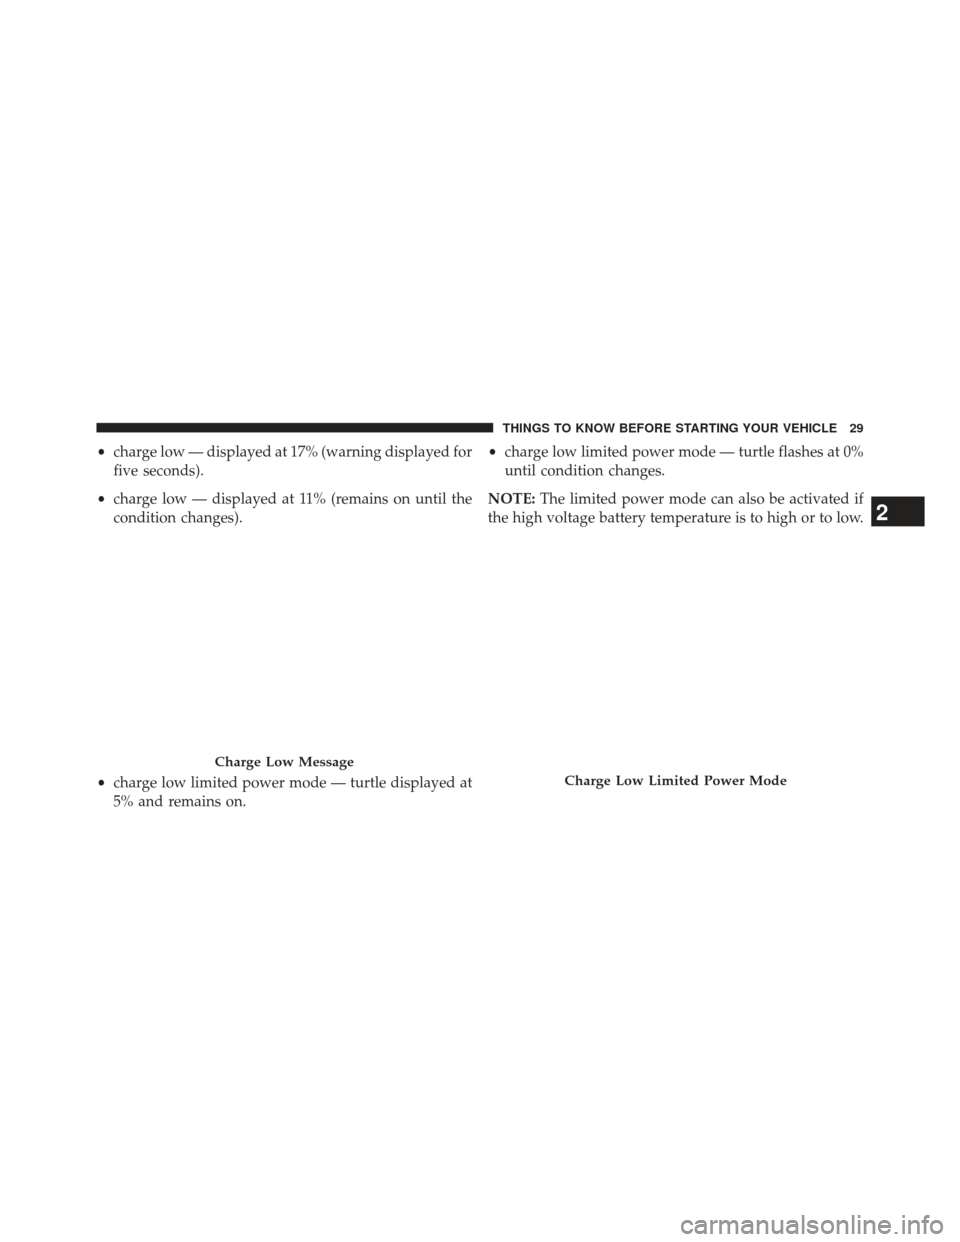
•charge low — displayed at 17% (warning displayed for
five seconds).
• charge low — displayed at 11% (remains on until the
condition changes).
• charge low limited power mode — turtle displayed at
5% and remains on. •
charge low limited power mode — turtle flashes at 0%
until condition changes.
NOTE: The limited power mode can also be activated if
the high voltage battery temperature is to high or to low.
Charge Low Message
Charge Low Limited Power Mode
2
THINGS TO KNOW BEFORE STARTING YOUR VEHICLE 29
Page 32 of 350
NOTE:At 0% state of charge or below the following
features will be disabled if in use:
• Heated Seats
• Electronic Speed Control
• Climate Controls
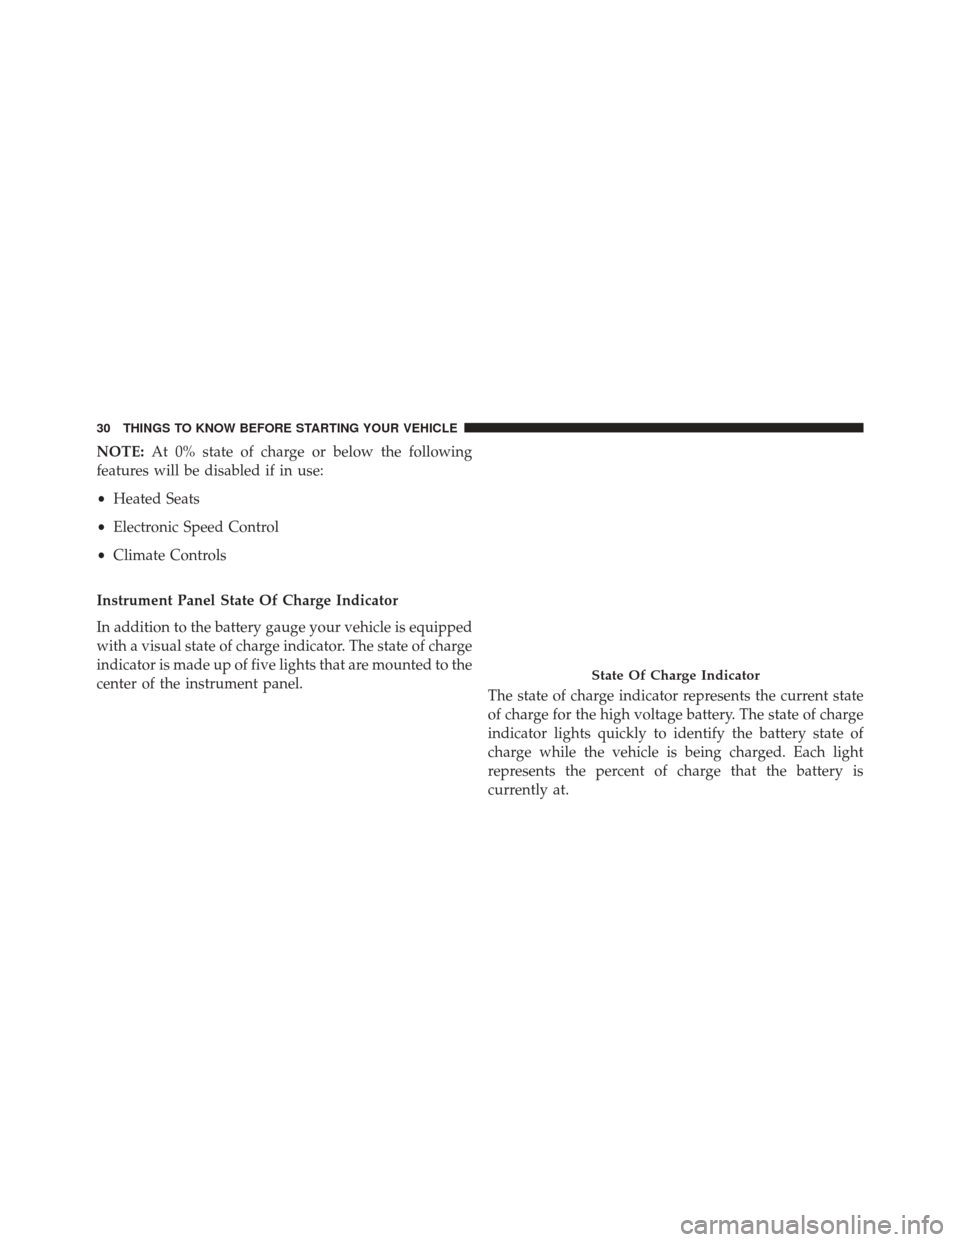
Instrument Panel State Of Charge Indicator
In addition to the battery gauge your vehicle is equipped
with a visual state of charge indicator. The state of charge
indicator is made up of five lights that are mounted to the
center of the instrument panel. The state of charge indicator represents the current state
of charge for the high voltage battery. The state of charge
indicator lights quickly to identify the battery state of
charge while the vehicle is being charged. Each light
represents the percent of charge that the battery is
currently at.
State Of Charge Indicator
30 THINGS TO KNOW BEFORE STARTING YOUR VEHICLE
Page 33 of 350
NOTE:In the event of an error in the charging process
the outer two lights will blink.
Number Of Indicator Lights Illuminated Percent Of Battery
Charge
1 Light 0 – 20%
2 Lights 21 – 40%
3 Lights 41 – 60%
4 Lights 61 – 80%
5 Lights 81 – 100%
A WORD ABOUT YOUR KEYS
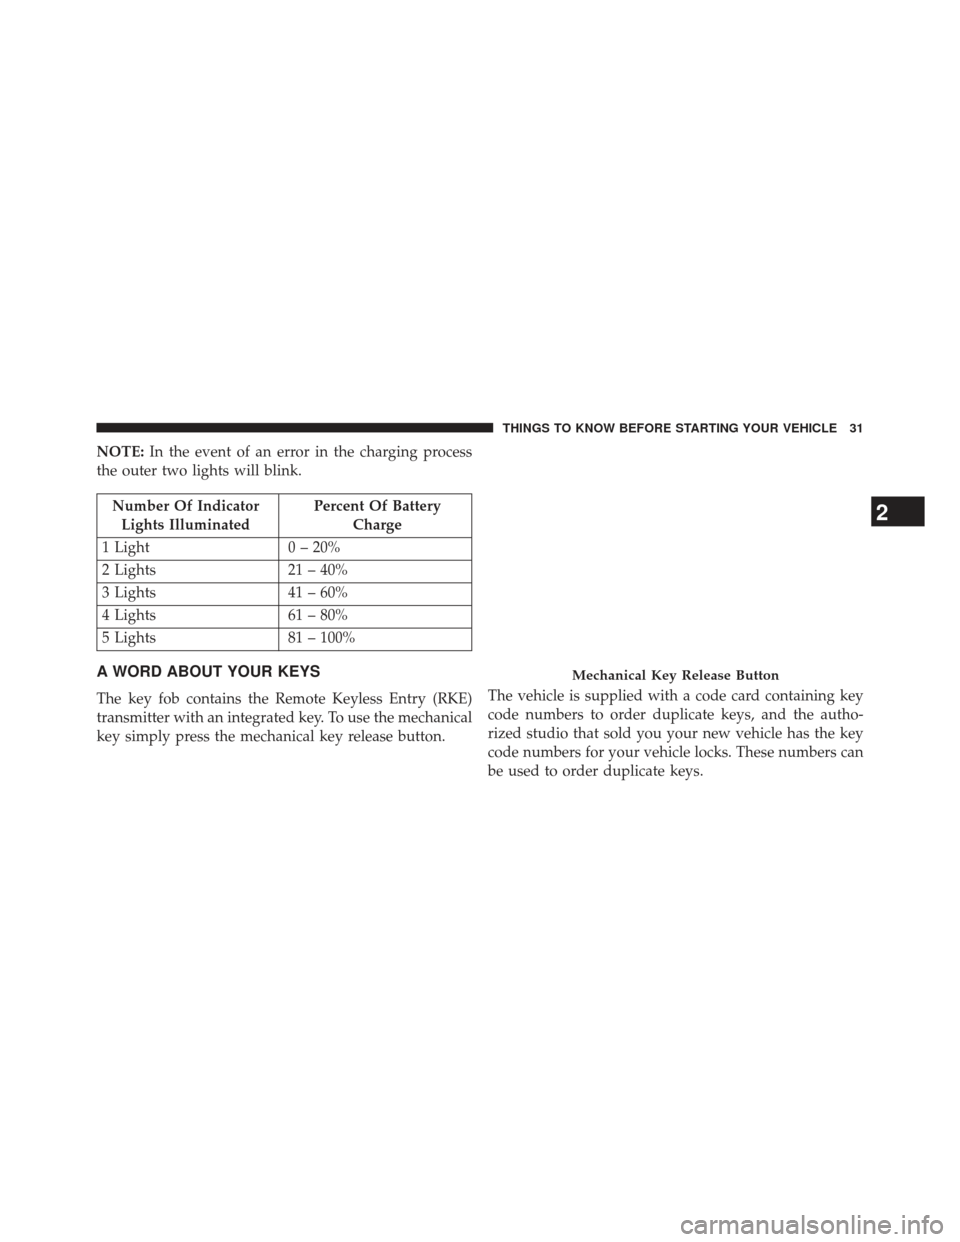
The key fob contains the Remote Keyless Entry (RKE)
transmitter with an integrated key. To use the mechanical
key simply press the mechanical key release button. The vehicle is supplied with a code card containing key
code numbers to order duplicate keys, and the autho-
rized studio that sold you your new vehicle has the key
code numbers for your vehicle locks. These numbers can
be used to order duplicate keys.
Mechanical Key Release Button
2
THINGS TO KNOW BEFORE STARTING YOUR VEHICLE 31
Page 34 of 350
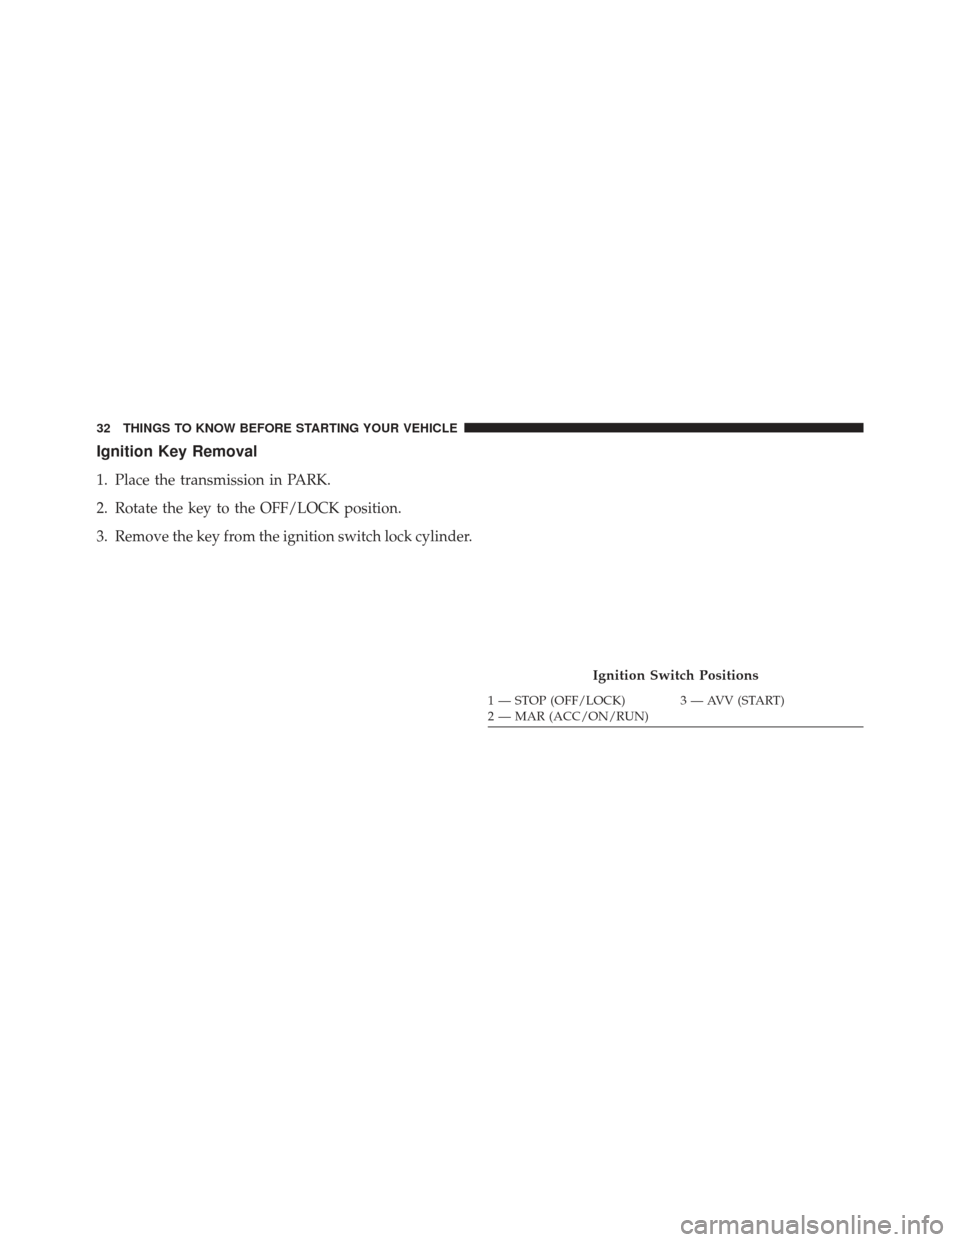
Ignition Key Removal
1. Place the transmission in PARK.
2. Rotate the key to the OFF/LOCK position.
3. Remove the key from the ignition switch lock cylinder.
Ignition Switch Positions
1 — STOP (OFF/LOCK) 3 — AVV (START)
2 — MAR (ACC/ON/RUN)
32 THINGS TO KNOW BEFORE STARTING YOUR VEHICLE
Page 35 of 350
WARNING!
Before exiting a vehicle, always apply the parking
brake, place the transmission into PARK, and remove
the Key Fob from the ignition. When leaving the
vehicle, always lock your vehicle.
Never leave children alone in a vehicle, or with
access to an unlocked vehicle.
Allowing children to be in a vehicle unattended is
dangerous for a number of reasons. A child or others
could be seriously or fatally injured. Children should
be warned not to touch the parking brake, brake
pedal or the transmission shift buttons.
Do not leave the Key Fob in or near the vehicle, or in
a location accessible to children. A child could oper-
ate power windows, other controls, or move the
vehicle.
(Continued)
WARNING!(Continued)
Do not leave children or animals inside parked
vehicles in hot weather. Interior heat build-up may
cause serious injury or death.
CAUTION!
An unlocked car is an invitation to thieves. Always
remove the key from the ignition and lock all the
doors when leaving the vehicle unattended.
Locking Doors With A Key
You can insert the key with either side up. To lock the
door, turn the key to the right. To unlock the door, turn
the key to the left. Refer to “Body Lubrication” in
“Maintaining Your Vehicle” for maintenance informa-
tion.
2
THINGS TO KNOW BEFORE STARTING YOUR VEHICLE 33
Page 36 of 350
Key-In-Ignition Reminder
Opening the driver’s door when the key is in the ignition
and the ignition switch position is OFF/LOCK, sounds a
signal to remove the key.
SENTRY KEY®
The Sentry Key® Immobilizer System prevents unau-
thorized vehicle operation by disabling the starting sys-
tem. The system does not need to be armed or activated.
Operation is automatic, regardless of whether the vehicle
is locked or unlocked.
The system uses ignition keys which have an embedded
electronic chip (transponder) to prevent unauthorized
vehicle operation. Therefore, only keys that are pro-
grammed to the vehicle can be used to start and operate
the vehicle.NOTE:
A key which has not been programmed is also
considered an invalid key, even if it is cut to fit the
ignition switch lock cylinder for that vehicle.
If the Vehicle Security Light is on after the key is turned
to the ON/RUN position, it indicates that there is a
problem with the electronics.
CAUTION!
• Always remove the Sentry Key® from the vehicle
and lock all doors when leaving the vehicle unat-
tended.
• The Sentry Key® Immobilizer system is not com-
patible with some aftermarket remote starting sys-
tems. Use of these systems may result in vehicle
starting problems and loss of security protection.
All of the keys provided with your new vehicle have
been programmed to the vehicle electronics.
34 THINGS TO KNOW BEFORE STARTING YOUR VEHICLE
Page 37 of 350
Replacement Keys
NOTE:Only keys that have been programmed to the
vehicle electronics can be used to start the vehicle. Once
a Sentry Key® has been programmed to a vehicle, it
cannot be programmed to any other vehicle.
At the time of purchase, the original owner is provided
with a four-digit Personal Identification Number (PIN).
This PIN is required for authorized studio replacement of
keys. Duplication of keys may be performed at an
authorized studio. This procedure consists of program-
ming a blank key to the vehicle electronics. A blank key
is one which has never been programmed.
NOTE: When having the Sentry Key® Immobilizer
System serviced, bring all vehicle keys with you to an
authorized studio.
General Information
The Sentry Key® system complies with FCC rules part 15
and with RSS-210 of Industry Canada. Operation is
subject to the following conditions:
• This device may not cause harmful interference.
• This device must accept any interference that may be
received, including interference that may cause unde-
sired operation.
NOTE: Changes or modifications not expressly approved
by the party responsible for compliance could void the
user’s authority to operate the equipment.
2
THINGS TO KNOW BEFORE STARTING YOUR VEHICLE 35
Page 38 of 350
REMOTE KEYLESS ENTRY (RKE) — IF
EQUIPPED
This system allows you to lock or unlock the doors and
liftgate from distances up to approximately 66 ft (20 m)
using a hand-held Remote Keyless Entry (RKE) transmit-
ter. The RKE transmitter does not need to be pointed at
the vehicle to activate the system.NOTE:
The line of transmission must not be blocked
with metal objects.To Unlock The Doors And Liftgate
Press and release the UNLOCK button on the RKE
transmitter once to unlock the driver ’s door or twice,
within five seconds, to unlock all doors and the liftgate.
The turn signal lights will flash to acknowledge the
unlock signal. The illuminated entry system will also
turn on.
Remote Key Unlock, Driver Door/All Doors 1st
Press
This feature lets you program the system to unlock either
the driver ’s door or all doors on the first press of the
UNLOCK button on the RKE transmitter. To change the
current setting, refer to “Personal Settings (Customer-
Programmable Features)” in “Understanding Your In-
strument Panel” for further information.
Remote Keyless Entry Transmitter With Mechanical Key
Release Button
36 THINGS TO KNOW BEFORE STARTING YOUR VEHICLE
Page 39 of 350
To Lock The Doors And Liftgate
Press and release the LOCK button on the RKE transmit-
ter to lock all doors and the liftgate. The turn signal lights
will flash and the horn will chirp to acknowledge the
signal. If a door is ajar the turn signal lights will flash at
an increased rate and there will be no horn chirp, this is
to indicate that a door is still ajar.
Programming Additional Transmitters
Refer to Sentry Key® “Customer Key Programming.”
If you do not have a programmed RKE transmitter,
contact your authorized studio for details.
General Information
This device complies with Part 15 of FCC rules and with
RS-210 of Industry Canada. Operation is subject to the
following conditions:
1. This device may not cause harmful interference.2. This device must accept any interference that may be
received including interference that may cause unde-
sired operation.
NOTE: Changes or modifications not expressly ap-
proved by the party responsible for compliance could
void the user’s authority to operate the equipment.
If your RKE transmitter fails to operate from a normal
distance, check for these two conditions:
1. Weak battery in RKE transmitter. The expected life of the battery is from one to two years.
2. Closeness to a radio transmitter such as a radio station tower, airport transmitter, and some mobile or CB
radios.Transmitter Battery Replacement
NOTE: Perchlorate Material – special handling may ap-
ply. See www.dtsc.ca.gov/hazardouswaste/perchlorate
2
THINGS TO KNOW BEFORE STARTING YOUR VEHICLE 37
Page 40 of 350
The recommended replacement battery is CR2032.
1. Press the mechanical key release button and releasethe mechanical key to access the battery case screw
located on the side of the Key Fob. 2. Rotate the screw located on the side of the Key Fob
using a small screwdriver.
Mechanical Key Release Button
Key Fob Screw Location
38 THINGS TO KNOW BEFORE STARTING YOUR VEHICLE