FIAT 500X 2014 2.G Owners Manual
500X 2014 2.G
FIAT
FIAT
https://www.carmanualsonline.info/img/10/4525/w960_4525-0.png
FIAT 500X 2014 2.G Owners Manual
Trending: brake pads, child restraint, towing capacity, wiper size, gas mileage, automatic transmission, rims
Page 291 of 476
HAZARD WARNING FLASHERS
The Hazard Warning flasher switch is located on the
switch bank below the radio.Push the switch to turn on the Hazard Warning
Flasher. When the switch is activated, all direc-
tional turn signals will flash on and off to warn oncom-
ing traffic of an emergency. Push the switch a second
time to turn off the Hazard Warning flashers.
This is an emergency warning system and it should not
be used when the vehicle is in motion. Use it when your
vehicle is disabled and it is creating a safety hazard for
other motorists.
When you must leave the vehicle to seek assistance, the
Hazard Warning flashers will continue to operate even
though the ignition is placed in OFF mode.
NOTE: With extended use the Hazard Warning flashers
may wear down your battery.
BULB REPLACEMENT
General Information
• Before you replace a bulb, check the contacts to be
sure they are not oxidized.
• Replace the bulbs with the same type and wattage.
• After replacing a light bulb, always check the correct
orientation.
• Before replacing a bulb that is not functioning, check
that the fuse is intact.
NOTE: Lens fogging can occur under certain atmo-
spheric conditions. This will usually clear as atmo-
spheric conditions change to allow the condensation to
change back into a vapor. Turning the lamps on will
usually accelerate the clearing process.
8
IN CASE OF EMERGENCY 289
Page 292 of 476
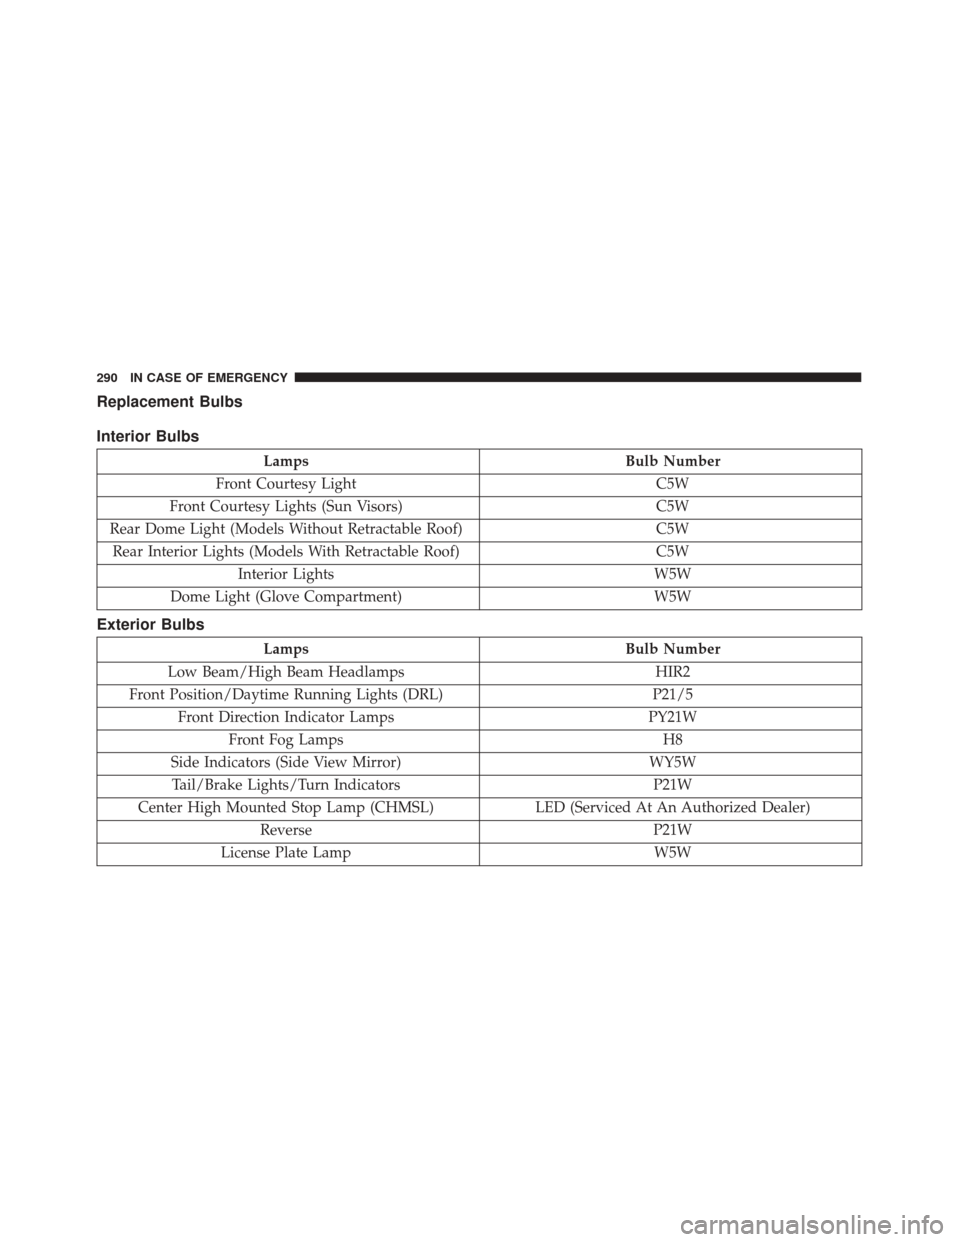
Replacement Bulbs
Interior Bulbs
LampsBulb Number
Front Courtesy Light C5W
Front Courtesy Lights (Sun Visors) C5W
Rear Dome Light (Models Without Retractable Roof) C5W
Rear Interior Lights (Models With Retractable Roof) C5W
Interior Lights W5W
Dome Light (Glove Compartment) W5W
Exterior Bulbs
LampsBulb Number
Low Beam/High Beam Headlamps HIR2
Front Position/Daytime Running Lights (DRL) P21/5
Front Direction Indicator Lamps PY21W
Front Fog Lamps H8
Side Indicators (Side View Mirror) WY5W
Tail/Brake Lights/Turn Indicators P21W
Center High Mounted Stop Lamp (CHMSL) LED (Serviced At An Authorized Dealer)
Reverse P21W
License Plate Lamp W5W
290 IN CASE OF EMERGENCY
Page 293 of 476
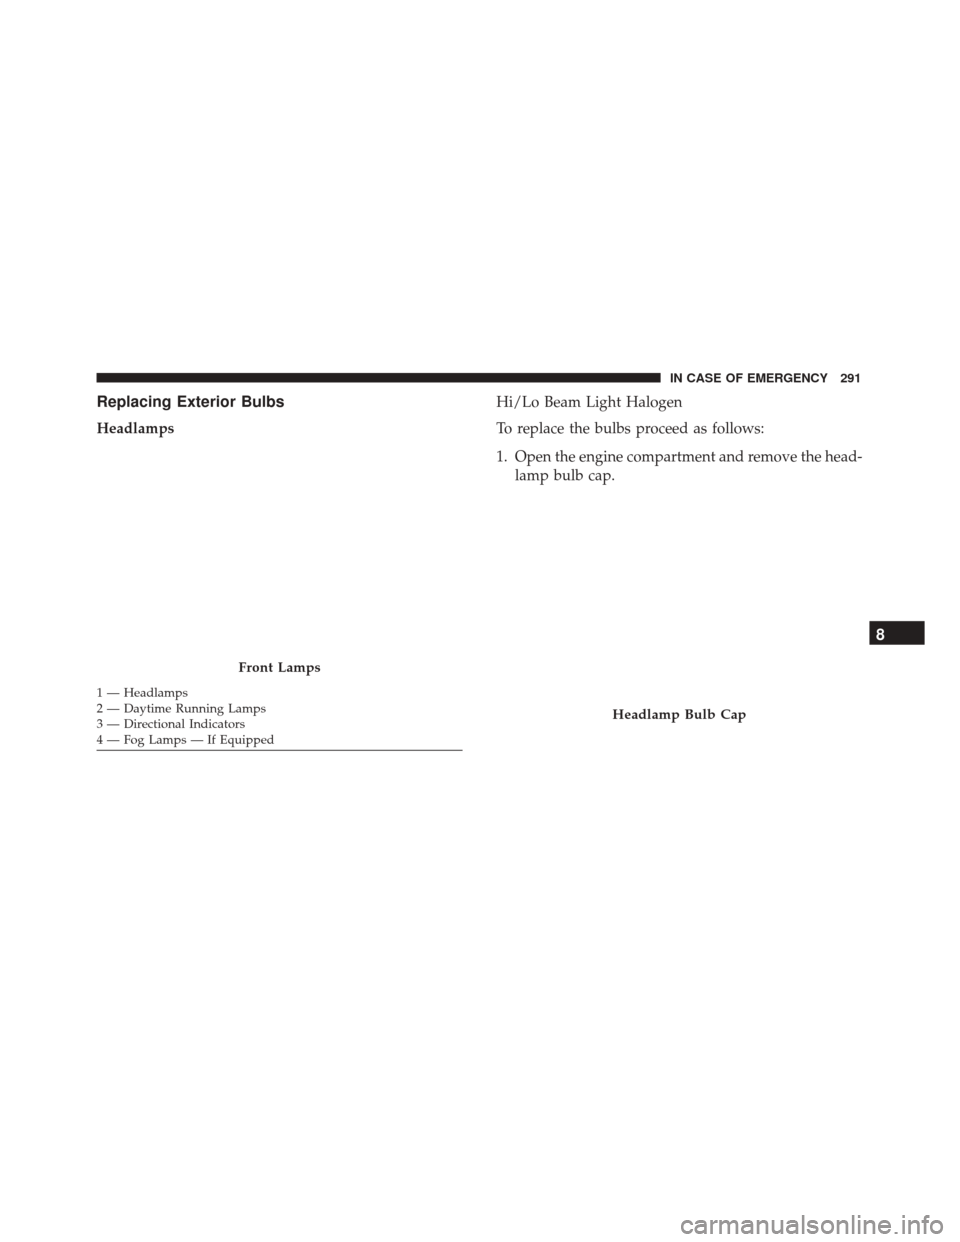
Replacing Exterior Bulbs
HeadlampsHi/Lo Beam Light Halogen
To replace the bulbs proceed as follows:
1. Open the engine compartment and remove the head-
lamp bulb cap.
Front Lamps
1 — Headlamps
2 — Daytime Running Lamps
3 — Directional Indicators
4 — Fog Lamps — If Equipped
Headlamp Bulb Cap
8
IN CASE OF EMERGENCY 291
Page 294 of 476
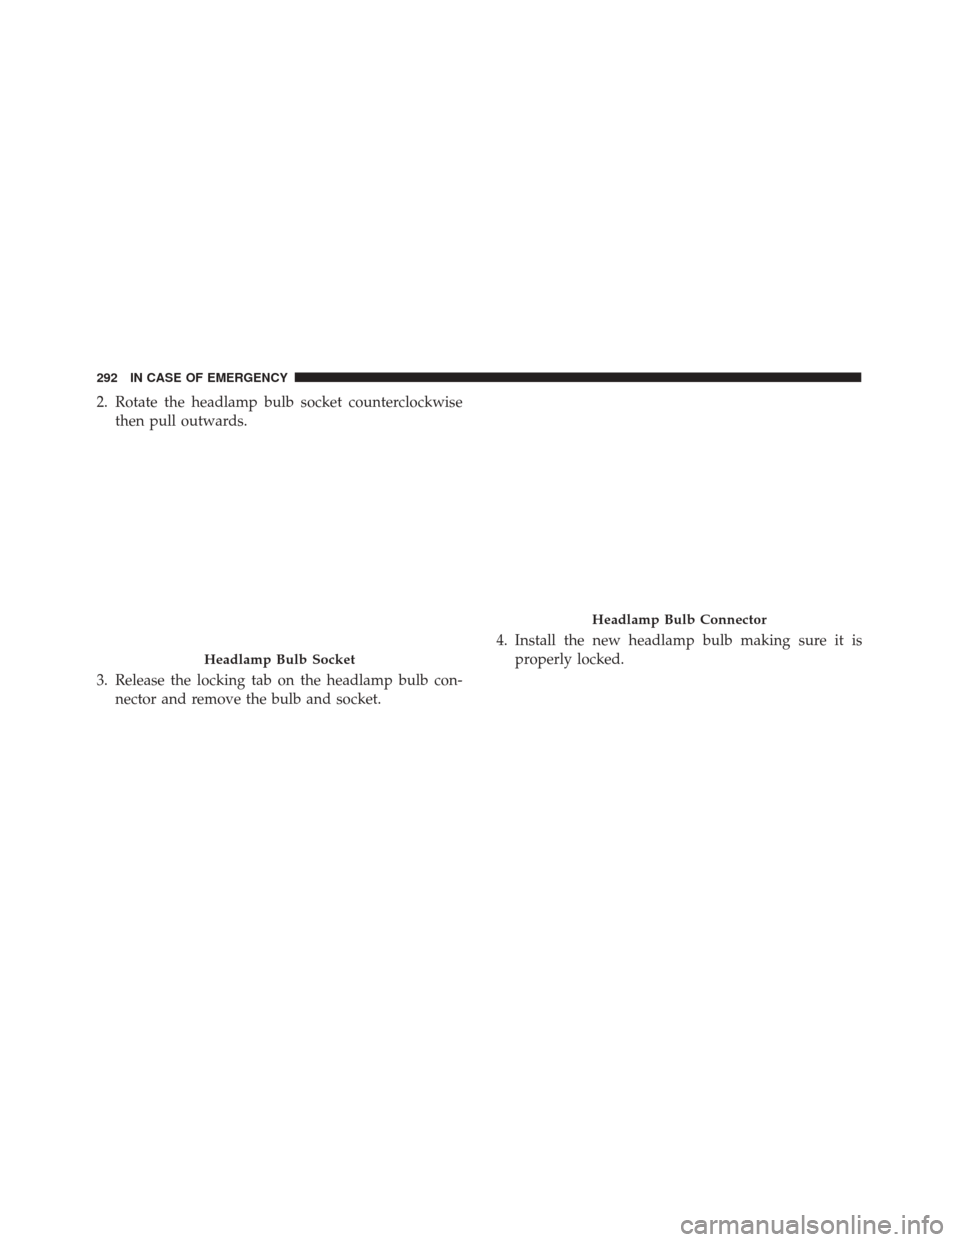
2. Rotate the headlamp bulb socket counterclockwisethen pull outwards.
3. Release the locking tab on the headlamp bulb con- nector and remove the bulb and socket. 4. Install the new headlamp bulb making sure it is
properly locked.
Headlamp Bulb Socket
Headlamp Bulb Connector
292 IN CASE OF EMERGENCY
Page 295 of 476
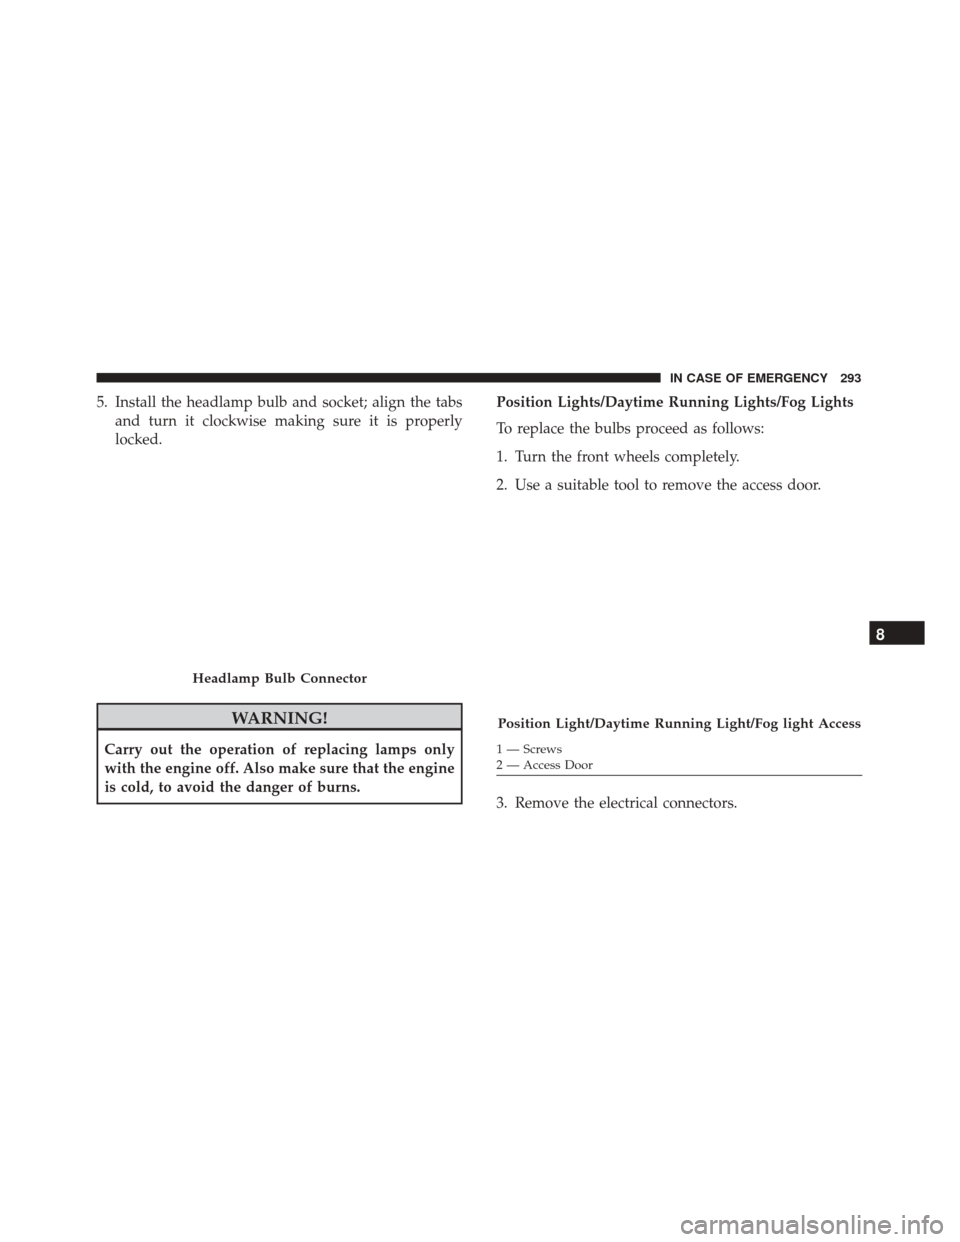
5. Install the headlamp bulb and socket; align the tabsand turn it clockwise making sure it is properly
locked.
WARNING!
Carry out the operation of replacing lamps only
with the engine off. Also make sure that the engine
is cold, to avoid the danger of burns. Position Lights/Daytime Running Lights/Fog Lights
To replace the bulbs proceed as follows:
1. Turn the front wheels completely.
2. Use a suitable tool to remove the access door.
3. Remove the electrical connectors.
Headlamp Bulb Connector
Position Light/Daytime Running Light/Fog light Access
1 — Screws
2 — Access Door
8
IN CASE OF EMERGENCY 293
Page 296 of 476
4. Rotate in a counterclockwise direction and removethe bulb and bulb socket.
5. To replace the bulb gently push bulb and rotate counterclockwise. 6. Insert the new bulb by pushing on it and turning it
clockwise. Make sure the bulb is correctly locked in
place.
7. Install the bulb and sockets and rotate them clock- wise, making sure that it is properly locked.
8. Reconnect the electrical connectors.
9. Reinstall the access door.
Position Light/Daytime Running Light Assembly
1 — DRL Bulb Socket
2 — Turn Signal Bulb Socket
Bulb and Socket Assembly
1 — Bulb
2 — Rotate Bulb
294 IN CASE OF EMERGENCY
Page 297 of 476
Front Fog Lights
To replace the bulbs proceed as follows:
1. Turn the front wheels completely.
2. Use a suitable tool to remove the access door.
3. By pushing the electrical connector tab remove theelectrical connector. 4. Rotate the bulb counterclockwise, and then replace
the bulb.
5. Insert the new bulb in the socket, making sure the bulb is locked into place.
6. Reconnect the electrical connector.
7. Reinstall the access door.
Position Light/Daytime Running Light/Fog Light Access
1 — Screws
2 — Access Door
Fog Light Assembly
8
IN CASE OF EMERGENCY 295
Page 298 of 476
Side Indicators on External Rear View Mirrors – If
Equipped
CAUTION!
The procedure is described as a guideline. For the
replacement of the lamp it is recommended that you
contact your authorized dealer.
To replace the bulb proceed as follows:
1. Remove the mirror cap on the outside rear view mirror.
2. Remove the transparent lens assembly as shown.
3. Remove the bulb socket and bulb from the transpar-ent lens assembly by rotating the socket counter-
clockwise.
4. Remove the bulb from the bulb socket by pulling the bulb straight out.
Mirror Cap
1 — Mirror Cover
2 — Side Indicator Lens
3 — Side Indicator Bulb Location
296 IN CASE OF EMERGENCY
Page 299 of 476
5. Insert the new bulb, making sure that it is locked intoplace
6. Reinstall the socket in to the transparent lens assem- bly.
7. Reinstall the cover on the outside rear view mirror, making sure it is locked into place.
Rear Tail Lamps
Contain the following:
• Position lights
• Stop lights
• Direction indicator
• REVERSE lights To replace the bulbs proceed as follows:
1. Open the liftgate.
2. Using a suitable tool remove the tail lamp housing
screws as shown.
Tail Lamp Removal
8
IN CASE OF EMERGENCY 297
Page 300 of 476
3. Remove the rear tail lamp, sliding it toward theoutside as shown.
4. Remove the screws and remove the rear tail lamp holder. 5. Replace the bulb as necessary.
Tail Lamp Removal
Rear Lamp Assembly
1 — Screws
298 IN CASE OF EMERGENCY
Trending: oil capacity, spark plugs, wheel, coolant capacity, service interval reset, alarm, sat nav

