FIAT 500X 2014 2.G Owners Manual
500X 2014 2.G
FIAT
FIAT
https://www.carmanualsonline.info/img/10/4525/w960_4525-0.png
FIAT 500X 2014 2.G Owners Manual
Trending: automatic transmission fluid, tires, fuel consumption, heating, clock, overheating, seat adjustment
Page 301 of 476
6. Insert the new bulb, making sure it is properlylocked.
7. Reassemble the lamp assembly on the rear tail lamp housing, tightening the screws.
8. Reposition the rear tail lamp on the vehicle. 9. Secure the rear tail lamp and reconnect the electrical
connector.
10. Finally close the liftgate.
3th Stop Lamp
The CHMSL is LED. For their replacement see your
authorized dealer.
License Plate Lights
To replace the bulbs proceed as follows:
1. Using a suitable tool remove the license plate lens.
Rear Tail Lamp Holder
1 — Running/Stop Lamp
2 — Direction Indicator Bulb
3 — Running/Stop Lamp
4 — Reverse Bulb
License Plate Light Location
8
IN CASE OF EMERGENCY 299
Page 302 of 476
2. Remove the bulbs from the individual side contacts.
3. Insert the new bulbs, and ensure that they areproperly locked between the contacts.
4. Reinstall the license plate lens.
NOTE: If removal the license plate lens using a suitable
tool, be sure to cover the tip of the suitable with a cloth
so no damage is done to the lenses or the vehicle paint.
Replacing Interior Bulbs
Front Courtesy Light
To replace the bulbs proceed as follows:
1. Using a suitable tool remove the front courtesy light as shown.
License Plate Light
Front Courtesy Light Housing
300 IN CASE OF EMERGENCY
Page 303 of 476
2. Release the retainer clips and bulb housing as shown.
3. Replace the bulbs by pulling straight out of bulbhousing. 4. Insert the new bulbs, making sure that they are
properly locked.
5. Reassemble the bulb housing and courtesy light housing making sure that they are properly locked.
6. Install the front courtesy light making sure that it is properly locked.
Front Courtesy Bulb Housing
1 — Retaining Clips
2 — Bulb Housing
Front Courtesy Bulb Housing
8
IN CASE OF EMERGENCY 301
Page 304 of 476
Dome Light Vanity Mirror
To replace the bulbs proceed as follows:
1. Lift the cover of the mirror and pull out the visormirror light cover.
2. Replace the bulb, releasing it from the side contacts, and then insert the new bulb, making sure that it is
properly locked between the contacts.
3. Reinstall the visor mirror light cover making sure that it is properly locked.
4. Finally lower the visor mirror cover to the mirror. Dome Light Glove Compartment
To replace the bulb proceed as follows:
1. Open the glove compartment.
2. Place your fingers inside the light assembly, pull the
bulb to replace it.
3. Insert the new bulb, making sure it is properly locked.
Visor Mirror Cover
Bulb Removal/Installation
302 IN CASE OF EMERGENCY
Page 305 of 476
Rear Dome Light — Without Retractable Roof
To replace the bulbs proceed as follows:
1. Using a suitable tool release the lamp assembly atboth the ends.
2. Open the flap and replace the bulb.
3. Insert the new bulb, locking it between the contacts.
4. Reinstall the dome light. Dome Light
To replace the bulbs proceed as follows:
1. Lower the handle in the direction shown remove the
dome light.
Rear Dome Light
Retractable Roof Light
8
IN CASE OF EMERGENCY 303
Page 306 of 476
2. Replace the bulb by removing it from the sidecontacts.
3. Insert the new bulb, locking it between the contacts.
4. Reinstall the dome light.
Interior Cargo Lights
To replace the bulbs proceed as follows:
1. Open the luggage compartment and remove the dome light assembly.
2. Open the light cover and replace the bulb. 3. Close the light cover over the bulb.
4. Reinstall the dome light in its correct position.
WARNING!
•
Before proceeding with the replacement of the
lamp wait for the exhaust pipes are cool: DAN-
GER OF BURNS!
• Modifications or repair of the electrical system
performed incorrectly and without taking into
(Continued)
Bulb
Light Cover
304 IN CASE OF EMERGENCY
Page 307 of 476
WARNING!(Continued)
account the technical characteristics can cause
malfunctions with the risk of fire.
• Halogen lamps contain gas under pressure, in the
event of breakage be careful of the projection of
fragments of glass.
• Halogen lamps must be handled by touching only
the metallic part. If the transparent bulb is in
contact with the fingers, reduces the intensity of
the emitted light and you can also affect the life of
the lamp. In case of accidental contact, rub the
bulb with a cloth dampened with alcohol and
allow to dry.
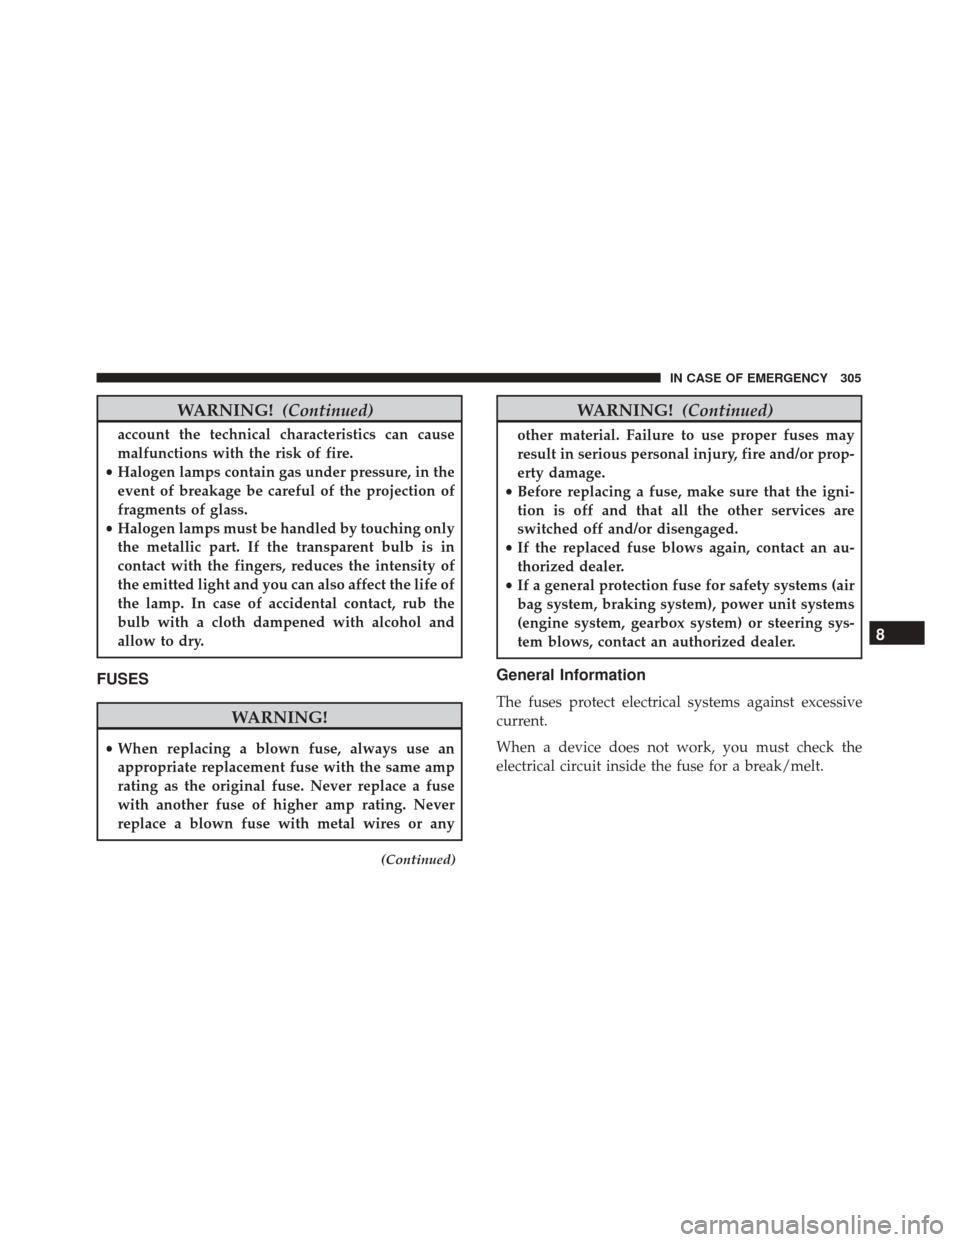
FUSES
WARNING!
• When replacing a blown fuse, always use an
appropriate replacement fuse with the same amp
rating as the original fuse. Never replace a fuse
with another fuse of higher amp rating. Never
replace a blown fuse with metal wires or any
(Continued)
WARNING! (Continued)
other material. Failure to use proper fuses may
result in serious personal injury, fire and/or prop-
erty damage.
• Before replacing a fuse, make sure that the igni-
tion is off and that all the other services are
switched off and/or disengaged.
• If the replaced fuse blows again, contact an au-
thorized dealer.
• If a general protection fuse for safety systems (air
bag system, braking system), power unit systems
(engine system, gearbox system) or steering sys-
tem blows, contact an authorized dealer.
General Information
The fuses protect electrical systems against excessive
current.
When a device does not work, you must check the
electrical circuit inside the fuse for a break/melt.
8
IN CASE OF EMERGENCY 305
Page 308 of 476
Also please be aware that when using power outlets for
extended periods of time with the engine off may result
in vehicle battery discharge.Fuse Removal
To replace a fuse use the extractor attached to the fuse
cover (located on the inside of the engine compartment
fuse cover.
Blade Fuses
1 — Electrical Circuit
2 — Blade Fuse With Good Electrical Circuit
3 — Blade Fuse With Bad Electrical Circuit
Fuse Extractor Location
306 IN CASE OF EMERGENCY
Page 309 of 476
Access To The Fuses
The fuses are grouped into four controllers located in
the engine compartment, under the instrument panel
and on the inside of the left side cargo trim panel.
Engine Compartment Fuses/Distribution Unit
The engine compartment fuse panel is located on the
left side of the engine compartment.Removing Fuse Cover and Locking Screw
Proceed as follows:
1. Slowly turn the screw counterclockwise.
2. Slowly release the screw.
3. Remove the fuse cover by sliding it upward.
Engine Compartment Fuse Cavities
Fuse Panel And Cover Location
1 — Mounting Screw
2 — Fuse Cover8
IN CASE OF EMERGENCY 307
Page 310 of 476
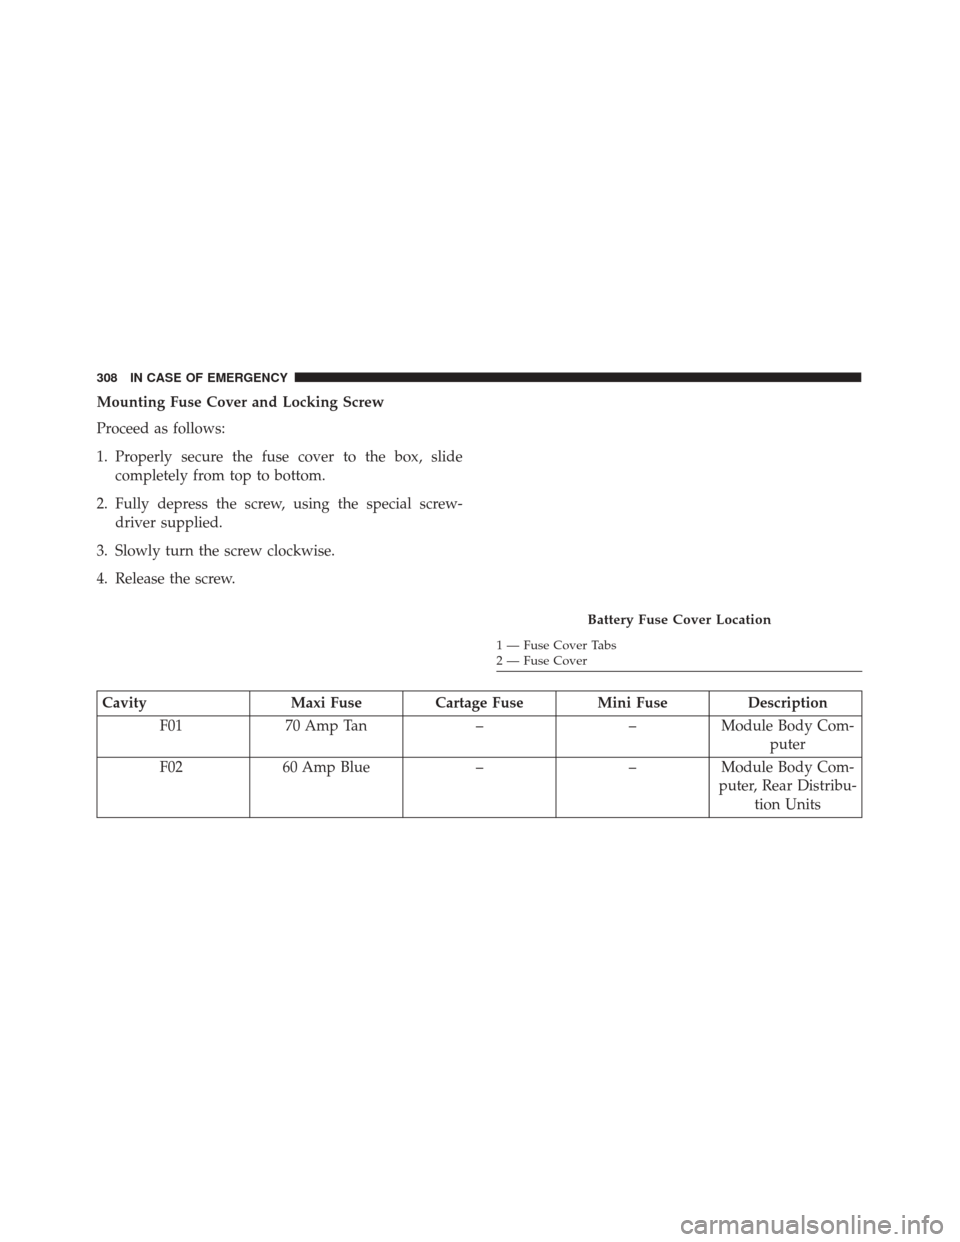
Mounting Fuse Cover and Locking Screw
Proceed as follows:
1. Properly secure the fuse cover to the box, slidecompletely from top to bottom.
2. Fully depress the screw, using the special screw- driver supplied.
3. Slowly turn the screw clockwise.
4. Release the screw.
Cavity Maxi Fuse Cartage Fuse Mini Fuse Description
F01 70 Amp Tan ––Module Body Com-
puter
F02 60 Amp Blue ––Module Body Com-
puter, Rear Distribu- tion Units
Battery Fuse Cover Location
1 — Fuse Cover Tabs
2 — Fuse Cover
308 IN CASE OF EMERGENCY
Trending: keyless entry, start stop button, open hood, oil viscosity, wheel bolt torque, remote control, warning
