warning FIAT DOBLO 2007 1.G Connect NavPlus Manual
[x] Cancel search | Manufacturer: FIAT, Model Year: 2007, Model line: DOBLO, Model: FIAT DOBLO 2007 1.GPages: 234, PDF Size: 3.56 MB
Page 8 of 234
7Nero603 83 540 Connect DOBLO GB
CONNECT Nav
7
ADVICE
ROAD SAFETY
You are recommended to learn how
to use the different functions of the
system and in particular of the radio
(e.g. storing stations) before starting
to drive.
IMPORTANTWhen receiving
traffic information the volume might
be higher than normal.
CARE AND MAINTENANCE
The structure of the system ensures
long years of operation with no need
for particular maintenance. In the
event of a fault, contact Fiat Deal-
ership.Some care must however be taken
to ensure the complete efficiency of
the system:
– the monitor is sensitive to scratch-
ing, liquid detergents and UV rays;
– liquids that penetrate inside may
damage the device irreparably.
Clean the front panel and display on-
ly using a soft, dry antistatic cloth.
Cleaning and polishing products may
damage the surface. RECEPTION CONDITIONS
Reception conditions change con-
stantly when driving. Reception can be
disturbed by the presence of moun-
tains, buildings, bridges particularly
when far away from the broadcaster
received.
Be careful not to knock
the display with pointed or
hard objects and avoid
touching with the hands. Do not
press on the display when cleaning.
A A
D D
V V
I I
C C
E E
, ,
C C
O O
N N
T T
R R
O O
L L
S S
A A
N N
D D
G G
E E
N N
E E
RR R
A A
L L
I I
N N
F F
O O
R R
M M
A A
T T
I I
O O
N N
Too high a volume when
driving can put the driver’s
life at risk and that of other people.
Therefore the volume should al-
ways be adjusted in such a way that
it is always possible to hear the
noises of the surrounding environ-
ment (e.g. horns, ambulance, police
sirens, etc.).
WARNING
001-023 Doblo Connect GB 15-06-2007 10:32 Pagina 7
Page 14 of 234
13Nero603 83 540 Connect DOBLO GB
CONNECT Nav
13
GENERAL
INFORMATION
IMPORTANT NOTES FOR
USE AND ROAD SAFETY
The CONNECT system makes it
possible to easily control the main
functions of the vehicle.
To avoid creating dangerous situa-
tions for yourself and others in use of
the system, please pay attention to the
following points:
– the system must be used keeping
full control of the vehicle; in the case
of doubt in the use of the functions,
it is necessary to stop before per-
forming the various operations;
– use of the cell phone is prohibited
near explosive substances.
The navigation system allows you to
reach your destination, indicating each
route change stored on the navigation
CD-ROM. In fact, in calculating the
route, the system takes into account
of all the information stored concern-
ing the roads, advising the best route.
However it cannot take account of the
traffic, sudden interruptions or any
other inconvenience.In carrying out any manoeuvre it is
always necessary to follow the rules of
the road, regardless of the advice giv-
en by the navigation system. If you
leave the suggested route, the naviga-
tion system will calculate a new one
and suggest it to you.SYSTEM POWER ON
The system can be switched on ac-
cording to two different methods:
automatic switching onwith ig-
nition key to MAR;
manual switching on:
– by pressing knob 16-fig. 1;
– with direct access to SOS menu by
pressing button
•25-fig. 1.
Automatic switching on
Turning the ignition key to MARwill
turn the system on automatically, thus
activating or making available all the
functions described in this manual.
The navigation system
helps the driver while dri-
ving by suggesting, vocally and
graphically, the best route to be fol-
lowed to reach the preset destina-
tion. The suggestions given by the
navigation system do not exempt
the driver from full responsibility
due to driving behaviour and com-
pliance with road and other traffic
regulations. The responsibility for
road safety always and anyway lies
with the vehicle’s driver.
WARNING
001-023 Doblo Connect GB 15-06-2007 10:32 Pagina 13
Page 18 of 234
17Nero603 83 540 Connect DOBLO GB
CONNECT Nav
17
“SETUP” FUNCTION
The SETUP mode enables to set dif-
ferent vehicle and CONNECT system
operating modes and parameters.
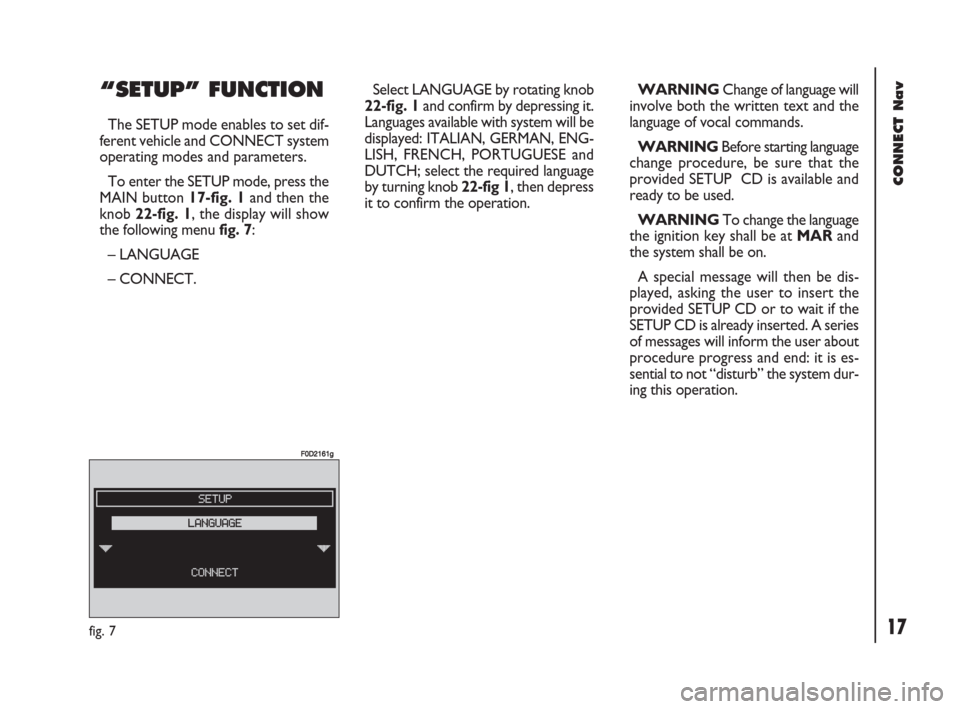
To enter the SETUP mode, press the
MAIN button 17-fig. 1and then the
knob 22-fig. 1, the display will show
the following menu fig. 7:
– LANGUAGE
– CONNECT.
fig. 7
F0D2161g
Select LANGUAGE by rotating knob
22-fig. 1and confirm by depressing it.
Languages available with system will be
displayed: ITALIAN, GERMAN, ENG-
LISH, FRENCH, PORTUGUESE and
DUTCH; select the required language
by turning knob 22-fig 1, then depress
it to confirm the operation.WARNINGChange of language will
involve both the written text and the
language of vocal commands.
WARNINGBefore starting language
change procedure, be sure that the
provided SETUP CD is available and
ready to be used.
WARNINGTo change the language
the ignition key shall be at MARand
the system shall be on.
A special message will then be dis-
played, asking the user to insert the
provided SETUP CD or to wait if the
SETUP CD is already inserted. A series
of messages will inform the user about
procedure progress and end: it is es-
sential to not “disturb” the system dur-
ing this operation.
001-023 Doblo Connect GB 15-06-2007 10:32 Pagina 17
Page 19 of 234
18Nero603 83 540 Connect DOBLO GB
CONNECT Nav
18
3)“NIGHTTIME BRIGHTNESS”:
enables to adjust the display brightness
in night mode. To perform the ad-
justment, select and confirm this op-
tion by rotating and pressing the knob
22-fig. 1. Rotate the knob 22-fig. 1
clockwise to increase brightness and
counterclockwise to decrease it.
4)“NIGHTTIME CONTRAST”: to
adjust contrast in nighttime brightness
mode. To perform the adjustment, se-
lect and confirm this option by rotat-
ing and pressing the knob 22-fig. 1.
Rotate the knob 22-fig. 1clockwise
to increase contrast and counter-
clockwise to decrease it. Do not start the engine or disconnect
the battery during the language change
operation.
Should this take place, the first time
you turn the system on, a special mes-
sage will be displayed communicating
that the language change operation shall
be concluded inserting the SETUP CD:
“WARNING: LANGUAGE CHANGE
FAILED. PLEASE REPEAT PROCE-
DURE”.
Selecting CONNECT by turning and
pressing the knob 22-fig. 1, the display
will show the following submenu:
– VIDEO
– POWER OFF
– SERIAL DATA INTERFACE
– FLEET MANAGEMENT.VIDEO
Selecting and confirming “VIDEO” by
rotating and pressing the knob 22-
fig. 1will allow the following settings:
1)“DAYTIME BRIGHTNESS”: en-
ables to adjust the display brightness
in day mode. To perform the adjust-
ment, select and confirm this option
by rotating and pressing the knob 22-
fig. 1. Rotate the knob 22-fig. 1
clockwise to increase brightness and
counterclockwise to decrease it.
2)“DAYTIME CONTRAST”: to ad-
just contrast in daytime brightness
mode. To perform the adjustment, se-
lect and confirm this option by rotat-
ing and pressing the knob 22-fig. 1.
Rotate the knob 22-fig. 1clockwise
to increase contrast and counter-
clockwise to decrease it.
001-023 Doblo Connect GB 15-06-2007 10:32 Pagina 18
Page 42 of 234
41Nero603 83 540 Connect DOBLO GB
41
CONNECT Nav
Selecting “DELETE NAME” rotating
the knob 22-fig. 1will display the list
of programmed CDs. Select the CD
name to be deleted with the knob 22-
fig. 1and then press it to delete. Se-
lect “OK” to confirm.
“
OK”
To confirm your choices, select and
confirm “OK” with the knob 22-fig. 1;
the name and the associated sequence
will be stored or deleted.
IMPORTANTIn case of buffer full,
a warning message “WARNING,
MEMORY FULL” will be displayed to
point out the problem. The user shall
have to delete some previously stored
CD names. “CD INFO” function
Selecting and confirming “CD INFO”
with the knob 22-fig. 1, will display
a screen with the following informa-
tion:
– CD name;
– track sequence (if defined).“AUDIO SETUP” FUNCTION
(AUDIO ADJUSTMENTS)
To access the audio setup menu
while listening to a CD, select and con-
firm “AUDIO SETUP” with the knob
22-fig. 1.
For the description of the different
functions available in the menu, see the
corresponding paragraph of the “AU-
DIO SETTINGS” chapter.
024-053 Doblo Connect GB 15-06-2007 10:32 Pagina 41
Page 48 of 234
47Nero603 83 540 Connect DOBLO GB
47
CONNECT Nav
MP3 MODE
To guarantee optimum playing, use
top quality CDs duplicated at as low
as possible speed.
The system can recognize the type
of Compact Disc inserted.
During the reading procedure to rec-
ognize the disk the display shows
“WARNING - Reading CD. Please
wait” and then “Exploring MP3..”.
IMPORTANTNever use 8 cm au-
dio or MP3 CDs, even with the spe-
cific adapter, since this format will
damage the system.
IMPORTANTThe system builds
MP3 CD folder-organized structure of
files; folders are organized in sequence
with their own mp3 tracks (up to max.
four levels of folders/subdirectories).
Folder and file name length shall not ex-
ceed 20 characters.
Characters: blank, ‘(apostrophe), (
and )(open and closed brackets) are
not admitted in track names. When creating MP3 CD you must not
use these characters to name files oth-
erwise the system will not be able to
play it.
Since a full MP3 CD could hypotheti-
cally include thousands of MP3 files, a
999 music pieces limit is imposed by the
system. If the user inserts a MP3 CD
which has more than 999 tracks (files)
in it, then only the first 999 files will be
considered and a 7-second warning will
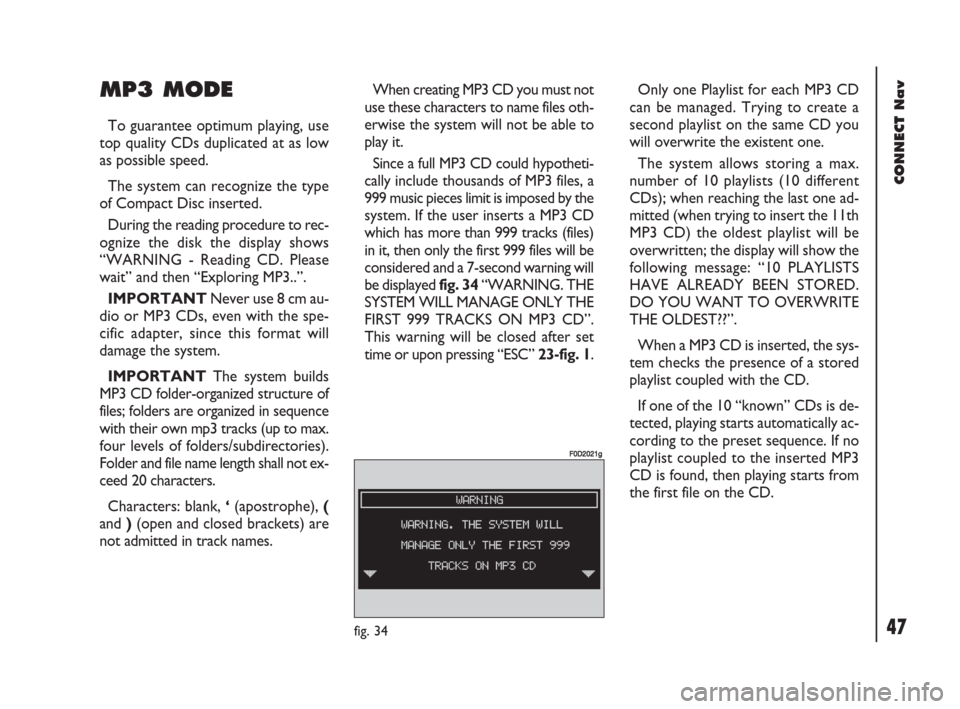
be displayed fig. 34 “WARNING. THE
SYSTEM WILL MANAGE ONLY THE
FIRST 999 TRACKS ON MP3 CD”.
This warning will be closed after set
time or upon pressing “ESC” 23-fig. 1.Only one Playlist for each MP3 CD
can be managed. Trying to create a
second playlist on the same CD you
will overwrite the existent one.
The system allows storing a max.
number of 10 playlists (10 different
CDs); when reaching the last one ad-
mitted (when trying to insert the 11th
MP3 CD) the oldest playlist will be
overwritten; the display will show the
following message: “10 PLAYLISTS
HAVE ALREADY BEEN STORED.
DO YOU WANT TO OVERWRITE
THE OLDEST??”.
When a MP3 CD is inserted, the sys-
tem checks the presence of a stored
playlist coupled with the CD.
If one of the 10 “known” CDs is de-
tected, playing starts automatically ac-
cording to the preset sequence. If no
playlist coupled to the inserted MP3
CD is found, then playing starts from
the first file on the CD.
fig. 34
F0D2021g
024-053 Doblo Connect GB 15-06-2007 10:32 Pagina 47
Page 56 of 234
55Nero603 83 540 Connect DOBLO GB
CONNECT Nav
55
– manual number dialling
– DTMF setting (Dual Tone Multi
Frequency) to repeat dialling and in-
hibit the own identification number
transmission
– selection of network provider
– setting ringer volume and tone
– display of remaining credit in case
of prepaid SIM card (if available by net-
work provider)
– display of signal field intensity and
other status warnings with symbols
and words.PRELIMINARY
OPERATIONS
ENTERING AND EXITING
THE TELEPHONE MODE
To enter the telephone mode
proceed as follows:
– short push on ”TEL” button 19-
fig. 1on front panel.
(If the Connect is off, switch it on by
turning the ignition key to MAR).
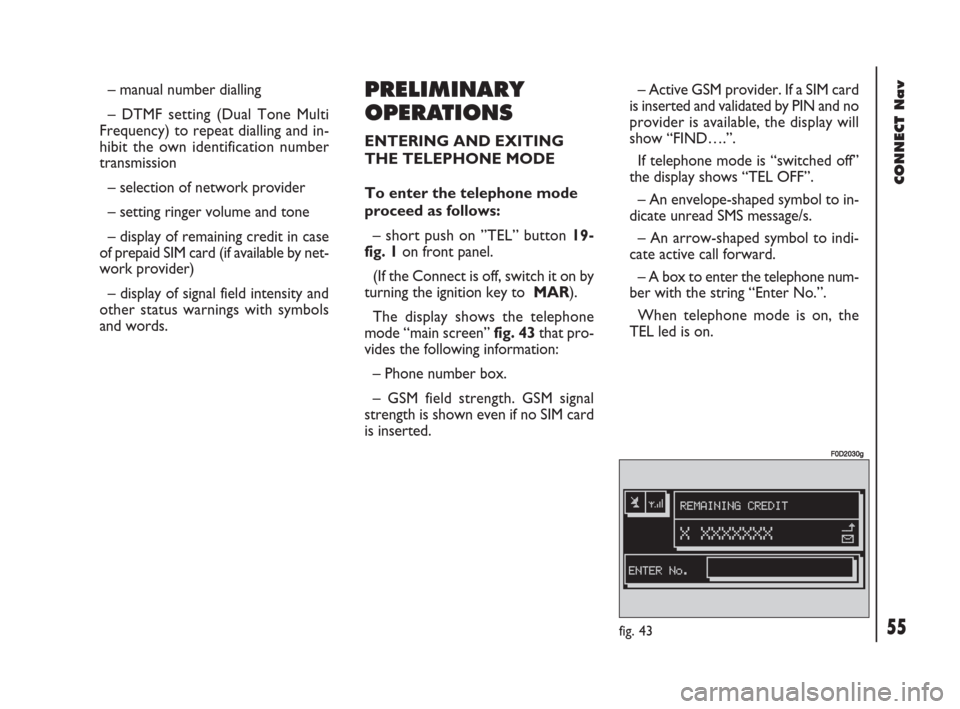
The display shows the telephone
mode “main screen”fig. 43that pro-
vides the following information:
– Phone number box.
– GSM field strength. GSM signal
strength is shown even if no SIM card
is inserted.– Active GSM provider. If a SIM card
is inserted and validated by PIN and no
provider is available, the display will
show “FIND….”.
If telephone mode is “switched off”
the display shows “TEL OFF”.
– An envelope-shaped symbol to in-
dicate unread SMS message/s.
– An arrow-shaped symbol to indi-
cate active call forward.
– A box to enter the telephone num-
ber with the string “Enter No.”.
When telephone mode is on, the
TEL led is on.
fig. 43
F0D2030g
054-084 Doblo Connect GB 15-06-2007 10:33 Pagina 55
Page 58 of 234
57Nero603 83 540 Connect DOBLO GB
CONNECT Nav
57
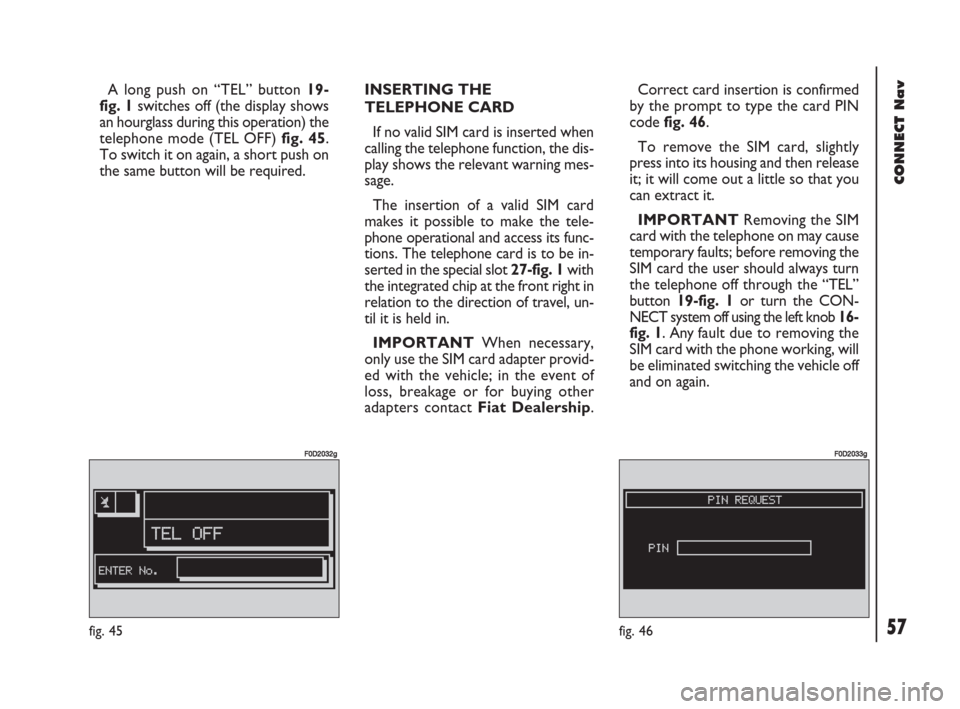
A long push on “TEL” button 19-
fig. 1switches off (the display shows
an hourglass during this operation) the
telephone mode (TEL OFF) fig. 45.
To switch it on again, a short push on
the same button will be required.INSERTING THE
TELEPHONE CARD
If no valid SIM card is inserted when
calling the telephone function, the dis-
play shows the relevant warning mes-
sage.
The insertion of a valid SIM card
makes it possible to make the tele-
phone operational and access its func-
tions. The telephone card is to be in-
serted in the special slot 27-fig. 1with
the integrated chip at the front right in
relation to the direction of travel, un-
til it is held in.
IMPORTANTWhen necessary,
only use the SIM card adapter provid-
ed with the vehicle; in the event of
loss, breakage or for buying other
adapters contact Fiat Dealership.Correct card insertion is confirmed
by the prompt to type the card PIN
code fig. 46.
To remove the SIM card, slightly
press into its housing and then release
it; it will come out a little so that you
can extract it.
IMPORTANTRemoving the SIM
card with the telephone on may cause
temporary faults; before removing the
SIM card the user should always turn
the telephone off through the “TEL”
button 19-fig. 1or turn the CON-
NECT system off using the left knob 16-
fig. 1. Any fault due to removing the
SIM card with the phone working, will
be eliminated switching the vehicle off
and on again.
fig. 45
F0D2032g
fig. 46
F0D2033g
054-084 Doblo Connect GB 15-06-2007 10:33 Pagina 57
Page 73 of 234
72Nero603 83 540 Connect DOBLO GB
CONNECT Nav
72
In directory
This function, selected and confirmed
by rotating and pressing the knob 22-
fig. 1stores current displayed site ad-
dress in “SITE DIRECTORY” (with a
maximum of 10 stored addresses),
proceed as follows:
– rotate the knob 22-fig. 1to select
the address and then press it to con-
firm .
Storing the tenth address, the display
shows a dialog box warning the user
that the directory is full and the icon
key (“IN DIRECTORY”) is greyed.
Further storing requests a preventive
deletion.
A mnemonic string can be associated
to each stored address; proceed as fol-
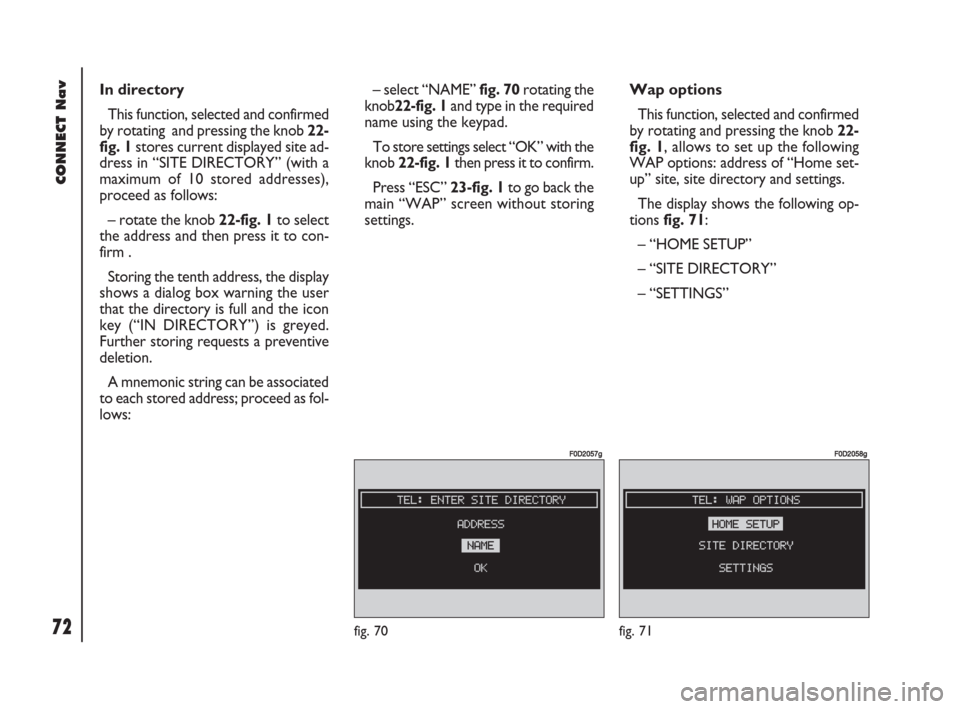
lows:– select “NAME” fig. 70rotating the
knob22-fig. 1and type in the required
name using the keypad.
To store settings select “OK” with the
knob 22-fig. 1then press it to confirm.
Press “ESC” 23-fig. 1to go back the
main “WAP” screen without storing
settings.Wap options
This function, selected and confirmed
by rotating and pressing the knob 22-
fig. 1, allows to set up the following
WAP options: address of “Home set-
up” site, site directory and settings.
The display shows the following op-
tions fig. 71:
– “HOME SETUP”
– “SITE DIRECTORY”
– “SETTINGS”
fig. 70
F0D2057g
fig. 71
F0D2058g
054-084 Doblo Connect GB 15-06-2007 10:33 Pagina 72
Page 78 of 234
77Nero603 83 540 Connect DOBLO GB
CONNECT Nav
77
MESSAGES
SMS - (Short Message Service)
“MESSAGES” function allows read-
ing and sending short messages (max-
imum length is 160 characters) by
GSM phone.
Read and sent messages are stored
into two separate boxes, which how-
ever share a common memory sec-
tion; so the sum of sent and read
stored messages must not exceed the
maximum number of allowed SMSs (it
depends on the SIM card.
Telephone module stops input of
new messages when the buffer is full
and the “DIAL” option is disabled.
In this case the display shows a string
with the following warning message:
“FURTHER MESSAGES CANNOT BE
STORED OR RECEIVED”.Selecting and confirming “MES-
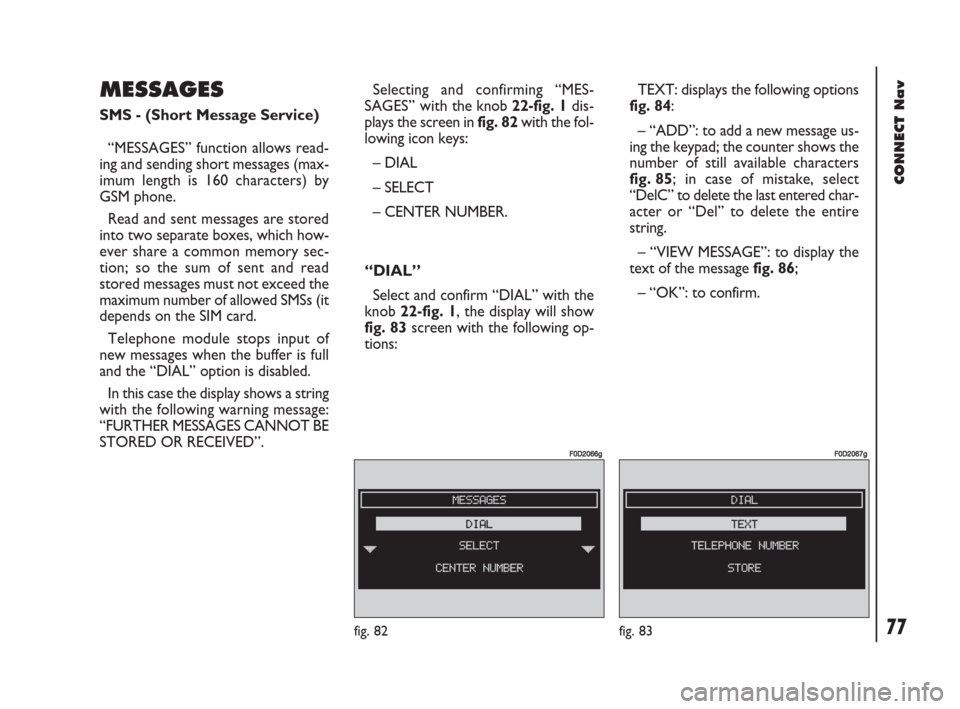
SAGES” withthe knob 22-fig. 1dis-
plays the screen in fig. 82with the fol-
lowing icon keys:
– DIAL
– SELECT
– CENTER NUMBER.
“DIAL”
Select and confirm “DIAL” with the
knob 22-fig. 1, the display will show
fig. 83 screen with the following op-
tions:TEXT: displays the following options
fig. 84:
– “ADD”: to add a new message us-
ing the keypad; the counter shows the
number of still available characters
fig. 85; in case of mistake, select
“DelC” to delete the last entered char-
acter or “Del” to delete the entire
string.
– “VIEW MESSAGE”: to display the
text of the message fig. 86;
– “OK”: to confirm.
fig. 82
F0D2066g
fig. 83
F0D2067g
054-084 Doblo Connect GB 15-06-2007 10:33 Pagina 77