start stop button FIAT DUCATO 2015 Owner handbook (in English)
[x] Cancel search | Manufacturer: FIAT, Model Year: 2015, Model line: DUCATO, Model: FIAT DUCATO 2015Pages: 367, PDF Size: 19.73 MB
Page 37 of 367
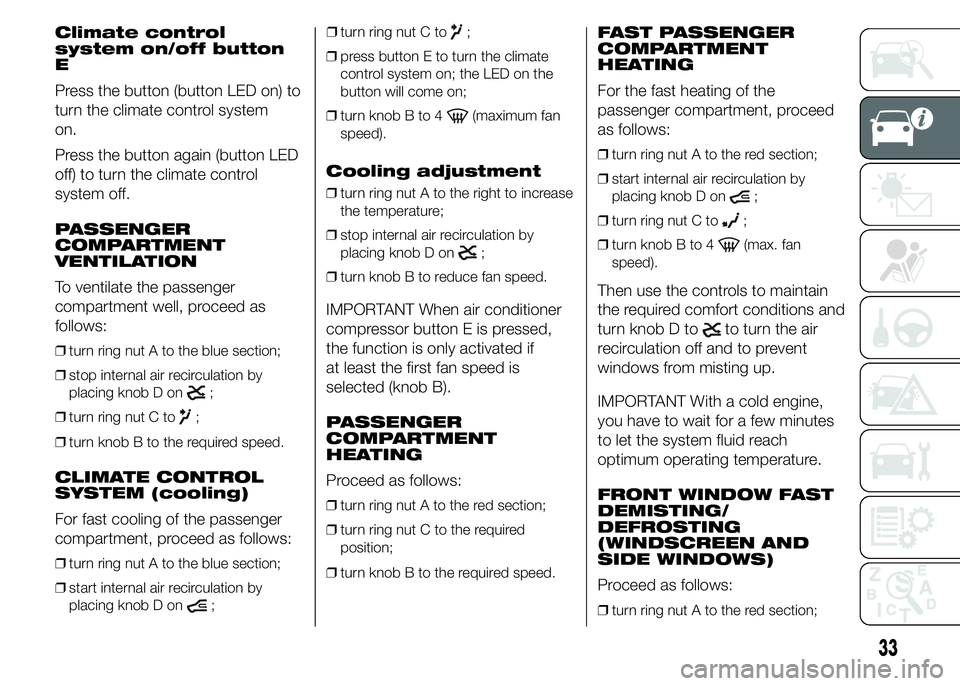
Climate control
system on/off button
E
Press the button (button LED on) to
turn the climate control system
on.
Press the button again (button LED
off) to turn the climate control
system off.
PASSENGER
COMPARTMENT
VENTILATION
To ventilate the passenger
compartment well, proceed as
follows:
❒turn ring nut A to the blue section;
❒stop internal air recirculation by
placing knob D on
;
❒turn ring nut C to
;
❒turn knob B to the required speed.
CLIMATE CONTROL
SYSTEM (cooling)
For fast cooling of the passenger
compartment, proceed as follows:
❒turn ring nut A to the blue section;
❒start internal air recirculation by
placing knob D on
;❒turn ring nut C to
;
❒press button E to turn the climate
control system on; the LED on the
button will come on;
❒turn knob B to 4
(maximum fan
speed).
Cooling adjustment
❒turn ring nut A to the right to increase
the temperature;
❒stop internal air recirculation by
placing knob D on
;
❒turn knob B to reduce fan speed.
IMPORTANT When air conditioner
compressor button E is pressed,
the function is only activated if
at least the first fan speed is
selected (knob B).
PASSENGER
COMPARTMENT
HEATING
Proceed as follows:
❒turn ring nut A to the red section;
❒turn ring nut C to the required
position;
❒turn knob B to the required speed.
FAST PASSENGER
COMPARTMENT
HEATING
For the fast heating of the
passenger compartment, proceed
as follows:
❒turn ring nut A to the red section;
❒start internal air recirculation by
placing knob D on
;
❒turn ring nut C to
;
❒turn knob B to 4
(max. fan
speed).
Then use the controls to maintain
the required comfort conditions and
turn knob D to
to turn the air
recirculation off and to prevent
windows from misting up.
IMPORTANT With a cold engine,
you have to wait for a few minutes
to let the system fluid reach
optimum operating temperature.
FRONT WINDOW FAST
DEMISTING/
DEFROSTING
(WINDSCREEN AND
SIDE WINDOWS)
Proceed as follows:
❒turn ring nut A to the red section;
33
Page 41 of 367
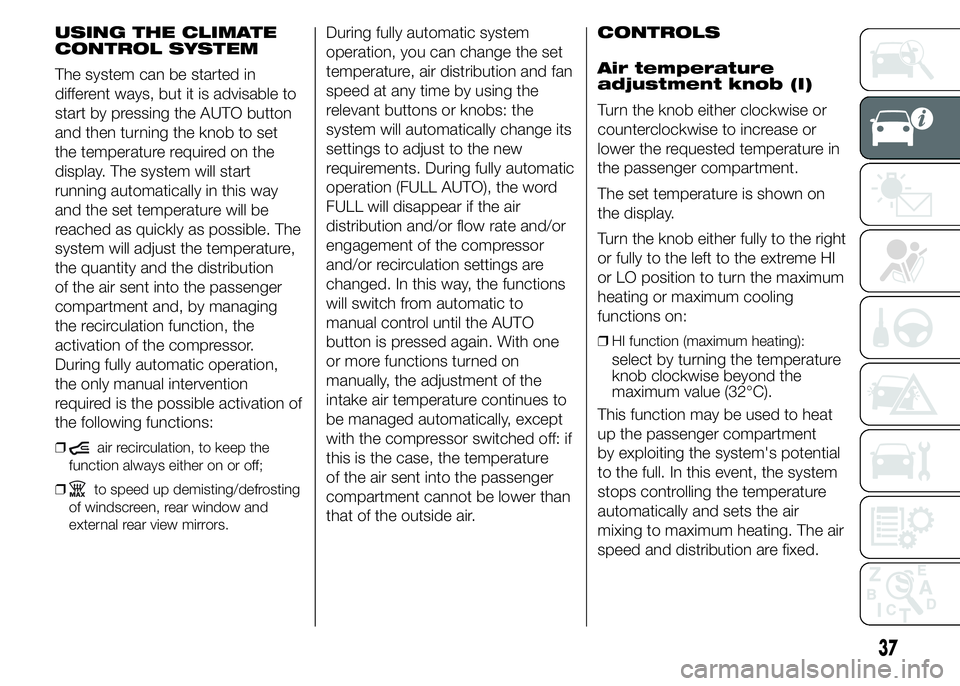
USING THE CLIMATE
CONTROL SYSTEM
The system can be started in
different ways, but it is advisable to
start by pressing the AUTO button
and then turning the knob to set
the temperature required on the
display. The system will start
running automatically in this way
and the set temperature will be
reached as quickly as possible. The
system will adjust the temperature,
the quantity and the distribution
of the air sent into the passenger
compartment and, by managing
the recirculation function, the
activation of the compressor.
During fully automatic operation,
the only manual intervention
required is the possible activation of
the following functions:
❒air recirculation, to keep the
function always either on or off;
❒
to speed up demisting/defrosting
of windscreen, rear window and
external rear view mirrors.
During fully automatic system
operation, you can change the set
temperature, air distribution and fan
speed at any time by using the
relevant buttons or knobs: the
system will automatically change its
settings to adjust to the new
requirements. During fully automatic
operation (FULL AUTO), the word
FULL will disappear if the air
distribution and/or flow rate and/or
engagement of the compressor
and/or recirculation settings are
changed. In this way, the functions
will switch from automatic to
manual control until the AUTO
button is pressed again. With one
or more functions turned on
manually, the adjustment of the
intake air temperature continues to
be managed automatically, except
with the compressor switched off: if
this is the case, the temperature
of the air sent into the passenger
compartment cannot be lower than
that of the outside air.CONTROLS
Air temperature
adjustment knob (I)
Turn the knob either clockwise or
counterclockwise to increase or
lower the requested temperature in
the passenger compartment.
The set temperature is shown on
the display.
Turn the knob either fully to the right
or fully to the left to the extreme HI
or LO position to turn the maximum
heating or maximum cooling
functions on:
❒HI function (maximum heating):
select by turning the temperature
knob clockwise beyond the
maximum value (32°C).
This function may be used to heat
up the passenger compartment
by exploiting the system's potential
to the full. In this event, the system
stops controlling the temperature
automatically and sets the air
mixing to maximum heating. The air
speed and distribution are fixed.
37
Page 44 of 367
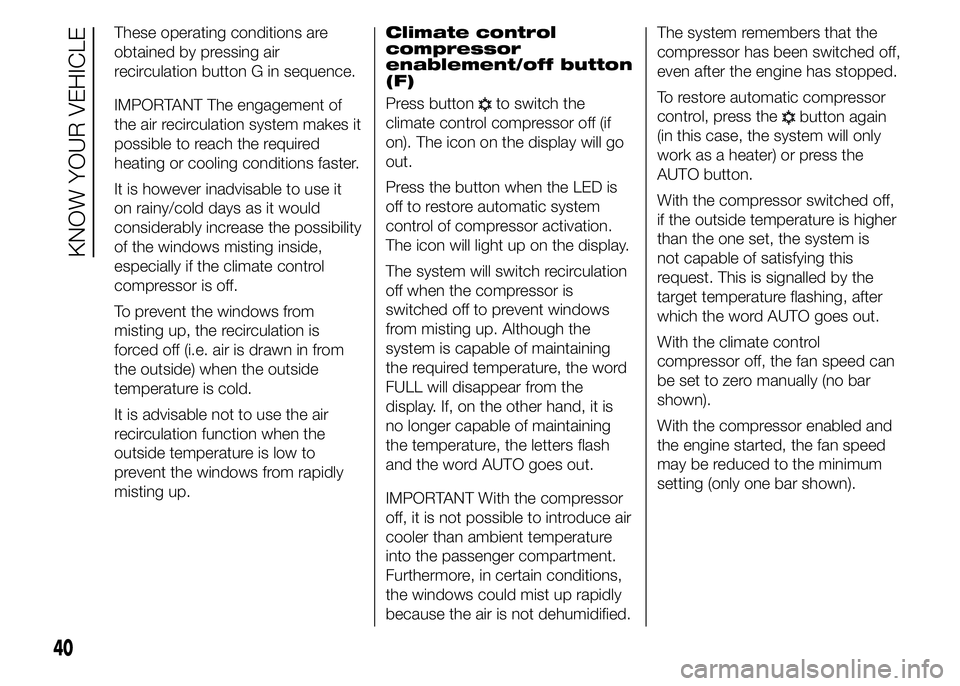
These operating conditions are
obtained by pressing air
recirculation button G in sequence.
IMPORTANT The engagement of
the air recirculation system makes it
possible to reach the required
heating or cooling conditions faster.
It is however inadvisable to use it
on rainy/cold days as it would
considerably increase the possibility
of the windows misting inside,
especially if the climate control
compressor is off.
To prevent the windows from
misting up, the recirculation is
forced off (i.e. air is drawn in from
the outside) when the outside
temperature is cold.
It is advisable not to use the air
recirculation function when the
outside temperature is low to
prevent the windows from rapidly
misting up.Climate control
compressor
enablement/off button
(F)
Press button
to switch the
climate control compressor off (if
on). The icon on the display will go
out.
Press the button when the LED is
off to restore automatic system
control of compressor activation.
The icon will light up on the display.
The system will switch recirculation
off when the compressor is
switched off to prevent windows
from misting up. Although the
system is capable of maintaining
the required temperature, the word
FULL will disappear from the
display. If, on the other hand, it is
no longer capable of maintaining
the temperature, the letters flash
and the word AUTO goes out.
IMPORTANT With the compressor
off, it is not possible to introduce air
cooler than ambient temperature
into the passenger compartment.
Furthermore, in certain conditions,
the windows could mist up rapidly
because the air is not dehumidified.The system remembers that the
compressor has been switched off,
even after the engine has stopped.
To restore automatic compressor
control, press thebutton again
(in this case, the system will only
work as a heater) or press the
AUTO button.
With the compressor switched off,
if the outside temperature is higher
than the one set, the system is
not capable of satisfying this
request. This is signalled by the
target temperature flashing, after
which the word AUTO goes out.
With the climate control
compressor off, the fan speed can
be set to zero manually (no bar
shown).
With the compressor enabled and
the engine started, the fan speed
may be reduced to the minimum
setting (only one bar shown).
40
KNOW YOUR VEHICLE
Page 50 of 367
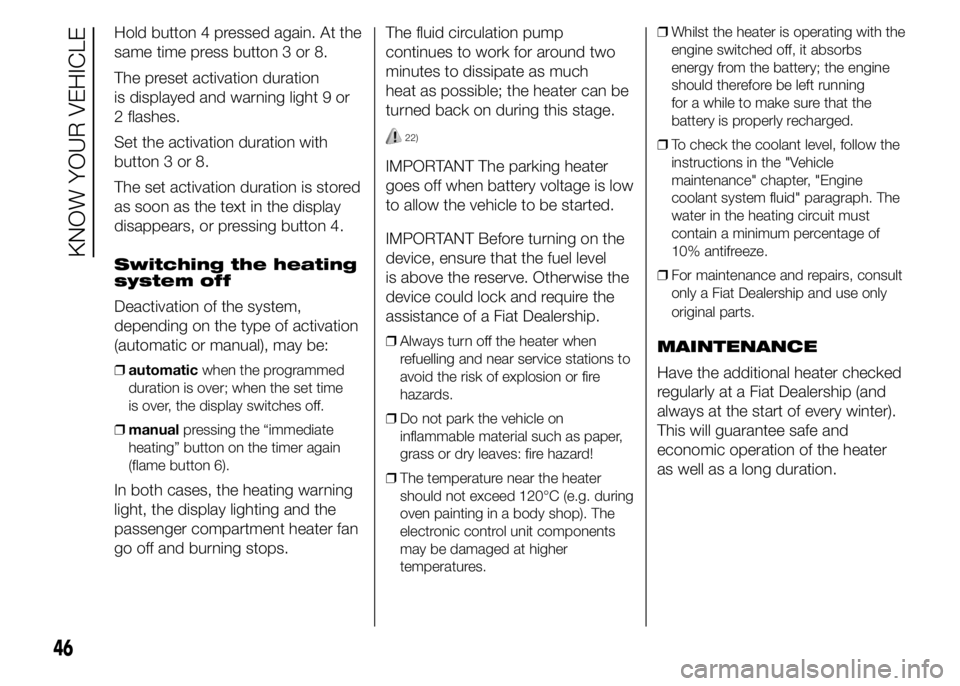
Hold button 4 pressed again. At the
same time press button 3 or 8.
The preset activation duration
is displayed and warning light 9 or
2 flashes.
Set the activation duration with
button 3 or 8.
The set activation duration is stored
as soon as the text in the display
disappears, or pressing button 4.
Switching the heating
system off
Deactivation of the system,
depending on the type of activation
(automatic or manual), may be:
❒automaticwhen the programmed
duration is over; when the set time
is over, the display switches off.
❒manualpressing the “immediate
heating” button on the timer again
(flame button 6).
In both cases, the heating warning
light, the display lighting and the
passenger compartment heater fan
go off and burning stops.The fluid circulation pump
continues to work for around two
minutes to dissipate as much
heat as possible; the heater can be
turned back on during this stage.
22)
IMPORTANT The parking heater
goes off when battery voltage is low
to allow the vehicle to be started.
IMPORTANT Before turning on the
device, ensure that the fuel level
is above the reserve. Otherwise the
device could lock and require the
assistance of a Fiat Dealership.
❒Always turn off the heater when
refuelling and near service stations to
avoid the risk of explosion or fire
hazards.
❒Do not park the vehicle on
inflammable material such as paper,
grass or dry leaves: fire hazard!
❒The temperature near the heater
should not exceed 120°C (e.g. during
oven painting in a body shop). The
electronic control unit components
may be damaged at higher
temperatures.❒Whilst the heater is operating with the
engine switched off, it absorbs
energy from the battery; the engine
should therefore be left running
for a while to make sure that the
battery is properly recharged.
❒To check the coolant level, follow the
instructions in the "Vehicle
maintenance" chapter, "Engine
coolant system fluid" paragraph. The
water in the heating circuit must
contain a minimum percentage of
10% antifreeze.
❒For maintenance and repairs, consult
only a Fiat Dealership and use only
original parts.MAINTENANCE
Have the additional heater checked
regularly at a Fiat Dealership (and
always at the start of every winter).
This will guarantee safe and
economic operation of the heater
as well as a long duration.
46
KNOW YOUR VEHICLE
Page 97 of 367
OPERATING
CONDITIONS FOR
ACTIVATION
Once switched on, the system
becomes active only if the following
conditions are met:
❒front driving direction (reverse not
engaged);
❒the system does not detect any error;
❒calibration in progress;
❒vehicle speed between 60 km/h and
max. vehicle speed;
❒presence of lane demarcation lines
not deteriorated and visible on both
sides;
❒suitable visibility conditions;
❒straight line or wide radius bends;
❒sufficient field of vision condition
(safety distance from vehicle in front);
❒direction indicators not activated
in the lane exiting direction (e.g. right
lane exiting direction, right direction
indicator activated);
❒vehicle direction getting constantly
closer to the lane demarcation lines
(the vehicle trajectory is within the
lane demarcation lines);
❒vehicle not constantly next to the lane
demarcation line.
SYSTEM
ACTIVATION/
DEACTIVATION
When the system is active, if the
vehicle gets close to one of the limit
lines or one of the two lane
demarcation lines, the driver is
warned with an acoustic signal
(coming from the crossed line side
if the vehicle is equipped with the
radio navigation system) along with
the corresponding direction
warning light (
or) lighting up.
If the driver turns on the direction
indicator in order to change lanes
or for overtaking, then the system
will switch off the driver warning.
If the driver keeps deliberately with
the lane change manoeuvre, the
system interrupts the warning,
remaining enabled if the operating
conditions are not satisfied or active
if the operating conditions are
exceeded (see the dedicated
paragraph).SWITCHING OFF THE
SYSTEM
Manual mode
The system can be switched off by
pressing button A fig. 128 on the
dashboard.
The LED on the button switches on
and a message appears on the
display to confirm that the system
has been switched off.
Automatic mode
If the Start&Stop is active the
system deactivates automatically.
The system will reactivate and
check its operating conditions
again after the vehicle has been
started.
SYSTEM FAILURE
In the case of malfunction the
system signals the fault to the driver
with a message on the display, an
acoustic warning and switching
on of the icon
on the display (for
versions/markets, where provided).
93
Page 108 of 367
Engine restarting
mode
WITH MANUAL GEARBOX
Depress the clutch pedal to restart
the engine.
MANUAL ACTIVATION
AND DEACTIVATION
OF THE SYSTEM
To activate/deactivate the system
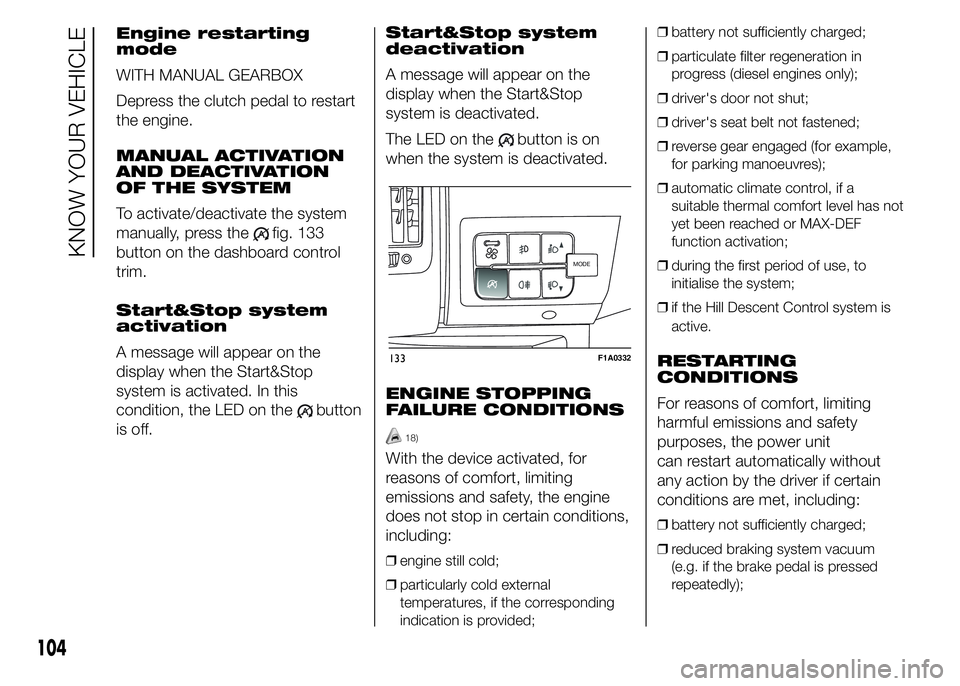
manually, press the
fig. 133
button on the dashboard control
trim.
Start&Stop system
activation
A message will appear on the
display when the Start&Stop
system is activated. In this
condition, the LED on the
button
is off.Start&Stop system
deactivation
A message will appear on the
display when the Start&Stop
system is deactivated.
The LED on the
button is on
when the system is deactivated.
ENGINE STOPPING
FAILURE CONDITIONS
18)
With the device activated, for
reasons of comfort, limiting
emissions and safety, the engine
does not stop in certain conditions,
including:
❒engine still cold;
❒particularly cold external
temperatures, if the corresponding
indication is provided;❒battery not sufficiently charged;
❒particulate filter regeneration in
progress (diesel engines only);
❒driver's door not shut;
❒driver's seat belt not fastened;
❒reverse gear engaged (for example,
for parking manoeuvres);
❒automatic climate control, if a
suitable thermal comfort level has not
yet been reached or MAX-DEF
function activation;
❒during the first period of use, to
initialise the system;
❒if the Hill Descent Control system is
active.
RESTARTING
CONDITIONS
For reasons of comfort, limiting
harmful emissions and safety
purposes, the power unit
can restart automatically without
any action by the driver if certain
conditions are met, including:
❒battery not sufficiently charged;
❒reduced braking system vacuum
(e.g. if the brake pedal is pressed
repeatedly);
MODEMODE
133F1A0332
104
KNOW YOUR VEHICLE
Page 109 of 367
❒vehicle in motion (e.g. when driving
on roads with a gradient);
❒stopping the engine through the
Start&Stop system for more than
about three minutes.
❒automatic climate control system for
adjusting the thermal comfort level or
to enable MAX-DEF function.
With a gear engaged, the engine
can be automatically restarted only
by fully depressing the clutch pedal.
NoteIf the engine stops and this is
not desired, due for example to the
clutch pedal being released sharply
with a gear engaged, if the Start&Stop
system is active, the engine can be
restarted by fully depressing the clutch
pedal or by placing the gear lever in
neutral.
NoteIf the clutch is not pressed, when
approx. three minutes have elapsed
since the engine was stopped, the
engine can only be restarted using the
key.
SAFETY FUNCTIONS
In engine cut-out conditions
through the Start&Stop system, if
the driver unfastens his/her seat
belt and opens the driver's door or
the passenger door, the engine
can be restarted only by using the
key. The driver is notified of this
condition by a buzzer, through the
warning light flashing in the
instrument panel and, where
provided, by a message in the
display.
"ENERGY SAVING"
FUNCTION
(for versions/markets, where
provided)
If, after the engine has been
automatically restarted, the driver
does not take any action for a
period of about 3 minutes,
the Start&Stop system will
definitively stop the engine to avoid
fuel consumption. The engine
can only be started using the key in
such cases.
NoteIn any case, it is possible to keep
the engine running by deactivating
the Start&Stop system.
IRREGULAR
OPERATION
In the event of malfunction, the
Start&Stop system is deactivated.
The driver is informed about the
fault through the switching on of the
icon together with a message
on the display. In this case, contact
a Fiat Dealership.
VEHICLE INACTIVITY
In the event of vehicle inactivity,
special attention must be paid to
the disconnection of the battery
power supply. Proceed as follows:
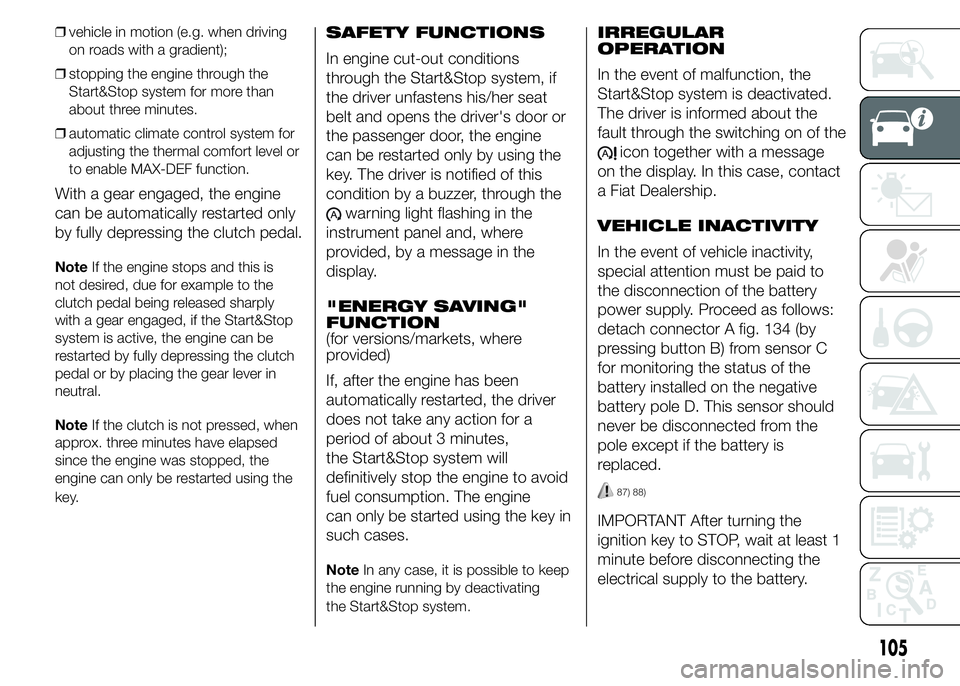
detach connector A fig. 134 (by
pressing button B) from sensor C
for monitoring the status of the
battery installed on the negative
battery pole D. This sensor should
never be disconnected from the
pole except if the battery is
replaced.
87) 88)
IMPORTANT After turning the
ignition key to STOP, wait at least 1
minute before disconnecting the
electrical supply to the battery.
105
Page 126 of 367

Operating modes are different
according to the characteristics of
the option selected.
Selecting an option from the main
menu without a submenu:
- briefly press the MODE button to
select the main menu option that
needs to be changed;
- press the
orbuttons
(with a single press) to select the
new setting;
- briefly press the MODE button to
store the new setting and at the
same time go back to the
previously selected menu option.
Selecting an option from the main
menu with a submenu:
- briefly press the MODE button to
display the first submenu option;
- press the
orbuttons
(with a single press) to scroll
through all submenu options;
- briefly press the MODE button to
select the displayed submenu
option and to open the relevant
settings menu;- press the
orbuttons
(with a single press) to choose
the new setting for this submenu
option;
- briefly press the MODE button to
store the setting and return to
the previously selected submenu
option.
Selecting “Date” and “Set Clock”:
- briefly press the MODE button
to select the first value to be
changed (e.g. hours / minutes or
year / month / day);
- press the
orbuttons
(with a single press) to select the
new setting;
- briefly press the MODE button to
store the new setting and go to
the next settings menu option.
If this is the last one, the system
brings you back to the previously
selected menu option.
Press the button MODE for long:
- to exit the set-up menu if you are
in the main menu;- to exit the main menu if you are in
another point of the menu (e.g.:
at submenu option setting level, at
submenu level or at main menu
option setting level);
- to save only the changes stored
by the user (and confirmed by
pressing the MODE button).
The setup menu environment is
timed; when the menu is exited due
to expiry of the time allowed, only
the changes already stored by
the user (confirmed beforehand by
a brief press of the MODE button)
will be saved.
From the standard screen, briefly
press button MODE to start
navigation.
Press the
orbuttons to
navigate within the menu.
NoteOnly the reduced menu can be
accessed while the vehicle is moving
for safety reasons ("Speed Beep"
setting). Stop the vehicle to access the
full menu.
122
KNOWING THE INSTRUMENT PANEL
Page 158 of 367
What it means What to do
START&STOP SYSTEM ACTIVATION/
DEACTIVATION
(for versions/markets, where provided)
Start&Stop system activation
A message will appear on the display when the
Start&Stop system is activated. In this case the
LED located on the
button is off (see the
“Start&Stop” paragraph in the "Knowing your
vehicle" chapter).
Start&Stop system deactivation
A dedicated message will appear on the display
when the Start&Stop system is deactivated.
The LED on the
button is on when the system
is deactivated.
START&STOP FAILURE
If the Start&Stop system is faulty the
symbol
switches on in the display along with a dedicated
message.
154
KNOWING THE INSTRUMENT PANEL
Page 210 of 367
❒after having driven for about 10
minutes, stop and recheck the tyre
pressure; remember to apply the
handbrake;
❒if a pressure value of at least 3 bar is
detected, restore the correct
pressure prescribed in the paragraph
“Inflation pressure” in “Technical
specification” (with the engine
running and the handbrake
engaged), resume driving and drive
with care to nearest Fiat Dealership.
FOR CHECKING AND
RESTORING
PRESSURE ONLY
The compressor can also be used
solely for restoring pressure.
❒Pull the handbrake.
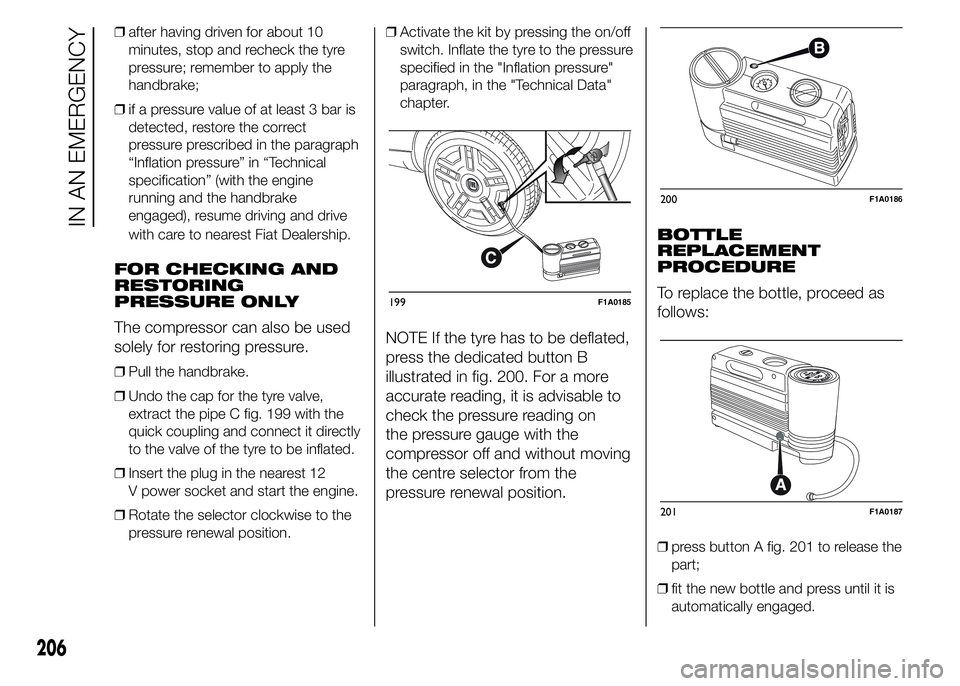
❒Undo the cap for the tyre valve,
extract the pipe C fig. 199 with the
quick coupling and connect it directly
to the valve of the tyre to be inflated.
❒Insert the plug in the nearest 12
V power socket and start the engine.
❒Rotate the selector clockwise to the
pressure renewal position.❒Activate the kit by pressing the on/off
switch. Inflate the tyre to the pressure
specified in the "Inflation pressure"
paragraph, in the "Technical Data"
chapter.
NOTE If the tyre has to be deflated,
press the dedicated button B
illustrated in fig. 200. For a more
accurate reading, it is advisable to
check the pressure reading on
the pressure gauge with the
compressor off and without moving
the centre selector from the
pressure renewal position.BOTTLE
REPLACEMENT
PROCEDURE
To replace the bottle, proceed as
follows:
❒press button A fig. 201 to release the
part;
❒fit the new bottle and press until it is
automatically engaged.
199F1A0185
200F1A0186
201F1A0187
206
IN AN EMERGENCY