rims FIAT DUCATO 244 2005 3.G Owners Manual
[x] Cancel search | Manufacturer: FIAT, Model Year: 2005, Model line: DUCATO 244, Model: FIAT DUCATO 244 2005 3.GPages: 258, PDF Size: 4.05 MB
Page 90 of 258
89GETTING TO KNOW YOUR VEHICLE
Warning light >alone,
with the engine running,
normally indicates a fault in the
ABS system only. In this case, the
braking system is still efficient,
though without the anti-locking de-
vice. Under these conditions, per-
formance of the EBD system may
be reduced. In this case too, you are
advised to go immediately to the
nearest Fiat Dealership, driving in
such a way to avoid sharp braking
to have the system checked over.
WARNING
If the xbrake fluid low
warning light comes on,
stop the vehicle immediately and
contact the nearest Fiat Dealership.
Fluid leaks from the hydraulic sys-
tem, in fact, can compromise brake
system operation, both traditional
systems and systems with ABS.
WARNING
Braking while cornering always re-
quires extreme care even when using
ABS.
The most important advice to follow
is this:
If you follow these tips you will be
able to brake better in any situation.
IMPORTANTVehicles fitted with
ABS shall only be fitted with wheel rims,
tyres and brake pads of the make and
model approved by the vehicle manu-
facturer.The system is completed with an elec-
tronic brakeforce distributor called
EBD which improves braking system
performance by means of the ABSsys-
tem control unit and sensors.
When the ABS cuts in, and
you feel the brake pedal
pulsating, do not remove your foot,
but keep it pressed. In doing so you
will stop in the shortest amount of
space possible under the current
road conditions.
WARNING
The vehicle is fitted with an
electronic brakeforce dis-
tributor (EBD). The >and x
warning lights come on at the same
time when the engine is running to
indicate that there is an EBD sys-
tem failure. In this case violent
braking may be accompanied by
early rear wheel locking with the
possibility of skidding. Drive ex-
tremely carefully to the nearest Fi-
at Dealership to have the system
checked.
WARNING
Page 96 of 258
95GETTING TO KNOW YOUR VEHICLE
The correct operation of
front and side airbags and
pretensioners is only ensured if the
vehicle is not overloaded.
WARNINGEOBD SYSTEM
(petrol versions only)
The EOBD (European On Board Di-
agnosis) system fitted on the vehicle
complies with Directive 98/69/CE
(EURO 3).
This system continuously monitors
the engine emission system compo-
nents. Furthermore, the system warns
the driver of deterioration concerning
the emission system components by
means of the Uwarning light on the
instrument panel.
The objective is to:
– monitor system efficiency;
– warn when failures can increase
emissions over the threshold estab-
lished by the European regulations;
– warn of the need to replace dete-
riorated components.
Remember that with the
key engaged and in the
MAR position, even with the en-
gine not running, the airbags may
be triggered on a stationary vehi-
cle if it is bumped by another mov-
ing vehicle. Therefore, never seat
children on the front seat even
when the vehicle is stationary. On
the other hand, remember that
with the vehicle stationary, with-
out the key engaged and turned,
the airbags are not triggered in the
event of an impact; in these cases,
failure to come into action of the
airbags cannot be considered as a
sign that the system is not working
properly.
WARNING
On vehicles equipped with
side bags, do not cover the
backrest of the front seats with
trims or covers.
WARNING
The airbag does not substi-
tute the seat belts, but on-
ly increases their effectiveness.
Moreover, since the front airbags
do not come into operation in the
event of front impact at low speed,
side collisions, bumps from behind
or overturning, in these circum-
stances the occupants would only
be protected by the seat belts which
must therefore always be fastened.
WARNING
Do not wash the seat back
in vehicles with side bags
with pressurised steam or water in
automatic seat washing station.
WARNING
Page 180 of 258
179VEHICLE MAINTENANCE
Tyres age even if they are not used
very much. Cracking of the tread rub-
ber and the side walls are a sign of this
ageing. In any case, if the tyres have
been fitted for more than six years
they should be examined by an expert
who can judge whether they are still
fit for use. Remember to check the
spare tyre particularly carefully too.
If a replacement is necessary, always
use new tyres and avoid using ones
the origin of which you are not cer-
tain about.
The Ducato uses tubeless tyres. Un-
der no circumstances use an inner
tube with these tyres.
If you replace a tyre it is a good idea
to change the inflation valve, too.To ensure the front and rear tyres all
wear evenly, you are advised to change
the tyres over every 10 - 15 thousand
kilometres keeping them on the same
side of the vehicle so as not to reverse
the direction of rotation.RUBBER TUBING
Follow the Service Schedule carefully
in the case of braking and fuel supply
system rubber tubing.
Ozone, high temperatures and long
absence of fluid in the system can in
fact cause the hardening and cracking
of the pipes with possible loss of fluid.
A careful check is therefore essential.
Do not change the tyres
over in criss-cross fashion
by moving a tyre from the left-hand
side of the vehicle to the right and
vice versa.
WARNING
Never submit alloy rims to
repainting treatments re-
quiring to use temperatures ex-
ceeding 150°C since the mechani-
cal properties of the wheels could
be impaired.
WARNING
Page 219 of 258
218TECHNICAL SPECIFICATIONS
WHEELS
RIMS AND TYRES
Printed steel rims with ventilated
disk.
Tubeless tyres with radial carcass.
The homologated tyres are listed in
the log book.
IMPORTANT In the event of dis-
crepancies between the information
provided in this Owner Handbook and
the Log Book, consider the specifica-
tions shown in the Log Book only.
To ensure safety of the vehicle in
movement, it must be fitted with tyres
of the same make and type on all
wheels.
IMPORTANT Do not use inner
tubes with tubeless tyres.SPARE WHEEL
Printed steel rim.
Tubeless tyre (same as those fitted).
SNOW CHAINS
Only use low profile chains, see
“Snow chains”.
WHEEL GEOMETRY
Front wheel toe-in measured from
rim to rim: – 2 ± 1 mm.
The values refer to the vehicle in run-
ning order.
STEERING
Energy-absorbing jointed steering
column and wheel.
Height adjustable steering wheel.
Permanently lubricated rack and pin-
ion.
Hydraulic power steering.
Minimum turning circle:
– short wheelbase ................ 11 m
– medium wheelbase ............ 12.1 m
– long wheelbase .................. 13,7 m
Number of steering wheel turns lock
to lock ......................................... 3.52
Do not hold the power as-
sisted steering wheel with
the engine running for longer than
15 seconds. It will make a noise and
you could damage the system.
WARNING
Page 251 of 258
250INDEX
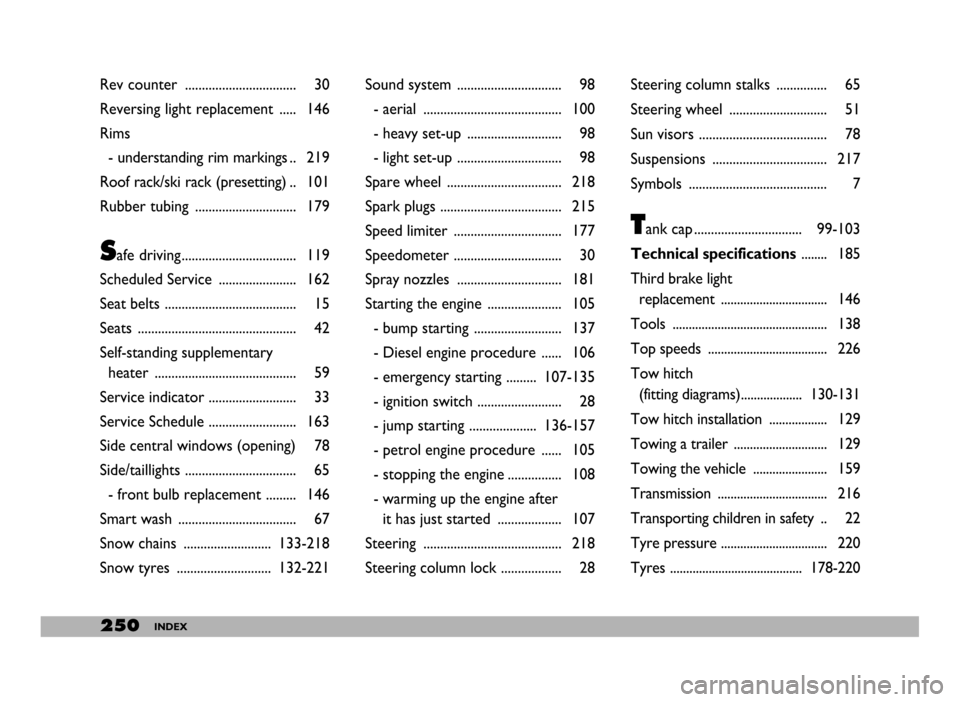
Rev counter ................................. 30
Reversing light replacement ..... 146
Rims
- understanding rim markings .. 219
Roof rack/ski rack (presetting) .. 101
Rubber tubing .............................. 179
Safe driving.................................. 119
Scheduled Service ....................... 162
Seat belts ....................................... 15
Seats ............................................... 42
Self-standing supplementary
heater .......................................... 59
Service indicator .......................... 33
Service Schedule .......................... 163
Side central windows (opening) 78
Side/taillights ................................. 65
- front bulb replacement ......... 146
Smart wash ................................... 67
Snow chains .......................... 133-218
Snow tyres ............................ 132-221Sound system ............................... 98
- aerial ......................................... 100
- heavy set-up ............................ 98
- light set-up ............................... 98
Spare wheel .................................. 218
Spark plugs .................................... 215
Speed limiter ................................ 177
Speedometer ................................ 30
Spray nozzles ............................... 181
Starting the engine ...................... 105
- bump starting .......................... 137
- Diesel engine procedure ...... 106
- emergency starting ......... 107-135
- ignition switch ......................... 28
- jump starting .................... 136-157
- petrol engine procedure ...... 105
- stopping the engine ................ 108
- warming up the engine after
it has just started ................... 107
Steering ......................................... 218
Steering column lock .................. 28Steering column stalks ............... 65
Steering wheel ............................. 51
Sun visors ...................................... 78
Suspensions .................................. 217
Symbols ......................................... 7
Tank cap ................................ 99-103
Technical specifications........ 185
Third brake light
replacement ................................. 146
Tools ................................................ 138
Top speeds ..................................... 226
Tow hitch
(fitting diagrams)................... 130-131
Tow hitch installation .................. 129
Towing a trailer ............................. 129
Towing the vehicle ....................... 159
Transmission .................................. 216
Transporting children in safety .. 22
Tyre pressure ................................. 220
Tyres ......................................... 178-220