navigation FIAT MULTIPLA 2004 1.G Connect NavPlus Manual
[x] Cancel search | Manufacturer: FIAT, Model Year: 2004, Model line: MULTIPLA, Model: FIAT MULTIPLA 2004 1.GPages: 202, PDF Size: 2.22 MB
Page 184 of 202
183
CONNECT NAV
NAVIGATOR
The SETTINGS menu allows to ad-
just the system settings to your needs.
Furthermore, with the settings menu
of the different audio sources it is pos-
sible to set the special audio and nav-
igation functions.
OPENING THE SETTINGS
MENU
The SETTINGS menu can be opened
from the main menus of the various
functions. Use the following buttons
to open the main menus:
•press SRC (17) to select Radio, CD
or CD-Changer (where fitted) main
menus
•press NAV (12) for the main nav-
igation menu.Proceed as follows to set and select
options in the list:
1)position the cursor on the re-
quired list option turning the
knob/button (11)
2) confirm the selection by pressing
the knob/button (11).
Press ESC (9) to return to the pre-
vious menu.
ADJUSTING THE DISPLAY
In the SETTINGS menu, you can turn
on and off the automatic switchover
to night-time display and adjust bright-
ness and contrast (separately for day
and night). Furthermore, you can ad-
just the angle of vision for the route
instructions on the display.
B B
A A
S S
I I
C C
S S
E E
T T
T T
I I
N N
G G
S S
When the display shows the main
menu of one of the audio sources or
a function menu is displayed, press
twice MEN (10): the display will show
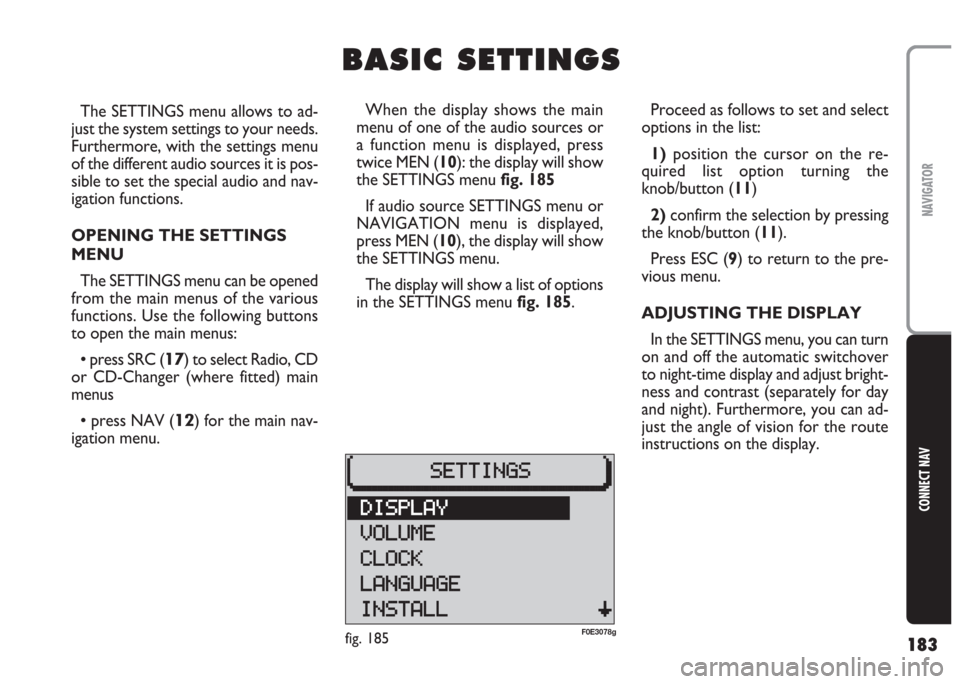
the SETTINGS menu fig. 185
If audio source SETTINGS menu or
NAVIGATION menu is displayed,
press MEN (10), the display will show
the SETTINGS menu.
The display will show a list of options
in the SETTINGS menu fig. 185.
fig. 185F0E3078g
Page 187 of 202
186
CONNECT NAV
NAVIGATOR
IMPORTANT The minimum
volume is a form of limitation. If the
volume was lower than the minimum
set volume when the system was
switched off this will override the
SETTINGS menu.Proceed as follows to adjust the vol-
ume:
1) open the SETTINGS menu
fig. 185as described previously
2)turn the knob/button (11) to se-
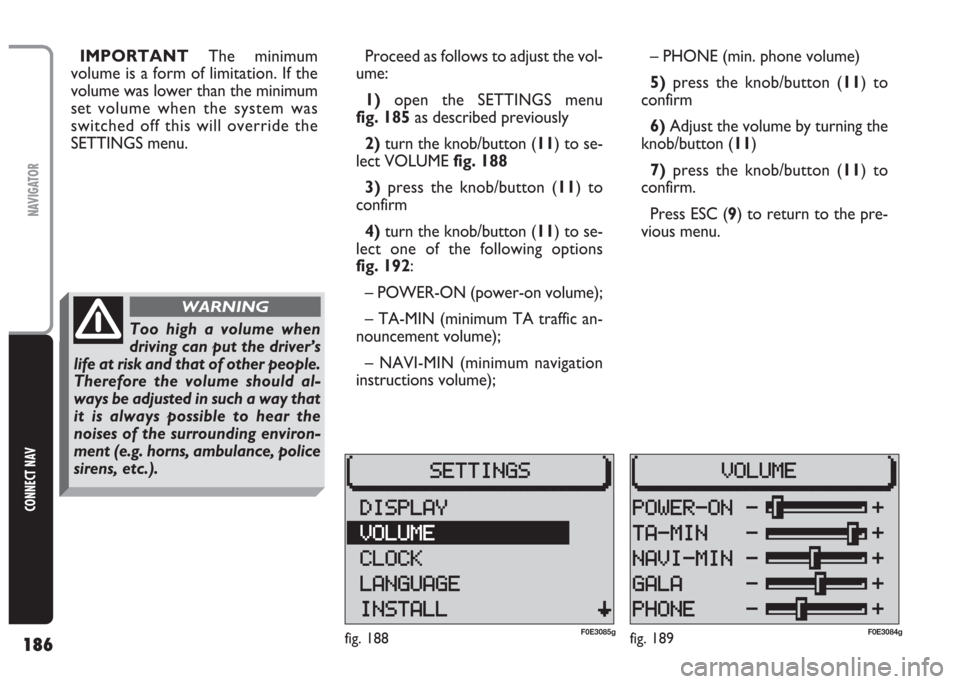
lect VOLUME fig. 188
3)press the knob/button (11) to
confirm
4) turn the knob/button (11) to se-
lect one of the following options
fig. 192:
– POWER-ON (power-on volume);
– TA-MIN (minimum TA traffic an-
nouncement volume);
– NAVI-MIN (minimum navigation
instructions volume);– PHONE (min. phone volume)
5)press the knob/button (11) to
confirm
6) Adjust the volume by turning the
knob/button (11)
7) press the knob/button (11) to
confirm.
Press ESC (9) to return to the pre-
vious menu.
fig. 188F0E3085gfig. 189F0E3084g
Too high a volume when
driving can put the driver’s
life at risk and that of other people.
Therefore the volume should al-
ways be adjusted in such a way that
it is always possible to hear the
noises of the surrounding environ-
ment (e.g. horns, ambulance, police
sirens, etc.).
WARNING
Page 188 of 202
187
CONNECT NAV
NAVIGATOR
Selecting the time format
Proceed as follows to select the time
format (12 or 24 hour clock):
1) open the SETTINGS menu
fig. 185as described previously
2)turn the knob/button (11) to se-
lect CLOCK
3) press the knob/button (11) to
confirm
4) turn the knob/button (11) to se-
lect SETTINGS
5) turn the knob/button (11) to se-
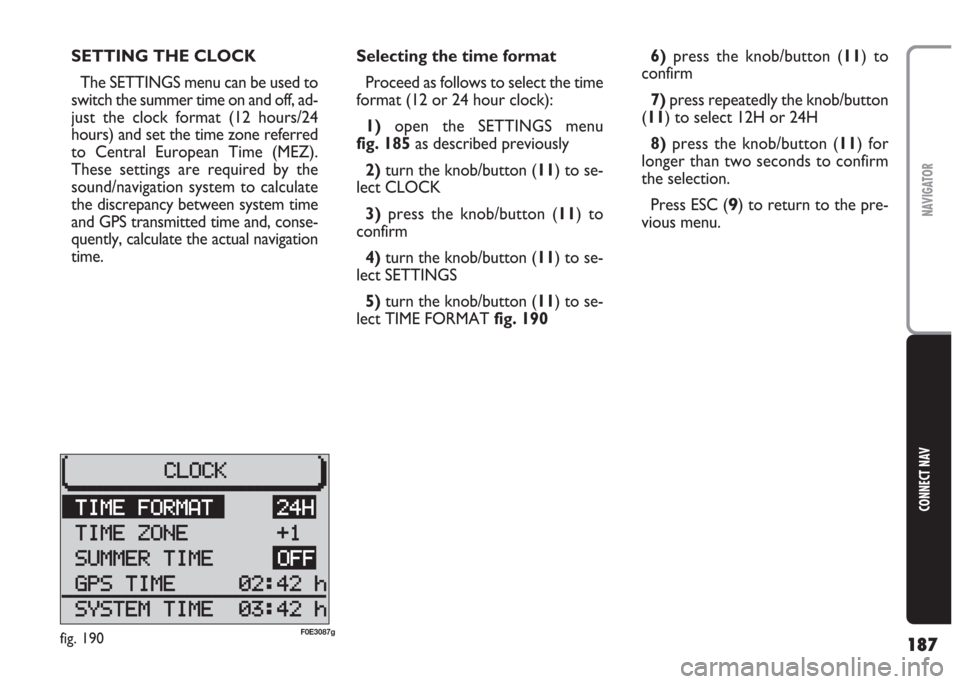
lect TIME FORMAT fig. 1906)press the knob/button (11) to
confirm
7)press repeatedly the knob/button
(11) to select 12H or 24H
8) press the knob/button (11) for
longer than two seconds to confirm
the selection.
Press ESC (
9) to return to the pre-
vious menu. SETTING THE CLOCK
The SETTINGS menu can be used to
switch the summer time on and off, ad-
just the clock format (12 hours/24
hours) and set the time zone referred
to Central European Time (MEZ).
These settings are required by the
sound/navigation system to calculate
the discrepancy between system time
and GPS transmitted time and, conse-
quently, calculate the actual navigation
time.
fig. 190F0E3087g
Page 191 of 202
190
CONNECT NAV
NAVIGATOR
A new language will be loaded. At the
end of the loading operation, with the
navigation CD inserted in the drive, a
confirmation voice message will be
heard.
The SETTINGS menu will be then
displayed again.
IMPORTANT For certain coun-
tries (e.g. Denmark, Sweden and Por-
tugal), the voice messages related to
Navigation are in English whereas dis-
played messages are written in the lan-
guage of each country.GPS STATUS
Proceed as follows to display the
number of GPS satellites which can be
received and the car position:
1) press the NAV button (12) to
open the main navigation menu
2) press MEN (10) to display the
SETTINGS menu
3) turn the knob/button (11) to se-
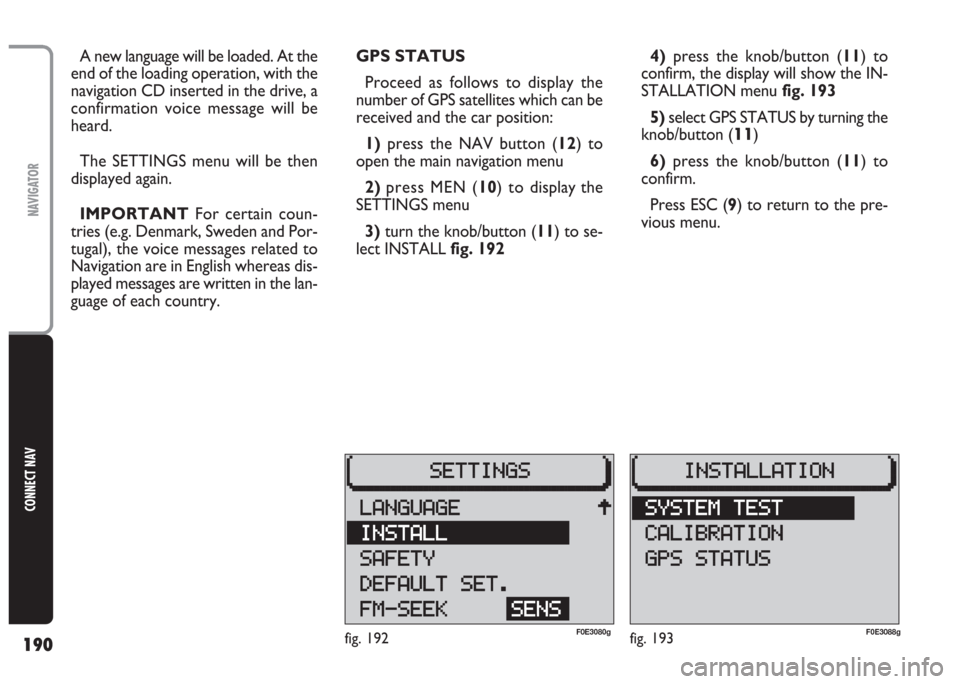
lect INSTALL fig. 1924)press the knob/button (11) to
confirm, the display will show the IN-
STALLATION menufig. 193
5)select GPS STATUS by turning the
knob/button (
11)
6)press the knob/button (11) to
confirm.
Press ESC (9) to return to the pre-
vious menu.
fig. 192F0E3080gfig. 193F0E3088g
Page 192 of 202
191
CONNECT NAV
NAVIGATOR
Proceed as follows to activate/deac-
tivate the code:
1) press the NAV button (12) to
open the main navigation menu
2)press the MEN button (10) to
open the SETTINGS menu
3)turn the knob/button (11) to se-
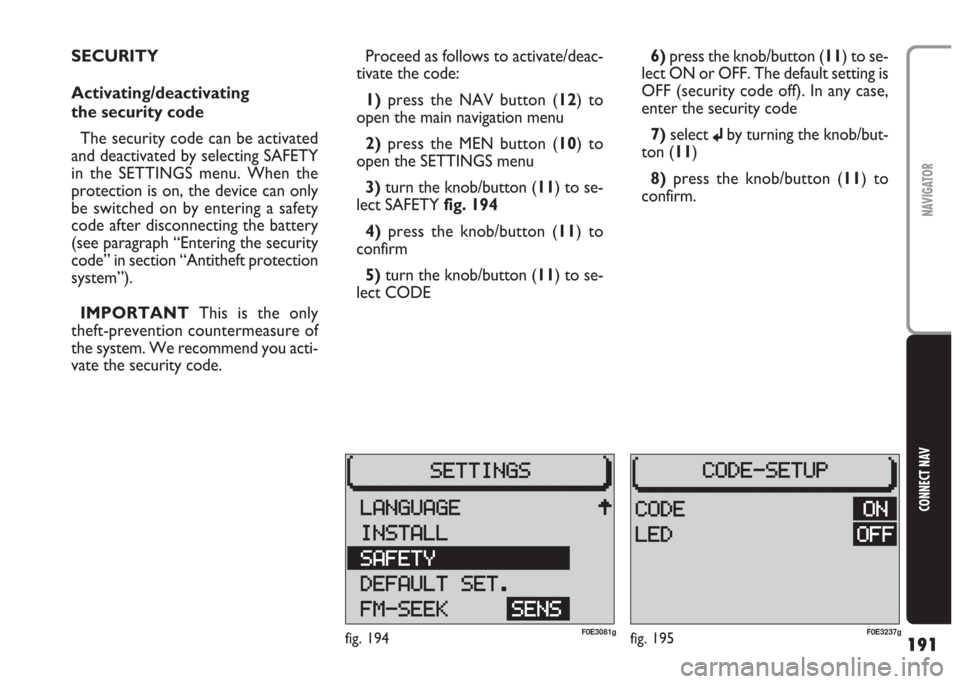
lect SAFETY fig. 194
4) press the knob/button (11) to
confirm
5)turn the knob/button (11) to se-
lect CODE6) press the knob/button (11) to se-
lect ON or OFF. The default setting is
OFF (security code off). In any case,
enter the security code
7)select
jby turning the knob/but-
ton (11)
8)press the knob/button (11) to
confirm. SECURITY
Activating/deactivating
the security code
The security code can be activated
and deactivated by selecting SAFETY
in the SETTINGS menu. When the
protection is on, the device can only
be switched on by entering a safety
code after disconnecting the battery
(see paragraph “Entering the security
code” in section “Antitheft protection
system”).
IMPORTANT This is the only
theft-prevention countermeasure of
the system. We recommend you acti-
vate the security code.
fig. 194F0E3081gfig. 195F0E3237g
Page 193 of 202
192
CONNECT NAV
NAVIGATOR
Resetting default
settings (reset)
To reset the system default settings:
1)press the NAV button (12) to
open the main navigation menu
2)press the MEN button (10) to
open the SETTINGS menu
3) turn the knob/button (11) to se-
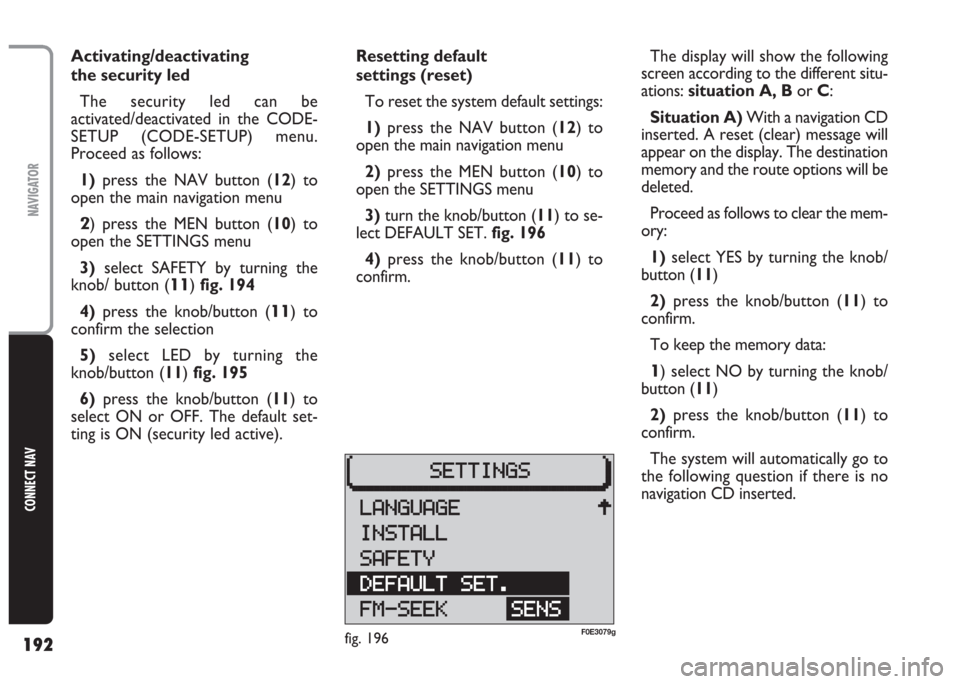
lect DEFAULT SET. fig. 196
4)press the knob/button (11) to
confirm. Activating/deactivating
the security led
The security led can be
activated/deactivated in the CODE-
SETUP (CODE-SETUP) menu.
Proceed as follows:
1)press the NAV button (12) to
open the main navigation menu
2) press the MEN button (10) to
open the SETTINGS menu
3)select SAFETY by turning the
knob/ button (
11) fig. 194
4)press the knob/button (
11) to
confirm the selection
5)select LED by turning the
knob/button (11) fig. 195
6) press the knob/button (11) to
select ON or OFF. The default set-
ting is ON (security led active).The display will show the following
screen according to the different situ-
ations: situation A, Bor C:
Situation A)With a navigation CD
inserted. A reset (clear) message will
appear on the display. The destination
memory and the route options will be
deleted.
Proceed as follows to clear the mem-
ory:
1) select YES by turning the knob/
button (11)
2)press the knob/button (11) to
confirm.
To keep the memory data:
1) select NO by turning the knob/
button (11)
2) press the knob/button (11) to
confirm.
The system will automatically go to
the following question if there is no
navigation CD inserted.
fig. 196F0E3079g
Page 195 of 202
194
CONNECT NAV
NAVIGATOR
Setting tuner sensitivity
With this function it is possible to set
the sensitivity of automatic radio sta-
tion tuning.
Proceed as follows:
1)press the NAV button (12) to
open the main navigation menu
2)press the MEN button (10) to
open the SETTINGS menu
3)turn the knob/button (11) to se-
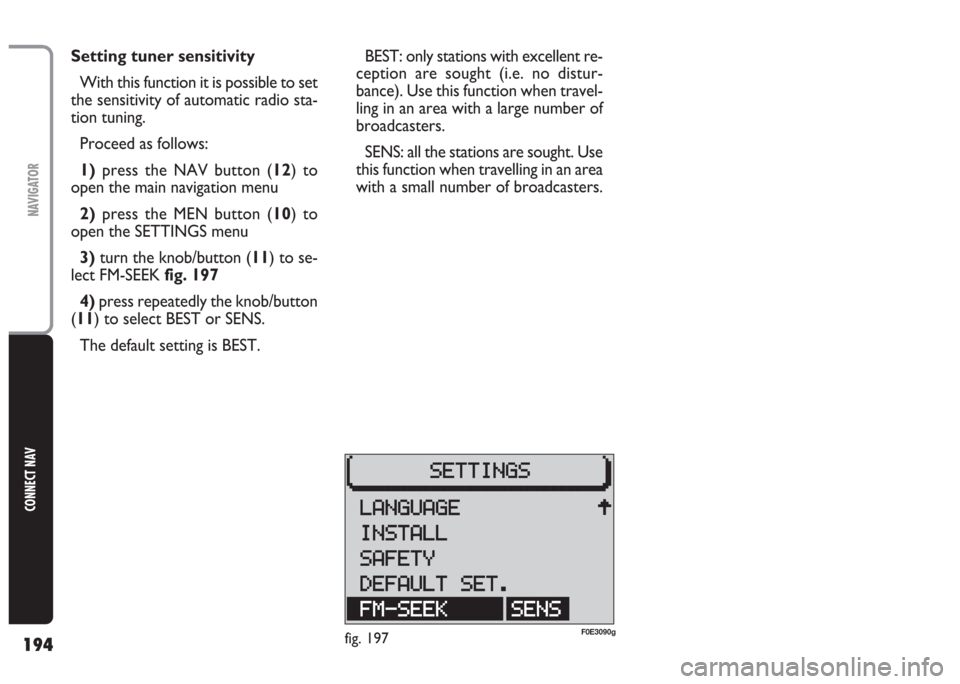
lect FM-SEEK fig. 197
4) press repeatedly the knob/button
(11) to select BEST or SENS.
The default setting is BEST.BEST: only stations with excellent re-
ception are sought (i.e. no distur-
bance). Use this function when travel-
ling in an area with a large number of
broadcasters.
SENS: all the stations are sought. Use
this function when travelling in an area
with a small number of broadcasters.
fig. 197F0E3090g
Page 199 of 202
198
CONNECT NAV
NAVIGATOR
AUDIO
– Separate bass/treble settings.
– Right/left and front/rear channel
balance.
– Automatic LOUDNESS function.SATELLITE NAVIGATION
– Voice messages for the route to be
followed.
– Driving advice, distance and esti-
mated time required to reach the des-
tination on the display.
– Possibility of entering special or dif-
ferent destinations.
– Possibility of storing destinations.
TARGA INFOMOBILITY
SERVICES
– Access to Targa infomobility
services:
•“Infomobility” services (Connect,
Follow me function, (Message list)
•“Medical advice” service
•“Road assistance” serviceTELEPHONE
– Handfree set (using the speakers
fitted on the car)
– Phone book
– Sending/receiving short text mes-
sages (SMS)
– Enabling SIM card reading
Multimedia CDs contain
sound and data tracks.
Playing these CDs can cause noise
loud enough to jeopardise road
safety and damage final stages and
speakers.
WARNING